headlights NISSAN QUEST 2002 V41 / 2.G Owners Manual
[x] Cancel search | Manufacturer: NISSAN, Model Year: 2002, Model line: QUEST, Model: NISSAN QUEST 2002 V41 / 2.GPages: 294, PDF Size: 2.49 MB
Page 102 of 294

Security indicator light
This light will illuminate for the vehicle secu-
rity system.
This light blinks whenever the ignition
switch is in the LOCK, OFF, or ACC posi-
tion. This function indicates the security
system equipped on the vehicle is opera-
tional.
How to activate the vehicle security
system
1. Close all windows.(The system can be
activated even if the windows are
open).
2. Remove the key from the ignition switch.
3. Close all doors and the hood.
4. Push the
button on the keyfob. All
doors lock. The hazard lights flash twice
and the horn beeps once to indicate all
doors are locked.
cWhen the
button is pushed with all
doors locked, the hazard lights flash
twice and the horn beeps once as a
reminder that the doors are already
locked.
The horn may or may not beep once.
Refer to ``silencing the horn beep fea-
ture'' later in this section for details.
5. Confirm that the SECURITY indicator
light comes on. The SECURITY light
glows for about 30 seconds and then
begins to flash once every three seconds.
The system is now activated. If, during
this 30-second time period, the door is
unlocked by the key or the keyfob, or theignition key is turned to ACC or ON, the
system will not activate.
If the key is turned slowly when locking
the door, the system may not activate.
Furthermore, if the key is turned exces-
sively to the unlock position, the system
may be deactivated when the key is re-
moved. If the indicator light fails to glow
for 30 seconds, unlock the door once
and lock it again.
Even when the driver and/or passengers
are in the vehicle, the system will acti-
vate with all doors, hood and rear door
closed with the ignition key in the OFF
position.
Vehicle security system operation
The vehicle security system emits the fol-
lowing alarm:
cThe headlights and tail lights flash and
the horn sounds intermittently. In addi-
tion, the starter motor does not operate.
cThe alarm automatically turns off after
two to three minutes. However, the alarm
reactivates if the vehicle is tampered with
again. The alarm can be shut off by
unlocking a door with the key or by
LIC0004
Instruments and controls2-13
ZX
Page 105 of 294
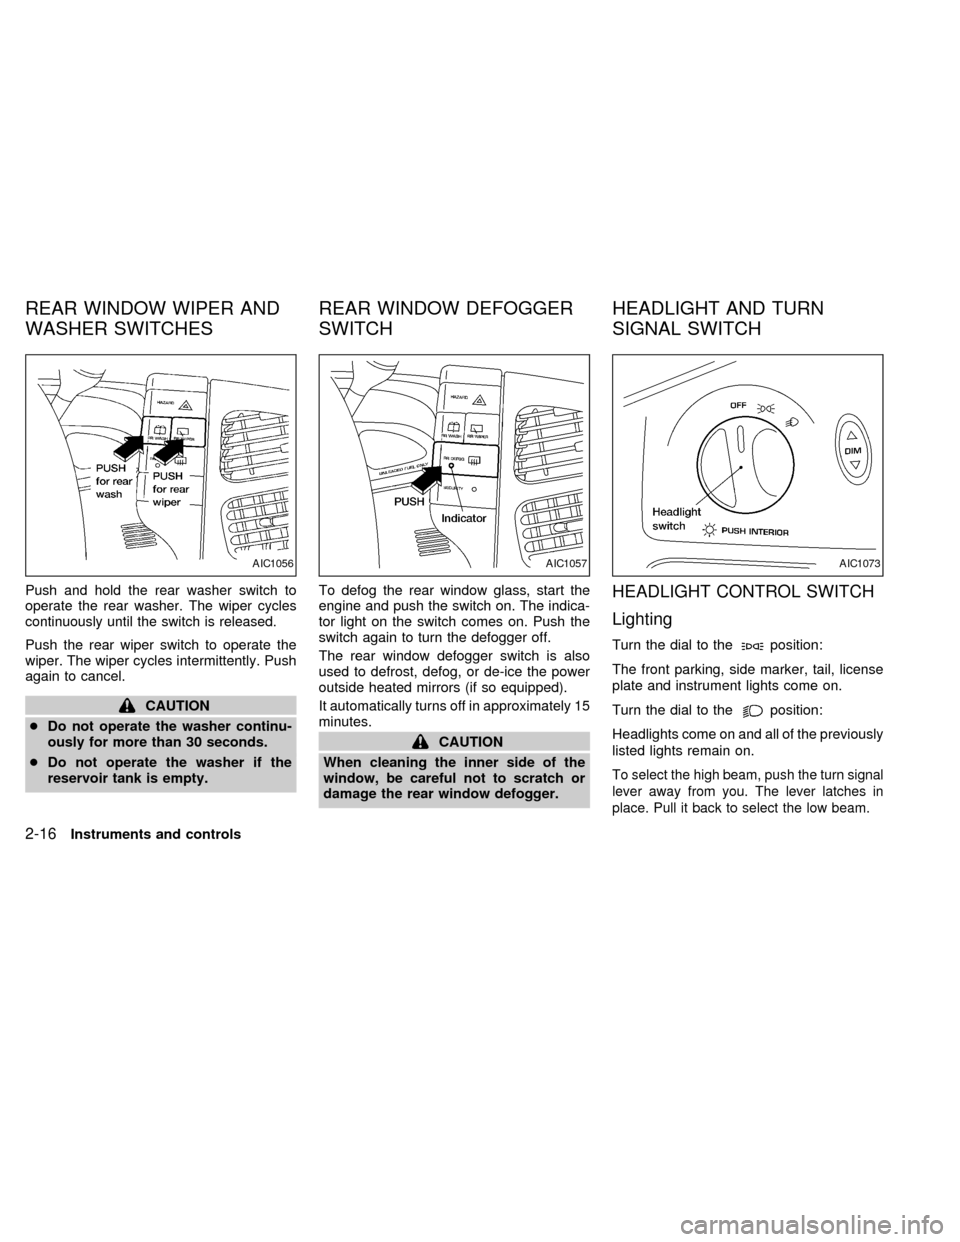
Push and hold the rear washer switch to
operate the rear washer. The wiper cycles
continuously until the switch is released.
Push the rear wiper switch to operate the
wiper. The wiper cycles intermittently. Push
again to cancel.
CAUTION
cDo not operate the washer continu-
ously for more than 30 seconds.
cDo not operate the washer if the
reservoir tank is empty.To defog the rear window glass, start the
engine and push the switch on. The indica-
tor light on the switch comes on. Push the
switch again to turn the defogger off.
The rear window defogger switch is also
used to defrost, defog, or de-ice the power
outside heated mirrors (if so equipped).
It automatically turns off in approximately 15
minutes.
CAUTION
When cleaning the inner side of the
window, be careful not to scratch or
damage the rear window defogger.
HEADLIGHT CONTROL SWITCH
Lighting
Turn the dial to theposition:
The front parking, side marker, tail, license
plate and instrument lights come on.
Turn the dial to the
position:
Headlights come on and all of the previously
listed lights remain on.
To select the high beam, push the turn signal
lever away from you. The lever latches in
place. Pull it back to select the low beam.
AIC1056AIC1057AIC1073
REAR WINDOW WIPER AND
WASHER SWITCHESREAR WINDOW DEFOGGER
SWITCHHEADLIGHT AND TURN
SIGNAL SWITCH
2-16Instruments and controls
ZX
Page 106 of 294
To turn the interior lights on push the head-
light switch. The interior lights come on.
Push the headlight switch again to turn the
interior lights off.
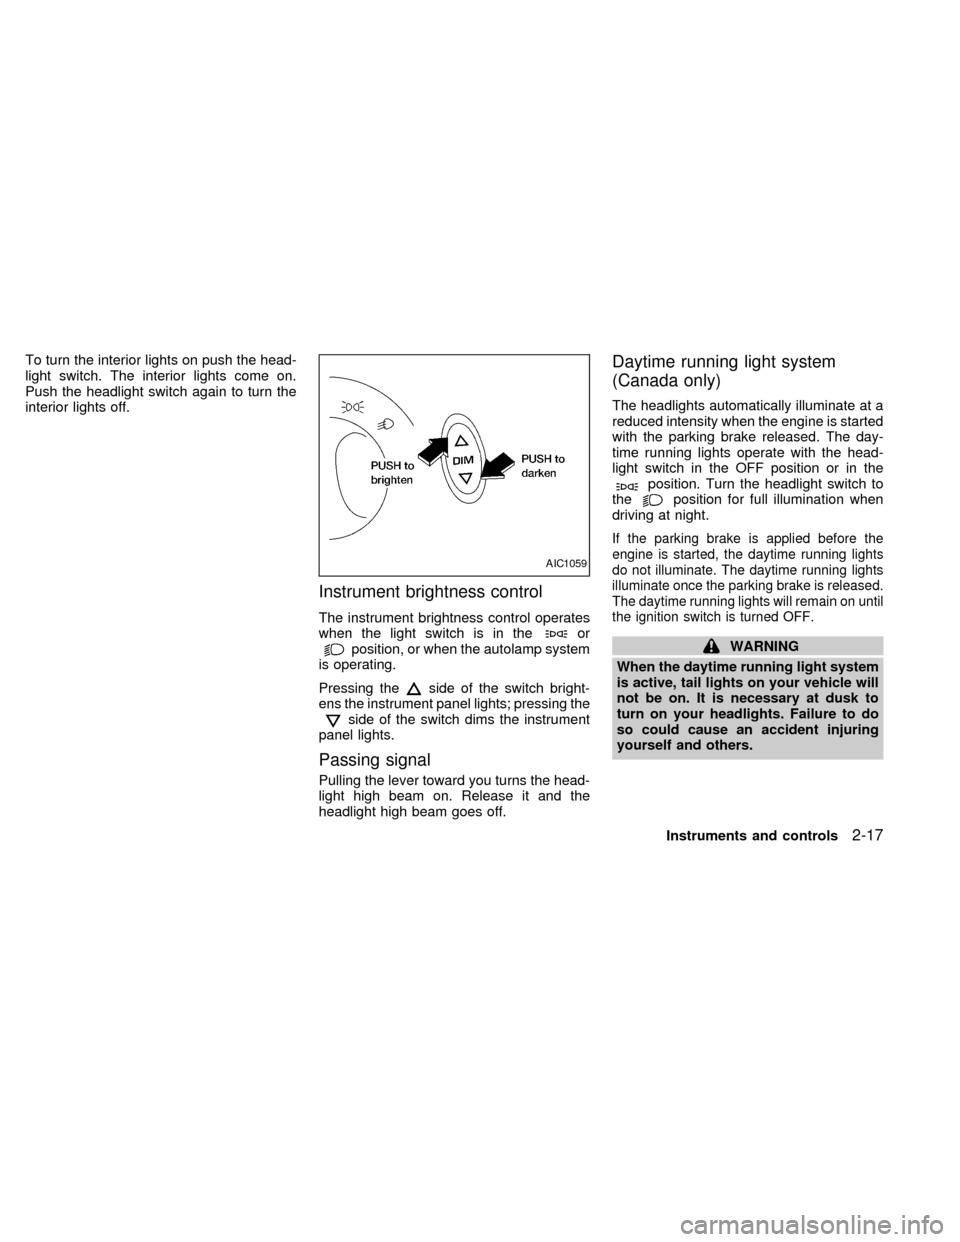
Instrument brightness control
The instrument brightness control operates
when the light switch is in theorposition, or when the autolamp system
is operating.
Pressing the
side of the switch bright-
ens the instrument panel lights; pressing the
side of the switch dims the instrument
panel lights.
Passing signal
Pulling the lever toward you turns the head-
light high beam on. Release it and the
headlight high beam goes off.
Daytime running light system
(Canada only)
The headlights automatically illuminate at a
reduced intensity when the engine is started
with the parking brake released. The day-
time running lights operate with the head-
light switch in the OFF position or in the
position. Turn the headlight switch to
theposition for full illumination when
driving at night.
If the parking brake is applied before the
engine is started, the daytime running lights
do not illuminate. The daytime running lights
illuminate once the parking brake is released.
The daytime running lights will remain on until
the ignition switch is turned OFF.
WARNING
When the daytime running light system
is active, tail lights on your vehicle will
not be on. It is necessary at dusk to
turn on your headlights. Failure to do
so could cause an accident injuring
yourself and others.
AIC1059
Instruments and controls2-17
ZX
Page 107 of 294

AUTOLAMP SWITCH
(if so equipped)
The autolamp system allows the headlights
to be set so they turn on and off automati-
cally. The autolamp system can turn on the
headlights automatically when it is dark,
turn off the headlights when it is light, and
keep the headlights on for up to three
minutes after you turn the key to OFF.
To set the autolamp system:
1. Make sure the headlight switch is in the
AUTO1 or AUTO2 position.2. Turn the ignition key to ON.
3. The autolamp system automatically turns
the headlights on and off.
Shut-off delay
The length of time the headlights stay on
after the ignition is turned to OFF depends
on whether the switch is in the AUTO1 or
AUTO2 position. If the switch is in the
AUTO1 position, then the headlights stay on
for less than 1 minute after the ignition is
turned OFF. If the switch is in the AUTO2
position, the headlights stay on approxi-
mately 3 minutes after the ignition is turned
OFF.
To turn the autolamp system off, turn the
switch to the OFF,
,orposition.Be sure you do not put anything on top
of the photo sensor located in the top left
side of the instrument panel. The photo
sensor controls the autolamp; if it is
covered, the photo sensor reacts as if it
is dark out and the headlights will illumi-
nate.
AIC1058AIC1087
2-18Instruments and controls
ZX
Page 108 of 294
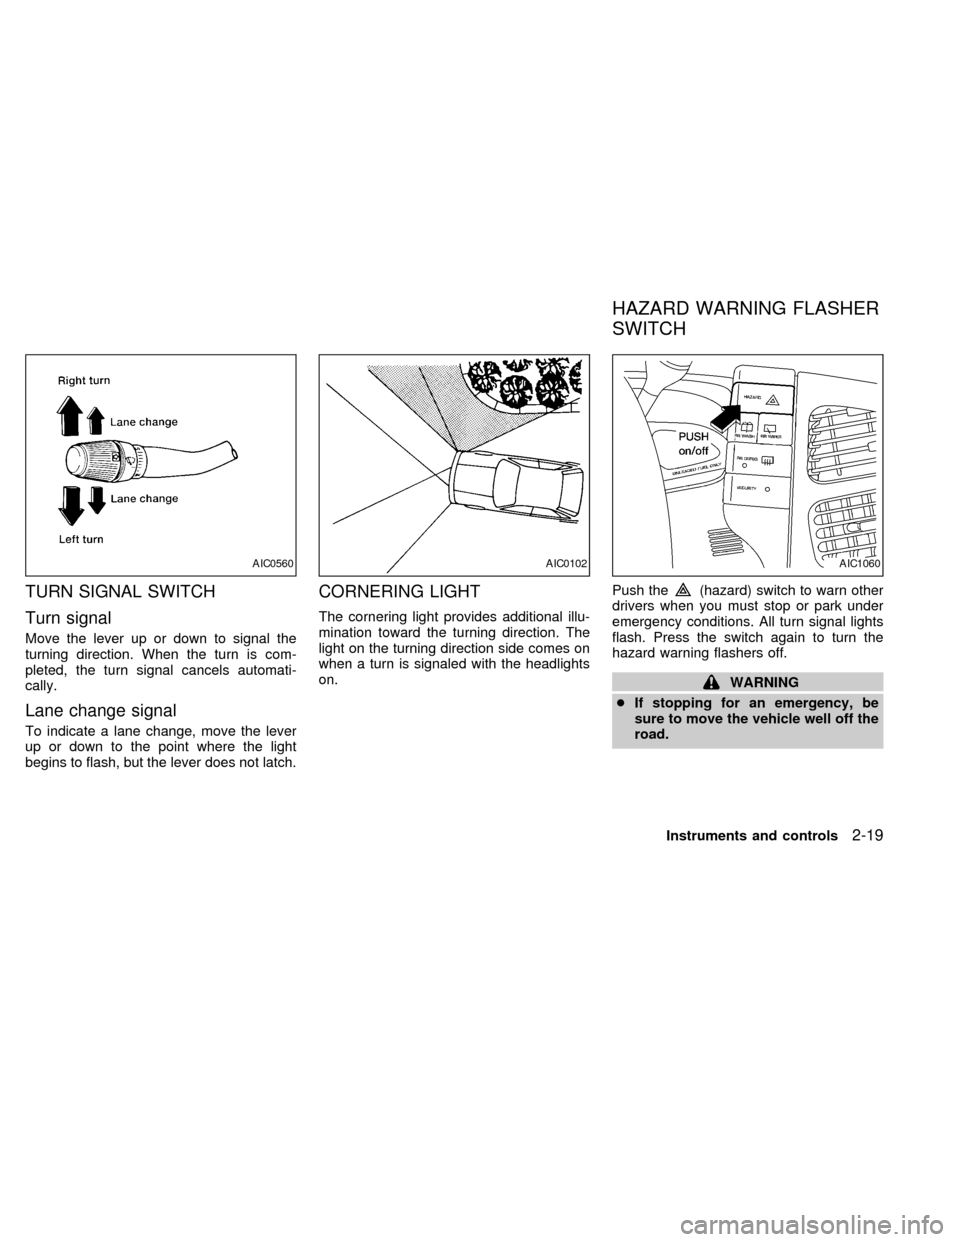
TURN SIGNAL SWITCH
Turn signal
Move the lever up or down to signal the
turning direction. When the turn is com-
pleted, the turn signal cancels automati-
cally.
Lane change signal
To indicate a lane change, move the lever
up or down to the point where the light
begins to flash, but the lever does not latch.
CORNERING LIGHT
The cornering light provides additional illu-
mination toward the turning direction. The
light on the turning direction side comes on
when a turn is signaled with the headlights
on.Push the
(hazard) switch to warn other
drivers when you must stop or park under
emergency conditions. All turn signal lights
flash. Press the switch again to turn the
hazard warning flashers off.
WARNING
cIf stopping for an emergency, be
sure to move the vehicle well off the
road.
AIC0560AIC0102AIC1060
HAZARD WARNING FLASHER
SWITCH
Instruments and controls2-19
ZX
Page 135 of 294
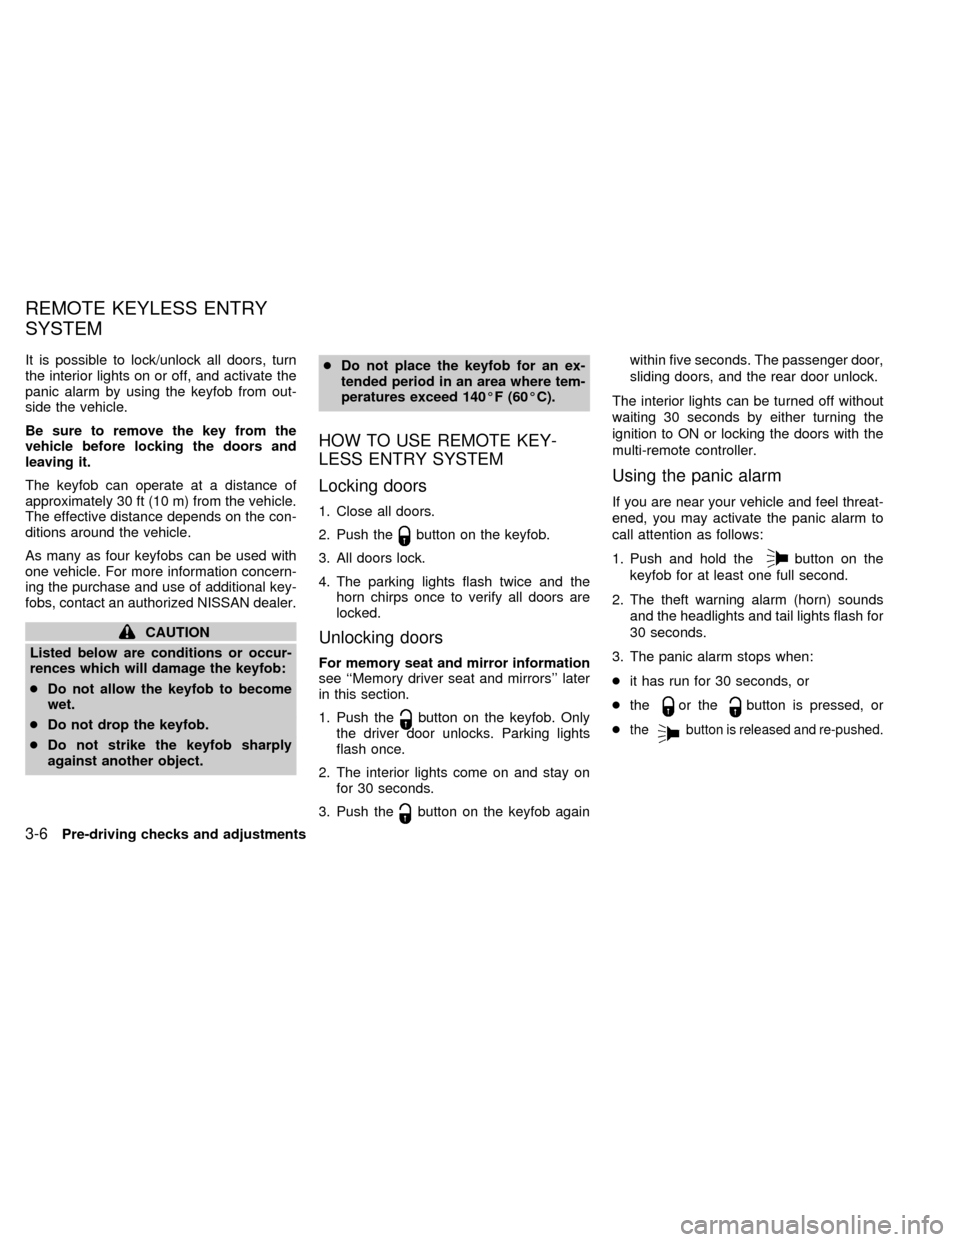
It is possible to lock/unlock all doors, turn
the interior lights on or off, and activate the
panic alarm by using the keyfob from out-
side the vehicle.
Be sure to remove the key from the
vehicle before locking the doors and
leaving it.
The keyfob can operate at a distance of
approximately 30 ft (10 m) from the vehicle.
The effective distance depends on the con-
ditions around the vehicle.
As many as four keyfobs can be used with
one vehicle. For more information concern-
ing the purchase and use of additional key-
fobs, contact an authorized NISSAN dealer.
CAUTION
Listed below are conditions or occur-
rences which will damage the keyfob:
cDo not allow the keyfob to become
wet.
cDo not drop the keyfob.
cDo not strike the keyfob sharply
against another object.cDo not place the keyfob for an ex-
tended period in an area where tem-
peratures exceed 140ÉF (60ÉC).
HOW TO USE REMOTE KEY-
LESS ENTRY SYSTEM
Locking doors
1. Close all doors.
2. Push the
button on the keyfob.
3. All doors lock.
4. The parking lights flash twice and the
horn chirps once to verify all doors are
locked.
Unlocking doors
For memory seat and mirror information
see ``Memory driver seat and mirrors'' later
in this section.
1. Push the
button on the keyfob. Only
the driver door unlocks. Parking lights
flash once.
2. The interior lights come on and stay on
for 30 seconds.
3. Push the
button on the keyfob againwithin five seconds. The passenger door,
sliding doors, and the rear door unlock.
The interior lights can be turned off without
waiting 30 seconds by either turning the
ignition to ON or locking the doors with the
multi-remote controller.
Using the panic alarm
If you are near your vehicle and feel threat-
ened, you may activate the panic alarm to
call attention as follows:
1. Push and hold the
button on the
keyfob for at least one full second.
2. The theft warning alarm (horn) sounds
and the headlights and tail lights flash for
30 seconds.
3. The panic alarm stops when:
cit has run for 30 seconds, or
cthe
or thebutton is pressed, or
c
thebutton is released and re-pushed.
REMOTE KEYLESS ENTRY
SYSTEM
3-6Pre-driving checks and adjustments
ZX
Page 142 of 294
2. Push and hold the memory seat and
mirror position 1 or position 2 button for
at least 3 seconds.
cThe indicator light will illuminate and re-
main illuminated until the position is pro-
grammed.
cAfter the position has been programmed
the indicator light will flash to indicate the
position is set.
The driver seat and/or outside mirrors must
be adjusted before programming position 1
or position 2.
Programming a keyfob
1. Move the driver seat and outside mirrors
by pressing the desired position 1 or
position 2 button.
2. Press and hold the same (position 1 or
position 2) button.
3. Within 10 seconds press the
button on
the keyfob.
The keyfob is now programmed for that
(position 1 or position 2) button.
After the keyfob has been programmed, the
memory seat and mirror button indicator
light will flash to indicate the keyfob isprogrammed. If the memory seat button is
pressed and held the indicator light will
remain illuminated for as long as the button
is held or 10 seconds which ever is shorter.
To remove a keyfob from the memory seat
system press and hold both memory seat
and mirror position buttons 1 and 2 and then
press the
button on the keyfob.
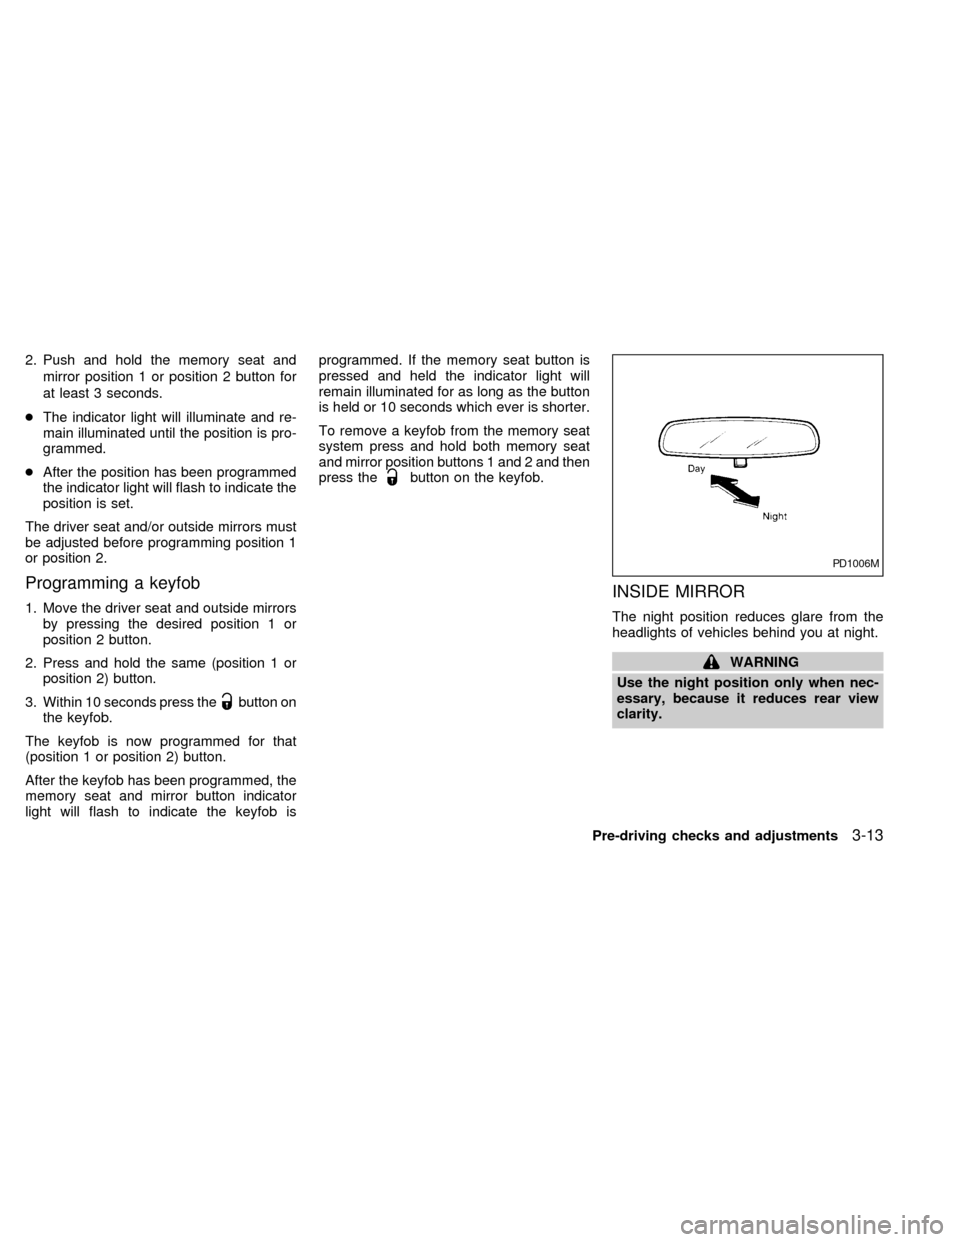
INSIDE MIRROR
The night position reduces glare from the
headlights of vehicles behind you at night.
WARNING
Use the night position only when nec-
essary, because it reduces rear view
clarity.
PD1006M
Pre-driving checks and adjustments3-13
ZX
Page 228 of 294

8 Maintenance and do-it-yourself
Maintenance requirements .....................................8-2
General maintenance .............................................8-3
Explanation of general maintenance
items ..................................................................8-3
Maintenance precautions .......................................8-5
Engine compartment check locations ....................8-7
Engine cooling system ...........................................8-8
Checking engine coolant level ..........................8-8
Changing engine coolant ..................................8-9
Engine oil ...............................................................8-9
Checking engine oil level ..................................8-9
Changing engine oil ........................................8-10
Changing engine oil filter.................................8-11
Automatic transmission fluid ................................8-12
Temperature conditions for checking ..............8-12
Power steering fluid..............................................8-13
Brake fluid ............................................................8-13
Window washer fluid ............................................8-14
Battery ..................................................................8-14
Jump starting ...................................................8-15
Drive belts ............................................................8-16
Spark plugs ..........................................................8-16Replacing spark plugs .....................................8-16
Air cleaner ............................................................8-17
Windshield wiper blades ......................................8-19
Cleaning ..........................................................8-19
Replacing .........................................................8-19
Parking brake and brake pedal ............................8-21
Checking parking brake...................................8-21
Checking brake pedal .....................................8-21
Brake booster ..................................................8-22
Fuses ....................................................................8-22
Engine compartment .......................................8-22
Passenger compartment .................................8-23
Keyfob battery replacement .................................8-24
Lights ....................................................................8-25
Headlights ........................................................8-25
Fog lights .........................................................8-26
Exterior and interior lights ...............................8-27
Wheels and tires ..................................................8-31
Tire pressure ...................................................8-31
Types of tires ...................................................8-32
Tire chains .......................................................8-33
Changing tires and wheels ..............................8-33
ZX
Page 230 of 294

During the normal day-to-day operation of
the vehicle, general maintenance should be
performed regularly as prescribed in this
section. If you detect any unusual sounds,
vibrations or smells, be sure to check for the
cause or have an authorized NISSAN
dealer do it promptly. In addition, you should
notify an authorized NISSAN dealer if you
think repairs are required.
When performing any checks or mainte-
nance work, closely observe the ``Mainte-
nance precautions'' later in this section.
EXPLANATION OF GENERAL
MAINTENANCE ITEMS
Additional information on the following
items with an ``*'' can be found later in
this section.
Outside the vehicle
The maintenance items listed here should
be performed from time to time, unless
otherwise specified.
Tires*Check the pressure with a gauge at
least once a month and always prior to long
distance trips, including the spare, and ad-
just to the specified pressure if necessary.Check carefully for damage, cuts or exces-
sive wear.
Wheel nuts*When checking the tires,
make sure no wheel nuts are missing, and
check for any loose wheel nuts. Tighten if
necessary.
Tire rotation*Tires should be rotated every
7,500 miles (12,000 km).
Wheel alignment and balanceIf the ve-
hicle should pull to either side while driving
on a straight and level road, or if you detect
uneven or abnormal tire wear, there may be
a need for a wheel alignment.
If the steering wheel or seat vibrates at
normal highway speeds, wheel balancing
may be needed.
cFor additional information regarding tires,
refer to ``Important Tire Safety Informa-
tion'' in the Warranty Information Booklet
(US) or ``Tire Safety Information'' in the
Warranty and Roadside Assistance Infor-
mation booklet (Canada).
WindshieldClean the windshield on a
regular basis. Check the windshield at least
every six months for cracks or other dam-
age. Have a damaged windshield repairedby a qualified repair facility.
Windshield wiper blades*Check for
cracks or wear if they do not wipe properly.
Doors and hoodCheck that all doors and
the hood operate properly. Also ensure that
all latches lock securely. Lubricate hinges,
latches, rollers and links if necessary. Make
sure the secondary latch keeps the hood
from opening when the primary latch is
released.
When driving in areas using road salt or
other corrosive materials, check lubrication
frequently.
Lights*Clean the headlights on a regular
basis. Make sure the headlights, stop lights,
tail lights, turn signal lights, and other lights
are all operating properly and installed se-
curely. Also check headlight aim.
Inside the vehicle
The maintenance items listed here should
be checked on a regular basis, such as
when performing periodic maintenance,
cleaning the vehicle, etc.
Additional information on the following
items with an ``*'' is found later in this
section.
GENERAL MAINTENANCE
Maintenance and do-it-yourself8-3
ZX
Page 252 of 294
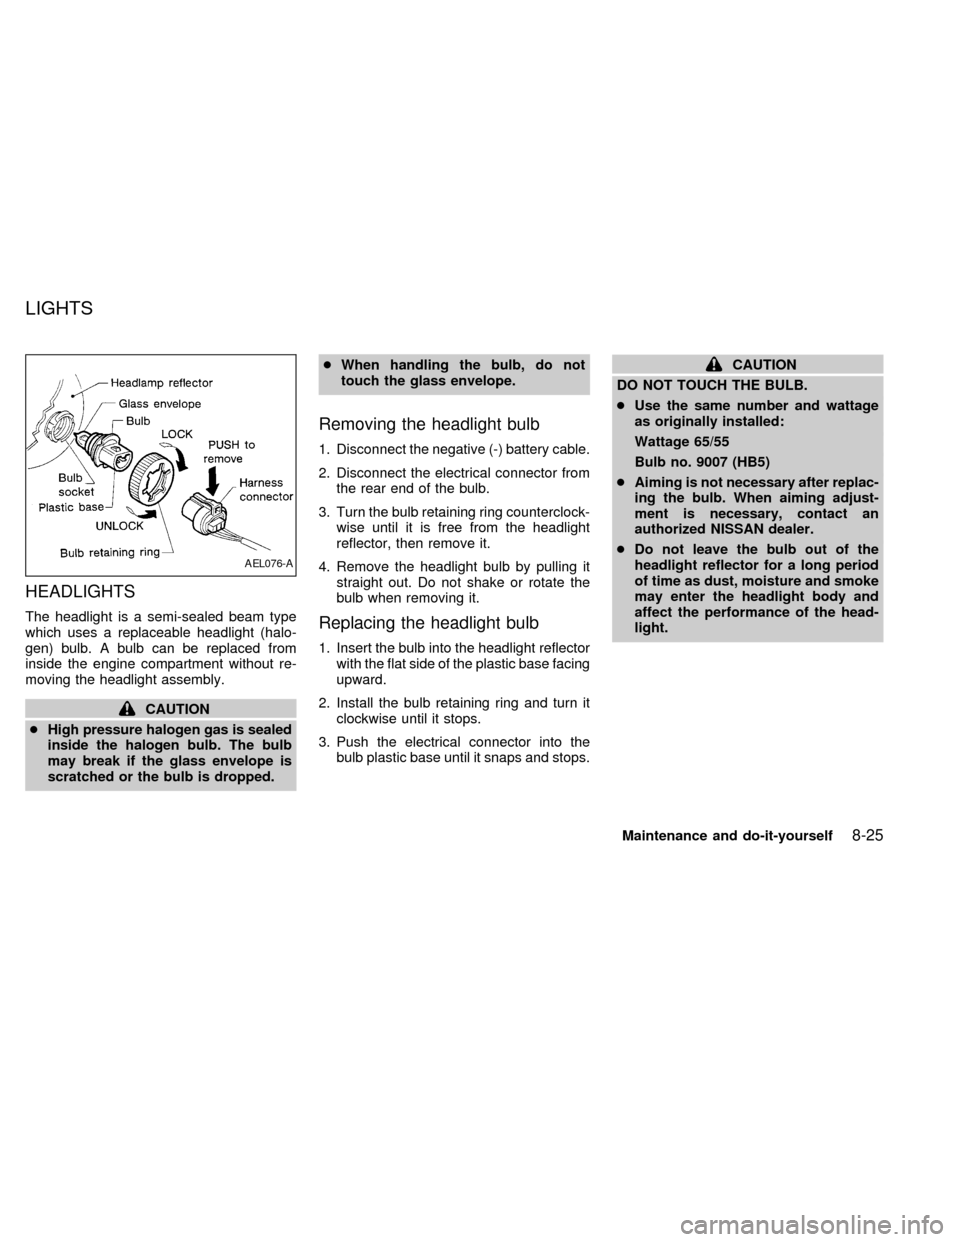
HEADLIGHTS
The headlight is a semi-sealed beam type
which uses a replaceable headlight (halo-
gen) bulb. A bulb can be replaced from
inside the engine compartment without re-
moving the headlight assembly.
CAUTION
cHigh pressure halogen gas is sealed
inside the halogen bulb. The bulb
may break if the glass envelope is
scratched or the bulb is dropped.cWhen handling the bulb, do not
touch the glass envelope.
Removing the headlight bulb
1. Disconnect the negative (-) battery cable.
2. Disconnect the electrical connector from
the rear end of the bulb.
3. Turn the bulb retaining ring counterclock-
wise until it is free from the headlight
reflector, then remove it.
4. Remove the headlight bulb by pulling it
straight out. Do not shake or rotate the
bulb when removing it.
Replacing the headlight bulb
1. Insert the bulb into the headlight reflector
with the flat side of the plastic base facing
upward.
2. Install the bulb retaining ring and turn it
clockwise until it stops.
3. Push the electrical connector into the
bulb plastic base until it snaps and stops.
CAUTION
DO NOT TOUCH THE BULB.
cUse the same number and wattage
as originally installed:
Wattage 65/55
Bulb no. 9007 (HB5)
cAiming is not necessary after replac-
ing the bulb. When aiming adjust-
ment is necessary, contact an
authorized NISSAN dealer.
cDo not leave the bulb out of the
headlight reflector for a long period
of time as dust, moisture and smoke
may enter the headlight body and
affect the performance of the head-
light.
AEL076-A
LIGHTS
Maintenance and do-it-yourself8-25
ZX