mirror NISSAN QUEST 2013 RE52 / 4.G Quick Reference Guide
[x] Cancel search | Manufacturer: NISSAN, Model Year: 2013, Model line: QUEST, Model: NISSAN QUEST 2013 RE52 / 4.GPages: 36, PDF Size: 2.79 MB
Page 3 of 36
TABLe Of cOnTenTS
New SYSTe M FeaTureS
Around ViewTM Monitor (if so equipped) ............................ 2
Blind Spot Warning (BSW) System (if so equipped) ................. 3
Advanced climate control System (if so equipped) .................. 4
e SS eNTIaL INFOr MaTION
Loose fuel cap . . . . . . . . . . . . . . . . . . . . . . . . . . . . . . . . . . . .\
. . . . . . . . . . . . 5
Tire Pressure Monitoring System (TPMS) with easy fill Tire Alert .......5
FI rST D rIVe Fea TureS
ni SSAn intelligent k ey
® System ................................. 7
Power Sliding door Release (if so equipped) ....................... 8
Power Liftgate Release (if so equipped) ............................9
front Power Seat Adjustments (if so equipped) ......................9
2nd Row Seat Adjustments ..................................... 10
f olding the 2nd Row Seats ..................................... 10
enter/ exit the 3rd Row Seats .................................... 10
3rd Row Seat Adjustments . . . . . . . . . . . . . . . . . . . . . . . . . . . . . . . . . . . .\
. 11
Automatic drive Positioner (if so equipped) ........................ 11
Outside Mirror control Switch ................................... 12
Starting/Stopping the engine .................................... 12
Headlight control Switch ....................................... 13
Windshield Wiper/Washer Switch ............................... 14
Automatic climate controls (if so equipped) ....................... 15
f M/AM/SiriusXM
TM Satellite Radio with cd/ dVd Player
(if so equipped) ............................................... 17
u SB/iPod
® interface (if so equipped) ............................. 18
cruise control ................................................ 18
Power Outlets ................................................ 19
fuel-filler door ............................................... 19
SYST eM GuIDe
Trip computer ................................................ 20
Bluetooth
® Hands-free Phone System (if so equipped) ...............20
System Operating Tips ...................................... 21
Bluetooth
® System with navigation (if so equipped) ..............21
Bluetooth® System without navigation (if so equipped) . . . . . . . . . . .23
navigation System (if so equipped) ...............................24
ni SSAn Mobile entertainment System (M eS) (if so equipped) ....... 26
HomeLink
® universal Transceiver (if so equipped) .................. 26
• A cellular telephone should not be used for any purpose while
driving so full attention may be given to vehicle operation.
• Always wear your seat belt.
• Supplemental air bags do not replace proper seat belt usage.
• Children 12 and under should always ride in the rear seat
properly secured in child restraints or seat belts according to
their age and weight.
• Do not drink and drive.
f or more information, refer to the “Safety –– Seats, seat belts and
supplemental restraint system (section 1)”, the “Monitor, heater, air
conditioner, audio, phone and voice recognition systems (section 4)”
and the “Starting and driving (section 5)” of your Owner’s Manual.
Additional information about your vehicle is also available in your Owner’s Manual, navigation System Owner’s Manual and at www.nissanusa.com.
To view detailed
instructional videos, go to
www.nissanownersinfo.mobi/2013/quest or snap this barcode with an appropriate barcode reader.
Page 5 of 36
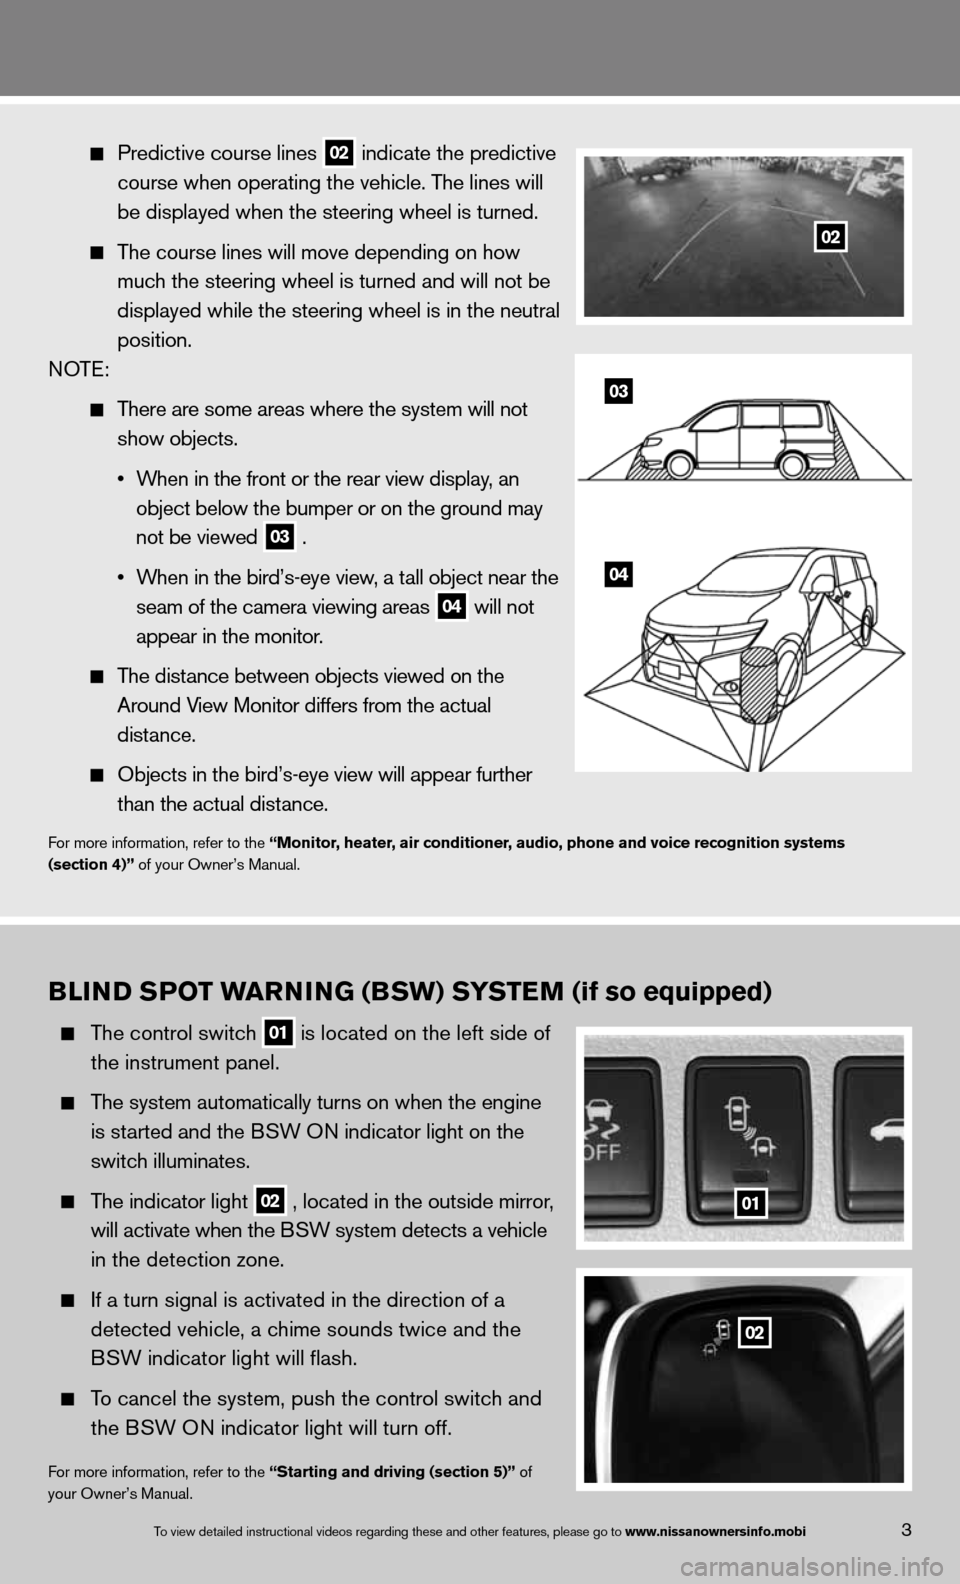
Predictive course lines
02 indicate the predictive
course when operating the vehicle. The lines will
be displayed when the steering wheel is turned.
The course lines will move depending on how
much the steering wheel is turned and will not be
displayed while the steering wheel is in the neutral
position.
n OTe:
There are some areas where the system will not
show objects.
• When in the front or the rear view display, an
object below the bumper or on the ground may
not be viewed
03 .
• When in the bird’s-eye view, a tall object near the
seam of the camera viewing areas
04 will not
appear in the monitor.
The distance between objects viewed on the
Around View Monitor differs from the actual
distance.
Objects in the bird’s-eye view will appear further
than the actual distance.
for more information, refer to the “Monitor, heater, air conditioner, audio, phone and voice recognition systems
(section 4)” of your Owner’s Manual.
03
04
B LIND S POT warNING (BSw) S YSTeM (if so equipped)
The control switch
01 is located on the left side of
the instrument panel.
The system automatically turns on when the engine
is started and the BSW O n indicator light
on the
switch illuminates.
The indicator light
02 , located in the outside mirror,
will activate when the BSW system detects a vehicle
in the detection zone.
if a turn signal is activated in the direction of a
detected vehicle, a chime sounds twice and the
BSW indicator light will flash.
To cancel the system, push the control switch and
the BSW O n indicator light will turn off.
for more information, refer to the “Starting and driving (section 5)” of
your Owner’s Manual.
01
02
3To view detailed in\fstructional videos\f regarding these a\fnd other features\f \fplease go to www.nissanownersin\Ifo.mobi
02
Page 13 of 36
3rD r Ow S eaT aDJ uSTM eNTS
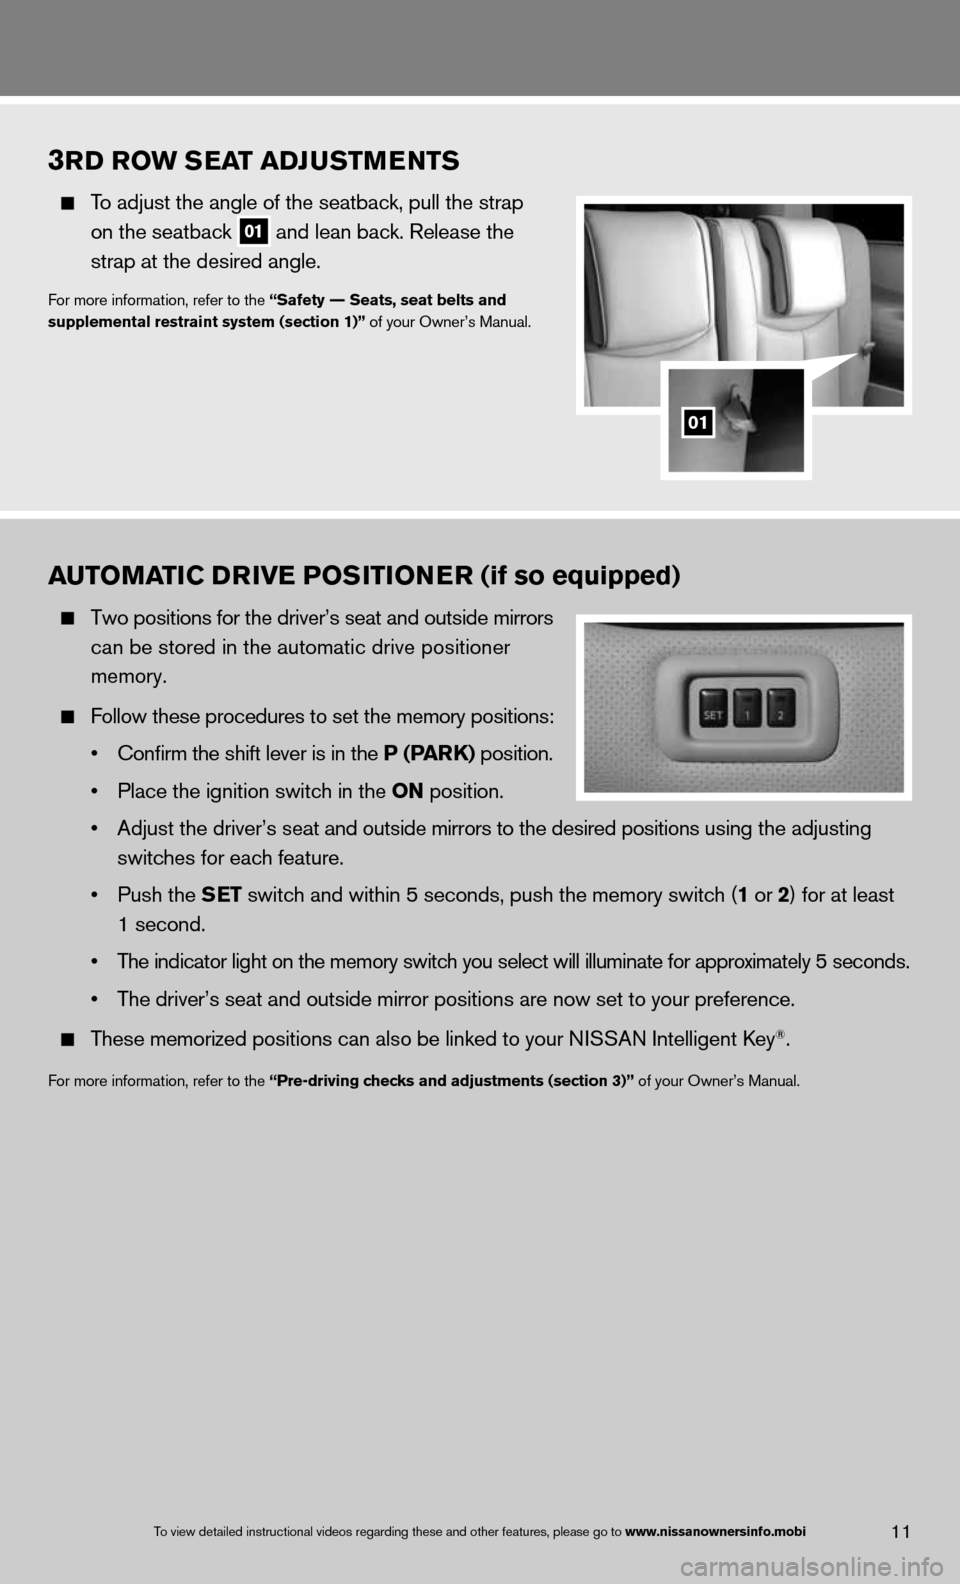
To adjust the angle of the seatback, pull the strap
on the seatback
01 and lean back. Release the
strap at the desired angle.
for more information, refer to the “Safety –– Seats, seat belts and
supplemental restraint system (section 1)” of your Owner’s Manual.
01
11To view detailed in\fstructional videos\f regarding these a\fnd other features\f \fplease go to www.nissanownersin\Ifo.mobi
auTOMa TIC DrIVe POSITION er (if so equipped)
Two positions for the driver’s seat and outside mirrors
can be stored in the automatic drive positioner
memory.
follow these procedures to set the memory positions:
• Confirm the shift lever is in the P (P arK) position.
• Place the ignition switch in the ON position.
• Adjust the driver’s seat and outside mirrors to the desired positions using the adjusting
switches for each feature.
• Push the S eT switch and within 5 seconds, push the memory switch (1 or 2) for at least
1 second.
• The indicator light on the memory switch you select will illuminate for approximately 5 seconds.
• The driver’s seat and outside mirror positions are now set to your preference.
These memorized positions can also be linked to your ni SSAn intelligent key®.
for more information, refer to the “Pre-driving checks and adjustments (section 3)” of your Owner’s Manual.
Page 14 of 36
OuTSIDe MIrrOr CONTr OL SwITCH
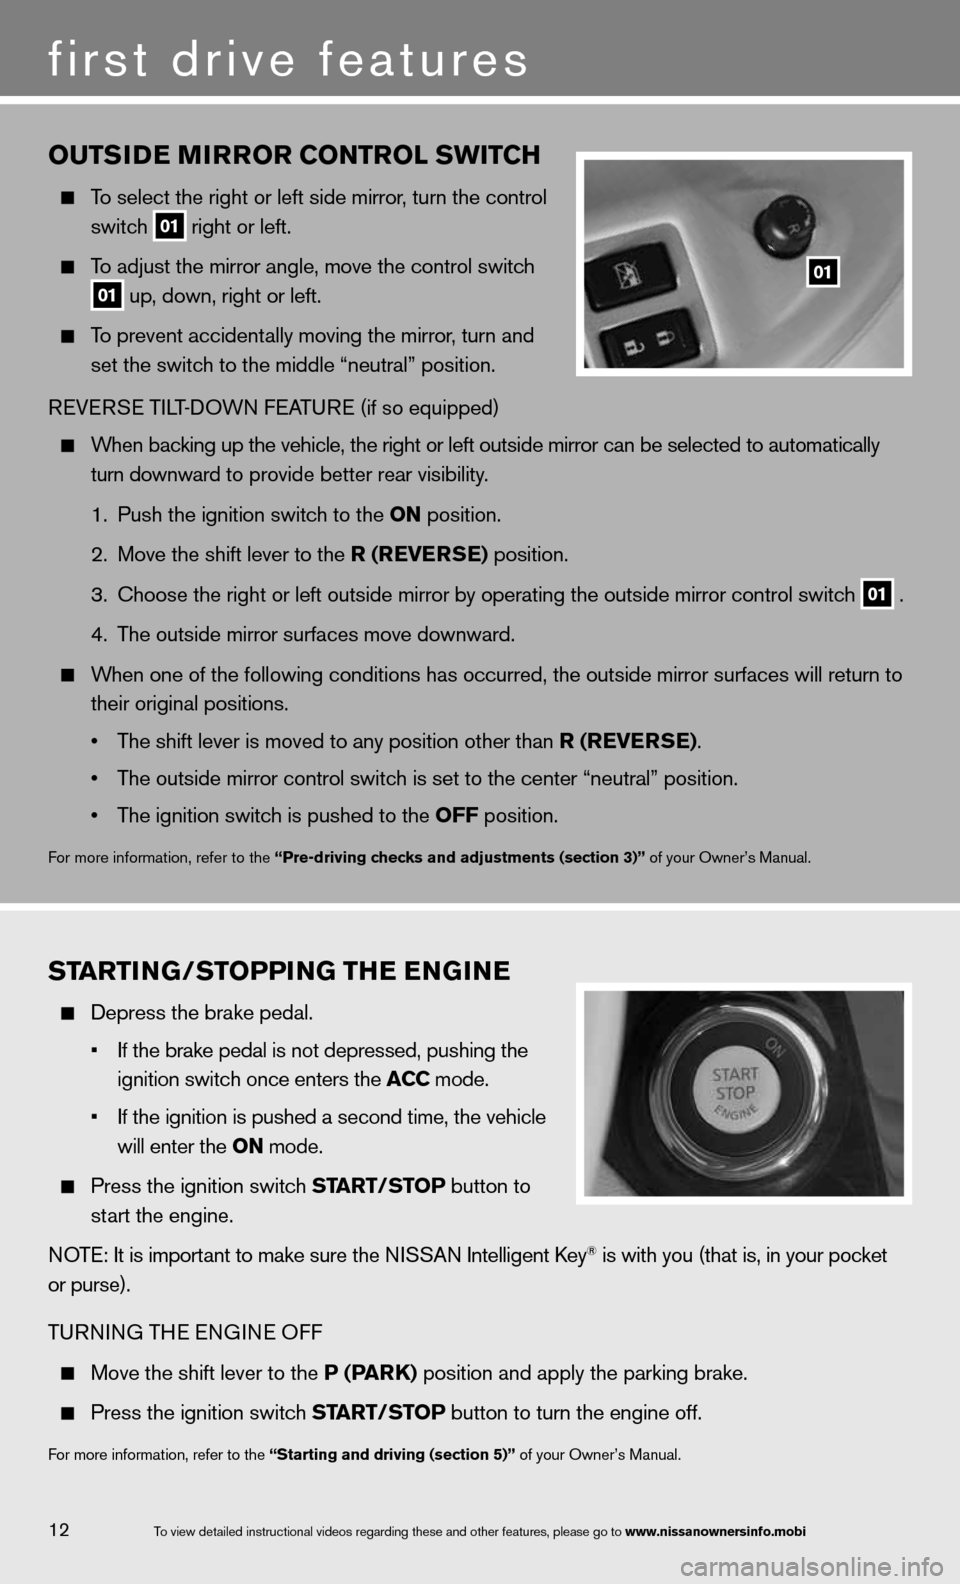
To select the right or left side mirror , turn the control
switch
01 right or left.
To adjust the mirror angle, move the control switch
01 up, down, right or left.
To prevent accidentally moving the mirror, turn and
set the switch to the middle “neutral” position.
R eVe RSe Ti LT-d OWn feATu Re (if so equipped)
When backing up the vehicle, the right or left outside mirror can be selected to\
automatically
turn downward to provide better rear visibility.
1. Push the ignition switch to the ON position.
2. Move the shift lever to the r (reVer Se) position.
3. choose the right or left outside mirror by operating the outside mirror c\
ontrol switch
01 .
4. The outside mirror surfaces move downward.
When one of the following conditions has occurred, the outside mirror sur\
faces will return to
their original positions.
• The shift lever is moved to any position other than r (reVer Se).
• The outside mirror control switch is set to the center “neutral” position.
• The ignition switch is pushed to the OFF position.
for more information, refer to the “Pre-driving checks and adjustments (section 3)” of your Owner’s Manual.
01
ST arTING/STOPPING TH e eNGIN e
depress the brake pedal.
• If the \brake pedal i\fs not depressed\f pu\fshing the
ignition switch on\fce enters the ACC mode.
• If the ignition is \fpushed a second ti\fme\f the vehicle
will enter the ON mode.
Press the ignition switch ST arT/STOP button to
start the engine.
n OTe: it is important to make sure the ni SSAn intelligent key
® is with you (that is, in your pocket
or purse).
T uRnin G THe enGine Off
Move the shift lever to the P (P arK) position and apply the parking brake.
Press the ignition switch ST arT/STOP button to turn the engine off.
for more information, refer to the “Starting and driving (section 5)” of your Owner’s Manual.
12
first drive features
To view detailed in\fstructional videos\f regarding these a\fnd other features\f \fplease go to www.nissanownersin\Ifo.mobi
Page 22 of 36
07 aI
r re CIrCu LaTION B uTTON
Press the air recirculation button to recirculate interior air inside the vehicle. The
indicator light on the button will illuminate. This system is used to avoid certain outside
odors and helps to adjust the inside vehicle temperature more effectivel\
y.
The air recirculation mode cannot be activated when the air conditioner i\
s in the front
defrosting mode
FRONT .
08 auTO-re
CIrCu LaTION B uTTON
Press the auto-recirculation button
to switch to the automatic air intake control
mode. The indicator light on the button will illuminate.
in this mode, the sensor detects certain odors and gasses to automatically switch
between the air recirculation mode and the outside air circulation mode.\
The auto-air recirculation mode cannot be activated when the air flow c\
ontrol mode is in
the front defrosting mode
FRONT .
09 D
eFr OSTING/D eFOGGING Fr ONT aND SID e wINDOwS
Press the front defroster control button
FRONT to turn the system on. The A/c
automatically turns on when the defroster mode is selected. This feature removes humidity
from the air.
Press the temperature control buttons
or
to set the desired temperature.
To defrost the front and side windows quickly, set the temperature controls and fan speed
controls to their maximum settings.
10 D
eFr OSTING rear wINDO w aND OuTSIDe MIrrOr S
Push the rear window defroster switch
REAR to turn the system on or off.
This function automatically turns off after approximately 15 minutes.
11 a/C B
uTTON
Press the a/C button to turn the air conditioner system on or off. This system helps cool
and dehumidify the air inside the cabin and defog the windows.
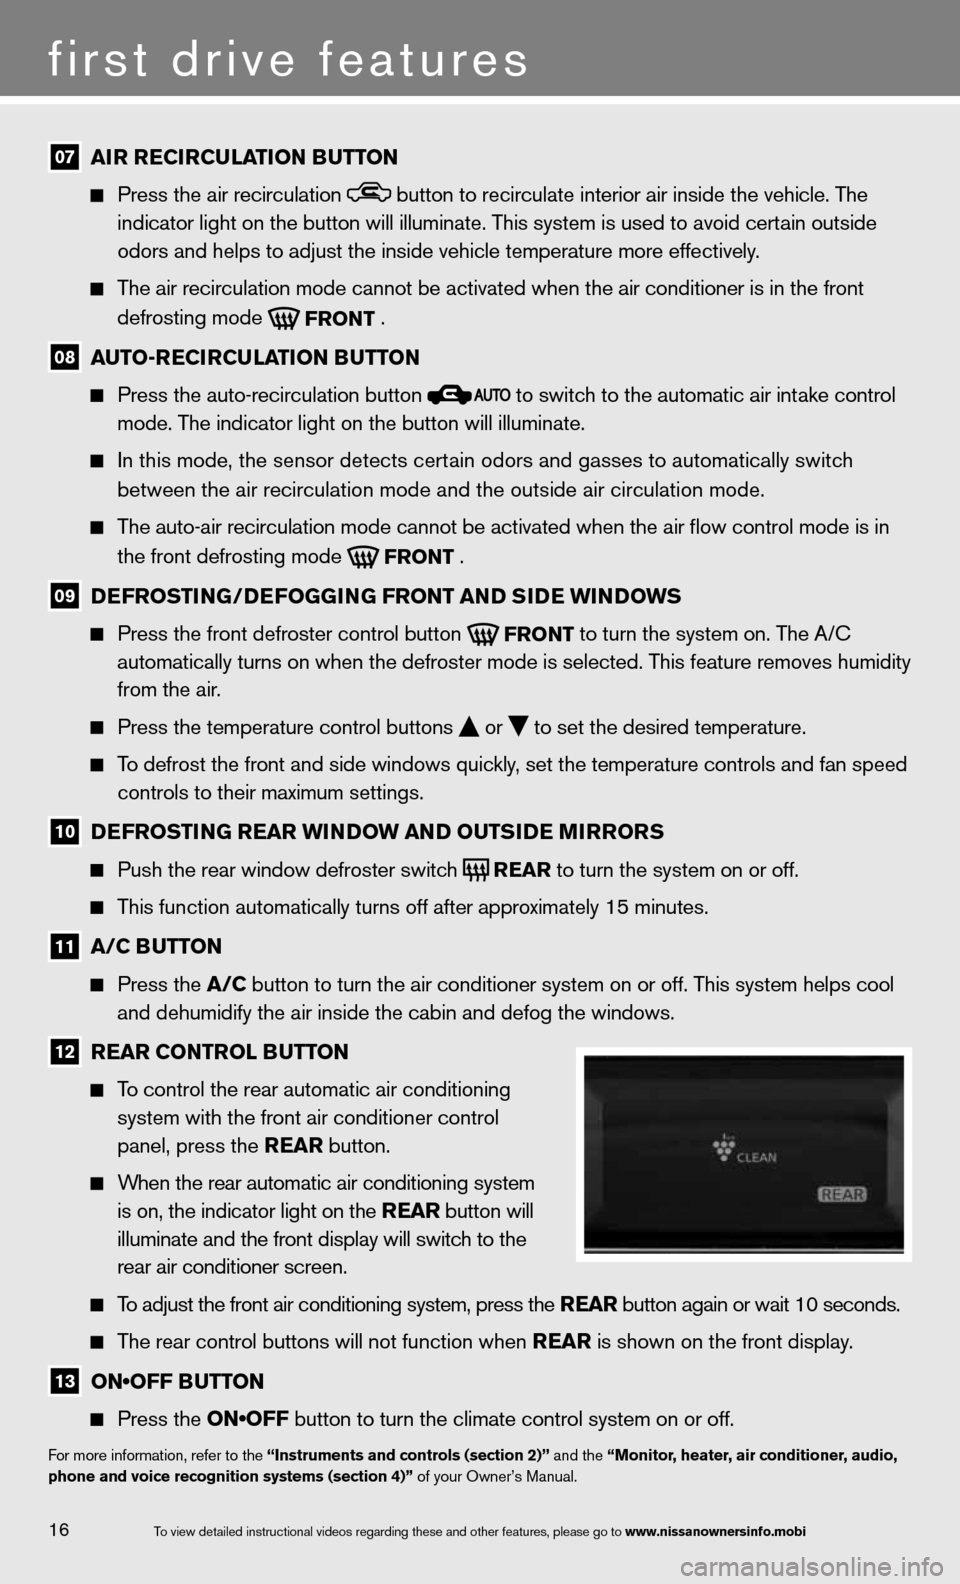
12 rear CONTr
OL BuTTON
To control the rear automatic air conditioning
system with the front air conditioner control
panel, press the rear button.
When the rear automatic air conditioning system
is on, the indicator light on the rear button will
illuminate and the front display will switch to the
rear air conditioner screen.
To adjust the front air conditioning system, press the rear button again or wait 10 seconds.
The rear control buttons will not function when rear is shown on the front display.
13 ON•OFF BUTTON
Press the ON•OFF button to turn the climate control system on or off.
for more information, refer to the “Instruments and controls (section 2)” and the “Monitor, heater, air conditioner, audio,
phone and voice recognition systems (section 4)” of your Owner’s Manual.
16
first drive features
To view detailed in\fstructional videos\f regarding these a\fnd other features\f \fplease go to www.nissanownersin\Ifo.mobi