light NISSAN QUEST 2014 RE52 / 4.G Quick Reference Guide
[x] Cancel search | Manufacturer: NISSAN, Model Year: 2014, Model line: QUEST, Model: NISSAN QUEST 2014 RE52 / 4.GPages: 32, PDF Size: 1.9 MB
Page 21 of 32

19To view detailed instructional videos regarding these and other features, please go\
to www.nissanownersinfo.mobi
POwer OuTLeTS
To use a power outlet, open the cap.
Use power outlets with the engine running to avoid discharging the vehicle’s battery.
12 VOLT OUTLETS
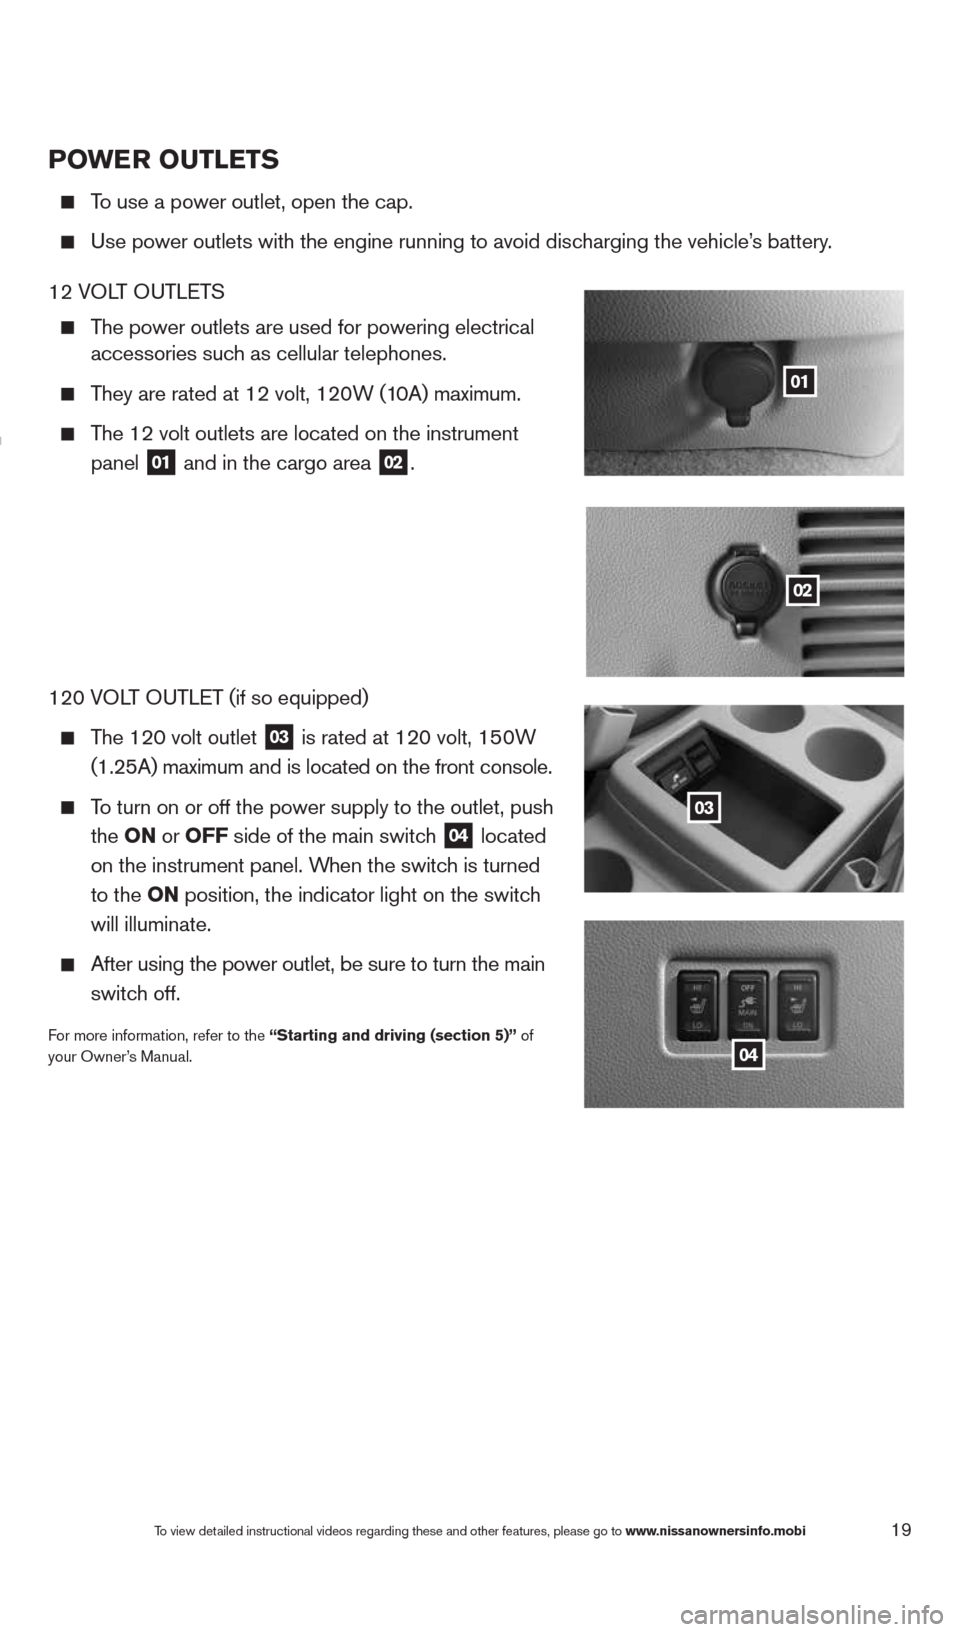
The power outlets are used for powering electrical
accessories such as cellular telephones.
They are rated at 12 volt, 120W (10A) maximum.
The 12 volt outlets are located on the instrument
panel
01 and in the cargo area 02.
120 VOLT OUTLET (if so equipped)
The 120 volt outlet
03 is rated at 120 volt, 150W
(1.25A) maximum and is located on the front console.
To turn on or off the power supply to the outlet, push
the ON or OFF side of the main switch
04 located
on the instrument panel. When the switch is turned
to the ON position, the indicator light
on the switch
will illuminate.
After using the power outlet, be sure to turn the main
switch off.
For more information, refer to the “Starting and driving (section 5)” of
your Owner’s Manual.
01
02
03
04
1490690_14_Quest_QRG_072513.indd 197/25/13 9:24 AM
Page 27 of 32

25
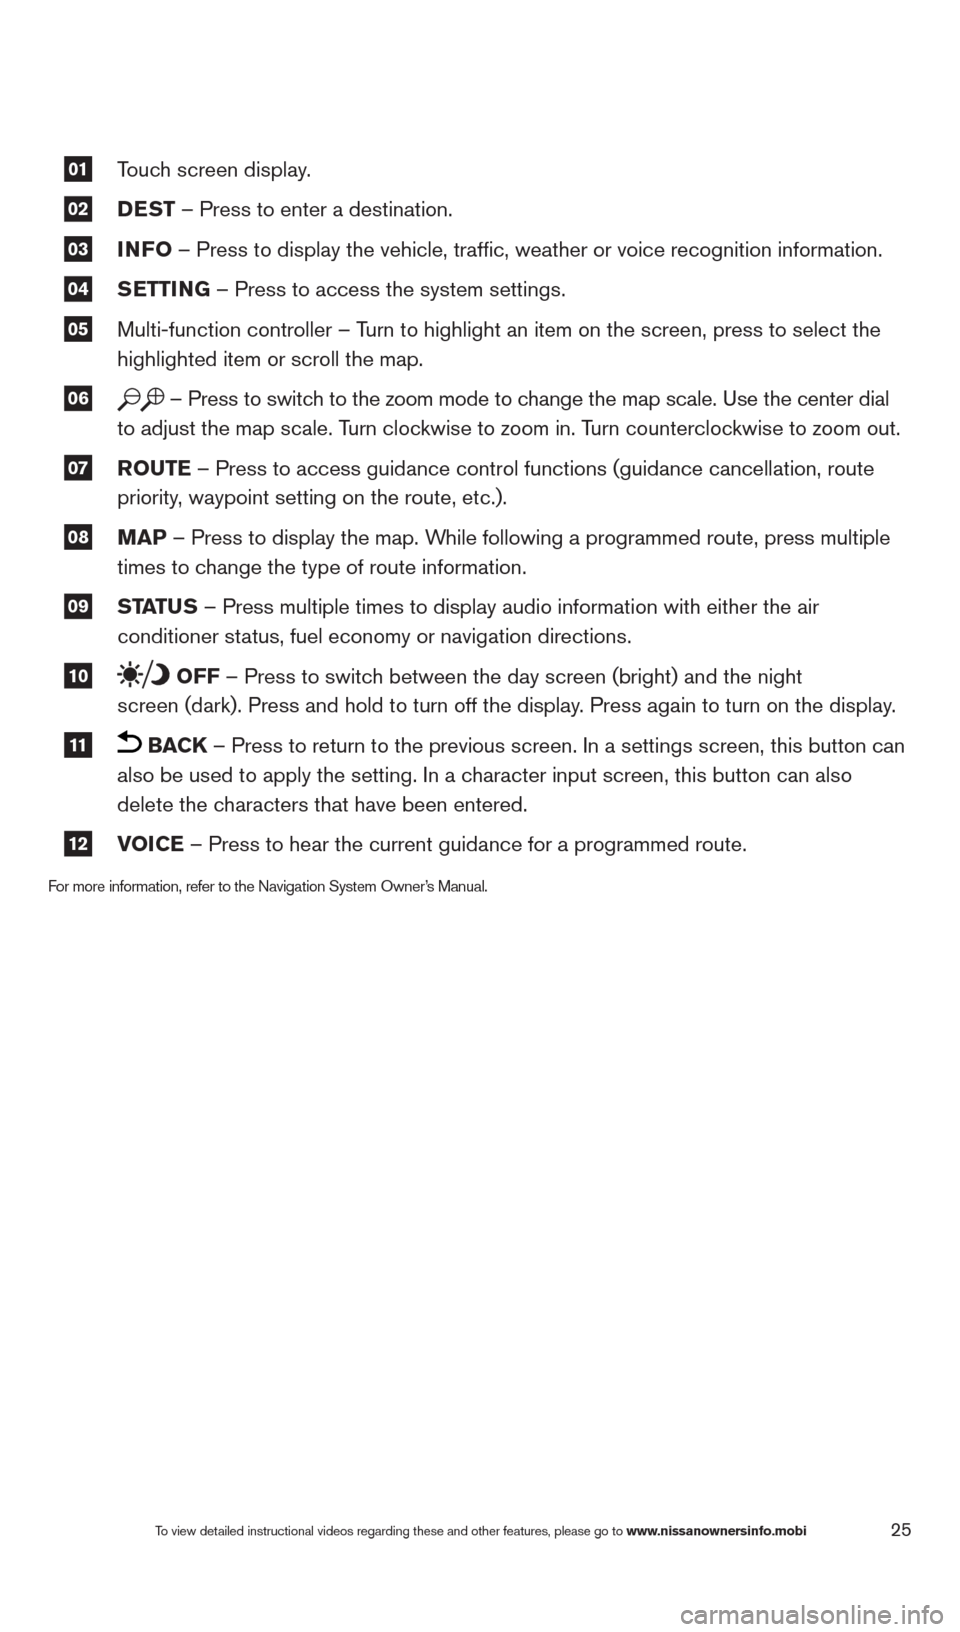
01 Touch screen display.
02 DeST
– Press to enter a destination.
03 INFO
– Press to display the vehicle, traffic, weather or voice recognit\
ion information.
04 S
eTTING – Press to access the system settings.
05 Multi-function controller – Turn to highlight an item on the screen, press to select the
highlighted item or scroll the map.
06 – Press to switch to the zoom mode to change the map scale. Use the center dial
to adjust the map scale. Turn clockwise to zoom in. Turn counterclockwise to zoom out.
07 r
OuTe – Press to access guidance control functions (guidance cancellation\
, route
priority, waypoint setting on the route, etc.).
08 MaP – Press to display the map. While following a programmed route, press multiple
times to change the type of route information.
09 ST
aTu S – Press multiple times to display audio information with either the \
air
conditioner status, fuel economy or navigation directions.
10 OFF – Press to switch between the day screen (bright) and the night
screen (dark). Press and hold to turn off the display. Press again to turn on the display.
11 BaCK – Press to return to the previous screen. In a settings screen, this\
button can
also be used to apply the setting. In a character input screen, this button can also
delete the characters that have been entered.
12 VOICe – Press to hear the current guidance for a programmed route.
For more information, refer to the Navigation System Owner’s Manual.
To view detailed instructional videos regarding these and other features, please go\
to www.nissanownersinfo.mobi
1490690_14_Quest_QRG_072513.indd 257/25/13 9:24 AM
Page 29 of 32

27
HOMeLINK® uNIVer SaL TraNSCe IVer (if so equipped)
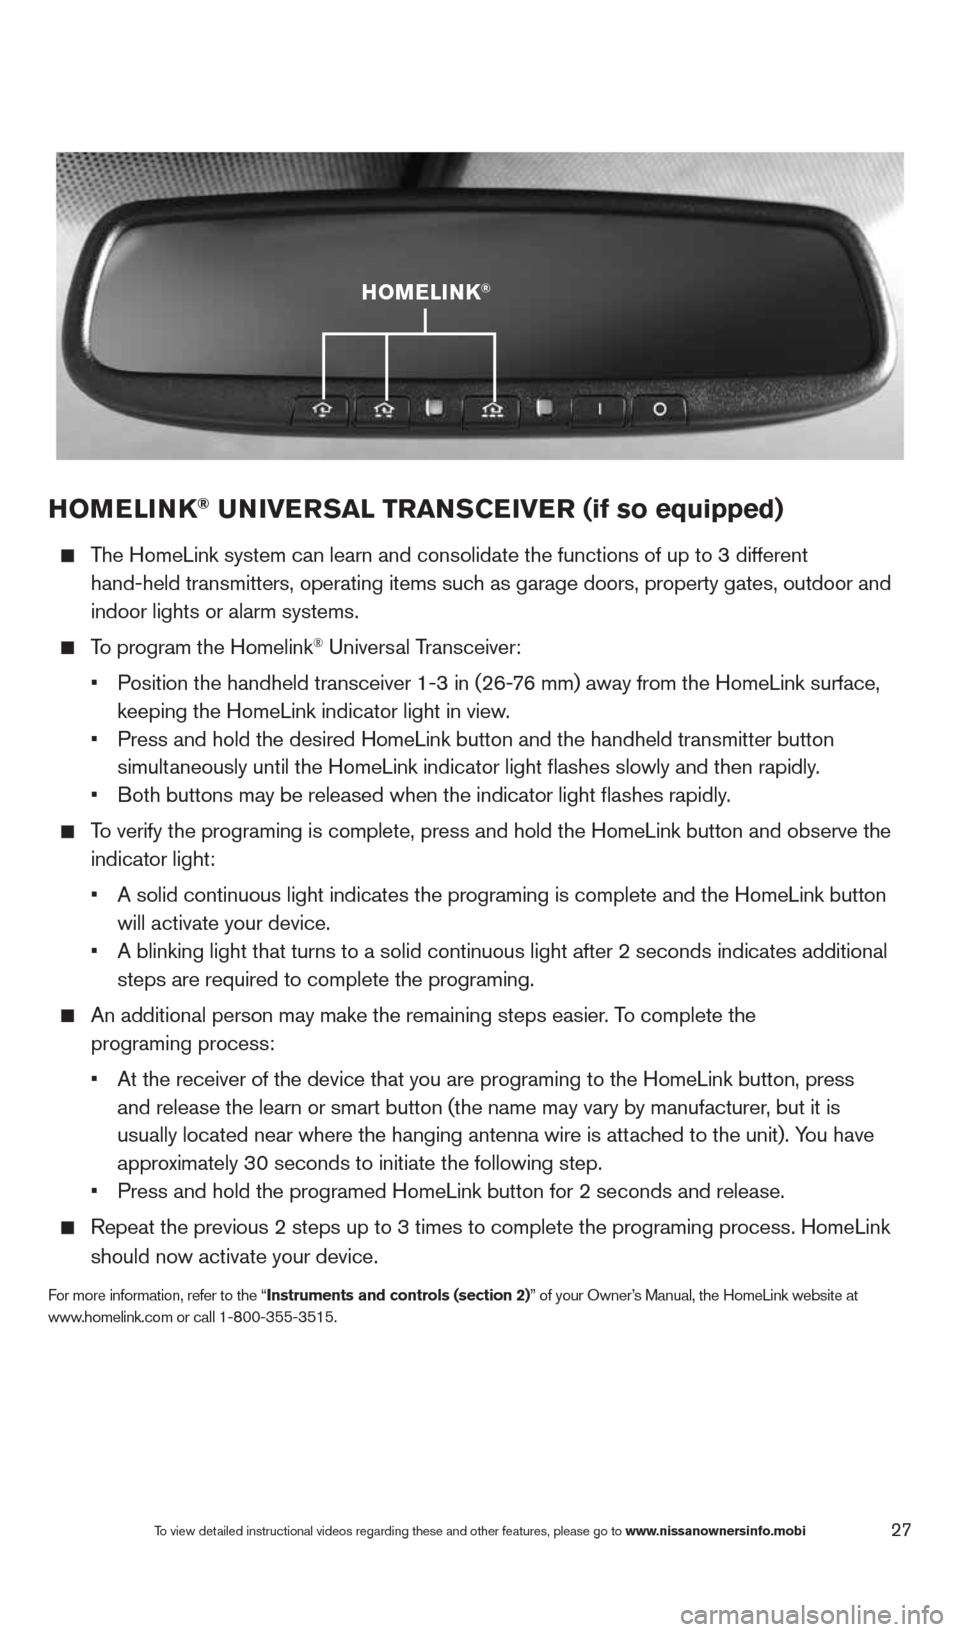
The HomeLink system can learn and consolidate the functions of up to 3 di\
fferent
hand-held transmitters, operating items such as garage doors, property gates, outdoor and
indoor lights or alarm systems.
To program the Homelink® Universal Transceiver:
• Position the handheld transceiver 1-3 in (26-76 mm) away from the HomeLink surface,
keeping the HomeLink indicator light in view.
• Press and hold the desired HomeLink button and the handheld transmitter \
button
simultaneously until the HomeLink indicator light flashes slowly and then ra\
pidly.
• Both buttons may be released when the indicator light flashes rapidly.
To verify the programing is complete, press and hold the HomeLink button \
and observe the
indicator light:
• A solid continuous light indicates the programing is complete and the Ho\
meLink button
will activate your device.
• A blinking light that turns to a solid continuous light after 2 seconds \
indicates additional
steps are required to complete the programing.
An additional person may make the remaining steps easier. To complete the
programing process:
• At the receiver of the device that you are programing to the HomeLink bu\
tton, press
and release the learn or smart button (the name may vary by manufacture\
r, but it is
usually located near where the hanging antenna wire is attached to the unit). You have
approximately 30 seconds to initiate the following step.
• Press and hold the programed HomeLink button for 2 seconds and release.
Repeat the previous 2 steps up to 3 times to complete the programing pro\
cess. HomeLink
should now activate your device.
For more information, refer to the “Instruments and controls (section 2)” of your Owner’s Manual, the HomeLink website at
www.homelink.com or call 1-800-355-3515.
HOMeLINK®
To view detailed instructional videos regarding these and other features, please go\
to www.nissanownersinfo.mobi
1490690_14_Quest_QRG_072513.indd 277/25/13 9:24 AM