traction control NISSAN QUEST 2017 RE52 / 4.G Owners Manual
[x] Cancel search | Manufacturer: NISSAN, Model Year: 2017, Model line: QUEST, Model: NISSAN QUEST 2017 RE52 / 4.GPages: 520, PDF Size: 2.5 MB
Page 103 of 520
2-16Instruments and controls
If any of the following conditions occur, the front
air bag, side air bag, curtain air bag and
pretensioner systems needs servicing.
.The supplemental air bag warning light
remains on after approximately 7 seconds.
. The supplemental air bag warning light
flashes intermittently.
. The supplemental air bag warning light does
not come on at all.
It is recommended you visit a NISSAN dealer for
these services.
Unless checked and repaired, the Supplemental
Restraint Systems (air bag systems) and/or the
pretensioners may not function properly.
For additional information, see “Supplemental
restraint system” (P.1-48) .
WARNING
If the supplemental air bag warning
light is on, it could mean that the front
air bag, side air bag, curtain air bag
and/or pretensioner systems will not
operate in an accident. To help avoid
injury to yourself or others, have your
vehicle checked. It is recommended you
visit a NISSAN dealer for this service.
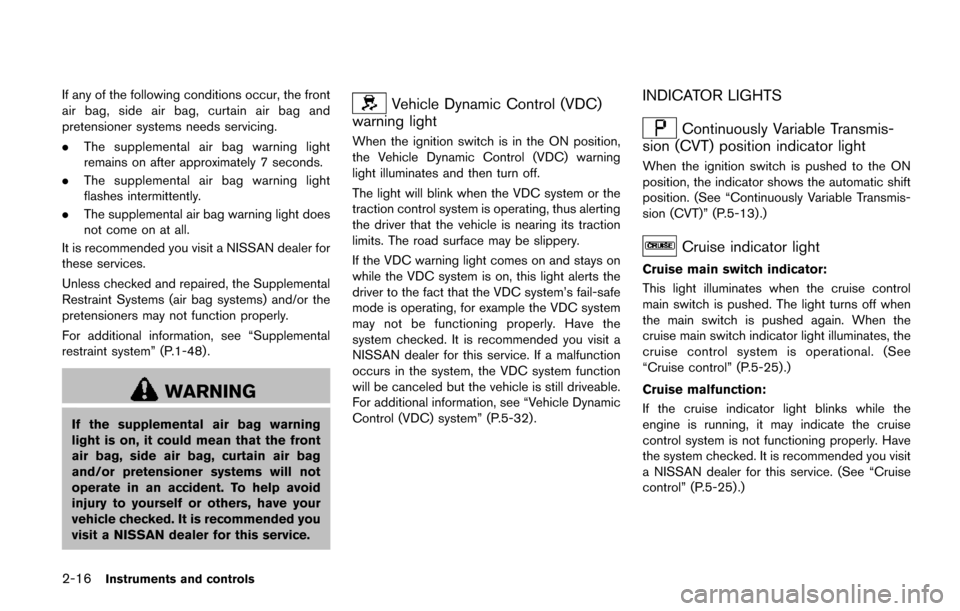
Vehicle Dynamic Control (VDC)
warning light
When the ignition switch is in the ON position,
the Vehicle Dynamic Control (VDC) warning
light illuminates and then turn off.
The light will blink when the VDC system or the
traction control system is operating, thus alerting
the driver that the vehicle is nearing its traction
limits. The road surface may be slippery.
If the VDC warning light comes on and stays on
while the VDC system is on, this light alerts the
driver to the fact that the VDC system’s fail-safe
mode is operating, for example the VDC system
may not be functioning properly. Have the
system checked. It is recommended you visit a
NISSAN dealer for this service. If a malfunction
occurs in the system, the VDC system function
will be canceled but the vehicle is still driveable.
For additional information, see “Vehicle Dynamic
Control (VDC) system” (P.5-32).
INDICATOR LIGHTS
Continuously Variable Transmis-
sion (CVT) position indicator light
When the ignition switch is pushed to the ON
position, the indicator shows the automatic shift
position. (See “Continuously Variable Transmis-
sion (CVT)” (P.5-13) .)
Cruise indicator light
Cruise main switch indicator:
This light illuminates when the cruise control
main switch is pushed. The light turns off when
the main switch is pushed again. When the
cruise main switch indicator light illuminates, the
cruise control system is operational. (See
“Cruise control” (P.5-25).)
Cruise malfunction:
If the cruise indicator light blinks while the
engine is running, it may indicate the cruise
control system is not functioning properly. Have
the system checked. It is recommended you visit
a NISSAN dealer for this service. (See “Cruise
control” (P.5-25) .)
Page 105 of 520
2-18Instruments and controls
CAUTION
Continued vehicle operation without
having the emission control system
and/or CVT system checked and re-
paired as necessary could lead to poor
driveability, reduced fuel economy, and
possible damage to the emission con-
trol system.
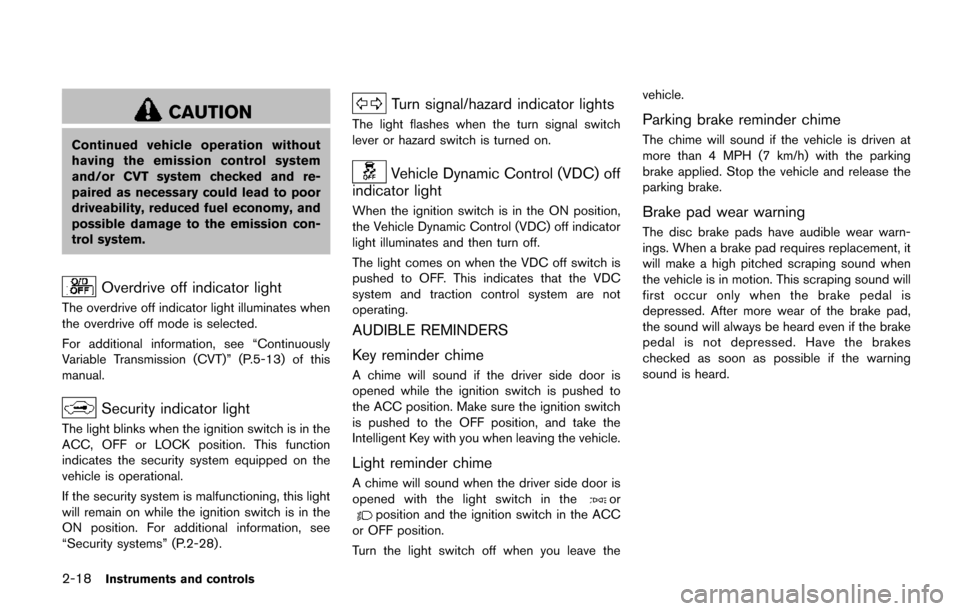
Overdrive off indicator light
The overdrive off indicator light illuminates when
the overdrive off mode is selected.
For additional information, see “Continuously
Variable Transmission (CVT)” (P.5-13) of this
manual.
Security indicator light
The light blinks when the ignition switch is in the
ACC, OFF or LOCK position. This function
indicates the security system equipped on the
vehicle is operational.
If the security system is malfunctioning, this light
will remain on while the ignition switch is in the
ON position. For additional information, see
“Security systems” (P.2-28) .
Turn signal/hazard indicator lights
The light flashes when the turn signal switch
lever or hazard switch is turned on.
Vehicle Dynamic Control (VDC) off
indicator light
When the ignition switch is in the ON position,
the Vehicle Dynamic Control (VDC) off indicator
light illuminates and then turn off.
The light comes on when the VDC off switch is
pushed to OFF. This indicates that the VDC
system and traction control system are not
operating.
AUDIBLE REMINDERS
Key reminder chime
A chime will sound if the driver side door is
opened while the ignition switch is pushed to
the ACC position. Make sure the ignition switch
is pushed to the OFF position, and take the
Intelligent Key with you when leaving the vehicle.
Light reminder chime
A chime will sound when the driver side door is
opened with the light switch in theorposition and the ignition switch in the ACC
or OFF position.
Turn the light switch off when you leave the vehicle.
Parking brake reminder chime
The chime will sound if the vehicle is driven at
more than 4 MPH (7 km/h) with the parking
brake applied. Stop the vehicle and release the
parking brake.
Brake pad wear warning
The disc brake pads have audible wear warn-
ings. When a brake pad requires replacement, it
will make a high pitched scraping sound when
the vehicle is in motion. This scraping sound will
first occur only when the brake pedal is
depressed. After more wear of the brake pad,
the sound will always be heard even if the brake
pedal is not depressed. Have the brakes
checked as soon as possible if the warning
sound is heard.
Page 254 of 520
.DTS and DTS 2.0 “” are registered
trademarks of DTS, Inc.
Parental level (parental control):
DVDs with the parental control setting can be
played with this system. Please use your own
judgement to set the parental control with the
system.
Disc selection:
The following disc formats can be played with
the DVD drive.
. DVD-VIDEO
. VIDEO-CD
. CD-DA (Conventional Compact Disc)
. DTS-CD (models with navigation system)
USB (Universal Serial Bus) Connection
Port (if so equipped)
WARNING
Do not connect, disconnect or operate
the USB device while driving. Doing so
can be a distraction. If distracted you
could lose control of your vehicle and
cause an accident or serious injury.
CAUTION
.Do not force the USB device into the
USB port. Inserting the USB device
tilted or up-side-down into the port
may damage the port. Make sure
that the USB device is connected
correctly into the USB port.
. Do not grab the USB port cover (if
so equipped) when pulling the USB
device out of the port. This could
damage the port and the cover.
. Do not leave the USB cable in a
place where it can be pulled unin-
tentionally. Pulling the cable may
damage the port.
The vehicle is not equipped with a USB device.
USB devices should be purchased separately
as necessary.
This system cannot be used to format USB
devices. To format a USB device, use a personal
computer.
In some states/area, the USB device for the
front seats plays only sound without images for
regulatory reasons, even when the vehicle is
parked.
This system supports various USB memory devices, USB hard drives and iPod
�Šplayers.
Some USB devices may not be supported by
this system.
. Partitioned USB devices may not be played
correctly.
. Some characters used in other languages
(Chinese, Japanese, etc.) are not displayed
properly on display. Using English language
characters with a USB device is recom-
mended.
General notes for USB use:
Refer to your device manufacturer’s owner
information regarding the proper use and care
of the device.
Notes for iPod
�Šuse:
“Made for iPod�Š”, “Made for iPhone�Š”, and
“Made for iPad�Š” mean that an electronic
accessory has been designed to connect
specifically to iPod
�Š, iPhone�Š, or iPad�Š, respec-
tively, and has been certified by the developer to
meet Apple performance standards.
Apple is not responsible for the operation of this
device or its compliance with safety and
regulatory standards.
Please note that the use of this accessory with
iPod
�Š, iPhone�Š, or iPad�Šmay affect wireless
performance.
iPad
�Š, iPhone�Š,iPod�Š, iPod classic�Š,iPod
Monitor, heater, air conditioner, audio, phone and voice recognition systems4-65
Page 270 of 520
If the CD comes out and is not removed, it
will be pulled back into the slot to protect
it.
USB (Universal Serial Bus) connection
port
WARNING
Do not connect, disconnect or operate
the USB device while driving. Doing so
can be a distraction. If distracted you
could lose control of your vehicle and
cause an accident or serious injury.
CAUTION
.Do not force the USB device into the
USB port. Inserting the USB device
tilted or up-side-down into the port
may damage the port. Make sure
that the USB device is connected
correctly into the USB port.
. Do not grab the USB port cover (if
so equipped) when pulling the USB
device out of the port. This could
damage the port and the cover. .
Do not leave the USB cable in a
place where it can be pulled unin-
tentionally. Pulling the cable may
damage the port.
Refer to your device manufacturer’s owner
information regarding the proper use and care
of the device.
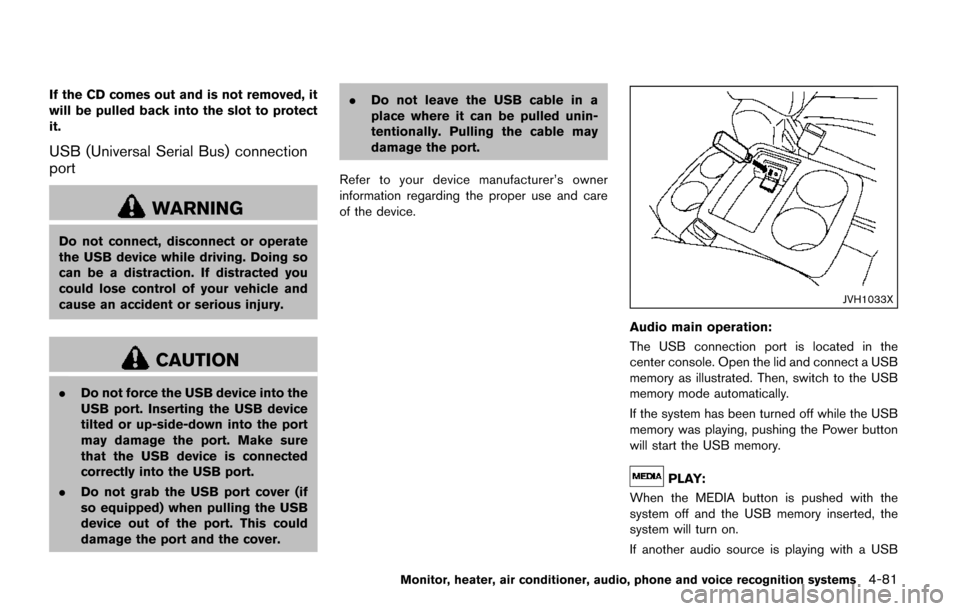
JVH1033X
Audio main operation:
The USB connection port is located in the
center console. Open the lid and connect a USB
memory as illustrated. Then, switch to the USB
memory mode automatically.
If the system has been turned off while the USB
memory was playing, pushing the Power button
will start the USB memory.
PLAY:
When the MEDIA button is pushed with the
system off and the USB memory inserted, the
system will turn on.
If another audio source is playing with a USB
Monitor, heater, air conditioner, audio, phone and voice recognition systems4-81
Page 271 of 520
4-82Monitor, heater, air conditioner, audio, phone and voice recognition systems
device inserted, push the MEDIA button repeat-
edly until the center display changes to the USB
memory mode.
Next/Previous Track and Fast
Forward/Rewind:
When the FF or REW button is pushed for more
than 1.5 seconds while a USB memory is being
played, the USB memory will play while for-
warding or rewinding. When the button is
released, the USB memory will return to normal
play speed.
When the FF or REW button is pushed for less
than 1.5 seconds while the USB memory is
being played, the next track or the beginning of
the current track on the USB memory will be
played.
Folder selection:
To change to another folder in the USB memory,
choose a folder displayed on the screen using
the TUNE·SCROLL knob.
REPEAT (RPT):
When the RPT button is pushed while the USB
memory is played, the play pattern can be
change as follows.
To change the play mode, push the RPT button
repeatedly and the mode will change as follows. (Normal)
?1 Folder Repeat ?1 Track Repeat
? (Normal)
RANDOM (RDM):
When the RDM button is pushed while a USB
memory is being played, the play pattern can be
changed as follows.
To change the play mode, push the RDM button
repeatedly, and the mode will change as follows.
(Normal) ?All Random ?1 Folder Random ?
(Normal)
BACK button:
When the BACK button is pushed, it returns to
the previous display.
iPod�Šplayer operation
WARNING
Do not connect, disconnect or operate
the USB device while driving. Doing so
can be a distraction. If distracted you
could lose control of your vehicle and
cause an accident or serious injury.
CAUTION
. Do not force the USB device into the
USB port. Inserting the USB device
tilted or up-side-down into the port
may damage the port. Make sure
that the USB device is connected
correctly into the USB port.
. Do not grab the USB port cover (if
so equipped) when pulling the USB
device out of the port. This could
damage the port and the cover.
. Do not leave the USB cable in a
place where it can be pulled unin-
tentionally. Pulling the cable may
damage the port.
Refer to your device manufacturer’s owner
information regarding the proper use and care
of the device.
Page 280 of 520
When theorbutton is pushed for less
than 1.5 seconds while the CD is being played,
the next track or the beginning of the current
track on the CD will be played.
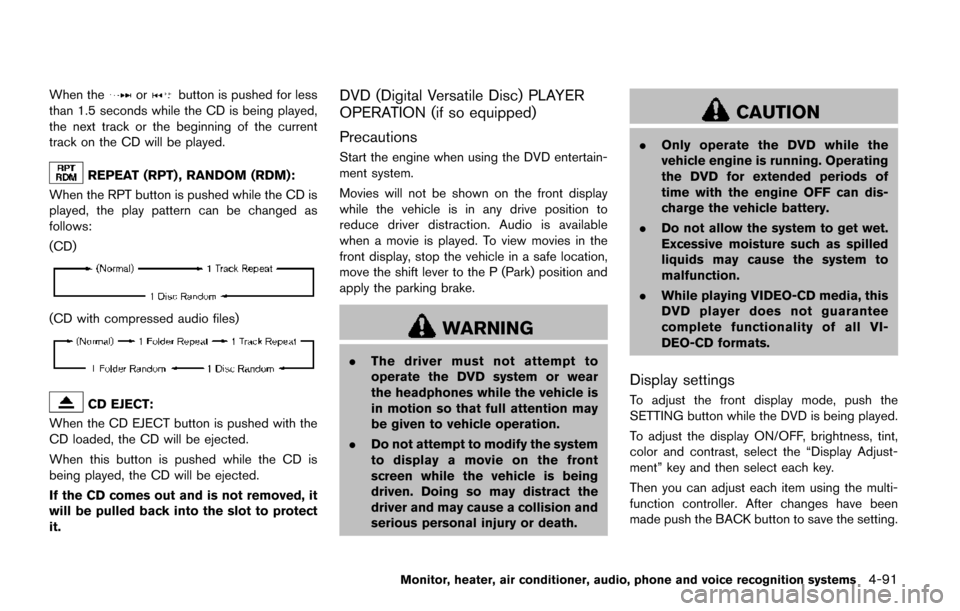
REPEAT (RPT) , RANDOM (RDM):
When the RPT button is pushed while the CD is
played, the play pattern can be changed as
follows:
(CD)
(CD with compressed audio files)
CD EJECT:
When the CD EJECT button is pushed with the
CD loaded, the CD will be ejected.
When this button is pushed while the CD is
being played, the CD will be ejected.
If the CD comes out and is not removed, it
will be pulled back into the slot to protect
it.
DVD (Digital Versatile Disc) PLAYER
OPERATION (if so equipped)
Precautions
Start the engine when using the DVD entertain-
ment system.
Movies will not be shown on the front display
while the vehicle is in any drive position to
reduce driver distraction. Audio is available
when a movie is played. To view movies in the
front display, stop the vehicle in a safe location,
move the shift lever to the P (Park) position and
apply the parking brake.
WARNING
. The driver must not attempt to
operate the DVD system or wear
the headphones while the vehicle is
in motion so that full attention may
be given to vehicle operation.
. Do not attempt to modify the system
to display a movie on the front
screen while the vehicle is being
driven. Doing so may distract the
driver and may cause a collision and
serious personal injury or death.
CAUTION
.Only operate the DVD while the
vehicle engine is running. Operating
the DVD for extended periods of
time with the engine OFF can dis-
charge the vehicle battery.
. Do not allow the system to get wet.
Excessive moisture such as spilled
liquids may cause the system to
malfunction.
. While playing VIDEO-CD media, this
DVD player does not guarantee
complete functionality of all VI-
DEO-CD formats.
Display settings
To adjust the front display mode, push the
SETTING button while the DVD is being played.
To adjust the display ON/OFF, brightness, tint,
color and contrast, select the “Display Adjust-
ment” key and then select each key.
Then you can adjust each item using the multi-
function controller. After changes have been
made push the BACK button to save the setting.
Monitor, heater, air conditioner, audio, phone and voice recognition systems4-91
Page 284 of 520
WARNING
Do not connect, disconnect or operate
the USB device while driving. Doing so
can be a distraction. If distracted you
could lose control of your vehicle and
cause an accident or serious injury.
CAUTION
.Do not force the USB device into the
USB port. Inserting the USB device
tilted or up-side-down into the port
may damage the port. Make sure
that the USB device is connected
correctly into the USB port.
. Do not grab the USB port cover (if
so equipped) when pulling the USB
device out of the port. This could
damage the port and the cover.
. Do not leave the USB cable in a
place where it can be pulled unin-
tentionally. Pulling the cable may
damage the port. Refer to your device manufacturer’s owner
information regarding the proper use and care
of the device.SAA2500
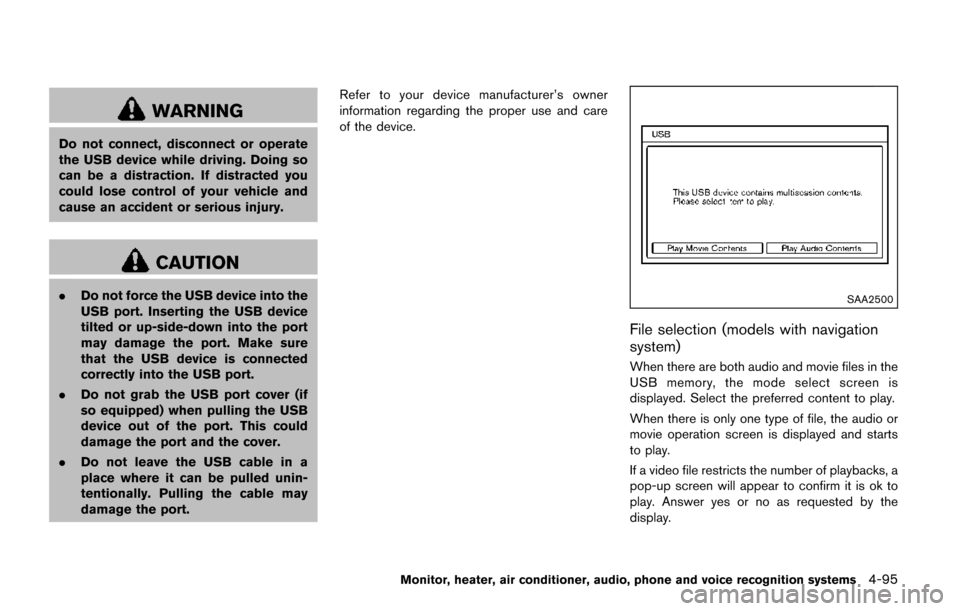
File selection (models with navigation
system)
When there are both audio and movie files in the
USB memory, the mode select screen is
displayed. Select the preferred content to play.
When there is only one type of file, the audio or
movie operation screen is displayed and starts
to play.
If a video file restricts the number of playbacks, a
pop-up screen will appear to confirm it is ok to
play. Answer yes or no as requested by the
display.
Monitor, heater, air conditioner, audio, phone and voice recognition systems4-95
Page 288 of 520
the “OK” key.
The specified folder/file will be played.
. Display
To adjust the image quality of the screen,
select the preferred adjustment items.
. DRC
DRC (Dynamic Range Compression) auto-
matically adjusts the soundtrack volume
level to maintain a more even sound to the
speakers.
. Audio
Select the preferred language for audio.
. Subtitle
Select the preferred language for subtitle.
. Display Mode
Select the “Normal”, “Wide”, “Cinema” or
“Full” mode.
SAA3600
iPod�ŠPLAYER OPERATION (models
with center multi-function control panel)
Connecting iPod
�Š
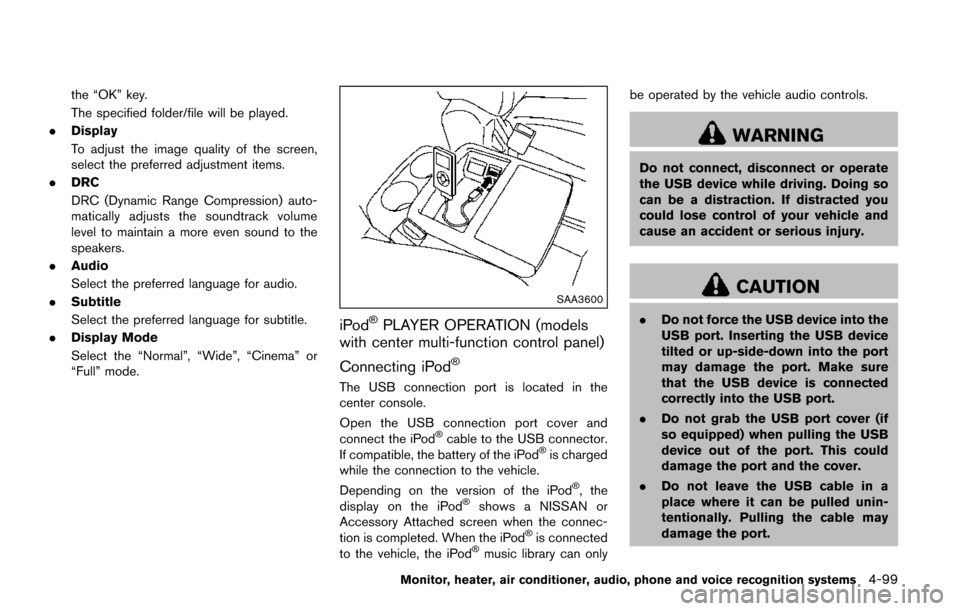
The USB connection port is located in the
center console.
Open the USB connection port cover and
connect the iPod
�Šcable to the USB connector.
If compatible, the battery of the iPod�Šis charged
while the connection to the vehicle.
Depending on the version of the iPod
�Š, the
display on the iPod�Šshows a NISSAN or
Accessory Attached screen when the connec-
tion is completed. When the iPod
�Šis connected
to the vehicle, the iPod�Šmusic library can only be operated by the vehicle audio controls.
WARNING
Do not connect, disconnect or operate
the USB device while driving. Doing so
can be a distraction. If distracted you
could lose control of your vehicle and
cause an accident or serious injury.
CAUTION
.
Do not force the USB device into the
USB port. Inserting the USB device
tilted or up-side-down into the port
may damage the port. Make sure
that the USB device is connected
correctly into the USB port.
. Do not grab the USB port cover (if
so equipped) when pulling the USB
device out of the port. This could
damage the port and the cover.
. Do not leave the USB cable in a
place where it can be pulled unin-
tentionally. Pulling the cable may
damage the port.
Monitor, heater, air conditioner, audio, phone and voice recognition systems4-99
Page 401 of 520
5-32Starting and driving
Self-test feature
The ABS includes electronic sensors, electric
pumps, hydraulic solenoids and a computer. The
computer has a built-in diagnostic feature that
tests the system each time you start the engine
and move the vehicle at a low speed in forward
or reverse. When the self-test occurs, you may
hear a “clunk” noise and/or feel a pulsation in the
brake pedal. This is normal and does not
indicate a malfunction. If the computer senses
a malfunction, it switches the ABS off and
illuminates the ABS warning light on the
instrument panel. The brake system then oper-
ates normally, but without anti-lock assistance.
If the ABS warning light illuminates during the
self-test or while driving, have the vehicle
checked. It is recommended you visit a NISSAN
dealer for this service.
Normal operation
The ABS operates at speeds above 3 to 6 MPH
(5 to 10 km/h) . The speed varies according to
road conditions.
When the ABS senses that one or more wheels
are close to locking up, the actuator rapidly
applies and releases hydraulic pressure. This
action is similar to pumping the brakes very
quickly. You may feel a pulsation in the brake
pedal and hear a noise from under the hood orfeel a vibration from the actuator when it is
operating. This is normal and indicates that the
ABS is operating properly. However, the pulsa-
tion may indicate that road conditions are
hazardous and extra care is required while
driving.
The Vehicle Dynamic Control (VDC) system
uses various sensors to monitor driver inputs
and vehicle motion. Under certain driving con-
ditions, the VDC system helps to perform the
following functions.
.
Controls brake pressure to reduce wheel
slip on one slipping drive wheel so power is
transferred to a non slipping drive wheel on
the same axle.
. Controls brake pressure and engine output
to reduce drive wheel slip based on vehicle
speed (traction control function) .
. Controls brake pressure at individual wheels
and engine output to help the driver maintain
control of the vehicle in the following
conditions:
— understeer (vehicle tends to not follow
the steered path despite increased
steering input)
— oversteer (vehicle tends to spin due to certain road or driving conditions) .
The VDC system can help the driver to maintain
control of the vehicle, but it cannot prevent loss
of vehicle control in all driving situations.
When the VDC system operates, the VDC
warning light
in the instrument panel flashes
so note the following:
. The road may be slippery or the system may
determine some action is required to help
VEHICLE DYNAMIC CONTROL (VDC)
SYSTEM
Page 404 of 520
.A sturdy, flat board to be placed under the
jack to give it firm support.
. A shovel to dig the vehicle out of snow-
drifts.
. Extra window washer fluid to refill the
reservoir tank.
DRIVING ON SNOW OR ICE
WARNING
.Wet ice (328F, 0 8C and freezing rain) ,
very cold snow or ice can be slick
and very hard to drive on. The
vehicle will have much less traction
or “grip” under these conditions. Try
to avoid driving on wet ice until the
road is salted or sanded.
. Whatever the condition, drive with
caution. Accelerate and slow down
with care. If accelerating or down-
shifting too fast, the drive wheels
will lose even more traction.
. Allow more stopping distance under
these conditions. Braking should be
started sooner than on dry pave-
ment.
. Allow greater following distances
on slippery roads. .
Watch for slippery spots (glare ice) .
These may appear on an otherwise
clear road in shaded areas. If a
patch of ice is seen ahead, brake
before reaching it. Try not to brake
while on the ice, and avoid any
sudden steering maneuvers.
. Do not use cruise control on slip-
pery roads.
. Snow can trap dangerous exhaust
gases under your vehicle. Keep
snow clear of the exhaust pipe and
from around your vehicle.
ENGINE BLOCK HEATER (if so
equipped)
Engine block heaters are used to assist with
cold temperature starting.
The engine block heater should be used when
the outside temperature is 208F( �í78C) or lower.
To use the engine block heater
1. Turn the engine off.
2. Open the hood and unwrap the engine
block heater cord.
3. Plug the engine block heater cord into a grounded 3-wire, 3-pronged extension cord. 4. Plug the extension cord into a Ground Fault
Interrupt (GFI) protected, grounded 110-
volt AC (VAC) outlet.
5. The engine block heater must be plugged in for at least 2 - 4 hours, depending on
outside temperatures, to properly warm the
engine coolant. Use an appropriate timer to
turn the engine block heater on.
6. Before starting the engine, unplug and properly store the cord to keep it away from
moving parts.
WARNING
.Do not use your engine block heater
with an ungrounded electrical sys-
tem or a 2-pronged adapter. You can
be seriously injured by an electrical
shock if you use an ungrounded
connection.
. Disconnect and properly store the
engine block heater cord before
starting the engine. Damage to the
cord could result in an electrical
shock and can cause serious injury.
. Use a heavy-duty 3-wire, 3-pronged
extension cord rated for at least
10A. Plug the extension cord into a
Starting and driving5-35