display NISSAN ROGUE 2013 2.G Quick Reference Guide
[x] Cancel search | Manufacturer: NISSAN, Model Year: 2013, Model line: ROGUE, Model: NISSAN ROGUE 2013 2.GPages: 20, PDF Size: 1.85 MB
Page 2 of 20
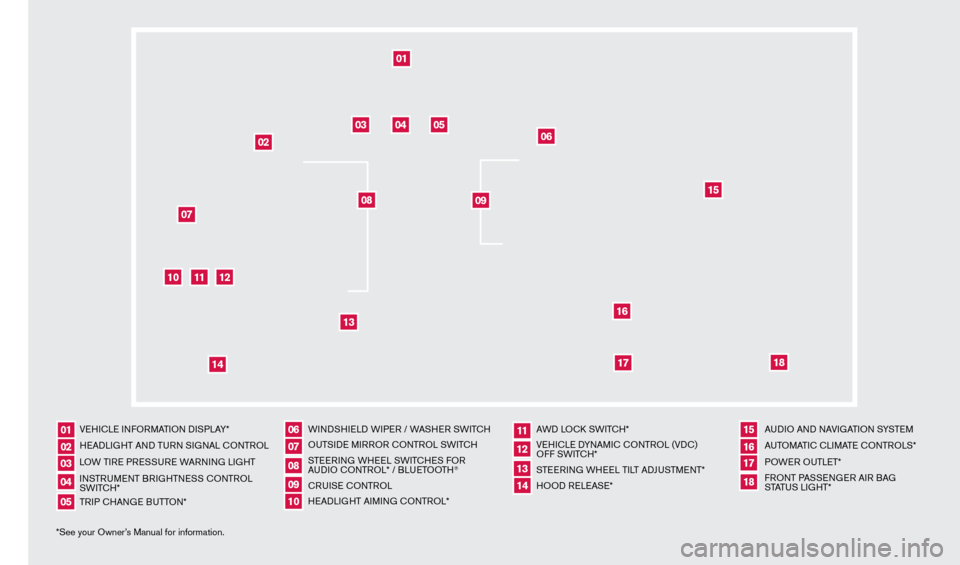
*See your Owner’s Manual for information.VEHI
cLE I
NFORMATION DISPLAY*
HEADLIGHT AND TURN SIGNAL c
O
NTROL
LOW TIRE PRESSURE WARNING LIGHT
INSTRUMENT BRIGHTNESS c
O
NTROL
SWIT
cH*
TR
IP c
HAN
GE BUTTON* WINDSHIELD WIPER / WASHER SWIT
cH
OU
TSIDE MIRROR c ONTROL SWIT
c
H
STEERING WHEEL SWIT
cH
ES FOR
AUDIO c
O
NTROL* / BLUETOOTH
®
cRUISE
cONTROL
H
EADLIGHT AIMING c
O
NTROL* AWD LO
c
k SWIT
cH*
VE
HI
cLE D
YNAMI
c
c
O
NTROL (VD
c
)
OFF SWIT
c
H*
STEERING WHEEL TILT ADJUSTMENT*
HOOD RELEASE* AUDIO AND NAVIGATION SYSTEM
AUTOMATI
c
c
LI
MATE c
O
NTROLS*
POWER OUTLET*
FRONT PASSENGER AIR BAG
STATUS LIGHT*
01
0610
14
02
07
11
15
03
08
12
16
04
09
13
1718
05
01
10
03
0711
15
04
12
16
05
06
18
17
02
08
09
14
13
1276461_13c_Rogue_QRG_122112.indd 412/21/12 10:30 AM
Page 3 of 20
TABLE OF
c
O
NTENTS
New SYSTeM FeaT ureS
Around V
iew™ Monitor (if so equipped).............................2
Sport Mode
...................................................
3
USB/iPod
® Interface (if so equipped)..............................3
Navigation System (if so equipped)................................4
e
SS
eNT
ial
iNF
orM
a
T
io N
Loose Fuel
c ap
................................................5
T
ire Pressure Monitoring System (TPMS)
...........................5
T
owing Your Vehicle
.............................................6
Outside T
emperature Display
.....................................6
Fi
r
ST D
rive Fea
T
ure
S
N
ISSAN Intelligent k
ey® System (if so equipped)....................7
Liftgate Release ( NI
SSAN
Intelligent
k
ey® models only - if so equipped).....7
Front Seat Adjustments..........................................8
F
olding the Front Passenger’s Seat Down (if so equipped) ............
8
F
olding the Rear Seatbacks Down
.................................9
Outside Mirror
c
ontrol Switch
....................................9
St
arting/Stopping the Engine
(N
ISSAN Intelligent
k
ey® models only - if so equipped)...............9
Headlight
c
ontrol
.............................................
10
W
indshield Wiper/Washer Switch
................................11
Manual
c
limate
c
ontrols (if so equipped)
..........................12
FM/AM/SiriusXM
™ Satellite Radio with cD Player (if so equipped).....13
c
ruise
c
ontrol . . . . . . . . . . . . . . . . . . . . . . . . . . . . . . . . . . . .\
. . . . . . . . . . . . 14
Fuel-Filler Door
...............................................
14
S
Y
ST
e
M
Gui
D
e
T
rip
c
omputer
................................................
15
Bluetooth
® Hands-free Phone System (if so equipped) ..............15
• A cellular telephone should not be used for any purpose while
driving so full attention may be given to vehicle operation.
• Always wear your seat belt.
• Supplemental air bags do not replace proper seat belt usage.
• Children 12 and under should always ride in the rear seat
properly secured in child restraints or seat belts according to
their age and weight.
• Do not drink and drive.
For more information, refer to the “Safety –– Seats, seat belts and
supplemental restraint system (section 1)”, “Center display, heater, air
conditioner, audio, phone and voice recognition systems (section 4)”
and “Starting and driving (section 5)” of your Owner’s Manual.
Additional information about your vehicle is also available in your Owner’s Manual, Navigation System Owner’s Manual and at www.nissanusa.com.
To view detailed
instructional videos, go to
www.nissanownersinfo.mobi/2013/rogue or snap this barcode with an appropriate barcode reader.
1276461_13c_Rogue_QRG_122112.indd 512/21/12 10:30 AM
Page 4 of 20
new system features
2To view detailed instructional videos regarding these and other features, please go\
to www.nissanownersinfo.mobi
arouND view™ MoNi Tor (if so equipped)
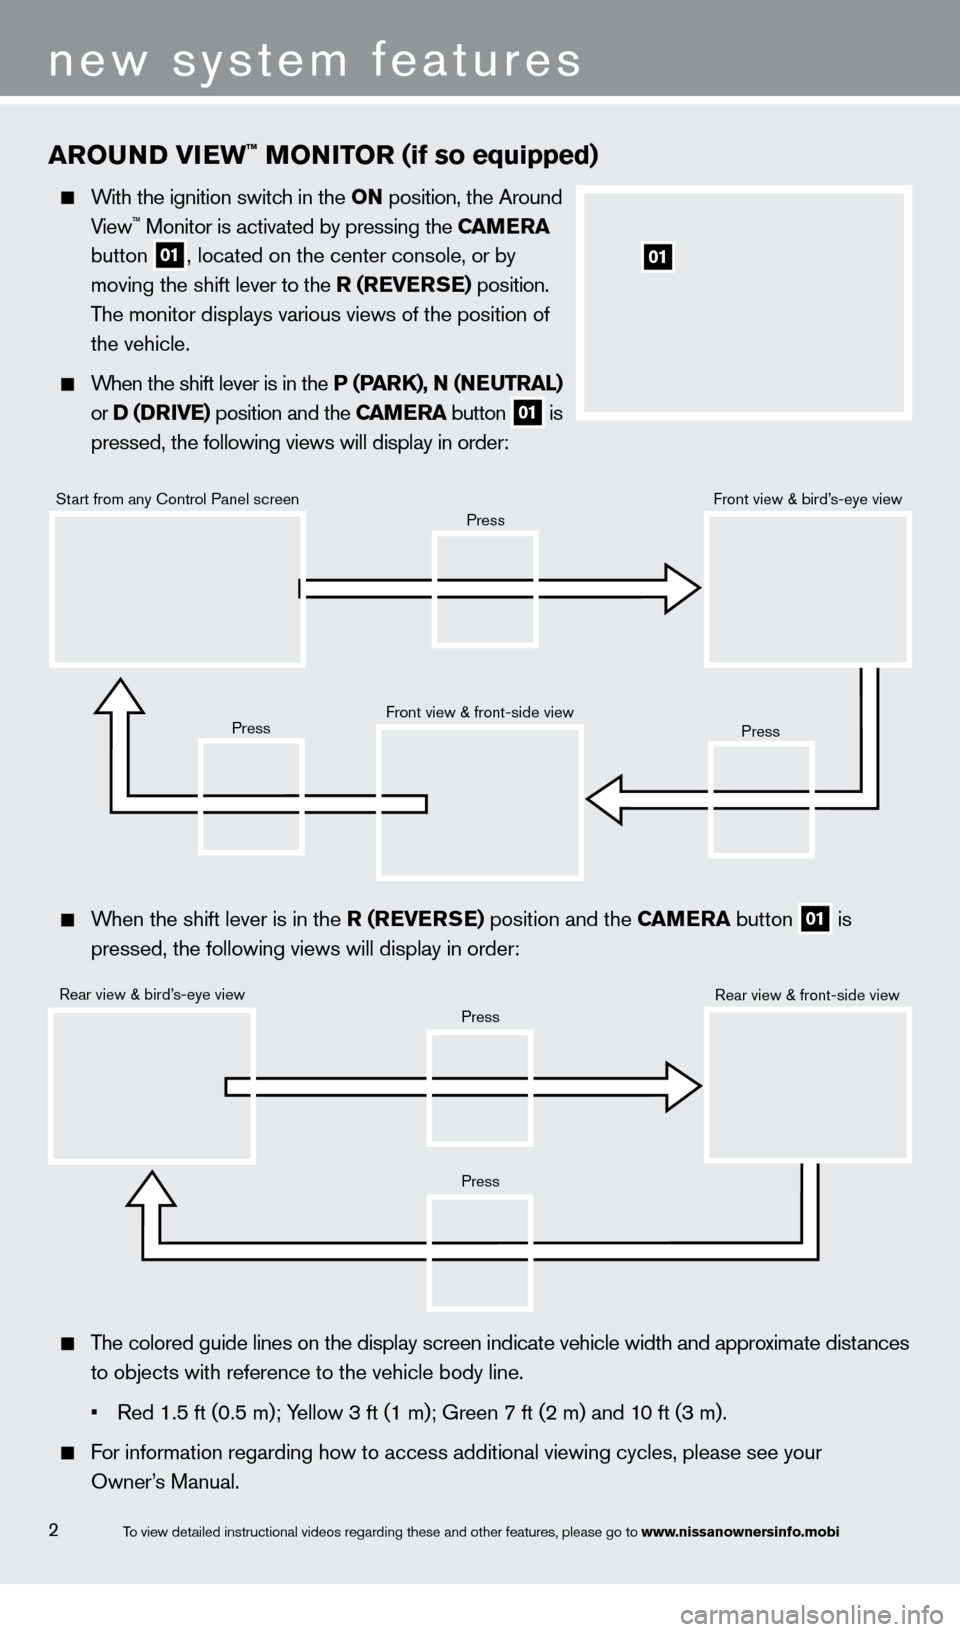
With the ignition switch in the o N position, the Around
V
iew™ Monitor is activated by pressing the Ca Me ra
button
01, located on the center console, or by
moving the shift l
ever to the
r
( rever
Se
) position.
T
he monitor displays various views of the position of
the vehicle.
When the shift lever is in the P (ParK), N (Ne u T ral )
or D (Dr
ive ) position and the C
a
M
e
ra button
01 is
pressed, the following views will display in order:
01
When the shift lever is in the r ( reverSe ) position and the Ca Me ra button
01 is
pressed, the following views will display in order:
Start from any control Panel screen
Rear view & bird’ s-eye view Front view & front-side view
Press
Press
Press
Press
Press
Front view & bird’s-eye view
Rear view & front-side view
The colored guide lines on the display screen indicate vehicle width and \
approximate distances
to objects with reference to the vehicle body line.
•
Red 1.5 ft (0.5 m); Y
ellow 3 ft (1 m); Green 7 ft (2 m) and 10 ft (3 m).
For information regarding how to access additional viewing cycles, please\
see your
Owner
’s Manual.
1276461_13c_Rogue_QRG_122112.indd 212/21/12 10:30 AM
Page 5 of 20
SPorT Mo De
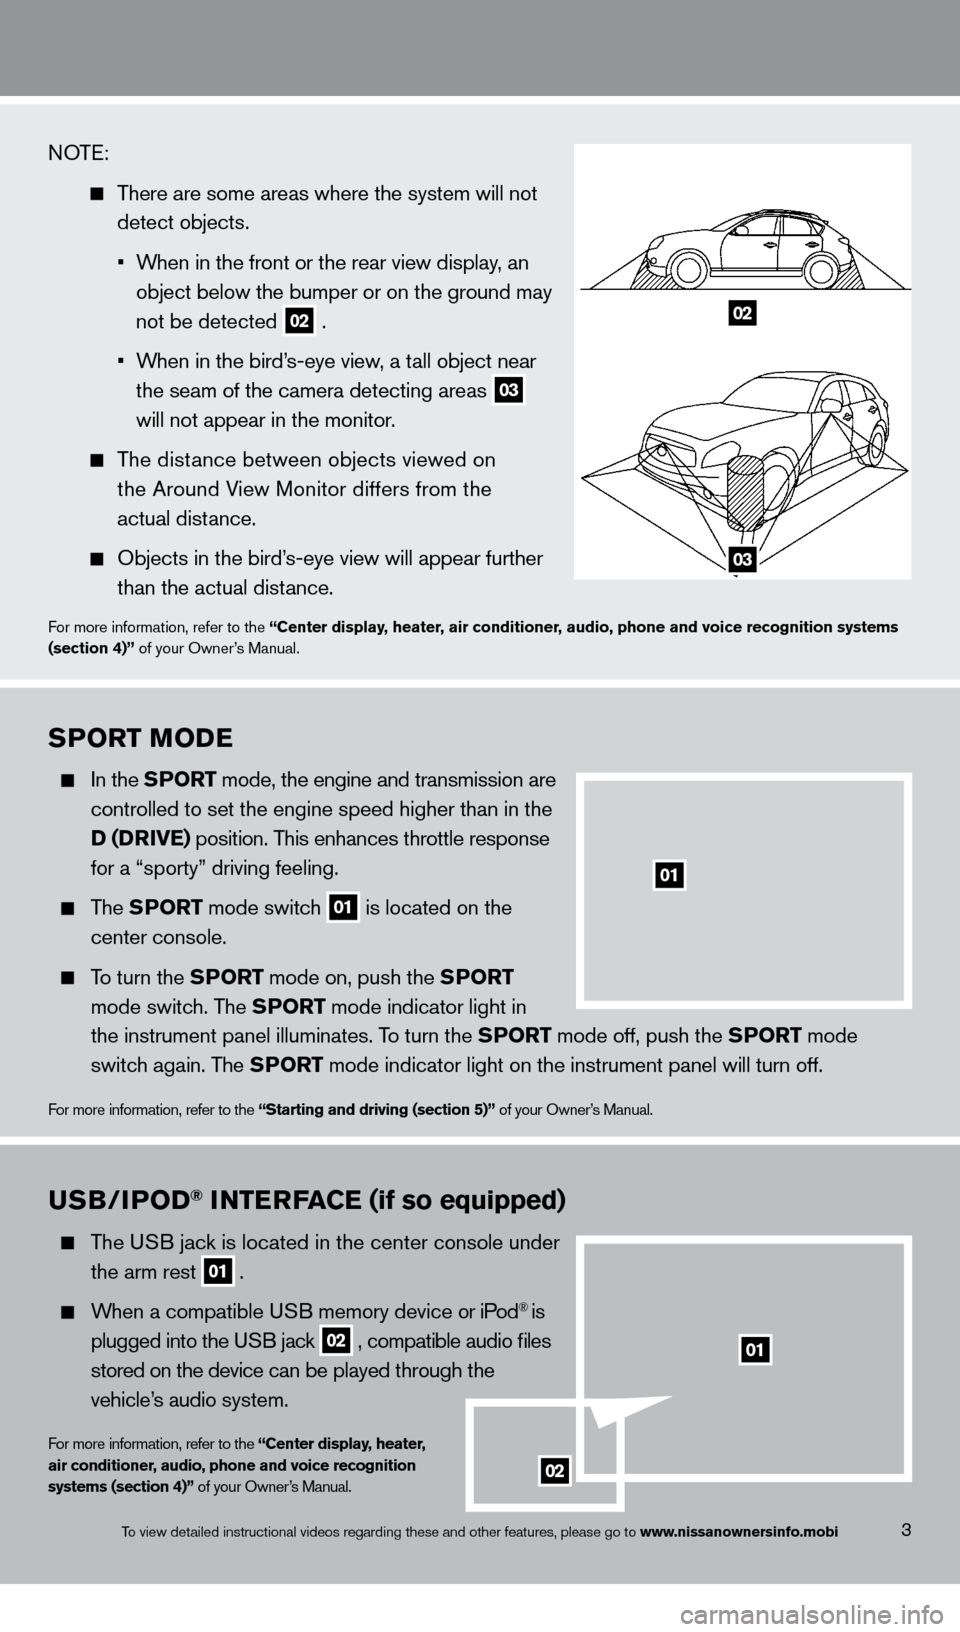
In the SPor T mode, the engine and transmission are
controlled to set the engine speed higher than in the
D (Dr
ive ) position. This enhances throttle response
for a “sporty” driving feeling.
The SPor T mode switch
01 is located on the
center console.
To turn the SPor T mode on, push the SPor T
mode switc
h. The SP
or
T mode indicator light in
the instrument panel illuminates. T
o turn the SP
or
T mode off, push the SP
or
T mode
switc
h again. The SP
or
T mode indicator light on the instrument panel will turn off.
For more information, refer to the “Starting and driving (section 5)” of your Owner’s Manual.
3
01
NOTE:
There are some areas where the system will not
detect objects.
•
W
hen in the front or the rear view display, an
object below the bumper or on the ground may
not be detected 02 .
•
W
hen in the bird’s-eye view, a tall object near
the seam of the camera detecting areas 03
will not appear in the monitor
.
The distance between objects viewed on
the Around V
iew Monitor differs from the
actual dist
ance.
Objects in the bird’ s-eye view will appear further
than the actual dist
ance.
For more information, refer to the “Center display, heater, air conditioner, audio, phone and voice recognition systems
(section 4)” of your Owner’s Manual.
02
03
To view detailed instructional videos regarding these and other features, please go\
to www.nissanownersinfo.mobi
uSB/iPoD® iNTerFaC e (if so equipped)
The USB jack is located in the center console under
the arm rest 01 .
When a compatible USB memory device or iPod® is
plugged into the U
SB jack
02 , compatible audio files
s
tored on the device can be played through the
vehicle’
s audio system.
For more information, refer to the “Center display, heater,
air conditioner, audio, phone and voice recognition
systems (section 4)” of your Owner’s Manual.
02
01
1276461_13c_Rogue_QRG_122112.indd 312/21/12 10:30 AM
Page 6 of 20
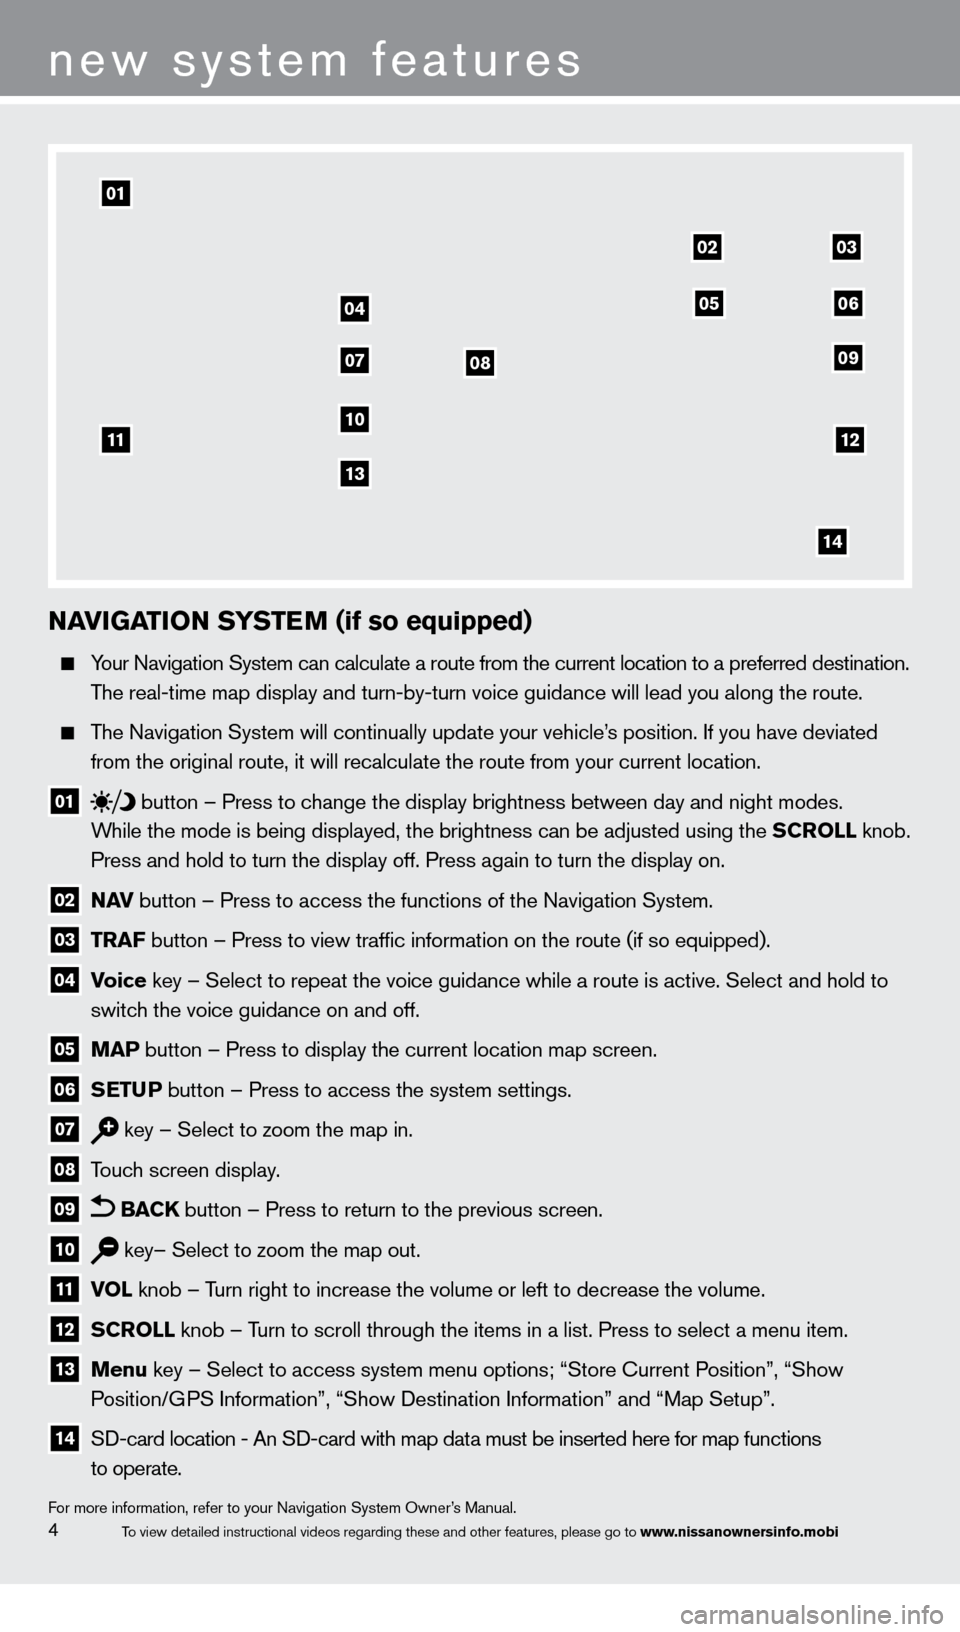
NaviGaT io N SYST eM (if so equipped)
Your Navigation System can calculate a route from the current location to\
a preferred destination.
T
he real-time map display and turn-by-turn voice guidance will lead you a\
long the route.
The Navigation System will continually update your vehicle’s position. If you have deviated
from the original route, it will recalculate the route from your current\
location.
01 button
– Press to change the display brightness between day and night modes.
While the mode is being displayed, the brightness can be adjusted using t\
he SC roll knob.
Press and hold to turn the display off. Press again to turn the display \
on.
02 Nav button – Press to access the functions of the Navigation System.
03 Tra F button – Press to view traffic information on the route (if so eq\
uipped).
04 voice key – Select to repeat the voice guidance while a route is active. S\
elect and hold to
switc h the voice guidance on and off.
05 Ma P button – Press to display the current location map screen.
06 SeT uP button – Press to access the system settings.
07 key – Select to zoom the map in.
08 Touch screen display.
09 B a CK button – Press to return to the previous screen.
10 key– Select to zoom the map out.
11 vol knob – T urn right to increase the volume or left to decrease the volume.
12 SC roll knob – Turn to scroll through the items in a list. Press to select a menu item.
13 Menu key – Select to access system menu options; “Store Current Position”, “Show
P osition/GPS Information”, “Show Destination Information” and “Map Setu\
p”.
14 SD-card location - An SD-card with map data must be inserted here for map functions
to operate.
For more information, refer to your Navigation System Owner’s Manual.
new system features
4To view detailed instructional videos regarding these and other features, please go\
to www.nissanownersinfo.mobi
01
11
04
07
10
13
08
0203
09
0506
12
14
1276461_13c_Rogue_QRG_122112.indd 412/21/12 10:30 AM
Page 7 of 20
Tire PreSSu re Mo Ni Tor iN G SYST eM (TPM S)
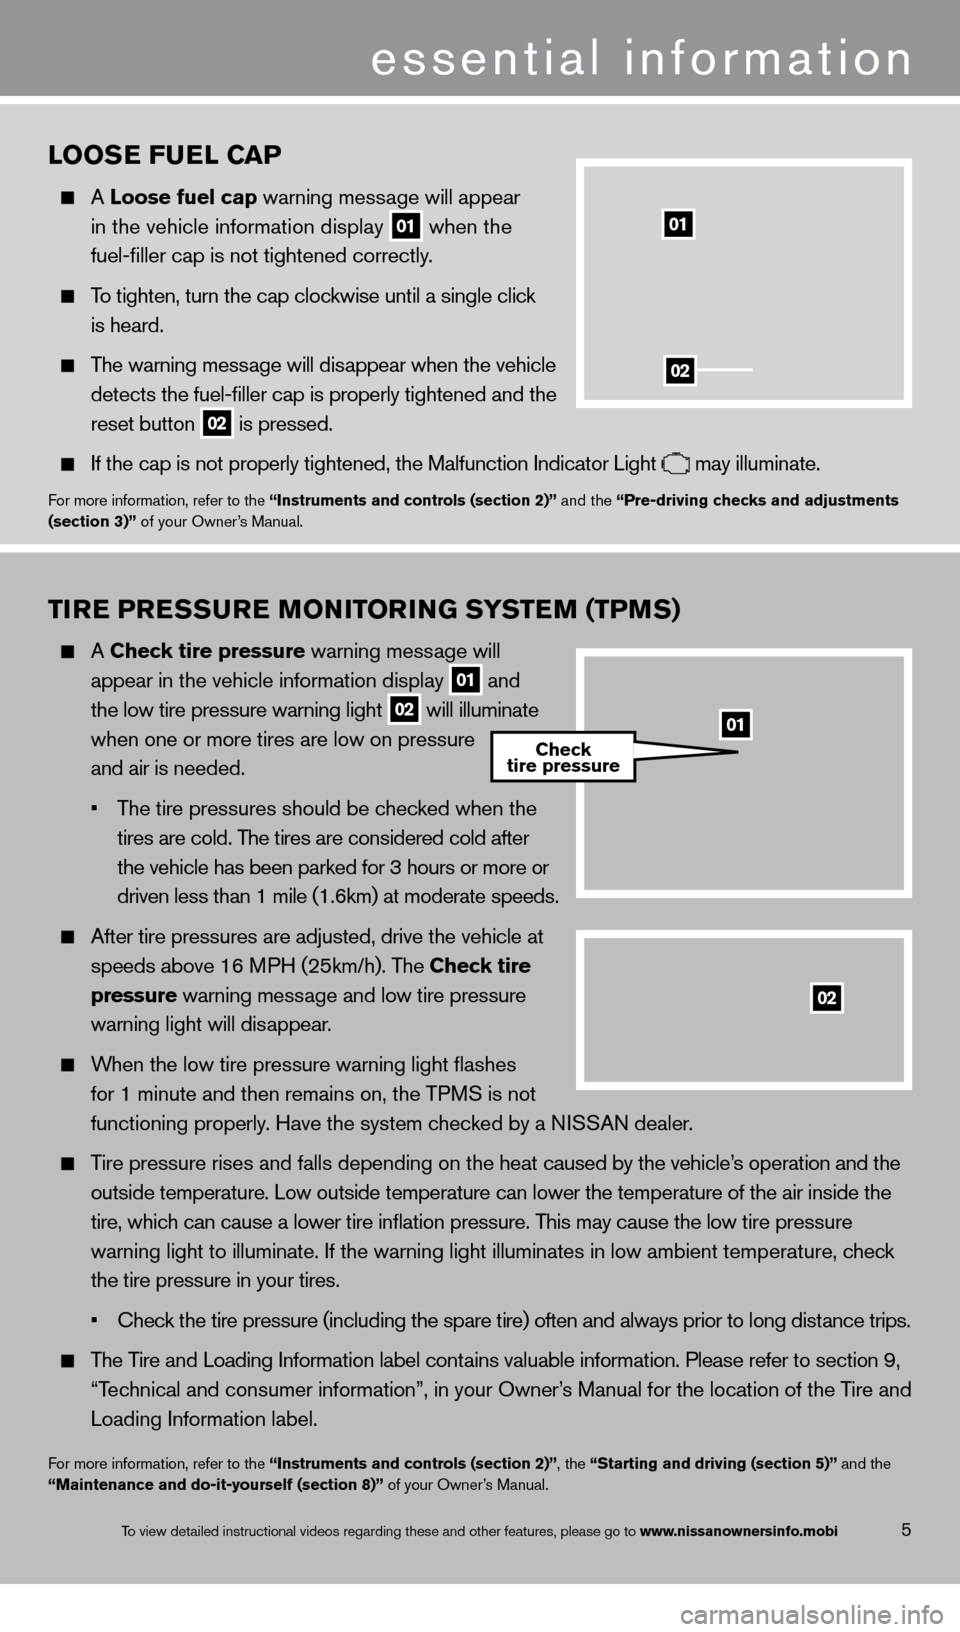
A Check tire pressure warning message will
appear in the vehicle information display 01 and
the low tire pressure warning light 02 will illuminate
when one or more tires are low on pressure
and air is n
eeded.
•
T
he tire pressures should be checked when the
tires are cold. T
he tires are considered cold after
the vehicle has been parked for 3 hours or more or
driven less than 1 mile (1.6km) at moderate speeds.
After tire pressures are adjusted, drive the vehicle at
speeds above 16 M
PH (25km/h). The Check tire
pressure
warning message and low tire pressure
warning light will dis
appear.
When the low tire pressure warning light flashes
for 1 minute and then remains on, the TP
MS is not
functioning properly
. Have the system checked by a NISSAN dealer.
Tire pressure rises and falls depending on the heat caused by the vehicle’s operation and the
outside temperature. Low outside temperature can lower the temperature o\
f the air inside the
tire, whic
h can cause a lower tire inflation pressure. This may cause the low tire pressure
warning light to illuminate. If the warning light illuminates in low amb\
ient t
emperature, check
the tire pressure in your tires.
•
Chec
k the tire pressure (including the spare tire) often and always prior to long distance trips.
The Tire and Loading Information label contains valuable information. Please refer to section 9,
“T
echnical and consumer information”, in your Owner’s Manual for the location of the Tire and
Loading Information label.
For more information, refer to the “instruments and controls (section 2)”, the “Starting and driving (section 5)” and the
“Maintenance and do-it-yourself (section 8)” of your Owner’s Manual.
essential information
5
looSe F uel Ca P
A loose fuel cap warning message will appear
in the vehicle information display 01 when the
fuel-filler cap is not tightened correctly .
To tighten, turn the cap clockwise until a single click
is heard.
The warning message will disappear when the vehicle
detects the fuel-filler cap is properly tightened and the
reset button 02 is pressed.
If the cap is not properly tightened, the Malfunction Indicator Light may illuminate.For more information, refer to the “instruments and controls (section 2)” and the “Pre-driving checks and adjustments
(section 3)” of your Owner’s Manual.
02
01
02
01Check
tire pressure
To view detailed instructional videos regarding these and other features, please go\
to www.nissanownersinfo.mobi
1276461_13c_Rogue_QRG_122112.indd 512/21/12 10:30 AM
Page 8 of 20
TowiNG Your veHiC le
ALL-W HEEL DR IVE (AWD) V EHIcLE
•
An all-wheel drive vehicle must be towed with all wheels off the ground.
For proper towing and to avoid accidental damage to your vehicle, NISSAN recommends
that a service operator tow your vehicle after carefully reading the Own\
er
’s Manual precautions.
For more information, refer to the “in case of emergency (section 6)” of your Owner’s Manual.
ouTSiDe T eM P eraT ure DiS P laY
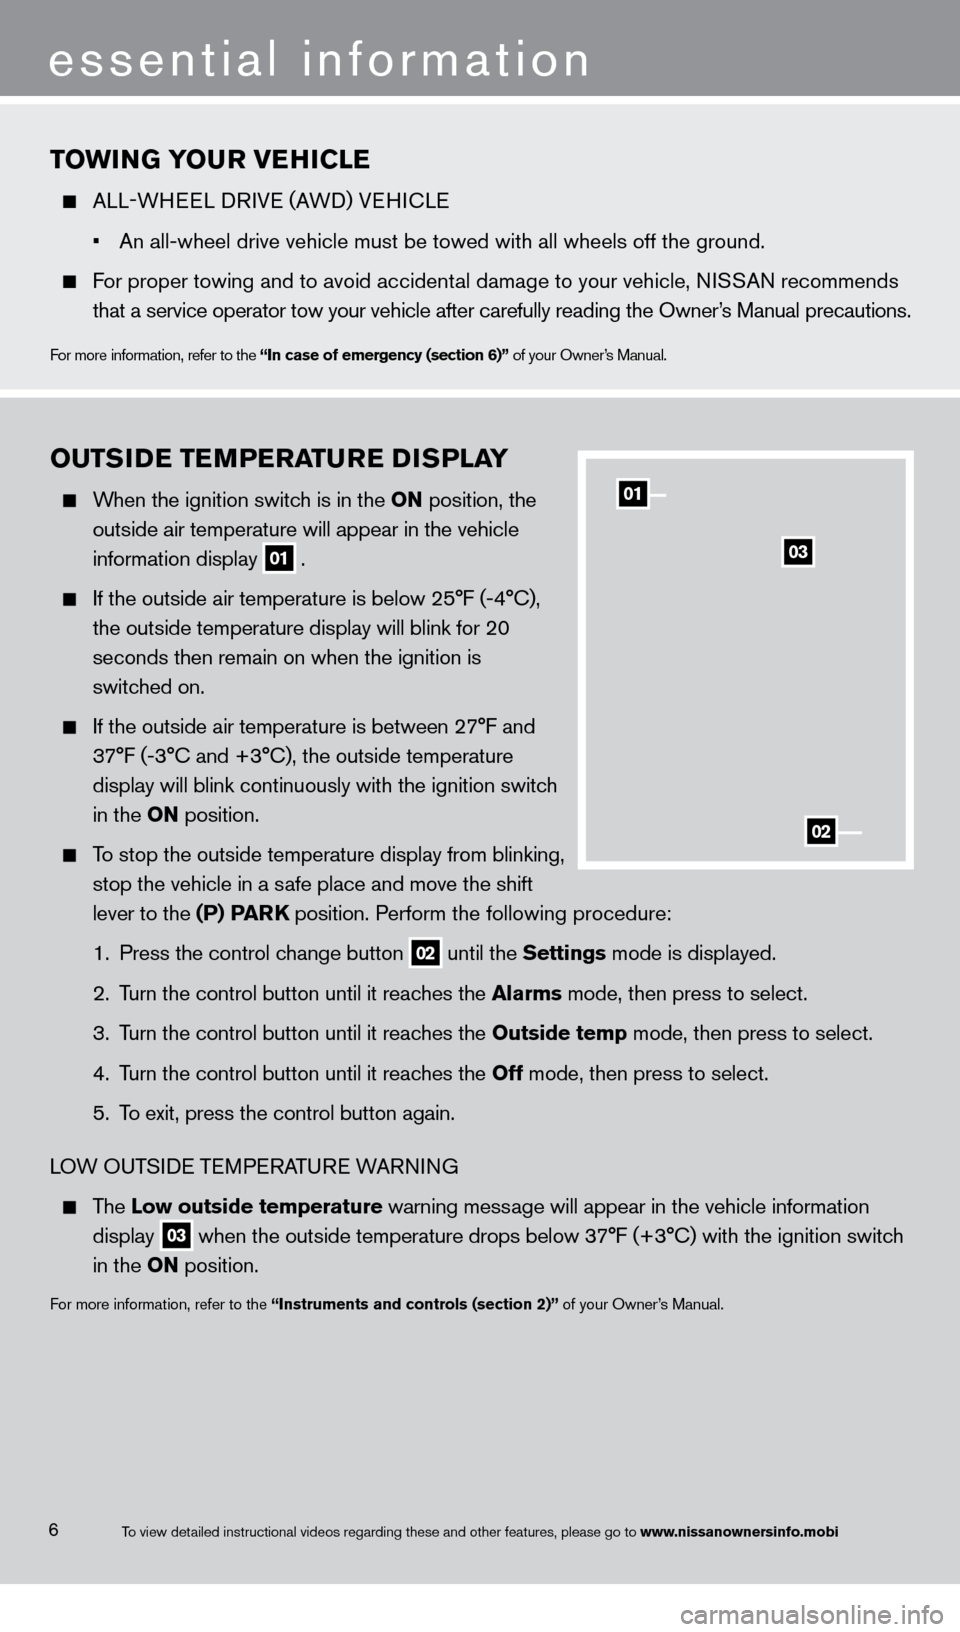
When the ignition switch is in the o N position, the
outside air temperature will appear in the vehicle
information display 01 .
If the outside air temperature is below 25°F (-4°
c ),
the outside temperature display will blink for 20
seconds then remain on when the ignition is
switc
hed on.
If the outside air temperature is between 2 7°F and
3
7°F (-3° c and +3° c ), the outside temperature
display will blink continuously with the ignition switc
h
in the
o N position.
To stop the outside temperature display from blinking,
stop the vehicle in a s
afe place and move the shift
lever to the
(P) P
arK
position. Perform the following procedure:
1.
Press the control c
hange button
02 until the Settings mode is displayed.
2.
T
urn the control button until it reaches the a
larms
mode, then press to select.
3.
T
urn the control button until it reaches the o utside temp mode, then press to select.
4.
T
urn the control button until it reaches the o ff mode, then press to select.
5.
T
o exit, press the control button again.
LOW OUTSIDE TEMPERATURE WARNING
The l ow outside temperature warning message will appear in the vehicle information
display
03 when the outside temperature drops below 37°F (+3° c ) with the ignition switch
in the
o
N position.
For more information, refer to the “instruments and controls (section 2)” of your Owner’s Manual.
01
03
02
essential information
6To view detailed instructional videos regarding these and other features, please go\
to www.nissanownersinfo.mobi
1276461_13c_Rogue_QRG_122112.indd 612/21/12 10:30 AM
Page 14 of 20
first drive features
12
MaNual C liM aT e C o NT rol S (if so equipped)
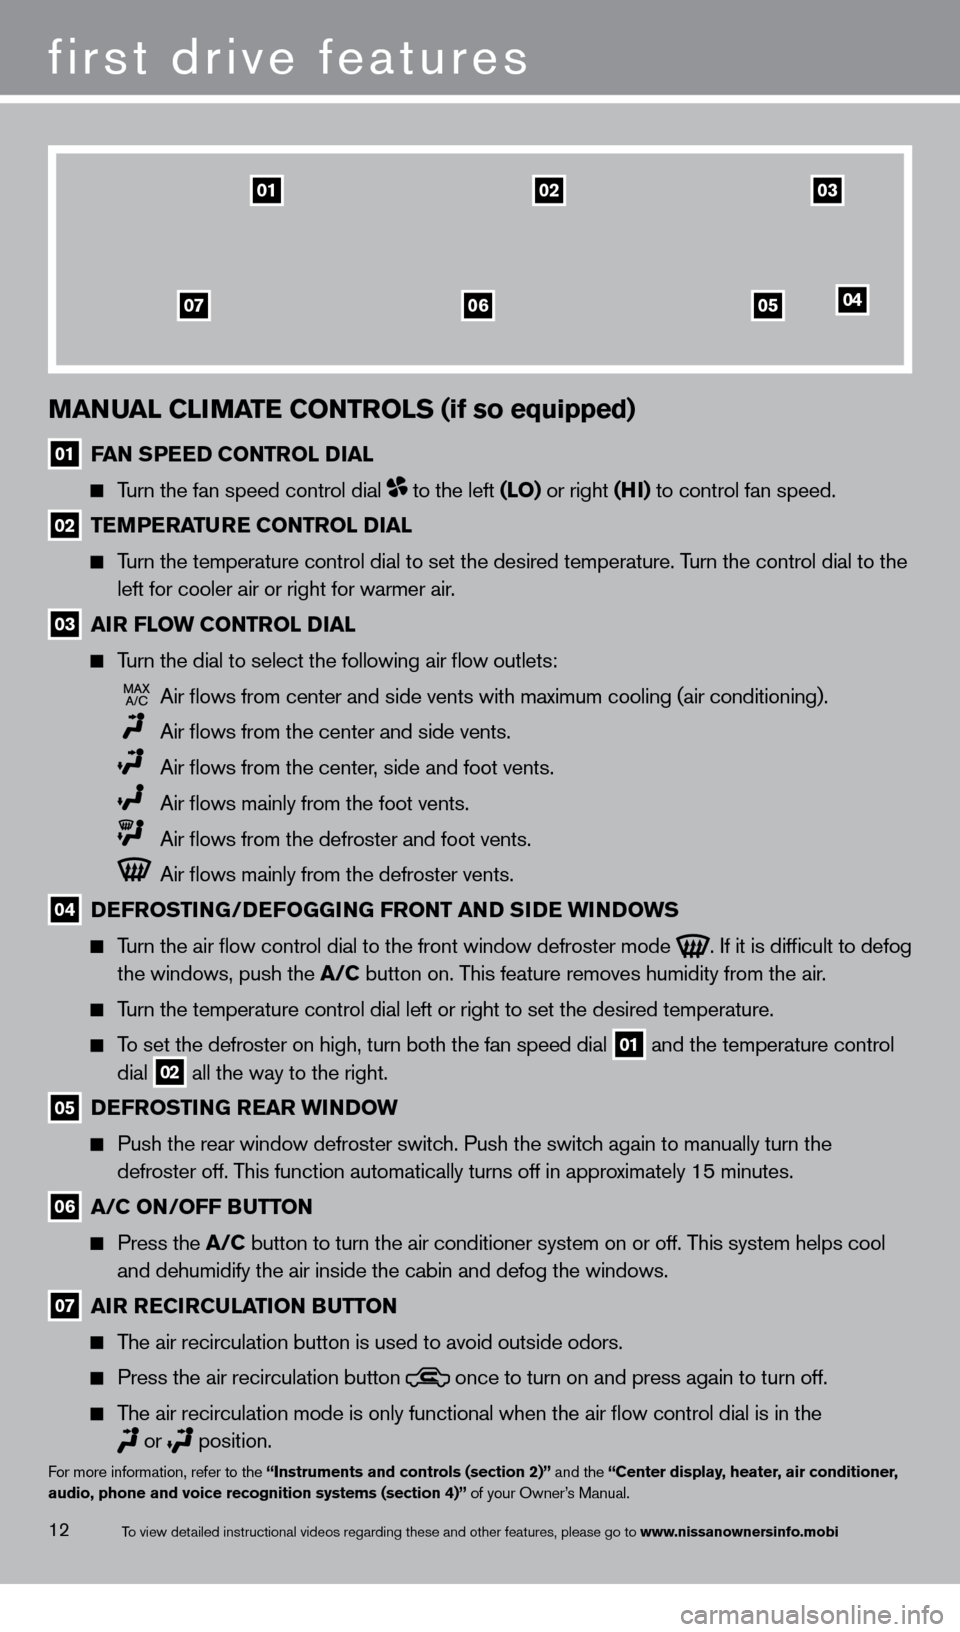
01 FaN SP eeD C o NT rol Dial
Turn the fan speed control dial to the left (lo) or right (Hi ) to control fan speed.
02 TeM P eraT ure C o NT rol Dial
Turn the temperature control dial to set the desired temperature. Turn the control dial to the left for cooler air or right for warmer air.
03 air F low C o NT rol Dial
Turn the dial to select the following air flow outlets:
Air flows from center and side vents with maximum cooling (air condit\
ioning).
Air flows from the center and side vents.
Air flows from the center , side and foot vents.
Air flows mainly from the foot vents.
Air flows from the defroster and foot vents.
Air flows mainly from the defroster vents.
04 DeF ro ST iN G/DeFo GGiN G F ro NT a ND SiDe wiN Do w S
Turn the air flow control dial to the front window defroster mode
. If it is difficult to defog
the windows, push the
a
/C button on. This feature removes humidity from the air.
Turn the temperature control dial left or right to set the desired temper\
ature.
To set the defroster on high, turn both the fan speed dial 01 and the temperature control
dial 02 all the way to the right.
05 DeF ro ST iN G rear wiN Do w
Push the rear window defroster switc h. Push the switch again to manually turn the
defroster off. This function automatically turns off in approximately 15 minutes.
06 a /C o N/ o FF Bu TTo N
Press the a
/C button to turn the air conditioner system on or off. This system helps cool
and dehumidify the air inside the cabin and defog the windows.
07 air reC irC ulaT io N Bu TTo N
The air recirculation button is used to avoid outside odors.
Press the air recirculation button
once to turn on and press again to turn off.
The air recirculation mode is only functional when the air flow control\
dial is in the
or
position.For more information, refer to the “instruments and controls (section 2)” and the “Center display, heater, air conditioner,
audio, phone and voice recognition systems (section 4)” of your Owner’s Manual.
010302
05040607
To view detailed instructional videos regarding these and other features, please go\
to www.nissanownersinfo.mobi
1276461_13c_Rogue_QRG_122112.indd 1212/21/12 10:30 AM
Page 15 of 20
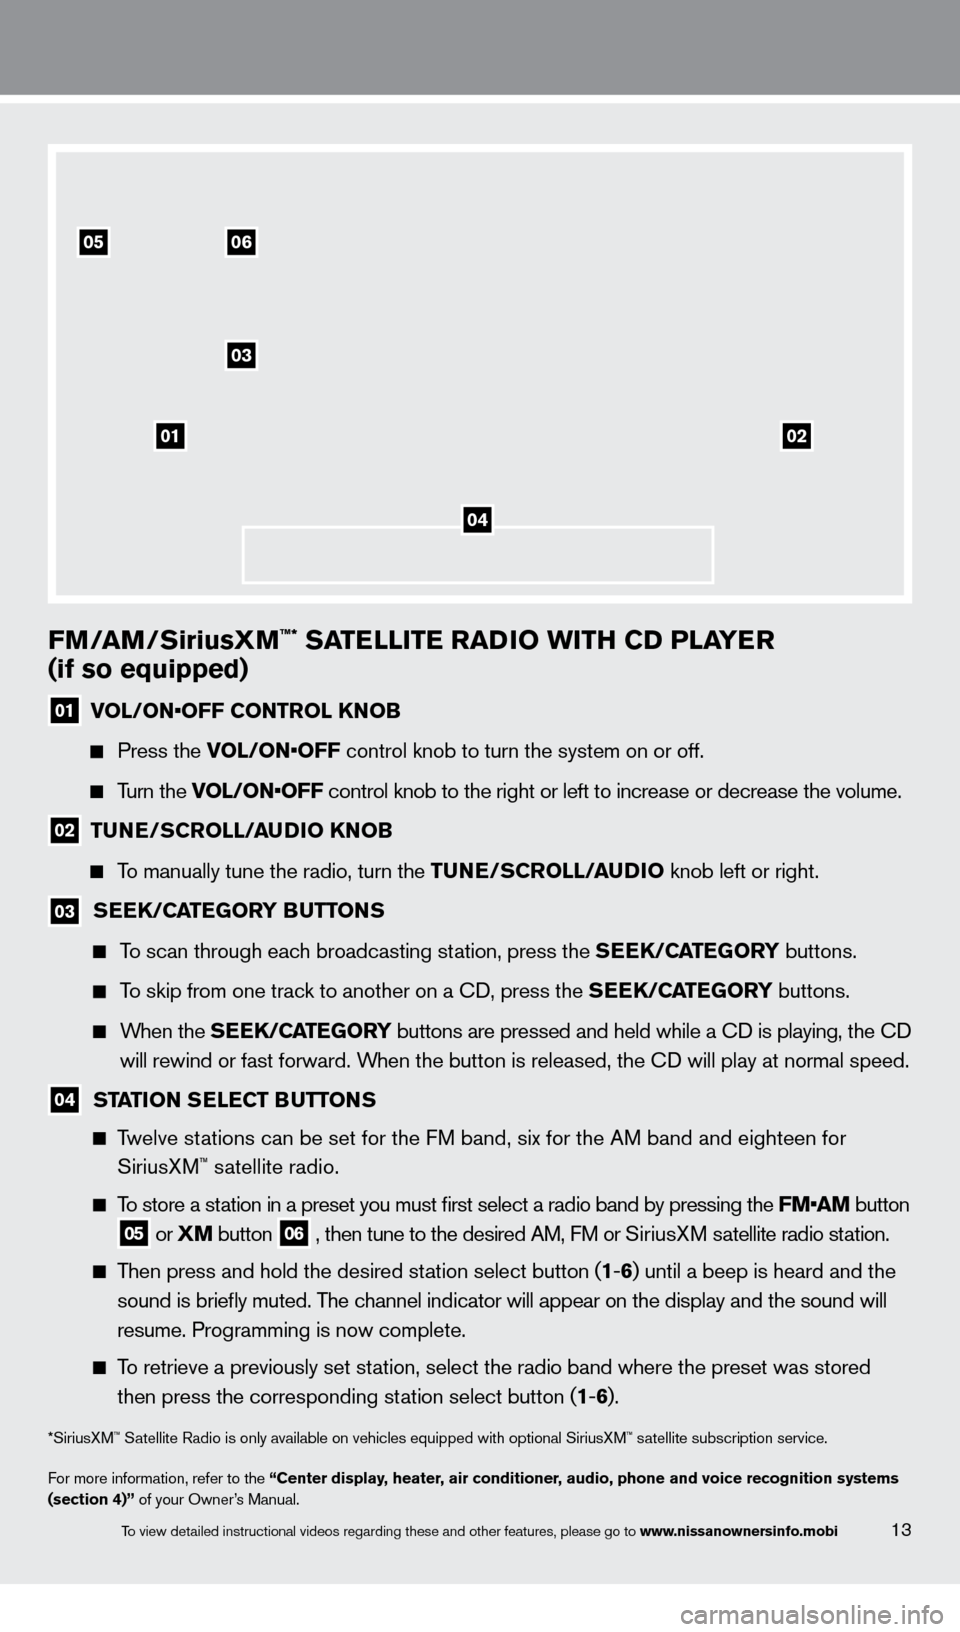
FM/aM/SiriusXM™* SaTelli T e ra Di o wi TH CD P laY er
(if so equipped)
01 V OL/ON•OFF CONTROL KNOB
Press the
VOL/ON•OFF control knob to turn the system on or off.
Turn the VOL/ON•OFF control knob to the right or left to increase or decrease the volume.
02 TuNe/ SC roll /a uDi o KNo B
To manually tune the radio, turn the T uNe/ SC roll /a uDi o knob left or right.
03 SeeK/CaT eGorY Bu TTo NS
To scan through each broadcasting station, press the Se eK/CaT eGorY buttons.
To skip from one track to another on a cD, press the Se eK/CaT eGorY buttons.
When the SeeK/CaT eGorY buttons are pressed and held while a cD is playing, the cD
w
ill rewind or fast forward. When the button is released, the c
D will play at normal speed.
04 STaTio N Se leC T Bu TTo NS
Twelve stations can be set for the FM band, six for the AM band and eighteen for
SiriusX
M™ satellite radio.
To store a station in a preset you must first select a radio band by pressing the FM•AM button
05 or XM button
06 , then tune to the desired AM, FM or SiriusX M satellite radio station.
Then press and hold the desired station select button (1 -6 ) until a beep is heard and the
sound is briefly muted. T
he channel indicator will appear on the display and the sound will
r
esume. Programming is now complete.
To retrieve a previously set station, select the radio band where the preset was stored
then press the corresponding st
ation select button (1-6 ).
*SiriusXM™ Satellite Radio is only available on vehicles equipped with optional Siri\
usXM™ satellite subscription service.
For more information, refer to the “Center display, heater, air conditioner, audio, phone and voice recognition systems
(section 4)” of your Owner’s Manual.
01
03
0506
02
04
13To view detailed instructional videos regarding these and other features, please go\
to www.nissanownersinfo.mobi
1276461_13c_Rogue_QRG_122112.indd 1312/21/12 10:30 AM
Page 17 of 20
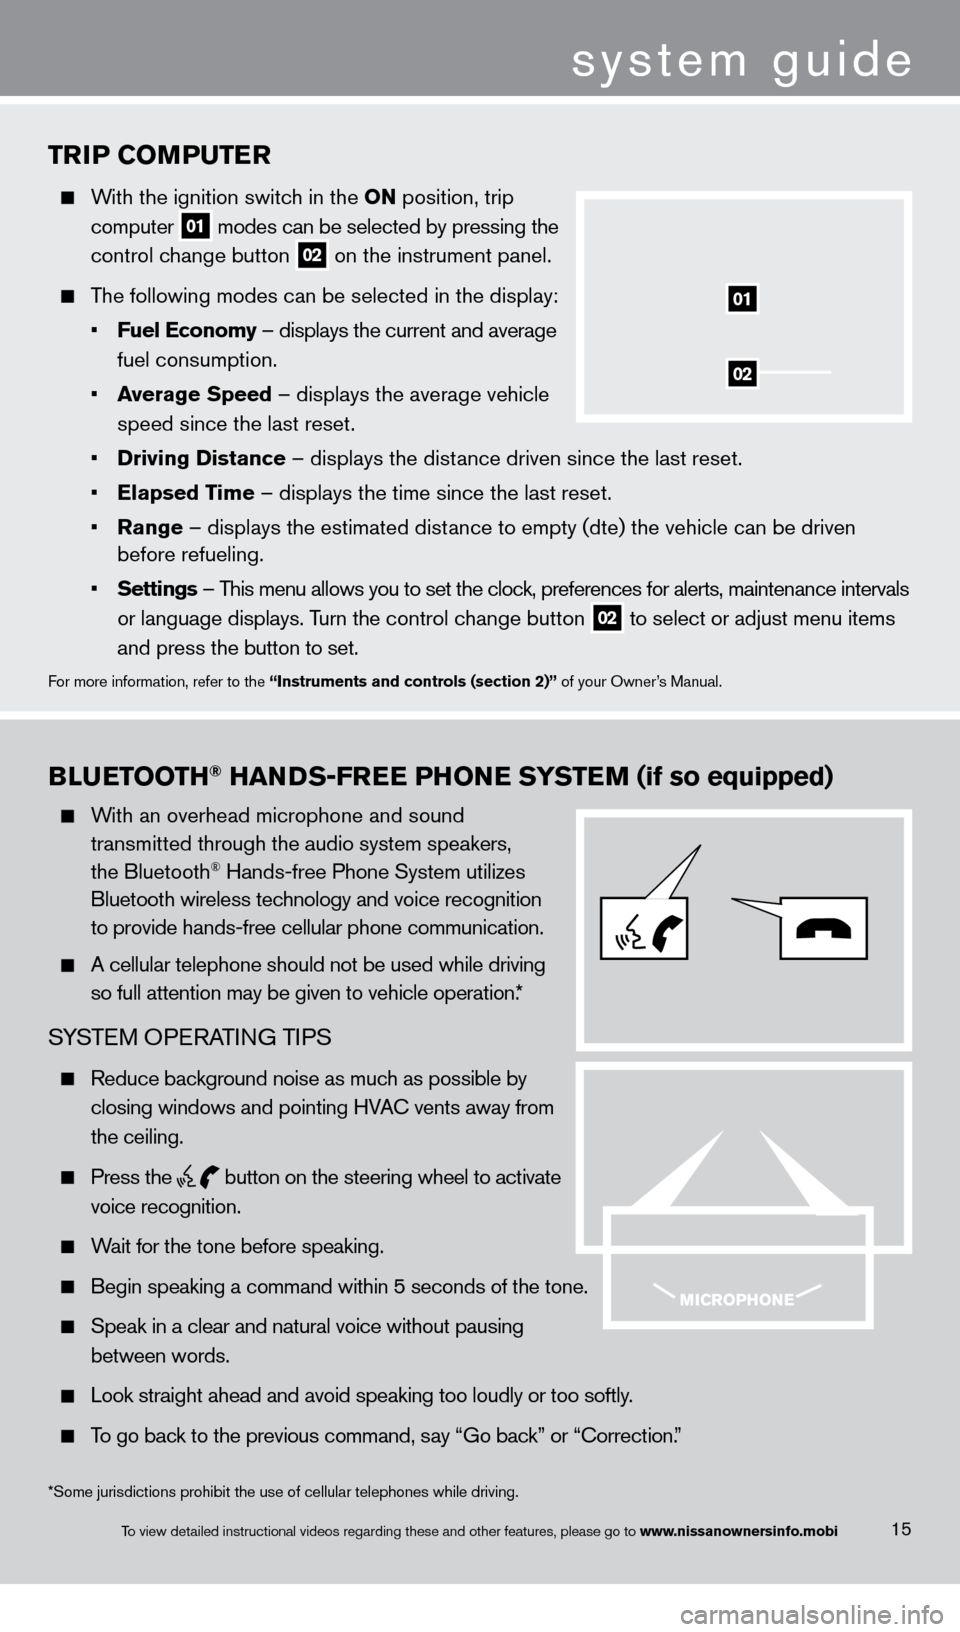
TriP Co MP u T er
With the ignition switch in the o N position, trip
computer
01 modes can be selected by pressing the
control c
hange button
02 on the instrument panel.
The following modes can be selected in the display:
•
F
uel e conomy – displays the current and average
fuel consumption.
•
a
verage Speed
– displays the average vehicle
speed since the last reset.
•
Driving Distance
– displays the distance driven since the last reset.
•
e
lapsed Time – displays the time since the last reset.
•
r
ange – displays the estimated distance to empty (dte) the vehicle can be driven
before refueling.
•
Settings
– This menu allows you to set the clock, preferences for alerts, maintenance intervals
or language displays. T
urn the control change button
02 to select or adjust menu items
a
nd press the button to set.
For more information, refer to the “instruments and controls (section 2)” of your Owner’s Manual.
02
01
Blue TooTH® HaNDS-Free PHo Ne SYST eM (if so equipped)
With an overhead microphone and sound
t
ransmitted through the audio system speakers,
the Bluetooth® Hands-free Phone System utilizes
Bluetooth wireless tec
hnology and voice recognition
to provide hands-free cellular phone communication.
A cellular telephone should not be used while driving
so full attention may be given to vehicle operation.
*
SYSTEM OPERATING TIPS
Reduce background noise as much as possible by
closing windows and pointing HV
A
c
vents away from
the ceiling.
Press the
button on the steering wheel to activate
voice recognition.
Wait for the tone before speaking.
Begin speaking a command within 5 seconds of the tone.
Speak in a clear and natural voice without pausing
between words.
Look straight ahead and avoid speaking too loudly or too softly .
To go back to the previous command, say “Go back” or “ c orrection.”
15
system guide
*Some jurisdictions prohibit the use of cellular telephones while drivin\
g.
To view detailed instructional videos regarding these and other features, please go\
to www.nissanownersinfo.mobi
1276461_13c_Rogue_QRG_122112.indd 1512/21/12 10:30 AM