sat nav NISSAN ROGUE HYBRID 2017 2.G Owners Manual
[x] Cancel search | Manufacturer: NISSAN, Model Year: 2017, Model line: ROGUE HYBRID, Model: NISSAN ROGUE HYBRID 2017 2.GPages: 520
Page 204 of 520
4 Monitor, climate, audio, phone and voice
recognition systems
Control panel buttons — color screen with
Navigation System (if so equipped)..................4-4
How to use the touch-screen . . ..................4-5
How to use the
BACK button ..............4-7
How to use the [
] button ..................4-7
button.................................. 4-10
How to use the POWER button/VOLUME
control knob .................................. 4-10
How to use the CAMERA button ................4-10
RearView Monitor (if so equipped) ..................4-11
RearView Monitor system operation .............4-12
How to read the displayed lines .................4-12
Difference between predicted and actual
distances ..................................... 4-13
Adjusting the screen ........................... 4-15
RearView Monitor system limitations .............4-15
System maintenance ........................... 4-16
Around View® Monitor (if so equipped) .............4-17
Around View® Monitor system operation .........4-18
Difference between predicted and actual
distances ..................................... 4-21
How to park with predicted course lines ..........4-23
How to switch the display ......................4-24Adjusting the screen
........................... 4-25
Around View® Monitor system limitations ........4-25
System maintenance ........................... 4-27
Moving Object Detection (MOD) (if so equipped) ....4-28
MOD system operation ......................... 4-29
Turning MOD on and off (if so equipped) .........4-30
MOD system limitations ........................ 4-31
System maintenance ........................... 4-31
Vents ........................................... 4-32
Heater and Air Conditioner (automatic)
(if so equipped) .................................. 4-33
Automatic operation ........................... 4-34
Manual operation .............................. 4-35
Operating tips ................................. 4-35
Servicing air conditioner ........................... 4-36
Audio system .................................... 4-36
Radio ........................................ 4-36
FM radio reception ............................ 4-37
AM radio reception ............................ 4-37
Satellite radio
reception ........................ 4-37
Audio operation precautions ....................4-38
FM/AM/SAT radio with compact disc (CD)
player (Type A) (if so equipped) .................4-45
Page 205 of 520
FM/AM/SAT radio with compact disc (CD)
player (Type B) (if so equipped).................4-50
USB (Universal Serial Bus) Connection Port
(models without Navigation System)
(if so equipped) ............................... 4-57
USB (Universal Serial Bus) Connection Port
(models with Navigation System)
(if so equipped) ............................... 4-59
iPod®* player operation without Navigation
System (if so equipped) ........................ 4-61
iPod®* player operation with Navigation
System (if so equipped) ........................ 4-63
Bluetooth® streaming audio without
Navigation System (if so equipped) ..............4-66
Bluetooth® streaming audio with Navigation
System (if so equipped) ........................ 4-67
CD care and cleaning .......................... 4-68
Steering wheel switch for audio control ..........4-69
Antenna ...................................... 4-70
NissanConnect
SMMobile Apps (if so equipped) .....4-70
Registering with NissanConnectSMMobile
Apps ......................................... 4-70
Connect Phone ............................... 4-71
Application Download .......................... 4-71NissanConnect
SMServices (if so equipped) .
........4-71
Siri® Eyes Free .................................. 4-72
Requirements ................................. 4-72
Siri® Activation ............................... 4-72
Operating Siri® Eyes Free ......................4-73
Changing Siri® Eyes Free Settings
(models without navigation system) ..............4-73
Troubleshooting guide ......................... 4-74
Car phone or CB radio ............................ 4-75
Bluetooth® Hands-Free Phone System without
Navigation System (if so equipped) .................4-75
Regulatory Information ......................... 4-77
Using the system .............................. 4-77
Control buttons ............................... 4-79
Connecting procedure ......................... 4-80
Voice commands .............................. 4-81
Making a call . ................................. 4-82
Receiving a call ............................... 4-83
During a call .................................. 4-83
Ending a call .................................. 4-83
Text messaging (if so equipped) .................4-83
Bluetooth® settings ........................... 4-85
Manual control . . .............................. 4-87
Page 250 of 520
iPod® MENU button
This button can only be used for iPod® opera-
tions. For additional information, refer to “iPod®
player operation without Navigation System” in
this section regarding the function of this button.
DISP (display) button
The DISP (display) button turns the display
screen on or off.
BACK button
Press the
BACK button to return to the
previous menu screen.
FM/AM/SAT radio operation
FM·AM button
Press the FM·AM button to change the band as
follows:
AM →FM1 →FM2 →AM
If another audio source is playing when the
FM·AM button is pressed, the audio source play-
ing will automatically be turned off and the last
radio station played will begin playing.
The FM stereo indicator (STEREO) is shown on
the screen during FM stereo reception. When the
stereo broadcast signal is weak, the radio auto-
matically changes from stereo to monaural re-
ception. SXM band select
Pressing the SXM button will change the band as
follows:
SXM1*
→SXM2* →SXM3*→ SXM1* (satellite,
if so equipped)
When the SXM button is pressed while the igni-
tion switch is in the ON position, the radio will
come on at the last station played.
The last station played will also come on when
the POWER button is pressed.
*When the SXM button is pressed, the satellite
radio mode will be skipped unless an optional
satellite receiver and antenna are installed and a
SiriusXM® Satellite Radio service subscription is
active. Satellite radio is not available in Alaska,
Hawaii and Guam.
If a compact disc is playing when the SXM button
is pressed, the compact disc will automatically be
turned off and the last radio station played will
come on.
While the radio is in SXM mode, the operation
can be controlled through the touch-screen.
Touch the “Channels” key to display a list of
channels. Touch a channel displayed on the list to
change to that channel. Touch the “Categories” key to display a list of categories. Touch a cat-
egory displayed on the list to display options
within that category.
TUNE/SCROLL knob (Tuning)
Turn the TUNE/SCROLL knob to the left or right
for manual tuning.
SEEK tuning
Press the
orSEEK buttons to tune
from low to high or high to low frequencies and to
stop at the next broadcasting station.
SCAN tuning
Press the SCAN button to stop at each broad-
casting station for 5 seconds. SCAN will appear
on the screen while the radio is scan tuning.
Pressing the SCAN button again during this
5 second period will stop SCAN tuning and the
radio will remain tuned to that station. If the
SCAN button is not pressed within 5 seconds,
SCAN tuning moves to the next station.
1 to 6 Station memory operations
Six stations can be set for the AM band. Twelve
stations can be set for the FM band (six for FM1,
six for FM2) .
1. Choose the radio band AM, FM1 or FM2 using the FM·AM button.
Monitor, climate, audio, phone and voice recognition systems4-47
Page 272 of 520
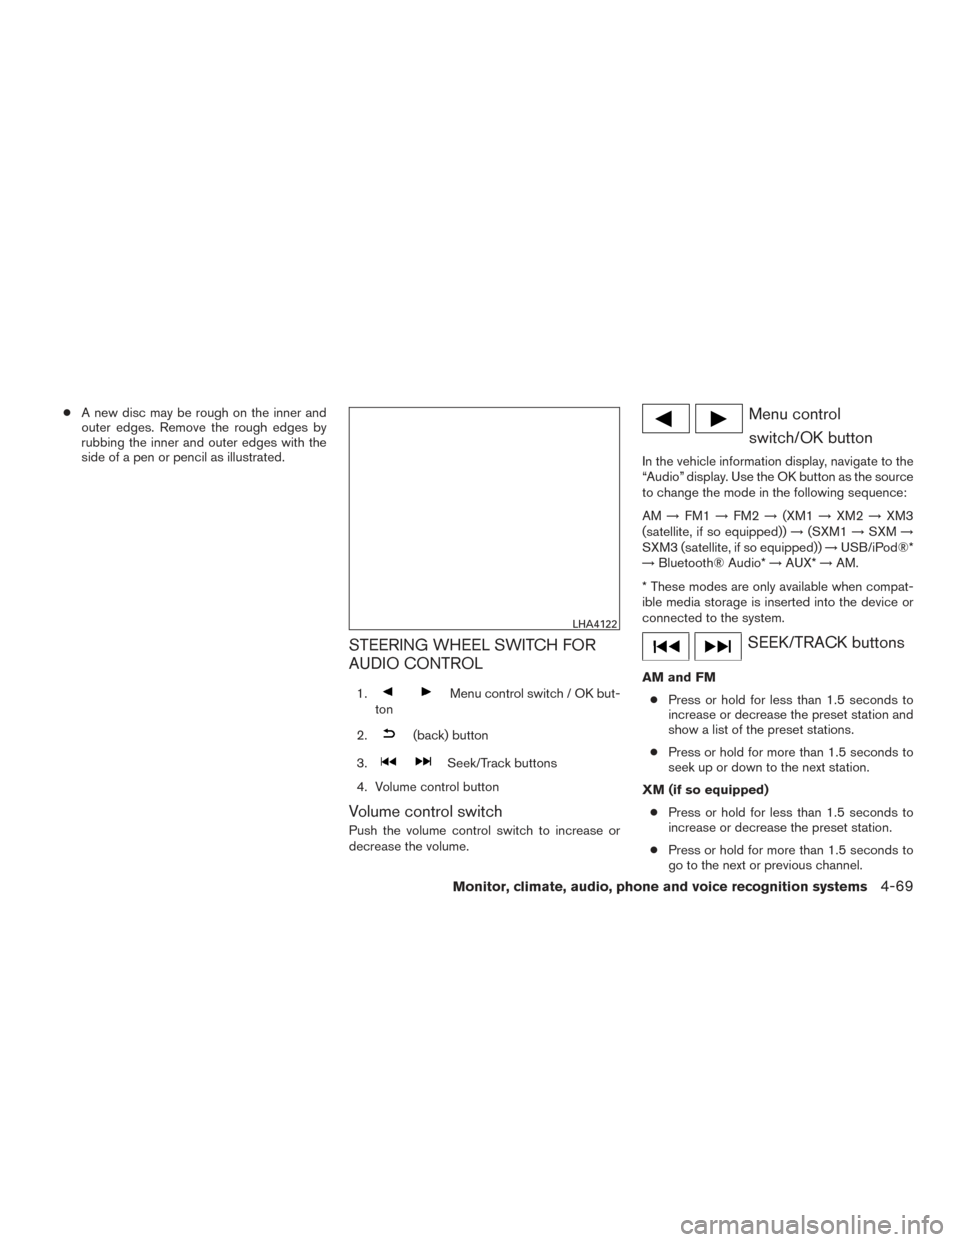
●A new disc may be rough on the inner and
outer edges. Remove the rough edges by
rubbing the inner and outer edges with the
side of a pen or pencil as illustrated.
STEERING WHEEL SWITCH FOR
AUDIO CONTROL
1.Menu control switch / OK but-
ton
2.
(back) button
3.
Seek/Track buttons
4. Volume control button
Volume control switch
Push the volume control switch to increase or
decrease the volume.
Menu control switch/OK button
In the vehicle information display, navigate to the
“Audio” display. Use the OK button as the source
to change the mode in the following sequence:
AM →FM1 →FM2 →(XM1 →XM2 →XM3
(satellite, if so equipped)) →(SXM1 →SXM →
SXM3 (satellite, if so equipped)) →USB/iPod®*
→ Bluetooth® Audio* →AUX* →AM.
* These modes are only available when compat-
ible media storage is inserted into the device or
connected to the system.
SEEK/TRACK buttons
AM and FM ● Press or hold for less than 1.5 seconds to
increase or decrease the preset station and
show a list of the preset stations.
● Press or hold for more than 1.5 seconds to
seek up or down to the next station.
XM (if so equipped) ● Press or hold for less than 1.5 seconds to
increase or decrease the preset station.
● Press or hold for more than 1.5 seconds to
go to the next or previous channel.
LHA4122
Monitor, climate, audio, phone and voice recognition systems4-69
Page 512 of 520
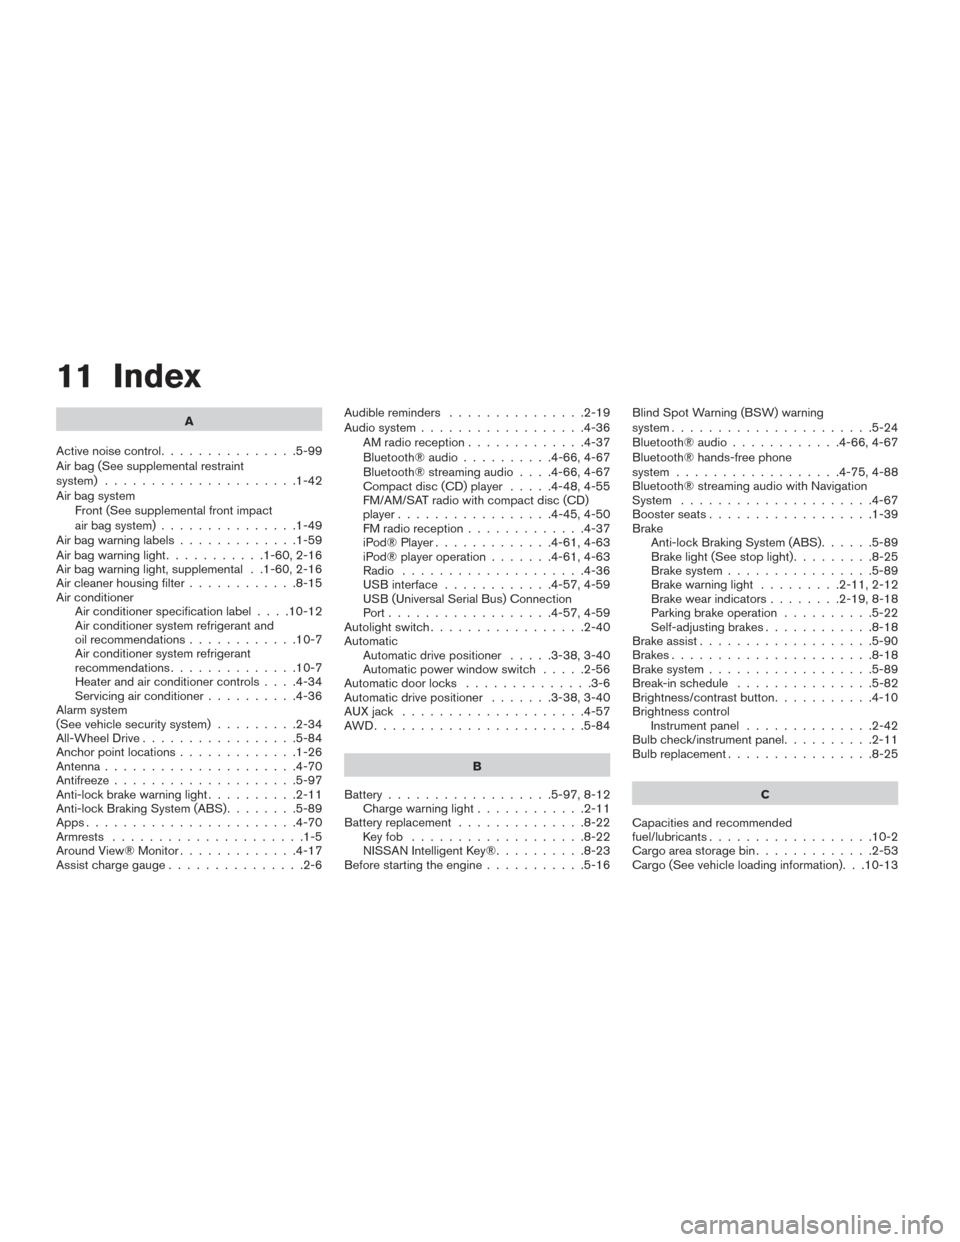
11 Index
A
Active noise control ...............5-99
Air bag (See supplemental restraint
system) .....................1-42
Air bag system Front (See supplemental front impact
air bag system) ...............1-49
Airbagwarninglabels.............1-59
Airbagwarninglight...........1-60,2-16
Air bag warning light, supplemental . .1-60, 2-16
Air cleaner housing filter ............8-15
Air conditioner Air conditioner specification label ....10-12
Air conditioner system refrigerant and
oil recommendations ............10-7
Air conditioner system refrigerant
recommendations ..............10-7
Heater and air conditioner controls ....4-34
Servicing air conditioner ..........4-36
Alarm system
(See vehicle security system) .........2-34
All-Wheel Drive .................5-84
Anchor point locations .............1-26
Antenna .....................4-70
Antifreeze ....................5-97
Anti-lock brake warning light ..........2-11
Anti-lock Braking System (ABS) ........5-89
Apps .......................4-70
Armrests .....................1-5
Around View® Monitor .............4-17
Assist charge gauge ...............2-6 Audible reminders
...............2-19
Audio system ..................4-36
AMradioreception.............4-37
Bluetooth®audio..........4-66,4-67
Bluetooth® streaming audio ....4-66,4-67
Compact disc (CD) player .....4-48,4-55
FM/AM/SAT radio with compact disc (CD)
player.................4-45,4-50
FMradioreception.............4-37
iPod® Player .............4-61,4-63
iPod® player operation .......4-61,4-63
Radio ....................4-36
USB interface ............4-57,4-59
USB (Universal Serial Bus) Connection
Port..................4-57,4-59
Autolight switch .................2-40
Automatic Automatic drive positioner .....3-38,3-40
Automatic power window switch .....2-56
Automatic door locks ..............3-6
Automatic drive positioner .......3-38,3-40
AUXjack ....................4-57
AWD.......................5-84
B
Battery ..................5-97,8-12
Chargewarninglight............2-11
Battery replacement ..............8-22
Keyfob ...................8-22
NISSAN Intelligent Key® ..........8-23
Before starting the engine ...........5-16 Blind Spot Warning (BSW) warning
system......................5-24
Bluetooth® audio
............4-66,4-67
Bluetooth® hands-free phone
system..................4-75,4-88
Bluetooth® streaming audio with Navigation
System .....................4-67
Boosterseats..................1-39
Brake Anti-lock Braking System (ABS) ......5-89
Brakelight(Seestoplight).........8-25
Brake system ................5-89
Brakewarninglight .........2-11,2-12
Brakewearindicators........2-19,8-18
Parking brake operation ..........5-22
Self-adjusting brakes ............8-18
Brake assist ...................5-90
Brakes ......................8-18
Brake system ..................5-89
Break-inschedule ...............5-82
Brightness/contrast button ...........4-10
Brightness control Instrument panel ..............
2
-42
Bulb check/instrument panel ..........2-11
Bulbreplacement................8-25
C
Capacities and recommended
fuel/lubricants ..................10-2
Cargoareastoragebin.............2-53
Cargo (See vehicle loading information). . .10-13