display NISSAN ROGUE SELECT 2014 2.G Quick Reference Guide
[x] Cancel search | Manufacturer: NISSAN, Model Year: 2014, Model line: ROGUE SELECT, Model: NISSAN ROGUE SELECT 2014 2.GPages: 20, PDF Size: 1.1 MB
Page 3 of 20
TABLE OF CONTENTS
New SYSTeM FeaT ureS
RearV
iew Monitor (if so equipped)
.................................2
Sport Mode
...................................................
2
U
SB/AUX Jack and iPod
® Interface (if so equipped)..................2
e
SS
eNT
ial
iNF
orM
a
T
io N
T
ire Pressure Monitoring System (TPMS)
...........................3
Fuel-filler
d
oor
.................................................3
Loose Fuel Cap................................................3
T
owing Your Vehicle
.............................................4
Outside T
emperature
d
isplay
.....................................4
Cloc
k Set/Adjustment
...........................................5
Fi
r
ST D
rive Fea
T
ure
S
Remote
k
eyless Entry System
....................................
6
Liftgate Release.................................................6
Front Seat Adjustments..........................................7
F
olding the Rear Seatbacks d own
.................................7
Outside Mirror Control Switc
h
....................................7
St
arting/Stopping the Engine
.....................................8
Headlight Control
..............................................
8
W
indshield Wiper and Washer Switch .............................
9
Manual Climate Controls........................................10
FM/AM/SiriusXM
® Satellite Radio with Cd Player (if so equipped).....11
Cruise Control (if so equipped)
..................................
12
S
Y
ST
e
M
Gui
D
e
T
rip Computer
................................................
13
Bluetooth
® Hands-free Phone System (if so equipped) ..............13
Please see your Owner’s Manual for important safety
information and system operation limitations.
•
A cellular telephone should not be used for any purpose while
driving so full attention may be given to vehicle operation.
•
Always wear your seat belt.
• Supplement
al air bags do not replace proper seat belt usage.
•
Children
12 and under should always ride in the rear seat
properly secured in child restraints or seat belts according to
their age and weight.
•
d o not drink and drive.
For more information, refer to the “Safety – – Seats, seat belts and
supplemental restraint system (section 1)”, “Center display, heater,
air conditioner, audio, phone and voice recognition systems (section
4)” and “Starting and driving (section 5)” of your Owner’s Manual.
Additional information about your vehicle is also available in your
Owner’s Manual, Navigation System Owner’s Manual and at www.nissanusa.com.
To view detailed
instructional videos, go to
www.nissanownersinfo.mobi/2014/ rogueselect
or snap this barcode with an appropriate barcode reader.
1512586_14_RogueSelect_QRG_111313.indd 511/13/13 9:04 AM
Page 4 of 20
2
new system features
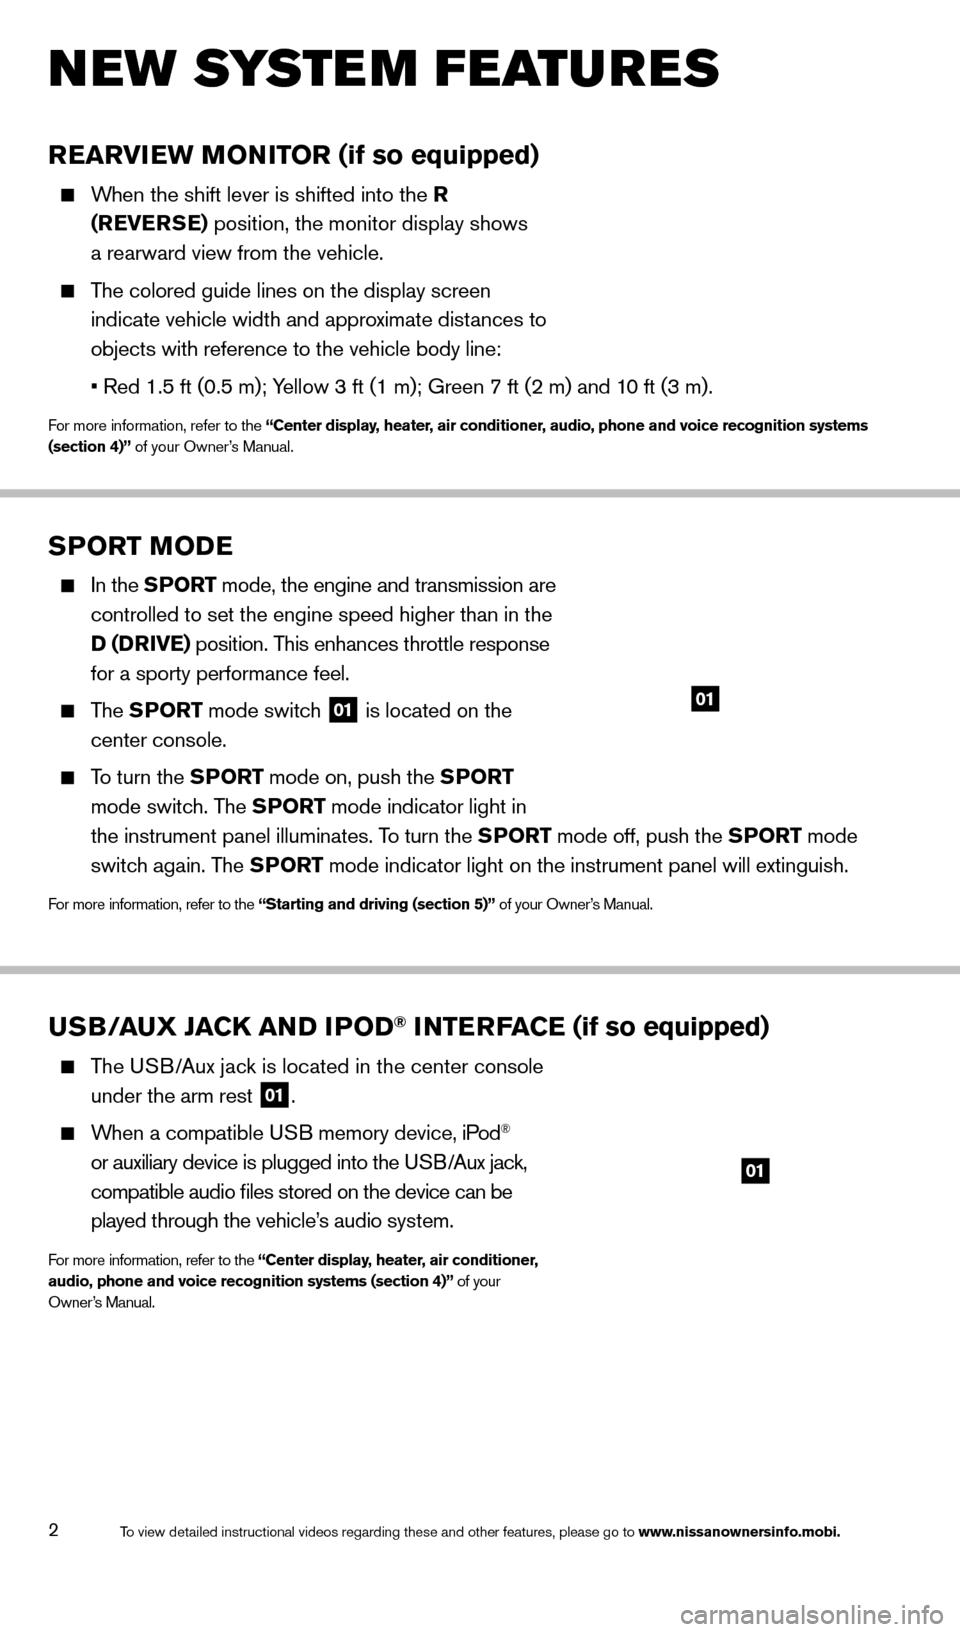
SPorT Mo De
In the SPor T mode, the engine and transmission are
controlled to set the engine speed higher than in the
D (D
r
ive ) position. This enhances throttle response
for a sporty performance feel.
The SPor T mode switch
01 is located on the
center console.
To turn the SPor T mode on, push the SPor T
mode switch. The SP
or
T mode indicator light in
the instrument panel illuminates. To turn the SP
or
T mode off, push the SP
or
T mode
switch again. The SP
or
T mode indicator light on the instrument panel will extinguish.
For more information, refer to the “Starting and driving (section 5)” of your Owner’s Manual.
01
uSB/aux jaCk a ND i Po D® iNTerFaCe (if so equipped)
The USB/Aux jack is located in the center console
under the arm rest
01.
When a compatible USB memory device, iPod®
or auxiliary device is plugged into the USB/Aux jack,
compatible audio files stored on the device can be
played through the vehicle’s audio system.
For more information, refer to the “Center display, heater, air conditioner,
audio, phone and voice recognition systems (section 4)” of your
Owner’s Manual.
01
rearview Mo Ni Tor (if so equipped)
When the shift lever is shifted into the r
( rever
Se
) position, the monitor display shows
a rearward view from the vehicle.
The colored guide lines on the display screen indicate vehicle width and approximate distances to
objects with reference to the vehicle body line:
•
Red
1.5 ft (0.5 m); Yellow 3 ft (1 m); Green 7 ft (2 m) and 10 ft (3 m).
For more information, refer to the “Center display, heater, air conditioner, audio, phone and voice recognition systems
(section 4)” of your Owner’s Manual.
1512586_14_RogueSelect_QRG_111313.indd 211/13/13 9:04 AM
To view detailed instructional videos regarding these and other features, please go\
to www.nissanownersinfo.mobi.
Page 5 of 20
3
esse ntial i n for mation
Tire PreSSu re Mo Ni Tor iN G SYST eM (TPM S)
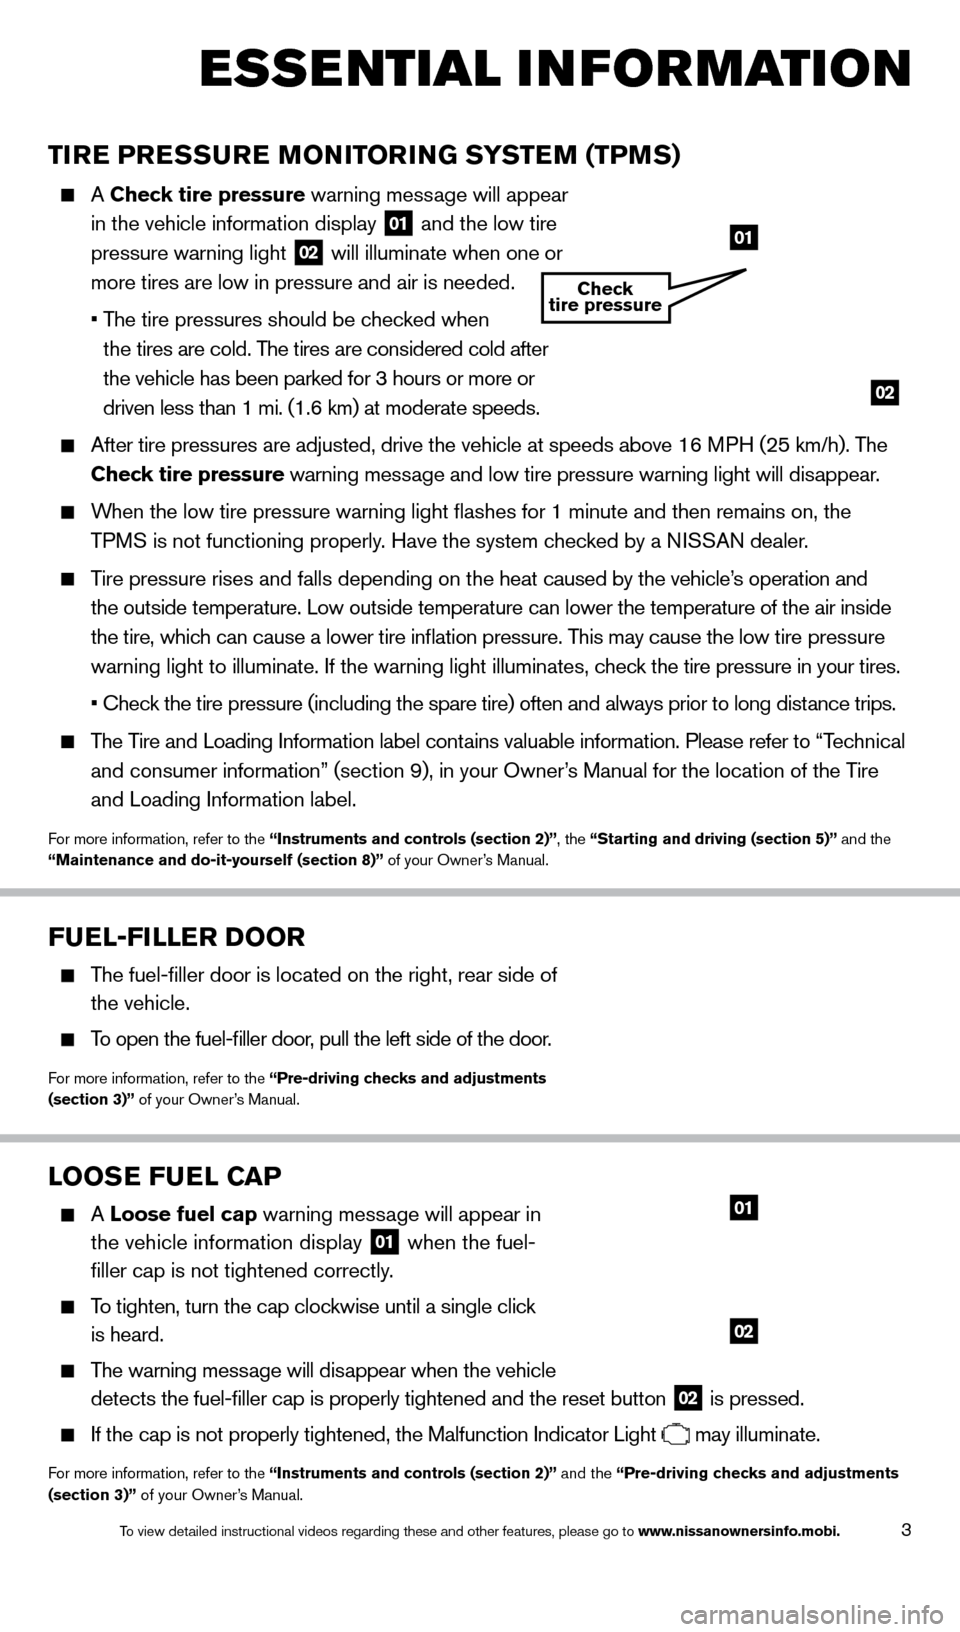
A Check tire pressure warning message will
appear
in the vehicle information display
01 and the low tire
pressure warning light 02 will illuminate when one or
more tires are low in pressure and air is needed.
•
T
he
tire
pressures
should be checked when
t
he tires are cold. The tires are considered cold after
the vehicle has been parked for 3 hours or more or
driven less than 1 mi. (1.6 km) at moderate speeds.
After tire pressures are adjusted, drive the vehicle at speeds above 16 \
M PH (25 km/h). The
C heck tire pressure warning message and low tire pressure warning light will disappear.
When the low tire pressure warning light flashes for 1 minute and then \
remains on, the
TPMS is not functioning properly. Have the system checked by a NISSAN dealer.
Tire pressure rises and falls depending on the heat caused by the vehicle’s operation and the outside temperature. Low outside temperature can lower the temperatu\
re of the air inside
the tire, which can cause a lower tire inflation pressure. This may cause the low tire pressure
warning light to illuminate. If the warning light illuminates, check the tire pressure in your tires.
•
Check the tire pressure (including the spare tire) often and always prior to long distance trips.
The Tire and Loading Information label contains valuable information. Please refer to “Technical and consumer information” (section 9), in your Owner’s Manual for the location of the Tire
and Loading Information label.
For more information, refer to the “instruments and controls (section 2)”, the “Starting and driving (section 5)” and the
“Maintenance and do-it-yourself (section 8)” of your Owner’s Manual.
looSe F uel Ca P
A loose fuel cap warning message will appear in
the vehicle information display
01 when the fuel-
filler cap is not tightened correctly.
To tighten, turn the cap clockwise until a single click
is heard.
The warning message will disappear when the vehicle detects the fuel-filler cap is properly tightened and the reset button\
02 is pressed.
If the cap is not properly tightened, the Malfunction Indicator Light may illuminate.
For more information, refer to the “instruments and controls (section 2)” and the “Pre-driving checks and adjustments
(section 3)” of your Owner’s Manual.
02
01
02
01
Check
tire pressure
Fuel-Filler Door
The fuel-filler door is located on the right, rear side of
the vehicle.
To open the fuel-filler door, pull the left side of the door.
For more information, refer to the “Pre-driving checks and adjustments
(section 3)” of your Owner’s Manual.
1512586_14_RogueSelect_QRG_111313.indd 311/13/13 9:04 AM
To view detailed instructional videos regarding these and other features, please go\
to www.nissanownersinfo.mobi.
Page 6 of 20
4
TowiNG Your veHiC le
ALL-W HEEL d RIVE ( AW d) V EHICLE (if so equipped)
•
An
all-wheel drive vehicle must be towed with all wheels off the ground.
For proper towing and to avoid accidental damage to your vehicle, NISSAN recommends that a service operator tow your vehicle after carefully reading the Own\
er’s Manual precautions.
For more information, refer to the “in case of emergency (section 6)” of your Owner’s Manual.
ouTSiDe T eM P eraT ure DiS P laY
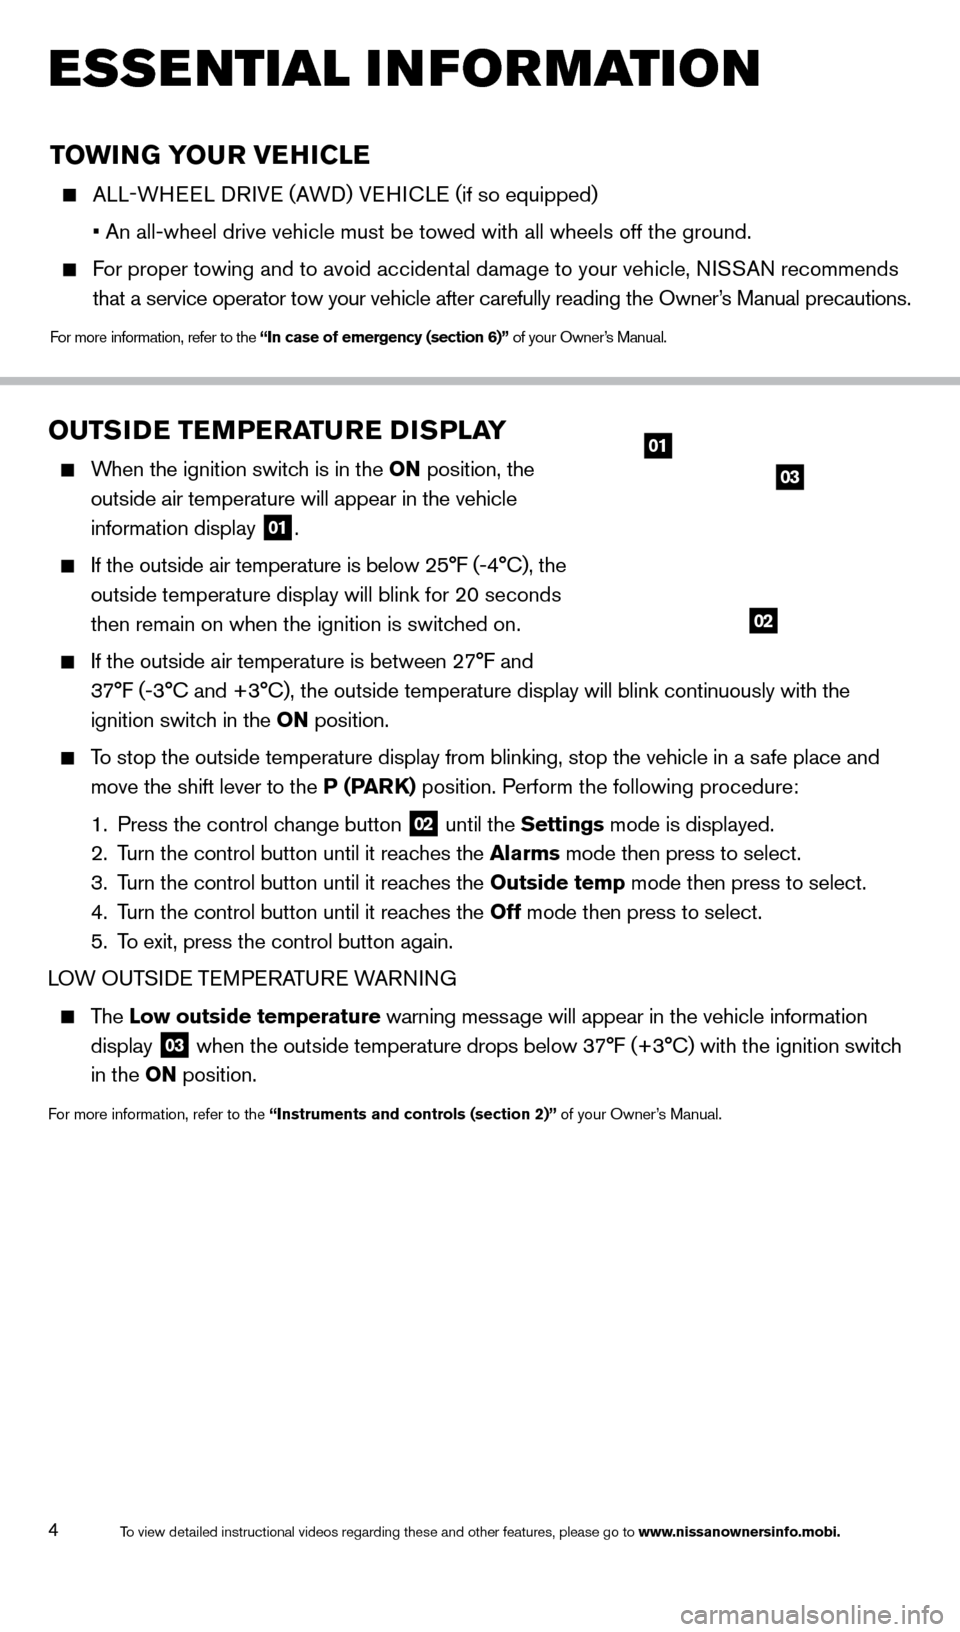
When the ignition switch is in the o N position, the
outside air temperature will appear in the vehicle
information display
01.
If the outside air temperature is below 25°F (-4°C), the
outside temperature display will blink for 20 seconds
then remain on when the ignition is switched on.
If the outside air temperature is between 2 7°F and
37°F (-3°C and +3°C), the outside temperature display will bli\
nk continuously with the
ignition switch in the
o N position.
To stop the outside temperature display from blinking, stop the vehicle i\
n a safe place and
move the shift lever to the P (P
ar
k ) position. Perform the following procedure:
1.
Press the control c
hange button
02 until the Settings mode is displayed.
2.
T
urn the control button until it reaches the alarms mode then press to select.
3.
T
urn the control button until it reaches the o utside temp mode then press to select.
4.
T
urn the control button until it reaches the o ff mode then press to select.
5.
T
o exit, press the control button again.
LOW OUTSI
d
E
TEMPERATURE WARNING
The l ow outside temperature warning message will appear in the vehicle information
display
03 when the outside temperature drops below 37°F (+3°C) with the ignition switch
in the
o
N position.
For more information, refer to the “instruments and controls (section 2)” of your Owner’s Manual.
01
03
02
esse ntial i n for mation
1512586_14_RogueSelect_QRG_111313.indd 411/13/13 9:04 AM
To view detailed instructional videos regarding these and other features, please go\
to www.nissanownersinfo.mobi.
Page 7 of 20
5
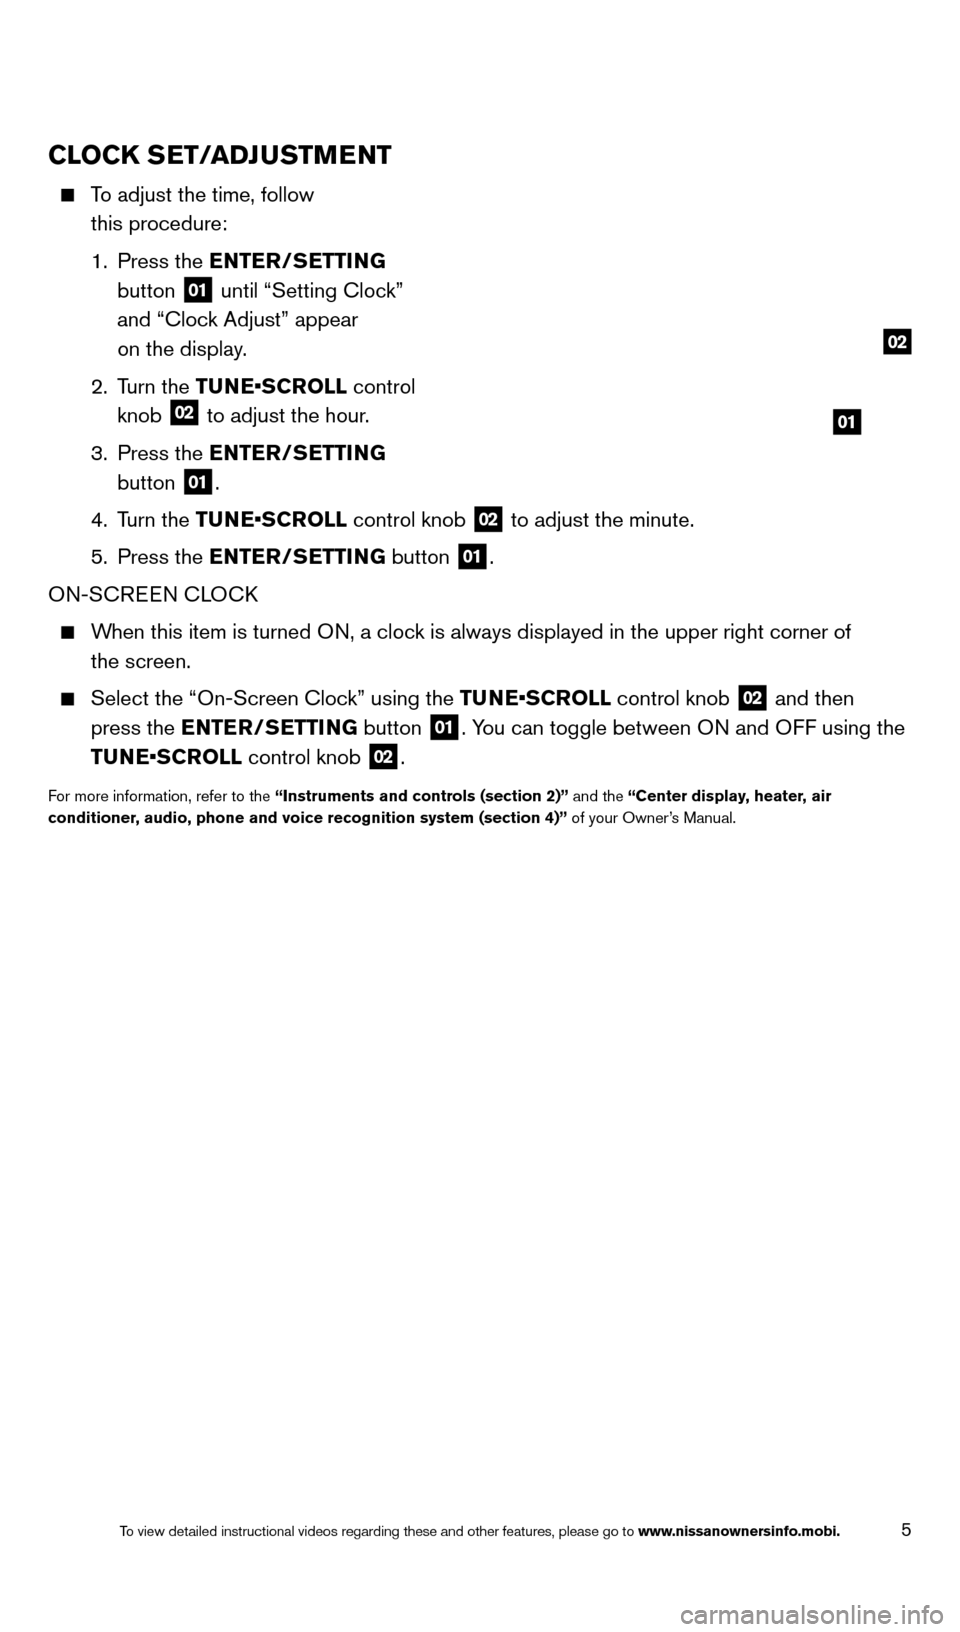
CloCk SeT/a Dj uSTMeNT
To adjust the time, follow
this procedure:
1.
Press the
e
NT
er
/S e
T
T
i
NG
button
01 until “Setting Clock”
and “Clock Adjust” appear
on the display.
2.
Turn the TUNE•SCROLL control
knob
02 to adjust the hour.
3.
Press the
e
NT
er
/S e
T
T
i
NG
button
01.
4.
Turn the TUNE•SCROLL control knob
02 to adjust the minute.
5.
Press the
e
NT
er
/S
e
T
T
i
NG button
01.
ON-SCREEN CLOC
k
When this item is turned ON, a clock is always displayed in the upper right corner of the screen.
Select the “On-Screen Cloc k” using the TUNE•SCROLL control knob 02 and then
press the
e
NT
er
/S
e
T
T
i
NG button
01. You can toggle between ON and OFF using the
TUNE•SCROLL control knob
02.
For more information, refer to the “instruments and controls (section 2)” and the “Center display, heater, air
conditioner , audio, phone and voice recognition system (section 4)” of your Owner’s Manual.
01
02
1512586_14_RogueSelect_QRG_111313.indd 511/13/13 9:04 AM
To view detailed instructional videos regarding these and other features, please go\
to www.nissanownersinfo.mobi.
Page 12 of 20
10
first drive features
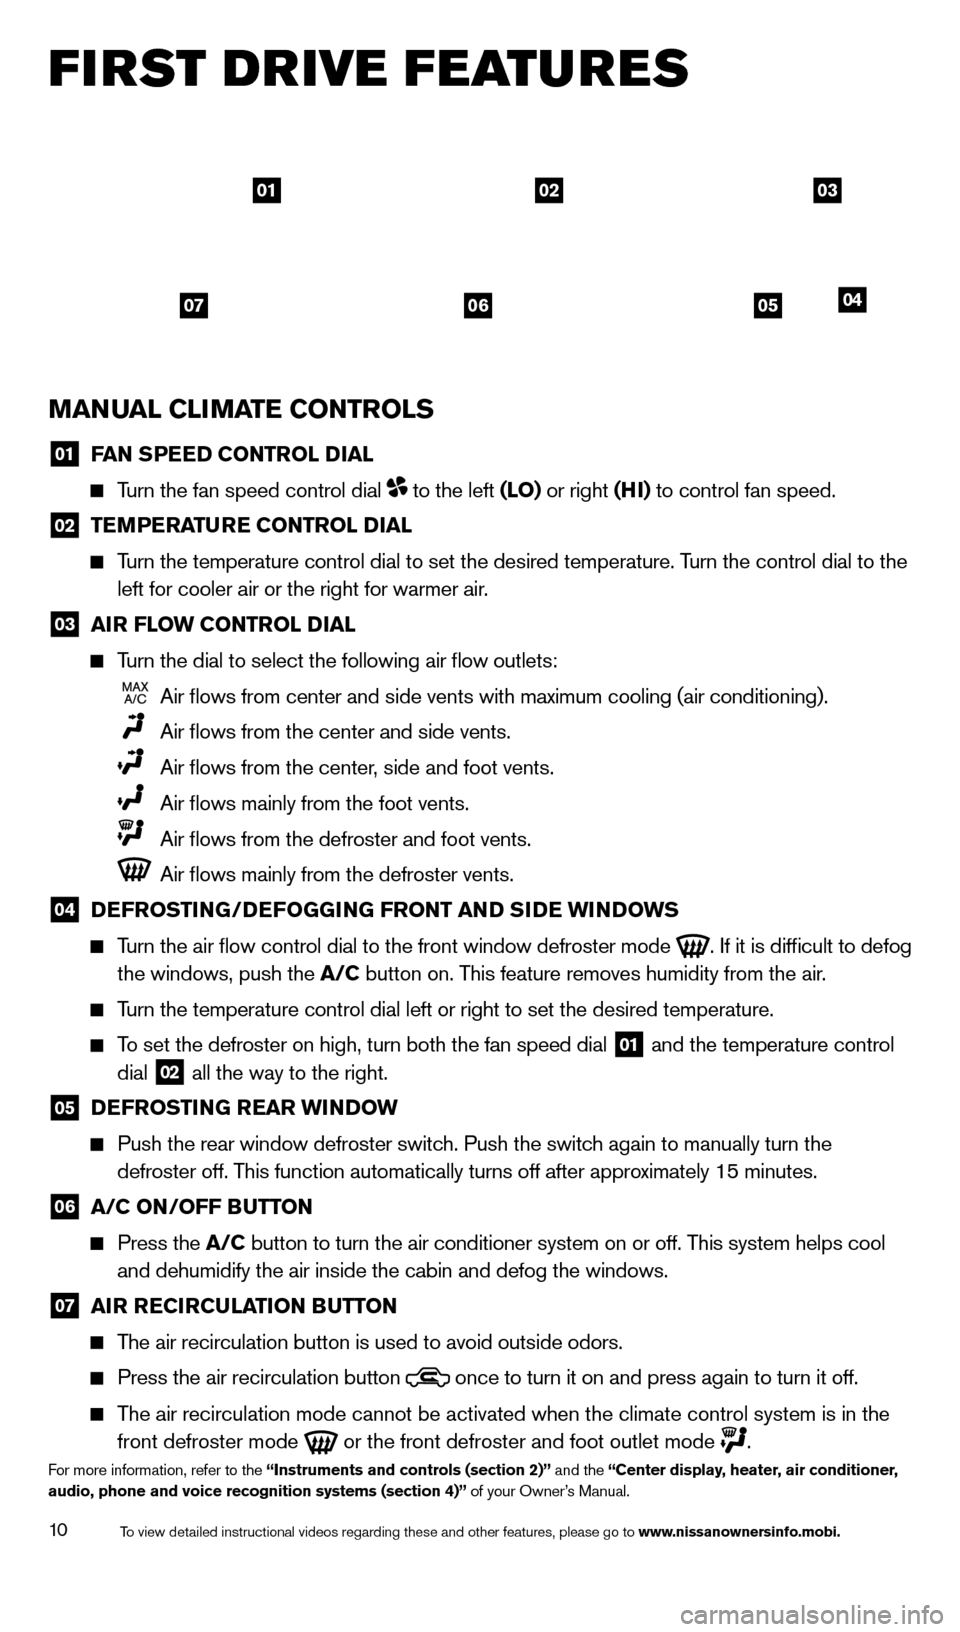
MaNual C liM aT e C o NT rol S
01 FaN SP eeD C o NT rol Dial
Turn the fan speed control dial to the left (lo) or right (Hi ) to control fan speed.
02 TeM P eraT ure C o NT rol Dial
Turn the temperature control dial to set the desired temperature. Turn the control dial to the left for cooler air or the right for warmer air.
03 air F low C o NT rol Dial
Turn the dial to select the following air flow outlets:
Air flows from center and side vents with maximum cooling (air condit\
ioning).
Air flows from the center and side vents.
Air flows from the center , side and foot vents.
Air flows mainly from the foot vents.
Air flows from the defroster and foot vents.
Air flows mainly from the defroster vents.
04 DeF ro ST iN G/DeFo GGiN G F ro NT a ND SiDe wiN Do w S
Turn the air flow control dial to the front window defroster mode
. If it is difficult to defog
the windows, push the
a
/C button on. This feature removes humidity from the air.
Turn the temperature control dial left or right to set the desired temper\
ature.
To set the defroster on high, turn both the fan speed dial 01 and the temperature control
dial 02 all the way to the right.
05 DeF ro ST iN G rear wiN Do w
Push the rear window defroster switc h. Push the switch again to manually turn the
defroster off. This function automatically turns off after approximately 15 minutes.
06 a /C o N/ o FF Bu TTo N
Press the a
/C button to turn the air conditioner system on or off. This system helps cool
and dehumidify the air inside the cabin and defog the windows.
07 air reC irC ulaT io N Bu TTo N
The air recirculation button is used to avoid outside odors.
Press the air recirculation button
once to turn it on and press again to turn it off.
The air recirculation mode cannot be activated when the climate control s\
ystem is in the
front defroster mode
or the front defroster and foot outlet mode .For more information, refer to the “instruments and controls (section 2)” and the “Center display, heater, air conditioner,
audio, phone and voice recognition systems (section 4)” of your Owner’s Manual.
010302
05040607
1512586_14_RogueSelect_QRG_111313.indd 1011/13/13 9:04 AM
To view detailed instructional videos regarding these and other features, please go\
to www.nissanownersinfo.mobi.
Page 13 of 20
11
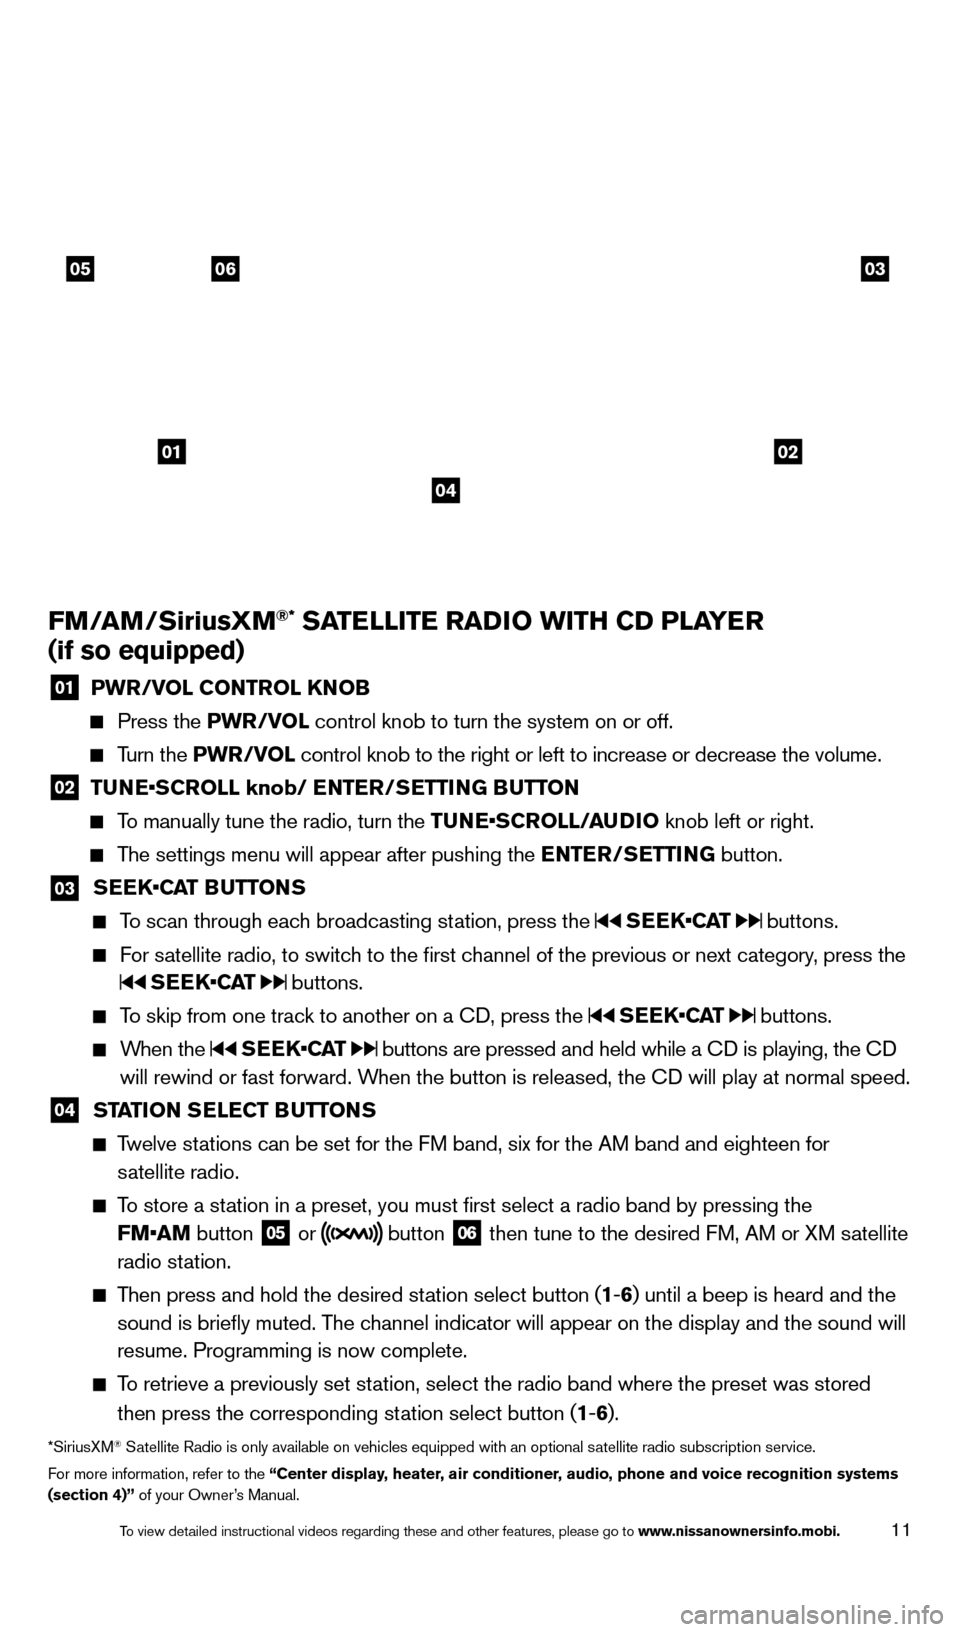
FM/aM/Sirius xM®* SaTelli T e ra Di o wi TH CD P laY er
(if so equipped)
01 P wr/ vol C o NT rol kNo B Press the
P wr/ vol control knob to turn the system on or off.
Turn the P wr/ vol control knob to the right or left to increase or decrease the volume.
02 TUNE•SCROLL knob/ ENTER/SETTING BUTTON To manually tune the radio, turn the TUNE•SCROLL/AUDIO knob left or right.
The settings menu will appear after pushing the
eNT er/ Se TT iN G button.
03 S EEK•CAT BUTTONS To scan through each broadcasting station, press the
SEEK•CAT buttons.
For satellite radio, to switch to the first channel of the previous or next category, press the
SEEK•CAT buttons.
To skip from one track to another on a Cd , press the SEEK•CAT buttons.
When the SEEK•CAT buttons are pressed and held while a Cd is playing, the Cd
will rewind or fast forward. W hen the button is released, the C
d
will play at normal speed.
04 STaTio N Se leC T Bu TTo NS Twelve stations can be set for the FM band, six for the AM band and eighteen for
satellite radio.
To store a station in a preset, you must first select a radio band by pressing the
FM•AM button
05 or button 06 then tune to the desired FM, AM or XM satellite
radio station.
Then press and hold the desired station select button (1 -6 ) until a beep is heard and the
sound is briefly muted. The channel indicator will appear on the display and the sound will
resume. Programming is now complete.
To retrieve a previously set station, select the radio band where the preset was stored
then press the corresponding station select button (1 -6 ).
*SiriusXM® Satellite Radio is only available on vehicles equipped with an optional s\
atellite radio subscription service.
For more information, refer to the “Center display, heater, air conditioner, audio, phone and voice recognition systems
(section 4)” of your Owner’s Manual.
01
030506
02
04
1512586_14_RogueSelect_QRG_111313.indd 1111/13/13 9:04 AM
To view detailed instructional videos regarding these and other features, please go\
to www.nissanownersinfo.mobi.
Page 15 of 20
13
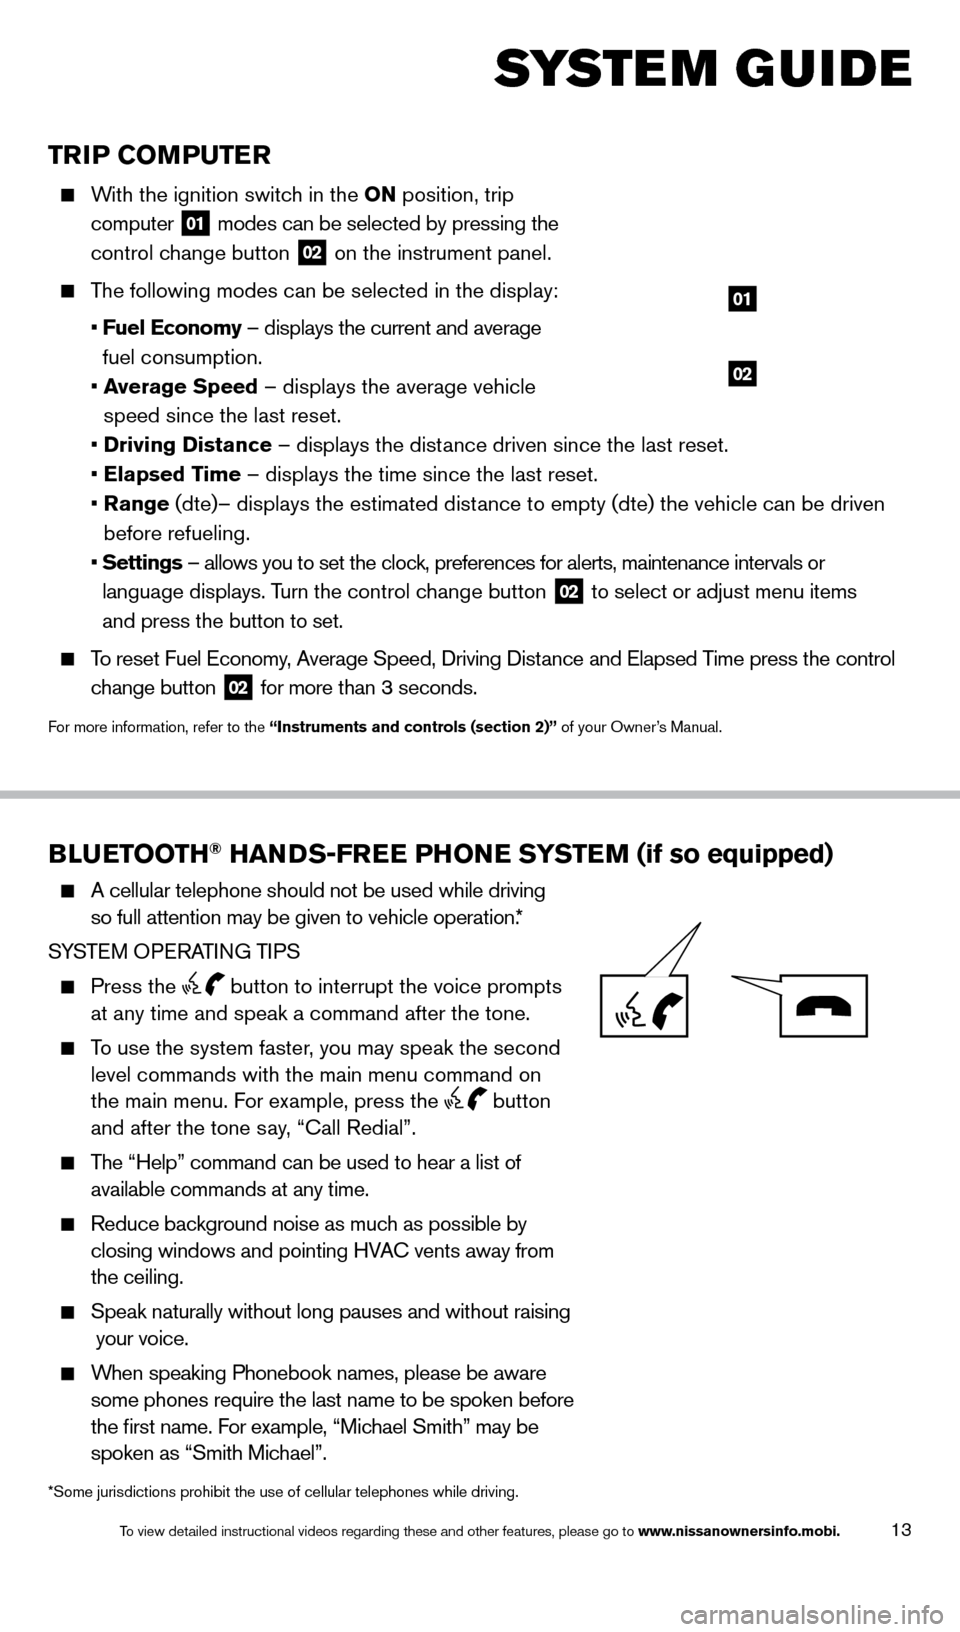
TriP Co MP u T er
With the ignition switch in the o N position, trip
computer
01 modes can be selected by pressing the
control change button
02 on the instrument panel.
The following modes can be selected in the display:
•
F
uel e conomy – displays the current and average
fuel consumption.
•
a
verage Speed
– displays the average vehicle
speed since the last reset.
•
Driving Distance
– displays the distance driven since the last reset.
•
e
lapsed Time – displays the time since the last reset.
•
r
ange (dte)– displays the estimated distance to empty (dte) the vehicle can be driven
before refueling.
•
Settings
– allows you to set the clock, preferences for alerts, maintenance intervals or
language displays. Turn the control change button
02 to select or adjust menu items
and press the button to set.
To reset Fuel Economy, Average Speed, d riving d istance and Elapsed Time press the control
change button
02 for more than 3 seconds.
For more information, refer to the “instruments and controls (section 2)” of your Owner’s Manual.
02
01
Blue TooTH® HaNDS-Free PHo Ne SYST eM (if so equipped)
A cellular telephone should not be used while driving
so full attention may be given to vehicle operation. *
SYSTEM OPERATING TIPS
Press the button to interrupt the voice prompts
at any time and speak a command after the tone.
To use the system faster, you may speak the second level commands with the main menu command on
the main menu. For example, press the
button
and after the tone say, “Call Redial”.
The “Help” command can be used to hear a list of
available commands at any time.
Reduce bac kground noise as much as possible by
closing windows and pointing HVAC vents away from
the ceiling.
Speak naturally without long pauses and without raising
your voice.
When speaking Phonebook names, please be aware
some phones require the last name to be spoken before
the first name. For example, “Michael Smith” may be
spoken as “Smith Michael”.
system guide
*Some jurisdictions prohibit the use of cellular telephones while drivin\
g.
1512586_14_RogueSelect_QRG_111313.indd 1311/13/13 9:04 AM
To view detailed instructional videos regarding these and other features, please go\
to www.nissanownersinfo.mobi.
Page 17 of 20

15
MAkING A CALL FROM THE PHONEBOOk
1.
Press the button.
2.
After waiting for the tone, s ay “Call”.
3.
After the next tone, speak the name of a phonebook entry
. For example, “Michael Smith”.
4.
Confirm the correct name is recognized by s
aying “ d ial” after the tone.
Names stored in all UPPERCASE letters may not be recognized correctly by the voice
recognition system.
MA
k
I
NG A CALL BY PHONE NUMBER
1.
Press the button. A tone will sound. 2.
S
ay: “Call”. The system acknowledges the command and announces the next set of
available commands.
3.
S
ay: “Phone Number”. The system acknowledges the command and announces the next
set of available commands.
4.
S
ay the number you wish to call, starting with the area code in single digit format.
5.
W
hen you have finished speaking the phone number, the system repeats it back and
announces the available commands.
6.
S
ay: “
d
ial”. The system acknowledges the command and makes the call.
RECEIVING/EN
d
IN
G A CALL
When you receive a phone call, a ring tone sounds through the audio syste\
m.
To accept the call, press the button.
To reject the call, press the button.
To hang-up the phone at the end of a call or to disconnect during call pl\
acement, press
the
button.
For more information, refer to the “Center display, heater, air conditioner, audio, phone and voice recognition systems
(section 4)” of your Owner’s Manual.
1512586_14_RogueSelect_QRG_111313.indd 1511/13/13 9:05 AM
To view detailed instructional videos regarding these and other features, please go\
to www.nissanownersinfo.mobi.