tow NISSAN SENTRA 2007 B16 / 6.G Quick Reference Guide
[x] Cancel search | Manufacturer: NISSAN, Model Year: 2007, Model line: SENTRA, Model: NISSAN SENTRA 2007 B16 / 6.GPages: 12, PDF Size: 1.71 MB
Page 3 of 12

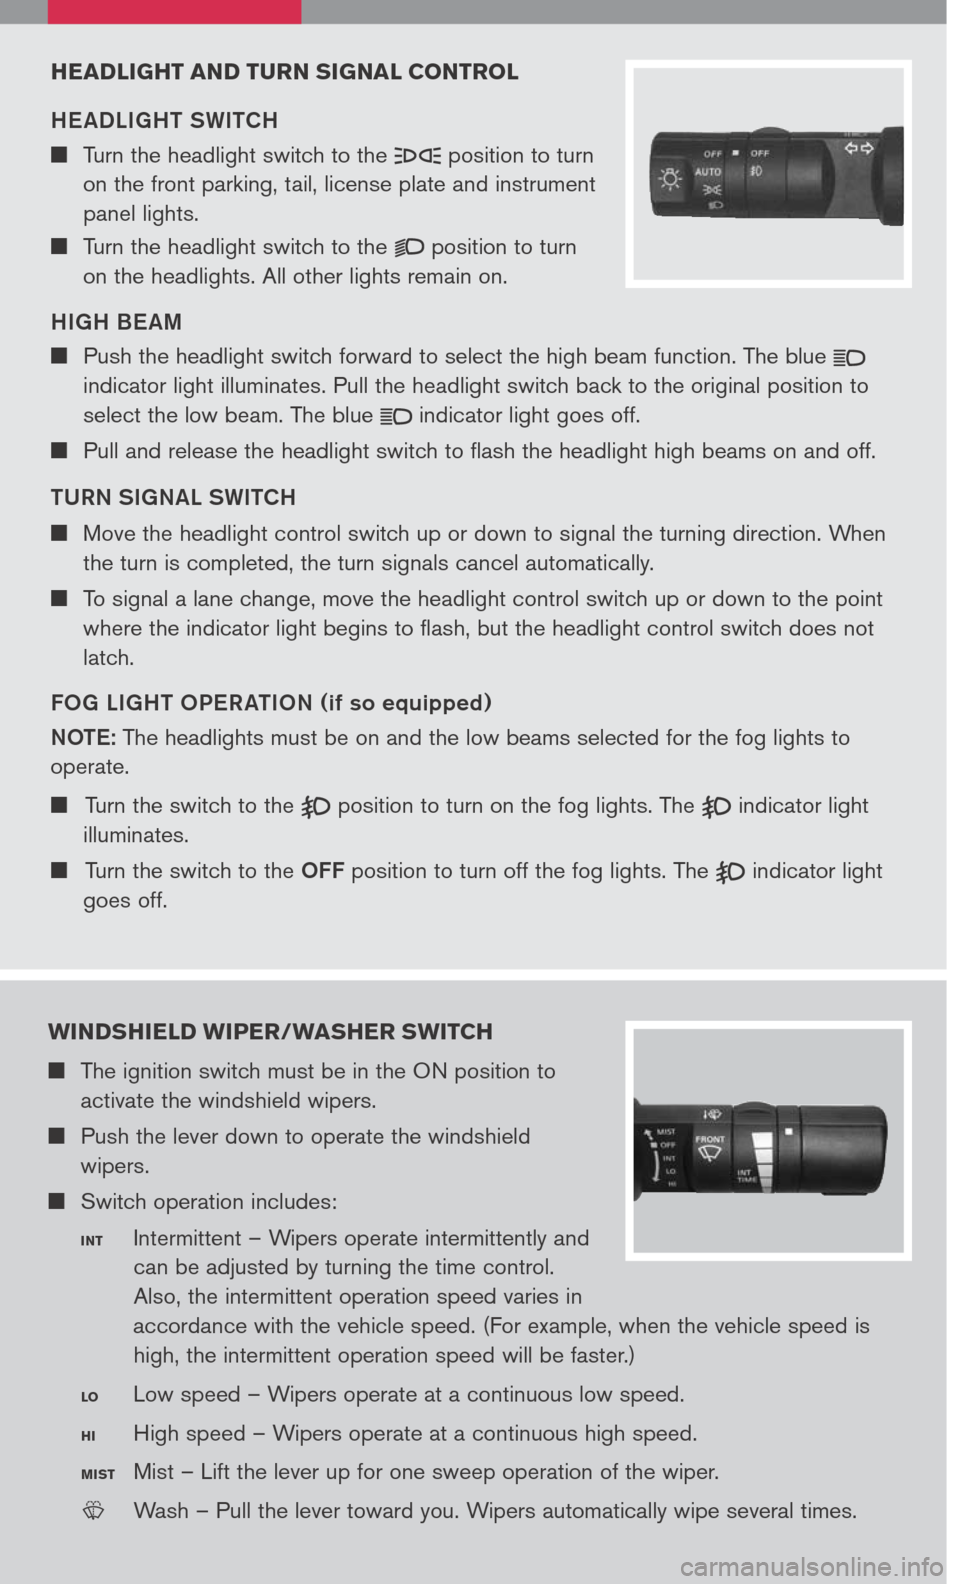
headlight and turn signal control
HE ADLIGHT SWITCH
Turn the headlight switch to the position to turn
on the front parking, tail, license plate and instrument
panel lights.
Turn the headlight switch to the position to turn
on the headlights. All other lights remain on.
HIGH BE AM
Push the headlight switch forward to select the high beam function. The blue
indicator light illuminates. Pull the headlight switch back to the original position to
select the low beam. The blue indicator light goes off.
Pull and release the headlight switch to flash the headlight high beams on and off.
TURN SIGNAL SWITCH
Move the headlight control switch up or down to signal the turning direction. When
the turn is completed, the turn signals cancel automatically.
To signal a lane change, move the headlight control switch up or down to the point
where the indicator light begins to flash, but the headlight control switch does not
latch.
FOG LIGHT OPER ATION (if so equipped)
NOTE:
The headlights must be on and the low beams selected for the fog lights to
operate.
Turn the switch to the position to turn on the fog lights. The indicator light
illuminates.
Turn the switch to the OFF position to turn off the fog lights. The indicator light
goes off.
W indshield Wiper /Washer s W itch
The ignition switch must be in the ON position to
activate the windshield wipers.
Push the lever down to operate the windshield
wipers.
Switch operation includes:
Intermittent – Wipers operate intermittently and
can be adjusted by turning the time control.
Also, the intermittent operation speed varies in
accordance with the vehicle speed. (For example, when the vehicle speed is
high, the intermittent operation speed will be faster.)
Low speed – Wipers operate at a continuous low speed.
High speed – Wipers operate at a continuous high speed.
Mist – Lift the lever up for one sweep operation of the wiper.
LCN0042
Wash – Pull the lever toward you. Wipers automatically wipe several times.
int
lo
hi
M ist
Page 5 of 12

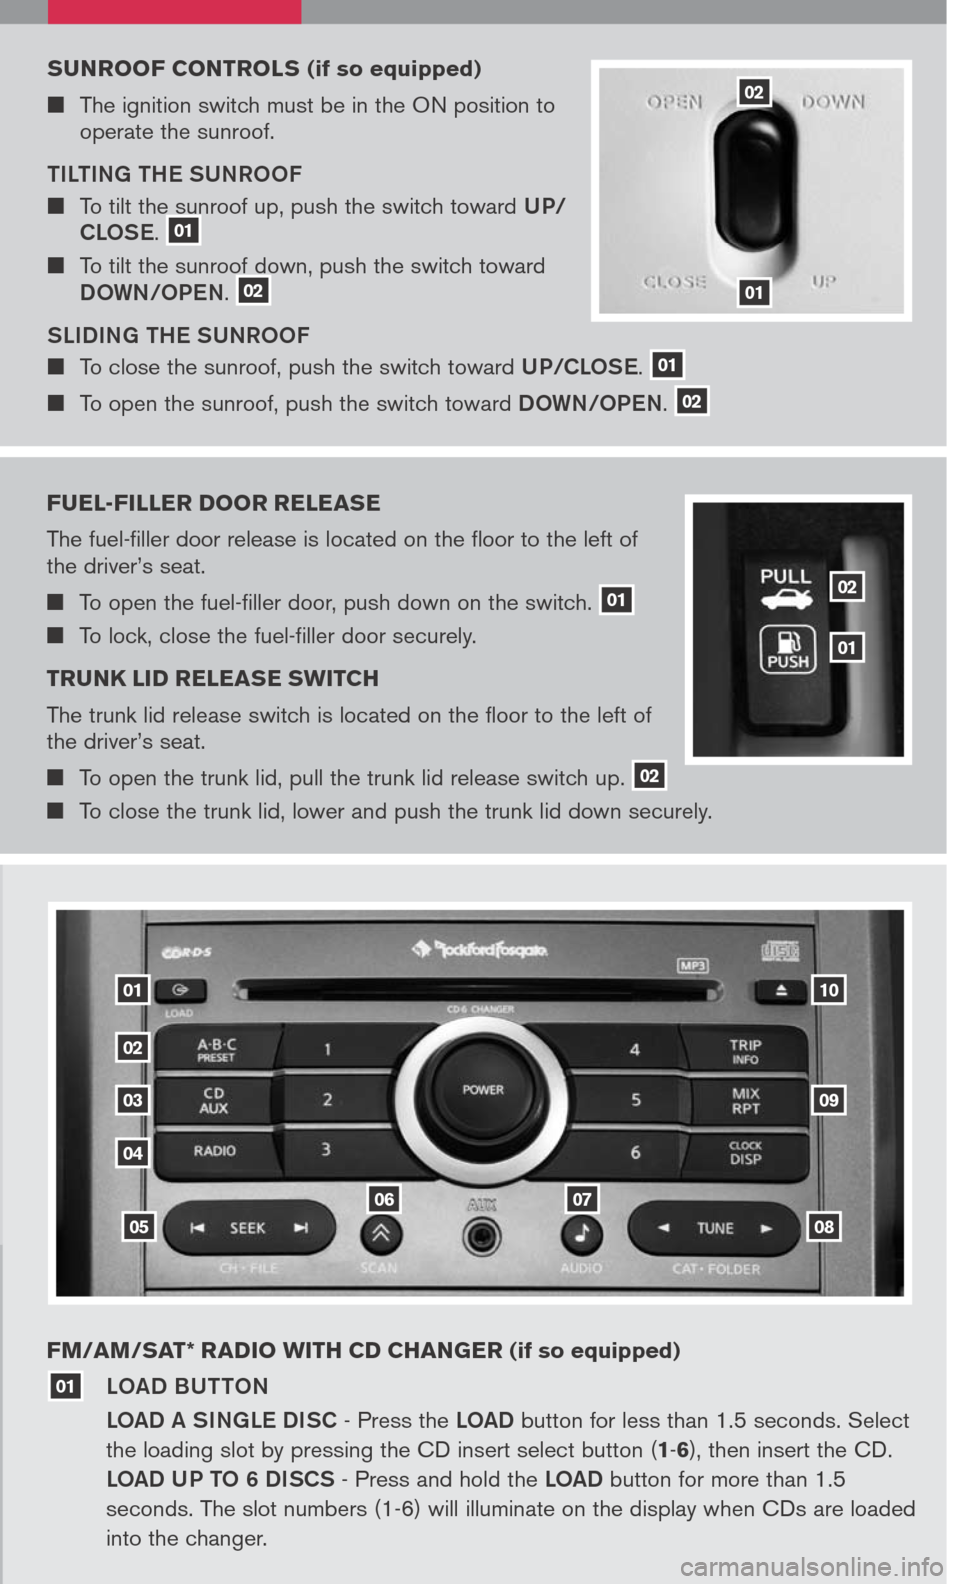
sunrooF controls (if so equipped)
The ignition switch must be in the ON position to operate the sunroof.
TILTING THE SUNROOF
To tilt the sunroof up, push the switch toward UP/
CLOSE. 01 To tilt the sunroof down, push the switch toward DOWN/OPEN. 02
SLIDING THE SUNROOF
To close the sunroof, push the switch toward UP/CLOSE. 01
To open the sunroof, push the switch toward DOWN/OPEN. 02
Fuel -Filler door release
The fuel-filler door release is located on the floor to the left of the driver’s seat.
To open the fuel-filler door, push down on the switch. 01
To lock, close the fuel-filler door securely.
trunk lid release s W itch
The trunk lid release switch is located on the floor to the left of the driver’s seat.
To open the trunk lid, pull the trunk lid release switch up. 02
To close the trunk lid, lower and push the trunk lid down securely.
LOAD BUTTON
LOAD A SINGLE DISC - Press the LOAD button for less than 1.5 seconds. Select
the loading slot by pressing the CD insert select button (1-6), then insert the CD.
LOAD UP TO 6 DISCS - Press and hold the LOAD button for more than 1.5
seconds. The slot numbers (1-6) will illuminate on the display when CDs are loaded
into the changer.
FM/
aM/ sat * radio With cd changer (
if so equipped)
01
02
01
01
02
03
04
05
0607
08
09
10
01
02
Page 10 of 12

01
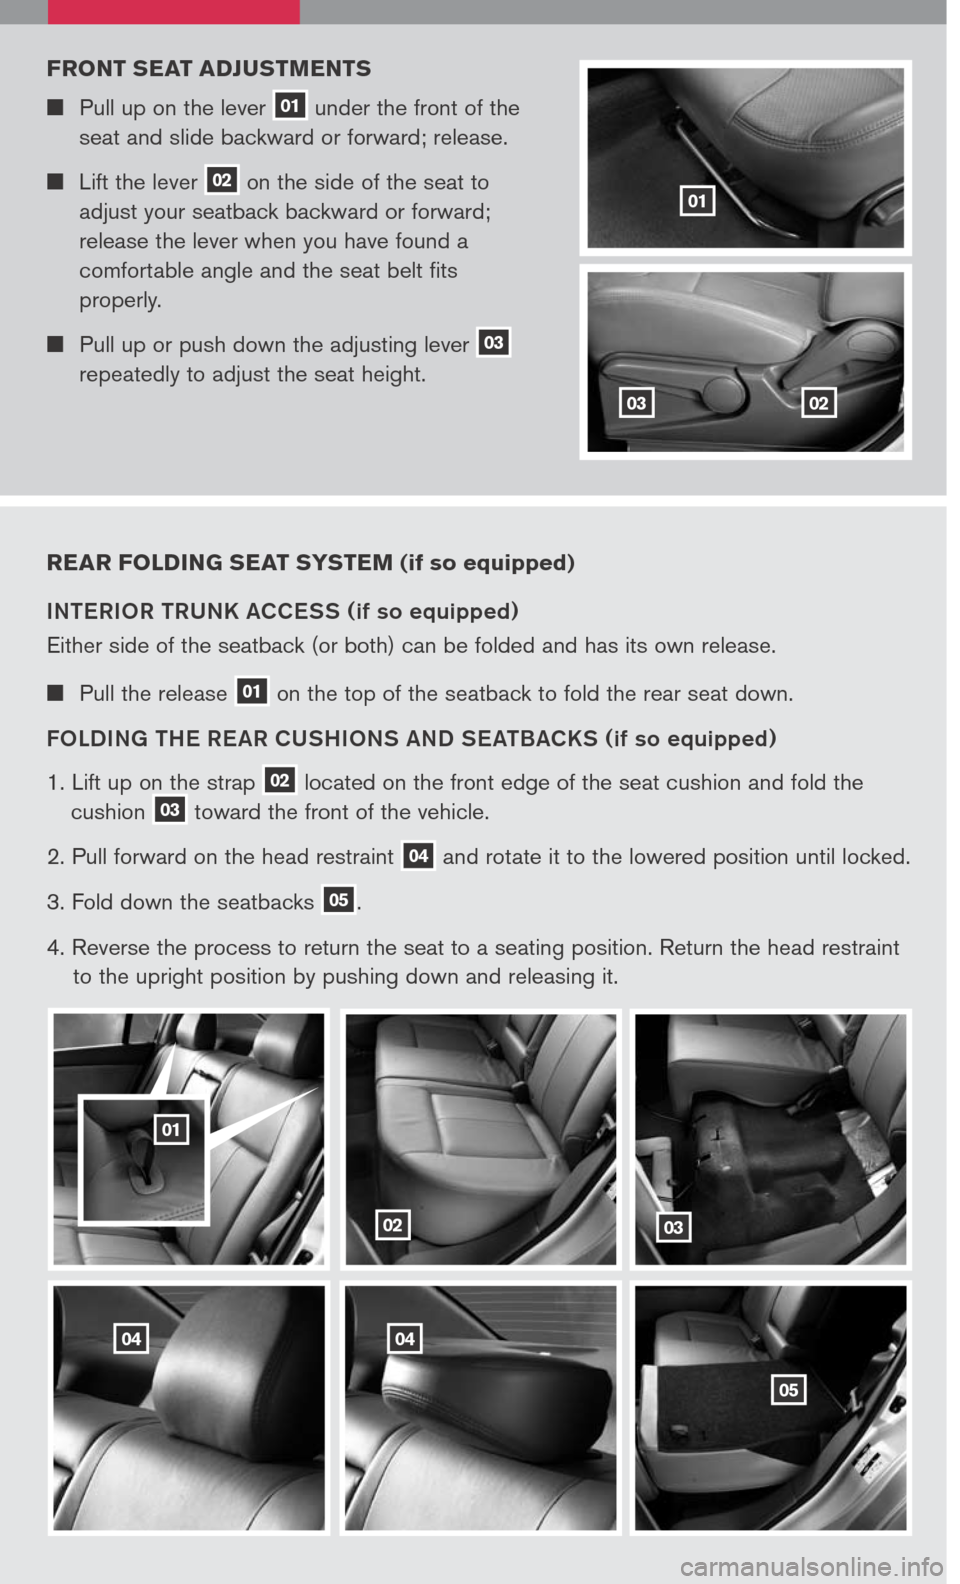
rear Folding seat syste M (if so equipped)
INTERIOR TRUNK ACCESS (if so equipped)
Either side of the seatback (or both) can be folded and has its own release.
Pull the release 01 on the top of the seatback to fold the rear seat down.
FOLDING THE RE AR CUSHIONS AND SE ATBACKS
(if so equipped)
1. Lift up on the strap 02 located on the front edge of the seat cushion and fold the
cushion 03 toward the front of the vehicle.
2. Pull forward on the head restraint 04 and rotate it to the lowered position until locked.
3. Fold down the seatbacks 05.
4. Reverse the process to return the seat to a seating position. Return the head restraint
to the upright position by pushing down and releasing it.
02
01
F ront seat adjust Ments
Pull up on the lever 01 under the front of the
seat and slide backward or forward; release.
Lift the lever 02 on the side of the seat to
adjust your seatback backward or forward;
release the lever when you have found a
comfortable angle and the seat belt fits
properly.
Pull up or push down the adjusting lever 03 repeatedly to adjust the seat height.
0203
0404
03
05