clock reset NISSAN SENTRA 2023 Owners Manual
[x] Cancel search | Manufacturer: NISSAN, Model Year: 2023, Model line: SENTRA, Model: NISSAN SENTRA 2023Pages: 556, PDF Size: 6.11 MB
Page 105 of 556

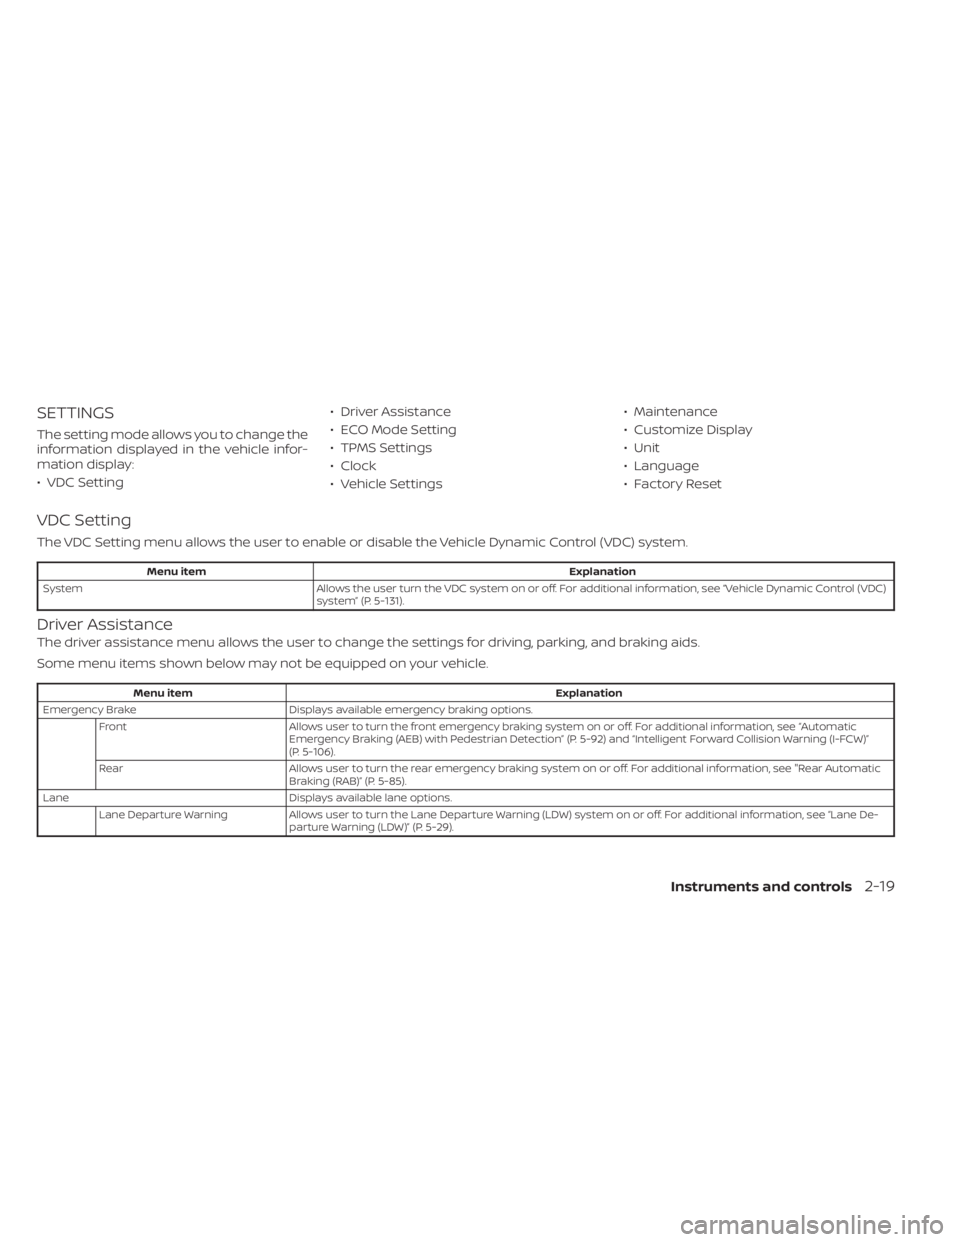
SETTINGS
The setting mode allows you to change the
information displayed in the vehicle infor-
mation display:
• VDC Setting• Driver Assistance
• ECO Mode Setting
• TPMS Settings
• Clock
• Vehicle Settings• Maintenance
• Customize Display
• Unit
• Language
• Factory Reset
VDC Setting
The VDC Setting menu allows the user to enable or disable the Vehicle Dynamic Control (VDC) system.
Menu item
Explanation
System Allows the user turn the VDC system on or off. For additional information, see “Vehicle Dynamic Control (VDC)
system” (P. 5-131).
Driver Assistance
The driver assistance menu allows the user to change the settings for driving, parking, and braking aids.
Some menu items shown below may not be equipped on your vehicle.
Menu item Explanation
Emergency Brake Displays available emergency braking options.
Front Allows user to turn the front emergency braking system on or off. For additional information, see “Automatic
Emergency Braking (AEB) with Pedestrian Detection” (P. 5-92) and “Intelligent Forward Collision Warning (I-FCW)”
(P. 5-106).
Rear Allows user to turn the rear emergency braking system on or off. For additional information, see "Rear Automatic
Braking (RAB)” (P. 5-85).
Lane Displays available lane options.
Lane Departure Warning Allows user to turn the Lane Departure Warning (LDW) system on or off. For additional information, see “Lane De-
parture Warning (LDW)” (P. 5-29).
Instruments and controls2-19
Page 120 of 556

• Digital speed and average speed
• Instant fuel economy/ average fueleconomy
• Tire Pressure
• Audio/telephone
• Intelligent Cruise Control (ICC)
• Speed Limit Sign
• Driving Aids
• Settings
• Warnings*
*Warnings will only display if there are any
present. For additional information, see
“Vehicle information display warnings and
indicators” (P. 2-41).
To control what items display in the vehicle
information display, see “How to use the
vehicle information display” (P. 2-33).RESETTING THE DRIVE COMPUTER
The drive computer is divided across three
screens:
• Average Speed
• Average Fuel Economy
• Trip Distance & Time
1. Press the
buttons
until you reach the desired drive com-
puter mode.
2. Press and hold the OK button for ap- proximately 1 second to reset the infor-
mation on the currently displayed
screen.
NOTE:
If you wish to reset all drive computer
values at once, press and hold the OK
button for approximately 3 seconds until
a reset menu appears; and follow the
instructions.
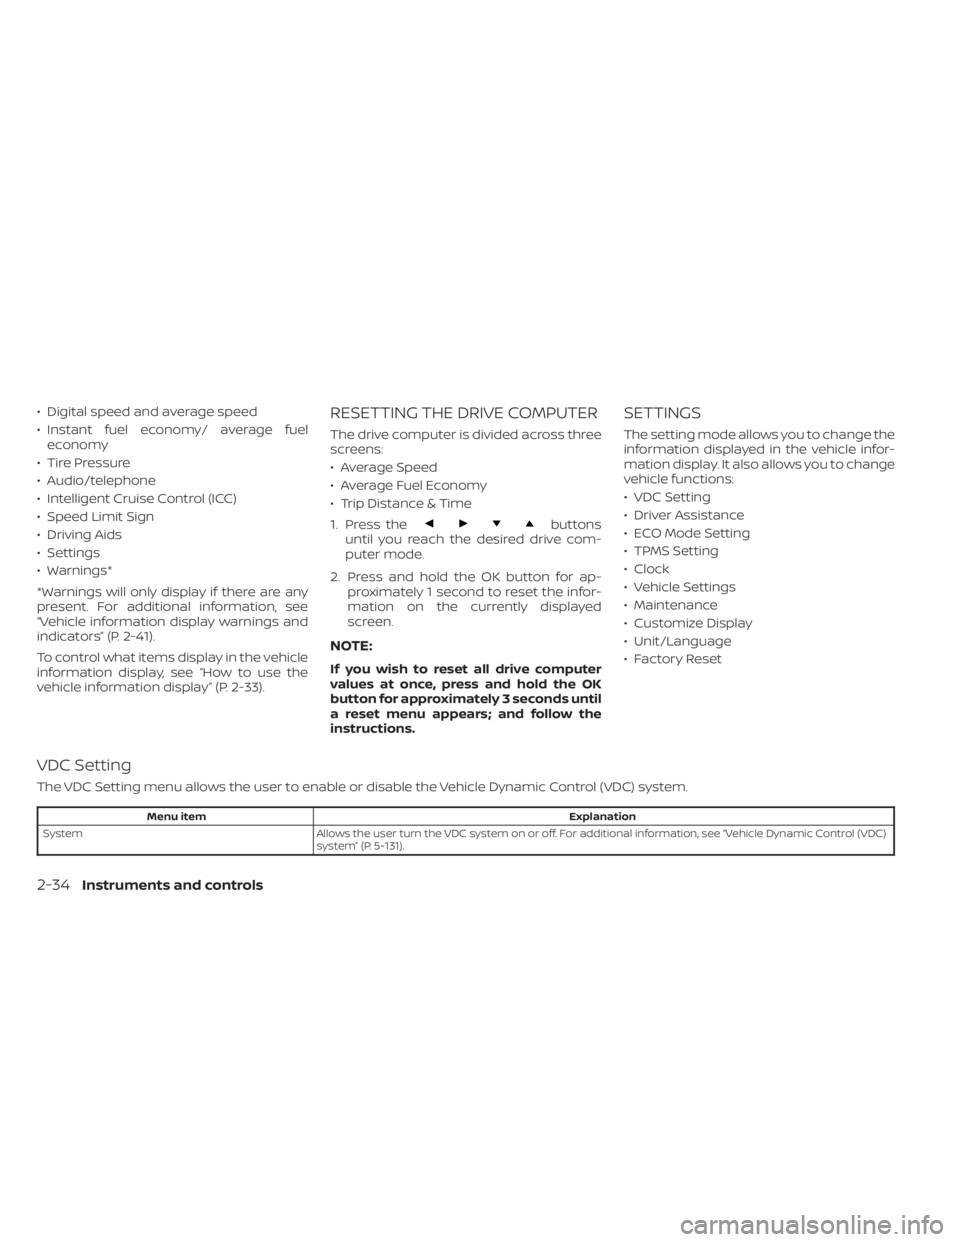
SETTINGS
The setting mode allows you to change the
information displayed in the vehicle infor-
mation display. It also allows you to change
vehicle functions:
• VDC Setting
• Driver Assistance
• ECO Mode Setting
• TPMS Setting
• Clock
• Vehicle Settings
• Maintenance
• Customize Display
• Unit/Language
• Factory Reset
VDC Setting
The VDC Setting menu allows the user to enable or disable the Vehicle Dynamic Control (VDC) system.
Menu item Explanation
System Allows the user turn the VDC system on or off. For additional information, see “Vehicle Dynamic Control (VDC)
system” (P. 5-131).
2-34Instruments and controls
Page 455 of 556

CAUTION
Be careful not to burn yourself, as the
engine oil is hot.
WARNING
• Prolonged and repeated contact
with used engine oil may cause skin
cancer.
• Try to avoid direct skin contact with
used oil. If skin contact is made, wash
thoroughly with soap or hand
cleaner as soon as possible.
• Keep used engine oil out of reach of
children.
4. Loosen the oil filter with an oil filter wrench by turning it counterclockwise.
Remove the oil filter by turning it by
hand.
5. Wipe the engine oil filter mounting sur- face with a clean rag.
CAUTION
Be sure to remove any old gasket ma-
terial remaining on the sealing surface
of the engine. Failure to do so could
lead to an oil leak and engine damage. •
The dipstick must be inserted in
place to prevent oil spillage from the
dipstick hole when filling the engine
with oil.
6. Coat the gasket on the new filter with clean engine oil.
7. Screw in the oil filter clockwise until a slight resistance is felt, then tighten addi-
tionally more than 2/3 turn.
Oil filter tightening torque: 11 to 15 f t-lb (14.7 to 20.6 N·m)
8. Clean and re-install the drain plug with a new washer. Securely tighten the drain
plug with a wrench. Do not use exces-
sive force.
Drain plug tightening torque: 22 to 29 f t-lb (29.4 to 39.2 N·m)
9. Refill the engine with the recommended oil through the oil filler opening, and in-
stall the oil filler cap securely.
For additional information about drain and
refill capacity, see “Recommended fluids/
lubricants and capacities” (P. 10-2). The
drain and refill capacity depends on the oil
temperature and drain time. Use these
specifications for reference only. Always use the dipstick to determine the proper
amount of oil in the engine.
10. Start the engine and check for leakage
around the drain plug and the oil filter.
Correct as required. Turn the engine off
and wait more than 15 minutes. Check
the oil level with the dipstick. Add en-
gine oil if necessary.
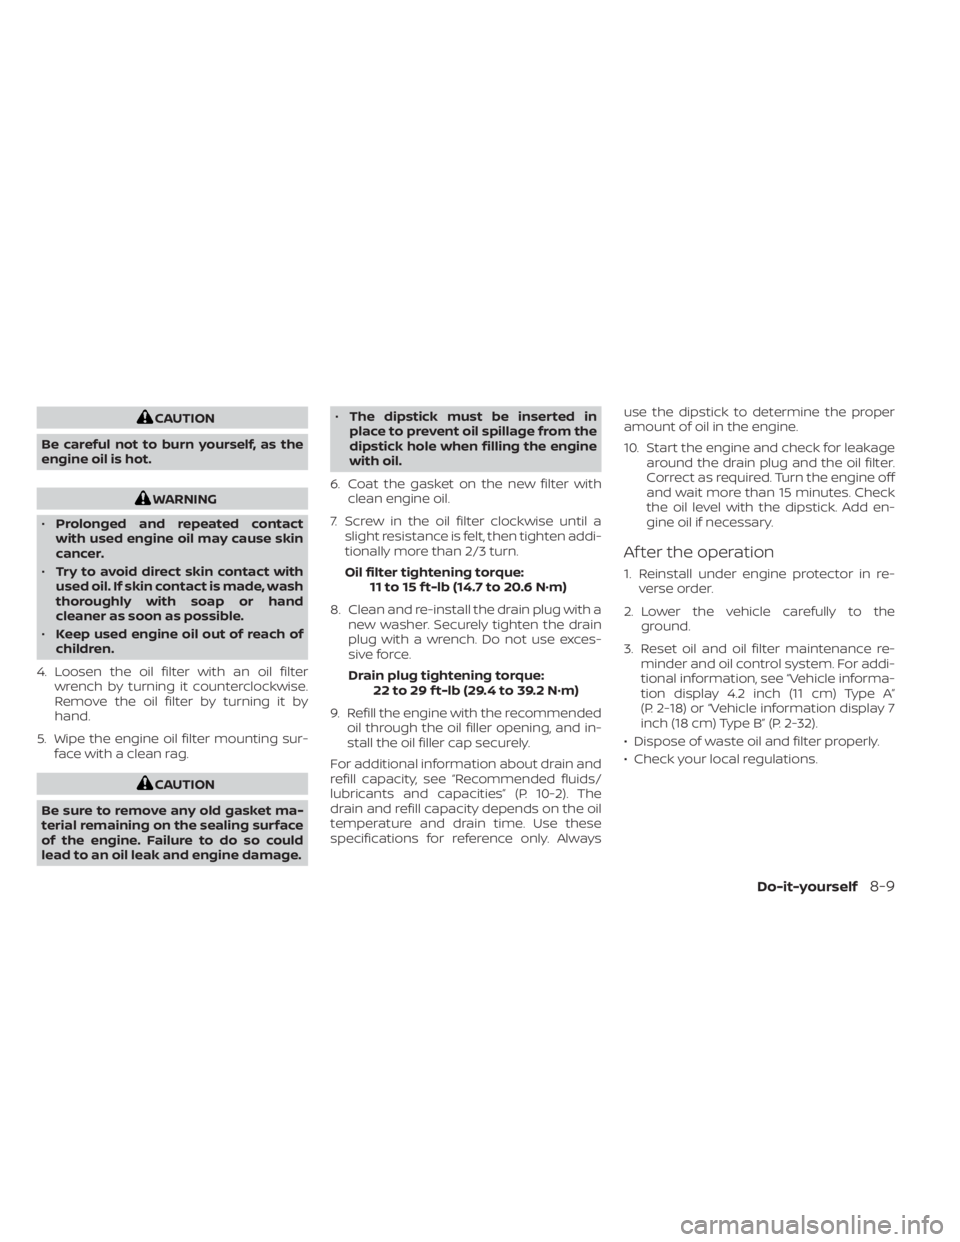
Af ter the operation
1. Reinstall under engine protector in re-verse order.
2. Lower the vehicle carefully to the ground.
3. Reset oil and oil filter maintenance re- minder and oil control system. For addi-
tional information, see “Vehicle informa-
tion display 4.2 inch (11 cm) Type A”
(P. 2-18) or “Vehicle information display 7
inch (18 cm) Type B” (P. 2-32).
• Dispose of waste oil and filter properly.
• Check your local regulations.
Do-it-yourself8-9