Coolant sensor NISSAN TIIDA 2010 Service Repair Manual
[x] Cancel search | Manufacturer: NISSAN, Model Year: 2010, Model line: TIIDA, Model: NISSAN TIIDA 2010Pages: 3745, PDF Size: 73.67 MB
Page 56 of 3745
ON BOARD DIAGNOSTIC (OBD) SYSTEMAT-39
< SERVICE INFORMATION >
DE
F
G H
I
J
K L
M A
B
AT
N
O P
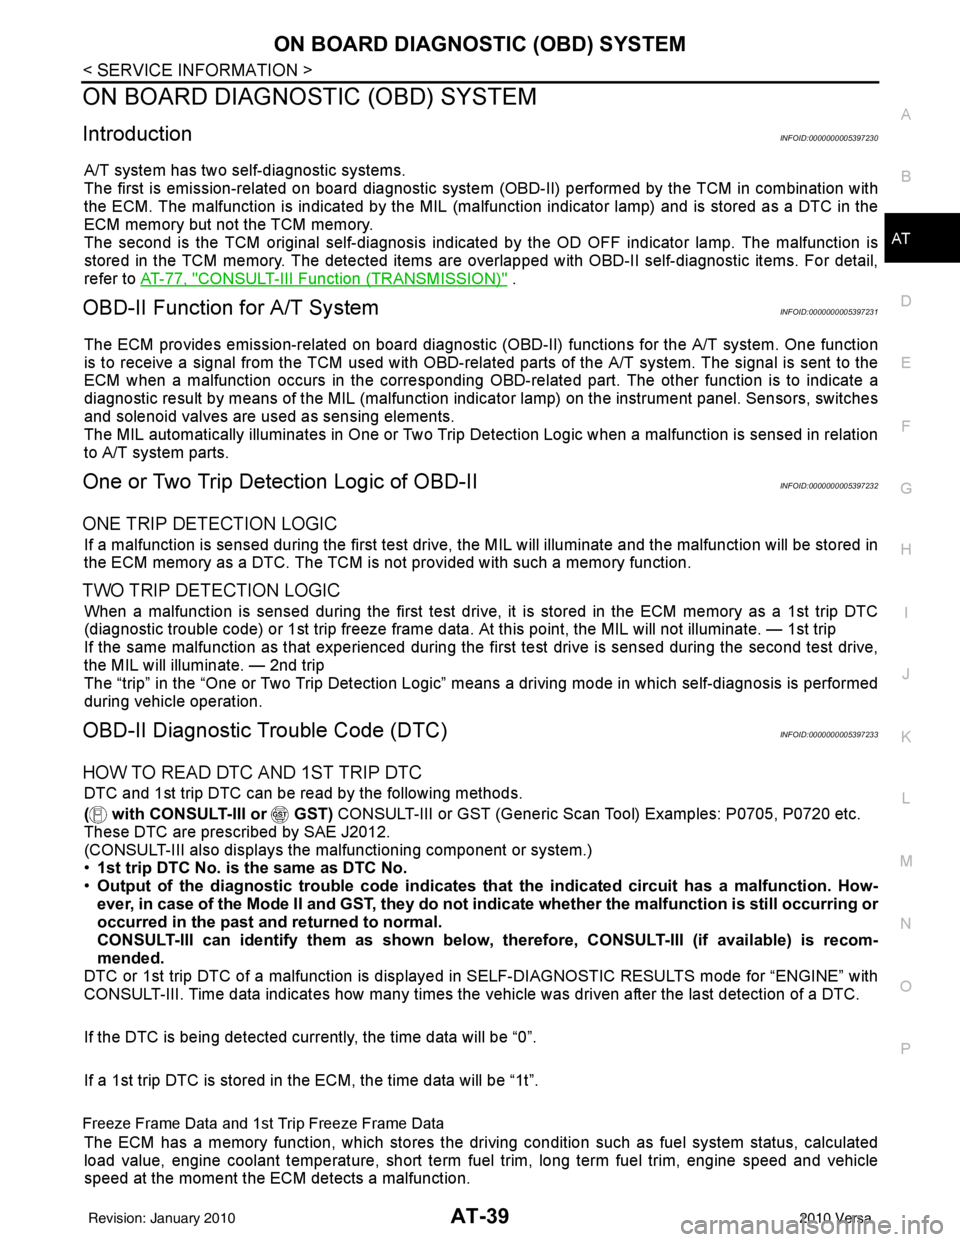
ON BOARD DIAGNOSTIC (OBD) SYSTEM
IntroductionINFOID:0000000005397230
A/T system has two self-diagnostic systems.
The first is emission-related on board diagnostic system (OBD-II) performed by the TCM in combination with
the ECM. The malfunction is indicated by the MIL (malf unction indicator lamp) and is stored as a DTC in the
ECM memory but not the TCM memory.
The second is the TCM original self-diagnosis indicated by the OD OFF indicator lamp. The malfunction is
stored in the TCM memory. The detected items are ov erlapped with OBD-II self-diagnostic items. For detail,
refer to AT-77, "
CONSULT-III Function (TRANSMISSION)" .
OBD-II Function for A/T SystemINFOID:0000000005397231
The ECM provides emission-related on board diagnostic (O BD-II) functions for the A/T system. One function
is to receive a signal from the TCM used with OBD-rela ted parts of the A/T system. The signal is sent to the
ECM when a malfunction occurs in the corresponding OBD-re lated part. The other function is to indicate a
diagnostic result by means of the MIL (malfunction indica tor lamp) on the instrument panel. Sensors, switches
and solenoid valves are used as sensing elements.
The MIL automatically illuminates in One or Two Trip Detection Logic when a malfunction is sensed in relation
to A/T system parts.
One or Two Trip Detection Logic of OBD-IIINFOID:0000000005397232
ONE TRIP DETECTION LOGIC
If a malfunction is sensed during the first test drive, the MIL will illuminate and the malfunction will be stored in
the ECM memory as a DTC. The TCM is not provided with such a memory function.
TWO TRIP DETECTION LOGIC
When a malfunction is sensed during the first test drive, it is stored in the ECM memory as a 1st trip DTC
(diagnostic trouble code) or 1st trip freeze frame data. At this point, the MIL will not illuminate. — 1st trip
If the same malfunction as that experienced during the fi rst test drive is sensed during the second test drive,
the MIL will illuminate. — 2nd trip
The “trip” in the “One or Two Trip Detection Logic” m eans a driving mode in which self-diagnosis is performed
during vehicle operation.
OBD-II Diagnostic Trouble Code (DTC)INFOID:0000000005397233
HOW TO READ DTC AND 1ST TRIP DTC
DTC and 1st trip DTC can be read by the following methods.
( with CONSULT-III or GST) CONSULT-III or GST (Generic Scan Tool) Examples: P0705, P0720 etc.
These DTC are prescribed by SAE J2012.
(CONSULT-III also displays the malfunctioning component or system.)
• 1st trip DTC No. is the same as DTC No.
• Output of the diagnostic trouble code indicates that the indicated circuit has a malfunction. How-
ever, in case of the Mode II and GST, they do not indicate whether the malfunction is still occurring or
occurred in the past and returned to normal.
CONSULT-III can identify them as shown below, therefore, CONS ULT-III (if available) is recom-
mended.
DTC or 1st trip DTC of a malfunction is displayed in SELF-DIAGNOSTIC RESULTS mode for “ENGINE” with
CONSULT-III. Time data indicates how many times the vehicle was driven after the last detection of a DTC.
If the DTC is being detected curr ently, the time data will be “0”.
If a 1st trip DTC is stored in the ECM, the time data will be “1t”.
Freeze Frame Data and 1st Trip Freeze Frame Data
The ECM has a memory function, which stores the driv ing condition such as fuel system status, calculated
load value, engine coolant temperature, short term f uel trim, long term fuel trim, engine speed and vehicle
speed at the moment the ECM detects a malfunction.
Revision: January 20102010 Versa
Page 1007 of 3745
![NISSAN TIIDA 2010 Service Repair Manual WATER OUTLETCO-25
< ON-VEHICLE REPAIR > [HR16DE]
C
D
E
F
G H
I
J
K L
M A
CO
NP
O
WATER OUTLET
Exploded ViewINFOID:0000000005398198
Removal and InstallationINFOID:0000000005398199
REMOVAL
1. Drain engi](/img/5/57397/w960_57397-1006.png "NISSAN TIIDA 2010 Service Repair Manual WATER OUTLETCO-25
< ON-VEHICLE REPAIR > [HR16DE]
C
D
E
F
G H
I
J
K L
M A
CO
NP
O
WATER OUTLET
Exploded ViewINFOID:0000000005398198
Removal and InstallationINFOID:0000000005398199
REMOVAL
1. Drain engi")
WATER OUTLETCO-25
< ON-VEHICLE REPAIR > [HR16DE]
C
D
E
F
G H
I
J
K L
M A
CO
NP
O
WATER OUTLET
Exploded ViewINFOID:0000000005398198
Removal and InstallationINFOID:0000000005398199
REMOVAL
1. Drain engine coolant from radiator. Refer to
CO-12, "Changing Engine Coolant".
CAUTION:
• Perform this step when engine is cold.
• Never spill engine coolant on drive belt.
2. Remove air duct and air duct (inlet). Refer to EM-26, "
Exploded View".
3. Remove battery and battery tray. Refer to SC-7, "
Removal and Installation".
4. Remove reservoir tank. Refer to CO-17, "
Component".
5. Disconnect radiator hose (upper). Refer to CO-17, "
Component".
6. Disconnect harness connector from engine coolant temperature sensor and block heater, if equipped.
7. Remove electric throttle control actuator water hoses.
8. Remove heater hoses.
9. Remove water outlet.
1. Engine coolant temperature sensor 2. Washer 3. Gasket
4. Radiator hose (upper) 5. Water outlet 6. Heater hose
7. Heater hose 8. Water hose 9. Water hose
10. Block heater (Canada only)
A. To electric throttle control actuator B. To heater core C. To radiator
: Engine front
AWBIA0788GB
Revision: January 20102010 Versa
Page 1008 of 3745
![NISSAN TIIDA 2010 Service Repair Manual CO-26
< ON-VEHICLE REPAIR >[HR16DE]
WATER OUTLET
10. Remove engine coolant temperature sens
or from water outlet, if necessary.
CAUTION:
• Handle carefully to avoid any shock to engine coolant temp](/img/5/57397/w960_57397-1007.png "NISSAN TIIDA 2010 Service Repair Manual CO-26
< ON-VEHICLE REPAIR >[HR16DE]
WATER OUTLET
10. Remove engine coolant temperature sens
or from water outlet, if necessary.
CAUTION:
• Handle carefully to avoid any shock to engine coolant temp")
CO-26
< ON-VEHICLE REPAIR >[HR16DE]
WATER OUTLET
10. Remove engine coolant temperature sens
or from water outlet, if necessary.
CAUTION:
• Handle carefully to avoid any shock to engine coolant temperature sensor.
• Replace the gasket with a new one.
11. Remove block heater from water outlet, if necessary (Canada only).
INSTALLATION
Installation is in the reverse order of removal.
NOTE:
Insert the block heater into the water outlet until the clip is fully locked (Canada only).
InspectionINFOID:0000000005398200
INSPECTION AFTER INSTALLATION
• Check that the reservoir tank cap is tightened.
• Check for leaks of engine coolant using suitable tool. Refer to CO-12, "
Inspection".
• Start and warm up the engine. Visually make sure that there is no leaks of engine coolant.
Revision: January 20102010 Versa
Page 1030 of 3745
![NISSAN TIIDA 2010 Service Repair Manual CO-48
< SERVICE INFORMATION >[MR18DE]
WATER OUTLET AND WATER CONTROL VALVE
WATER OUTLET AND WATER CONTROL VALVE
ComponentINFOID:0000000005398226
Removal and InstallationINFOID:0000000005398227
REMOVAL](/img/5/57397/w960_57397-1029.png "NISSAN TIIDA 2010 Service Repair Manual CO-48
< SERVICE INFORMATION >[MR18DE]
WATER OUTLET AND WATER CONTROL VALVE
WATER OUTLET AND WATER CONTROL VALVE
ComponentINFOID:0000000005398226
Removal and InstallationINFOID:0000000005398227
REMOVAL")
CO-48
< SERVICE INFORMATION >[MR18DE]
WATER OUTLET AND WATER CONTROL VALVE
WATER OUTLET AND WATER CONTROL VALVE
ComponentINFOID:0000000005398226
Removal and InstallationINFOID:0000000005398227
REMOVAL
1. Drain engine coolant from radiator. Refer to
CO-36, "Changing Engine Coolant".
CAUTION:
• Perform this step when engine is cold.
• Never spill engine coolant on drive belt.
2. Remove battery and battery tray. Refer to SC-7, "
Removal and Installation".
3. Remove air cleaner and air duct. Refer to EM-135, "
Component".
4. Remove radiator hose (lower) from engine. Refer to CO-40, "
Component".
5. Remove heater hoses and water hoses.
6. Remove water outlet.
7. Remove water control valve.
8. Remove engine coolant temperature sensor from the water outlet, if necessary.
CAUTION:
• Handle carefully to avoid any shock to engine coolant temperature sensor.
• Replace the gasket with a new one.
INSPECTION AFTER REMOVAL
1. Engine coolant temperature sensor 2. Rubber ring 3. Water control valve
4. Gasket 5. Water hose 6. Gasket
7. Water hose 8. Water outlet 9. Heater hose
10. Heater hose 11. Radiator hose (upper) Front
A. To heater B. To electric throttle control actuator C. To radiator
PBIC4699E
Revision: January 20102010 Versa
Page 1221 of 3745
COMBINATION METERSDI-11
< SERVICE INFORMATION >
C
DE
F
G H
I
J
L
M A
B
DI
N
O P
Self-Diagnosis Mode of Combination MeterINFOID:0000000005395014
SELF-DIAGNOSIS MODE FUNCTION
• Self-diagnosis can check for continuity between meter control circuit and each meter (speedometer, tachom- eter and fuel gauge).
• Self-diagnosis can check for odo/trip meter and A/T indi cator (with A/T) or CVT indicator (with CVT) seg-
ment, low-fuel level warning lamp, low water temperature indicator lamp, and high water temperature warn-
ing lamp.
OPERATION PROCEDURE
1. Turn the ignition switch ON, and switch the odo/trip meter to “trip A” or “trip B”. NOTE:
13 B Illumination control switch (-) — —Refer to LT-110, "System Description" .
17 G Washer fluid level switch
(Canada models)
ONWasher fluid level low
0
Washer fluid level normal Battery voltage
21 BGround —— 0
22
23
24 V Fuel level sensor ground (-) ON —0
26 B Vehicle speed sensor ground
(without ABS or CVT) ON
— 0
27 G Battery power supply OFF— Battery voltage
28 SB Ignition switch ON or START ON —Battery voltage
29 GR Seat belt buckle switch RH ON Unfastened (ON)
0
Fastened (OFF) Battery voltage
30 G Stop lamp switch ONBrake pedal depressed
Battery voltage
Brake pedal released 0
31 V A/T N-range input (with A/T) ON Transmission gear selector lever
in N position
Battery voltage
Transmission gear selector lever
other than N position 0
32 W A/T P-range input (with A/T) ON Transmission gear selector lever
in P position
Battery voltage
Transmission gear selector lever
other than P position 0
33 Y A/T PN output (with A/T) ON Transmission gear selector lever
in P or N position
0
Transmission gear selector lever
other than P or N position Battery voltage
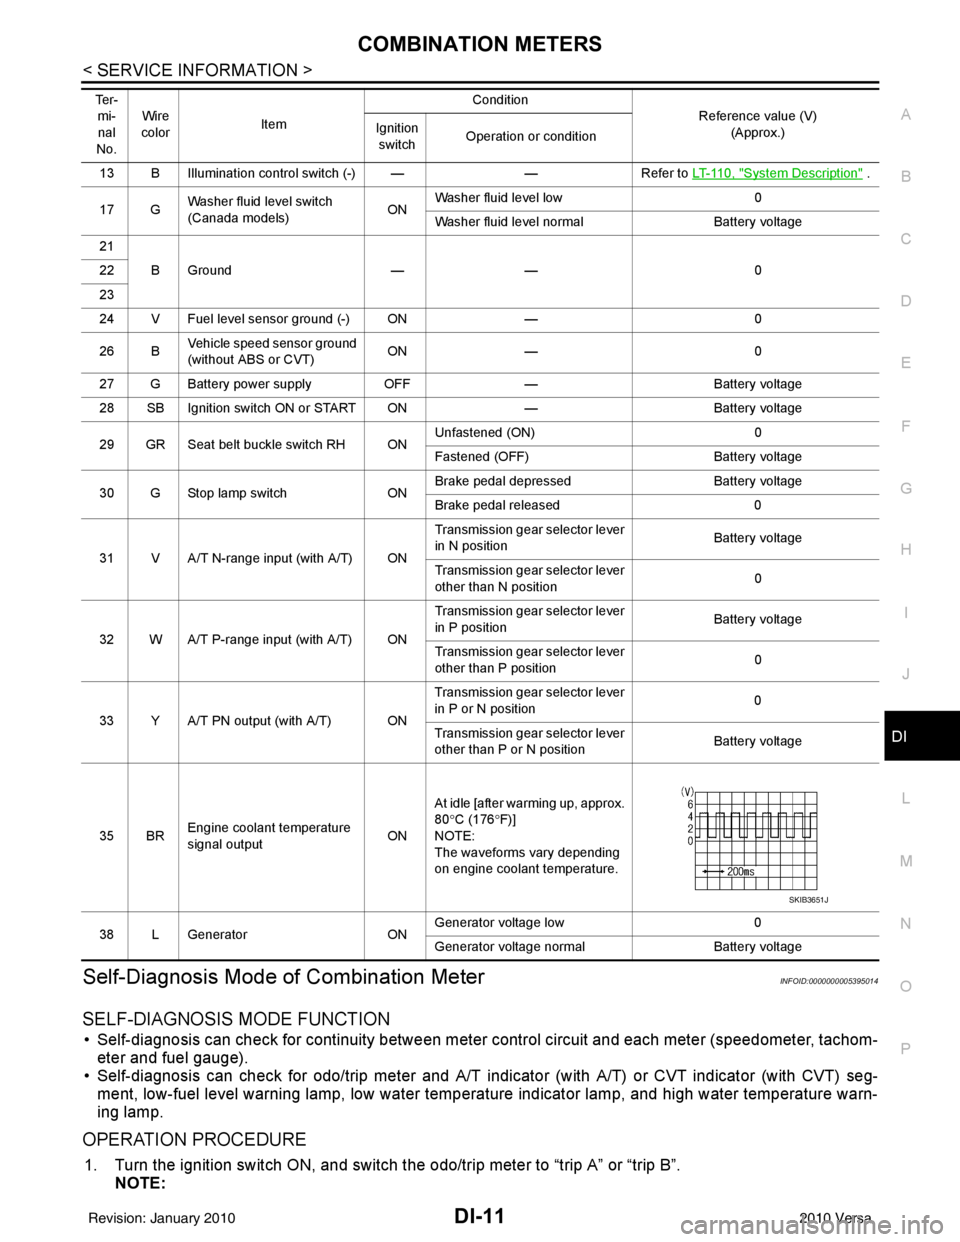
35 BR Engine coolant temperature
signal output
ONAt idle [after warming up, approx.
80
°C (176 °F)]
NOTE:
The waveforms vary depending
on engine coolant temperature.
38 L Generator ONGenerator voltage low
0
Generator voltage no rmal Battery voltage
Te r -
mi-
nal
No. Wire
color Item Condition
Reference value (V)
(Approx.)
Ignition
switch Operation or condition
SKIB3651J
Revision: January 20102010 Versa
Page 1279 of 3745

EC-14
Wiring Diagram ....................................................1010
Diagnosis Procedure ...........................................1011
Component Inspection .........................................1013
Removal and Installation .....................................1013
FUEL PUMP ....................................................1014
Description ...........................................................1014
CONSULT-III Reference Value in Data Monitor
Mode ....................................................................
1014
Wiring Diagram ....................................................1015
Diagnosis Procedure ...........................................1016
Component Inspection .........................................1018
Removal and Installation .....................................1018
IGNITION SIGNAL ..........................................1019
Component Description .......................................1019
Wiring Diagram ....................................................1020
Diagnosis Procedure ...........................................1023
Component Inspection .........................................1026
Removal and Installation .....................................1027
REFRIGERANT PRESSURE SENSOR .........1028
Component Description .......................................1028
Wiring Diagram ....................................................1029
Diagnosis Procedure ............................................1030
Removal and Installation ......................................1032
MIL AND DATA LINK CONNECTOR .............1033
Wiring Diagram ....................................................1033
SERVICE DATA AND SPECIFICATIONS
(SDS) ..............................................................
1035
Fuel Pressure .......................................................1035
Idle Speed and Ignition Timing ............................1035
Calculated Load Value .........................................1035
Mass Air Flow Sensor ..........................................1035
Intake Air Temperature Se nsor ............................1035
Engine Coolant Temperature Sensor ..................1035
Air Fuel Ratio (A/F) Sensor 1 Heater ...................1036
Heated Oxygen sensor 2 Heater .........................1036
Crankshaft Position Sensor (POS) ......................1036
Camshaft Position Sensor (PHASE) ....................1036
Throttle Control Motor ...... ....................................1036
Fuel Injector .........................................................1036
Fuel Pump ............................................................1036
Revision: January 20102010 Versa
Page 1291 of 3745
![NISSAN TIIDA 2010 Service Repair Manual EC-26
< BASIC INSPECTION >[HR16DE]
INSPECTION AND ADJUSTMENT
• Each time electric throttle control actuator or ECM is replaced.
• Idle speed or ignition timing is out of specification.
IDLE AIR VO](/img/5/57397/w960_57397-1290.png "NISSAN TIIDA 2010 Service Repair Manual EC-26
< BASIC INSPECTION >[HR16DE]
INSPECTION AND ADJUSTMENT
• Each time electric throttle control actuator or ECM is replaced.
• Idle speed or ignition timing is out of specification.
IDLE AIR VO")
EC-26
< BASIC INSPECTION >[HR16DE]
INSPECTION AND ADJUSTMENT
• Each time electric throttle control actuator or ECM is replaced.
• Idle speed or ignition timing is out of specification.
IDLE AIR VOLUME LEARNING
: Special Repair RequirementINFOID:0000000005398245
1.PRECONDITIONING
Make sure that all of the following conditions are satisfied.
Learning will be cancelled if any of the follo wing conditions are missed for even a moment.
• Battery voltage: More than 12.9 V (At idle)
• Engine coolant temperature: 70 - 100 °C (158 - 212° F)
• Selector lever: P or N (A/T), Neutral (M/T)
• Electric load switch: OFF (Air conditioner, headlamp, rear window defogger)
On vehicles equipped with daytime light systems, if the parking brake is applied before the engine is
started the headlamp will not be illuminated.
• Steering wheel: Neutral (Straight-ahead position)
• Vehicle speed: Stopped
• Transmission: Warmed-up
- A/T models
• With CONSULT-III: Drive vehicle until “FLUID TEMP SE” in “DATA MONITOR” mode of “TRANSMISSION”
system indicates less than 0.9 V.
• Without CONSULT-III: Drive vehicle for 10 minutes.
- M/T models
• Drive vehicle for 10 minutes.
Do you have CONSULT-III?
YES >> GO TO 2.
NO >> GO TO 3.
2.IDLE AIR VOLUME LEARNING
With CONSULT-III
1. Perform Accelerator Pedal Released Position Learning. Refer to EC-25, "
ACCELERATOR PEDAL
RELEASED POSITION LEARNING : Special Repair Requirement".
2. Perform Throttle Valve Closed Position Learning. Refer to EC-25, "
THROTTLE VALVE CLOSED POSI-
TION LEARNING : Special Repair Requirement".
3. Start engine and warm it up to normal operating temperature.
4. Select “IDLE AIR VOL LEARN” in “WORK SUPPORT” mode.
5. Touch “START” and wait 20 seconds.
Is
“CMPLT” displayed on CONSULT-III screen?
YES >> GO TO 4.
NO >> GO TO 5.
3.IDLE AIR VOLUME LEARNING
Without CONSULT-III
NOTE:
• It is better to count the ti me accurately with a clock.
• It is impossible to switch the di agnostic mode when an accelerator pedal position sensor circuit has
a malfunction.
1. Perform Accelerator Pedal Released Position Learning. Refer to EC-25, "
ACCELERATOR PEDAL
RELEASED POSITION LEARNING : Special Repair Requirement".
2. Perform Throttle Valve Closed Position Learning. Refer to EC-25, "
THROTTLE VALVE CLOSED POSI-
TION LEARNING : Special Repair Requirement".
3. Start engine and warm it up to normal operating temperature.
4. Turn ignition switch OFF and wait at least 10 seconds.
5. Confirm that accelerator pedal is fully releas ed, turn ignition switch ON and wait 3 seconds.
6. Repeat the following procedure quickly five times within 5 seconds.
- Fully depress the accelerator pedal.
- Fully release the accelerator pedal.
7. Wait 7 seconds, fully depress the accelerator pedal and keep it for approx. 20 seconds until the MIL stops
blinking and turned ON.
8. Fully release the accelerator pedal within 3 seconds after the MIL turned ON.
Revision: January 20102010 Versa
Page 1295 of 3745
![NISSAN TIIDA 2010 Service Repair Manual EC-30
< FUNCTION DIAGNOSIS >[HR16DE]
ENGINE CONTROL SYSTEM
System Description
INFOID:0000000005398249
ECM performs various controls such as fuel injection control and ignition timing control.
Componen](/img/5/57397/w960_57397-1294.png "NISSAN TIIDA 2010 Service Repair Manual EC-30
< FUNCTION DIAGNOSIS >[HR16DE]
ENGINE CONTROL SYSTEM
System Description
INFOID:0000000005398249
ECM performs various controls such as fuel injection control and ignition timing control.
Componen")
EC-30
< FUNCTION DIAGNOSIS >[HR16DE]
ENGINE CONTROL SYSTEM
System Description
INFOID:0000000005398249
ECM performs various controls such as fuel injection control and ignition timing control.
Component Parts LocationINFOID:0000000005398250
1. Ignition coil (with power transistor) and spark plug 2. Intake valve timing control solenoid
valve 3. Refrigerant pressure sensor
4. Knock sensor 5. Fuel injector6. Cooling fan motor
7. Camshaft position sensor (PHASE) 8. IPDM E/R 9. ECM
10. Mass air flow sensor (with intake air temperature sensor) 11. Engine coolant temperature sensor 12. Electric throttle control actuator
(with built in throttle position sensor
and throttle control motor)
13. EVAP canister purge volume control solenoid valve
PBIB2939E
Revision: January 20102010 Versa
Page 1296 of 3745
![NISSAN TIIDA 2010 Service Repair Manual ENGINE CONTROL SYSTEMEC-31
< FUNCTION DIAGNOSIS > [HR16DE]
C
D
E
F
G H
I
J
K L
M A
EC
NP
O
1. Mass air flow sensor
(with intake air temperature sensor) 2. Engine coolant temperature sensor 3. Electric](/img/5/57397/w960_57397-1295.png "NISSAN TIIDA 2010 Service Repair Manual ENGINE CONTROL SYSTEMEC-31
< FUNCTION DIAGNOSIS > [HR16DE]
C
D
E
F
G H
I
J
K L
M A
EC
NP
O
1. Mass air flow sensor
(with intake air temperature sensor) 2. Engine coolant temperature sensor 3. Electric")
ENGINE CONTROL SYSTEMEC-31
< FUNCTION DIAGNOSIS > [HR16DE]
C
D
E
F
G H
I
J
K L
M A
EC
NP
O
1. Mass air flow sensor
(with intake air temperature sensor) 2. Engine coolant temperature sensor 3. Electric throttle control actuator
4. Camshaft position sensor (PHASE) 5. Ignition coil (with power transistor) 6. Fuel injector
7. EVAP canister purge volume control solenoid valve
Vehicle front
PBIB2940E
Revision: January 20102010 Versa
Page 1300 of 3745
![NISSAN TIIDA 2010 Service Repair Manual ENGINE CONTROL SYSTEMEC-35
< FUNCTION DIAGNOSIS > [HR16DE]
C
D
E
F
G H
I
J
K L
M A
EC
NP
O
Crankshaft position sensor (POS)
EC-257, "Description"
Cooling fan motorEC-60, "System Description"
Electric](/img/5/57397/w960_57397-1299.png "NISSAN TIIDA 2010 Service Repair Manual ENGINE CONTROL SYSTEMEC-35
< FUNCTION DIAGNOSIS > [HR16DE]
C
D
E
F
G H
I
J
K L
M A
EC
NP
O
Crankshaft position sensor (POS)
EC-257, \"Description\"
Cooling fan motorEC-60, \"System Description\"
Electric")
ENGINE CONTROL SYSTEMEC-35
< FUNCTION DIAGNOSIS > [HR16DE]
C
D
E
F
G H
I
J
K L
M A
EC
NP
O
Crankshaft position sensor (POS)
EC-257, "Description"
Cooling fan motorEC-60, "System Description"
Electric throttle control actuatorEC-390, "Description"
Engine coolant temperature sensorEC-161, "Description"
EVAP canister purge volume control solenoid valveEC-285, "Description"
EVAP canister vent control valveEC-295, "Description"
EVAP control system pressure sensorEC-306, "Description"
Fuel injectorEC-423, "Description"
Fuel level sensorEC-336, "Description"
Fuel pumpEC-427, "Description"
Fuel tank temperature sensorEC-234, "Description"
Heated oxygen sensor 2EC-198, "Description"
Heated oxygen sensor 2 heaterEC-134, "Description"
Ignition signalEC-432, "Description"
Intake air temperature sensorEC-156, "Description"
Intake valve timing control solenoid valveEC-78, "System Description"
Knock sensorEC-253, "Description"
Mass air flow sensorEC-142, "Description"
PCV valveEC-449, "Description"
Refrigerant pressure sensorEC-450, "Description"
Stop lamp switchEC-373, "Description"
Throttle control motorEC-386, "Description"
Throttle control motor relayEC-377, "Description"
Throttle position sensorEC-165, "Description"
Component Reference
Revision: January 20102010 Versa