buttons NISSAN TITAN 2015 1.G Owner's Guide
[x] Cancel search | Manufacturer: NISSAN, Model Year: 2015, Model line: TITAN, Model: NISSAN TITAN 2015 1.GPages: 457, PDF Size: 3.77 MB
Page 251 of 457
Interface
The interface for iPod® operation shown on the
vehicle’s audio system display screen is similar to
the iPod® interface. Use the touch-screen,
BACK button or the scrolling knob to navigate
the menus on the screen.
When the iPod® is playing, touch the “Menu” key
to bring up the iPod® interface.
Depending on the iPod® model, the following
items may be available on the menu list screen.
For additional information, refer to the iPod®
Owner’s Manual regarding each menu item.● Playlists ●
Artists
● Albums
● Genres
● Songs
● Composers
● Audiobooks
● Podcasts
Shuffle and repeat play mode
While the iPod® is playing, the play pattern can
be altered so that songs are repeated or played
randomly.
Shuffle
Touch the “Shuffle” key to apply a random play
pattern to the iPod®. When the Shuffle mode is
active, the text is illuminated. Touching the
“Shuffle” key once more will display the “Shuffle
songs” key. To cancel Shuffle mode, touch the
“Shuffle” key again until the text is no longer
illuminated.
Repeat
Touch the “Repeat” key to apply a repeat play
pattern to the iPod®. When the repeat mode is
active, the text is illuminated. Touching the “Re-
peat” key once more will display the “Repeat song” key. To cancel Repeat mode, touch the
“Repeat” key again until the text is no longer
illuminated.
SEEK/CAT and TRACK buttons
When the
SEEK/CAT button orTRACK button is pressed for less than 1.5 sec-
onds while the iPod® is playing, the next track or
the beginning of the current track on the iPod®
will be played.
When the
SEEK/CAT button orTRACK button is pressed for more than 1.5 sec-
onds while the iPod® is playing, the iPod® will
play while fast forwarding or rewinding. When the
button is released, the iPod® will return to the
normal play speed.
LHA2907
Monitor, climate, audio, phone and voice recognition systems4-63
Page 261 of 457
It is possible to operate the DVD player by remote
control.
Headphones are a wireless type and no cables
are necessary. You can use them in almost all the
ranges in the rear seat. (It is not possible to use
the headphones in the front seat.)
POWER on/off button
With the ignition switch placed in the ACC or ON
position, press the POWER button to turn the
DVD player on or off.
Insert the DVD into the slot with the label side
facing up. The DVD will be guided automatically
into the slot.
If the DVD player is off and a DVD is inserted, the
DVD player will automatically turn on.
CAUTION
Do not force the compact disc into the
slot. This could damage the player.
MODE select button
Press the MODE button to select Audio/Video
source between DVD and AUX input (input jacks
on the faceplate, Red = right channel audio input,
White = left channel audio input, and Yellow =
Video input) . The display will show the “AUX” in the upper left
corner of the display for 4 seconds once the
mode is changed to AUX.
For additional information on how to use the input
jacks, refer to “Auxiliary input jacks” in this sec-
tion.
orPLAY
When the PLAY/PAUSE button on the player or
the PLAY button on the remote control is
pressed, the player will play.
In play mode, the display will briefly show
on the upper left corner of the display.
FF (Fast Forward) , REW (Remote control only)
Press the FAST FORWARD/FAST REVERSE
buttons to carry out the fast forward or fast re-
verse presentation at 5 times normal play speed.
Press the FAST FORWARD/FAST REVERSE
buttons again or PLAY button to resume the
normal play speed.
NEXT CHAPTER/PREVIOUS
CHAPTER (Remote con-
trol only)
When the
(NEXT CHAPTER) button is
pressed while the DVD is playing, the program
next to the present one will start to play from its
beginning. Press several times to skip through
programs. The DVD will advance the number of
times the button is pressed. When the
(PREVIOUS CHAPTER) button is pressed, the
program being played returns to its beginning.
Press several times to skip back through pro-
grams. The DVD will go back the number of times
the button is pressed.
orPAUSE
When the PLAY/PAUSE button on the player or
the PAUSE button on the remote control is
pressed, the player will pause playing of the
media. In pause mode, the player will show
on the upper left corner of the display until the
player is changed to another mode.
Monitor, climate, audio, phone and voice recognition systems4-73
Page 263 of 457
MENU
If the media is in PLAY mode and the MENU
button is pressed, the DVD menu will appear on
the screen. Use the Navigation Keys to navigate
within the menu and use ENTER to select the
item.
Press the MENU button again to return to PLAY
mode.
TITLE (Remote control only)
Press the TITLE button to return the DVD media
to the “title” of the DVD.
Press the TITLE button again to return to the
previous stop point and play.
BACK (Remote control only)
Press the BACK button to exit the current active
menu and return to the previous menu.
SUBTITLE (Remote control only)
Press the SUBTITLE button to call up subtitle
selection menu.
Repeatedly press the SUBTITLE button to cycle
through each available subtitle.
AUDIO (Remote control only)
Press the AUDIO button to call up the audio
menu.Repeatedly press the AUDIO button to cycle
through each available audio track.
ANGLE (Remote control only)
Press the ANGLE button to call up the camera
angle menu.
Repeatedly press the ANGLE button to cycle
through each available angle.
CLEAR (Remote control only)
Press the CLEAR button to clear all numeric
inputs, if actuated prior to expiration of the
3-second timer.
NUMERIC KEYPAD (0–9 &
≥10) (Remote
control only)
Press the NUMERIC KEYPAD to directly access
disc chapters, titles or tracks by inputting their
numeric value.
Use the “≥10” button to input numbers greater
than or equal to 10. Up to three digits can be
inputted when selecting the chapter/title/track
number.
The subsequent actuation of numeric buttons will
continuously shift the previously input number to
the “left”.
The chapter/title/track number will be automati-
cally selected (if valid, based on media content) if
3 seconds expire without any keypad inputs. The operator can cancel the input
chapter/title/track number by actuating the
CLEAR control prior to the expiration of the
3-second timer.
These functions can be used only for the DVD
discs which correspond to them.
Auxiliary input jacks
The auxiliary input jacks are located on the control
panel. Compatible devices such as video games,
camcorders and portable video players can be
connected to the auxiliary jacks.
The auxiliary jacks are color coded for identifica-
tion purposes.
● Yellow - video input
● White - left channel audio input
● Red - right channel audio input
To view the compatible device connected to the
AUX jacks, press the MODE button. For addi-
tional information, refer to “Mode select button” in
this section.
Monitor, climate, audio, phone and voice recognition systems4-75
Page 271 of 457
CONTROL BUTTONS
The control buttons for the Bluetooth® Hands-
Free Phone System are located on the steering
wheel.
PHONE/SEND
Press the
button to initiate
a VR session or answer an incom-
ing call. You can also use the
button
to interrupt the system feedback
and give a command at once. For
additional information, refer to
“Voice commands” and “During a
call” in this section.
PHONE/END
While the voice recognition sys-
tem is active, press and hold
the
button for 5 seconds to
quit the voice recognition system
at any time.
Tuning switch
While using the voice recognition
system, tilt the tuning switch up or
down to manually control the
phone system.CONNECTING PROCEDURE
NOTE:
The connecting procedure must be per-
formed when the vehicle is stationary. If the
vehicle starts moving during the procedure,
the procedure will be cancelled.
LHA2454LHA2775
Monitor, climate, audio, phone and voice recognition systems4-83
Page 448 of 457
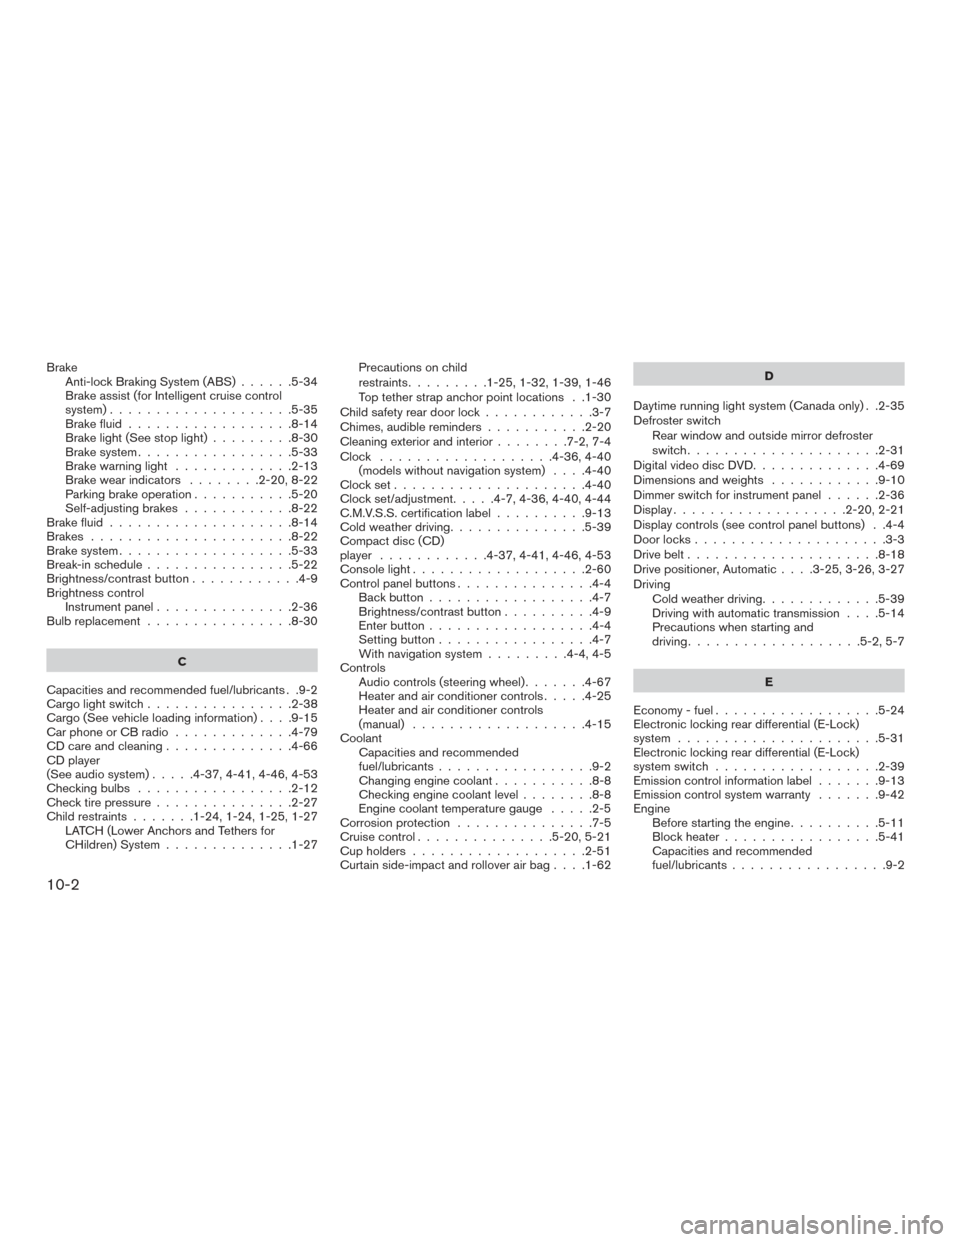
BrakeAnti-lock Braking System (ABS) ......5-34
Brake assist (for Intelligent cruise control
system)....................5-35
Brake fluid ..................8-14
Brake light (See stop light) .........8-30
Brake system .................5-33
Brake warning light .............2-13
Brake wear indicators ........2-20,8-22
Parking brake operation ...........5-20
Self-adjusting brakes ............8-22
Brake fluid ....................8-14
Brakes ......................8-22
Brake system ...................5-33
Break-in schedule ................5-22
Brightness/contrastbutton............4-9
Brightness control Instrument panel ...............2-36
Bulb replacement ................8-30
C
Capacities and recommended fuel/lubricants . .9-2
Cargolightswitch................2-38
Cargo(Seevehicleloadinginformation)....9-15
Car phone or CB radio .............4-79
CD care and cleaning ..............4-66
CD player
(See audio system) .....4-37,4-41,4-46,4-53
Checkingbulbs .................2-12
Check tire pressure ...............2-27
Child restraints .......1-24,1-24,1-25,1-27
LATCH (Lower Anchors and Tethers for
CHildren) System ..............1-27 Precautions on child
restraints
.........1-25,1-32,1-39,1-46
Top tether strap anchor point locations . .1-30
Child safety rear door lock ............3-7
Chimes,audiblereminders...........2-20
Cleaning exterior and interior ........7-2,7-4
Clock ...................4-36,4-40 (models without navigation system) ....4-40
Clockset.....................4-40
Clock set/adjustment.....4-7,4-36,4-40,4-44
C.M.V.S.S. certification label ..........9-13
Cold weather driving ...............5-39
Compact disc (CD)
player ............4-37,4-41,4-46,4-53
Console light ...................2-60
Control panel buttons ...............4-4
Back button ..................4-7
Brightness/contrast button ..........4-9
Enterbutton..................4-4
Setting button .................4-7
With navigation system .........4-4,4-5
Controls Audio controls (steering wheel) .......4-67
Heater and air conditioner controls .....4-25
Heater and air conditioner controls
(manual) ...................4-15
Coolant Capacities and recommended
fuel/lubricants .................9-2
Changingenginecoolant...........8-8
Checking engine coolant level ........8-8
Engine coolant temperature gauge .....2-5
Corrosion protection ...............7-5
Cruisecontrol...............5-20,5-21
Cupholders...................2-51
Curtainside-impactandrolloverairbag....1-62 D
Daytime running light system (Canada only) . .2-35
Defroster switch Rear window and outside mirror defroster
switch .....................2-31
Digital video disc DVD ..............4-69
Dimensionsandweights ............9-10
Dimmer switch for instrument panel ......2-36
Display...................2-20,2-21
Display controls (see control panel buttons) . .4-4
Door locks .....................3-3
Drive belt .....................8-18
Drive
positioner, Automatic ....3-25,3-26,3-27
Driving Cold weather driving .............5-39
Driving with automatic transmission ....5-14
Precautions when starting and
driving ...................5-2,5-7
E
Economy-fuel..................5-24
Electronic locking rear differential (E-Lock)
system ......................5-31
Electronic locking rear differential (E-Lock)
system switch ..................2-39
Emission control information label .......9-13
Emission control system warranty .......9-42
Engine Before starting the engine ..........5-11
Blockheater.................5-41
Capacities and recommended
fuel/lubricants.................9-2
10-2