trailer NISSAN TITAN 2022 Owners Manual
[x] Cancel search | Manufacturer: NISSAN, Model Year: 2022, Model line: TITAN, Model: NISSAN TITAN 2022Pages: 635, PDF Size: 7.78 MB
Page 15 of 635
18. USB ports*
19. Hazard warning flasher switch (P. 6-2)
20. Parking Aids system switch (P. 2-62)Vehicle Dynamic Control (VDC) OFF
switch (P. 2-58)
21. Trailer Brake Controller Unit (TBCU)
(if so equipped) (P. 2-63)
22. 4WD shif t switch (if so equipped)
(P. 5-111)
23. Push-button ignition switch (P. 5-13)
24. Driver supplemental knee air bag
(P. 1-80)
25. Tilt and telescopic steering wheel
control (P. 3-26)
26. Parking brake (P. 5-23)
27. Hood release (P. 3-23)
28. Headlight aiming control
(if so equipped) (P. 2-45)
Power inverter switch (if so equipped)
(P. 2-61)
Cargo lamp switch (P. 2-53)
Electronic locking rear differential
(E-Lock) system switch (if so equipped)
(P. 2-60)
Hill descent control system switch
(if so equipped) (P. 2-59) 29. Headlight switch (P. 2-45)
Fog light switch (if so equipped) (P. 2-52)
Instrument brightness control
switches (P. 2-51)
Trip reset switch (P. 2-7)
*Refer to the separate NissanConnect®
Owner’s Manual
Refer to the page number indicated in
parenthesis for operating details.
Illustrated table of contents0-7
Page 108 of 635
Hill descent control switch (if so equipped).....2-59
Electronic locking rear differential (E-Lock)
system switch (if so equipped) .................2-60
Power inverter switch (if so equipped) ..........2-61
Parking Aids system switch ....................2-62
Tow mode switch .............................. 2-63
Emergency call (SOS) button (if so equipped) . . . 2-63
Trailer Brake Controller Unit (TBCU)
(if so equipped) ................................. 2-63
Rear Door Alert ................................. 2-64
Power outlets .................................. 2-65
12v Outlets .................................. 2-65
120v outlets (if so equipped) .................2-66
USB/iPod® charging ports (if so equipped) ......2-68
Extended storage switch .......................2-69
Storage ........................................ 2-70
Front-door pockets ......................... 2-70
Rear-door pockets .......................... 2-70
Console side pockets (if so equipped) .......2-70
Seatback pockets ........................... 2-71
Under-seat storage (if so equipped) .........2-71
Console box storage trays
(if so equipped) .............................. 2-73
Cell phone storage tray (if so equipped) .....2-73
Glovebox ................................... 2-73Console box (if so equipped)
................2-74
Center armrest storage (if so equipped) .....2-75
Under front seat storage bin
(if so equipped) .............................. 2-76
Overhead sunglasses storage
(if so equipped) .............................. 2-76
Cup holders ................................. 2-77
Grocery hooks (if so equipped) ..............2-80
Bed liner storage bins (if so equipped) .......2-80
Cargo hooks (if so equipped) ................2-81
C-Channel cargo hooks (if so equipped) .....2-81
Windows ....................................... 2-82
Power windows ............................. 2-82
Rear power window switch
(if so equipped) .............................. 2-84
Rear sliding window (if so equipped) .........2-85
Moonroof (if so equipped) ......................2-86
P
ower moonroof ............................ 2-86
Interior lights ................................... 2-88
Console light (if so equipped) ................2-89
Map lights (if so equipped) ...................2-89
Personal Lights (if so equipped) .............2-90
HomeLink® Universal Transceiver
(if so equipped) ................................. 2-90
Programming HomeLink® ...................2-91
Page 111 of 635
18. USB ports*
19. Hazard warning flasher switch (P. 6-2)
20. Parking Aids system switch (P. 2-62)Vehicle Dynamic Control (VDC) OFF
switch (P. 2-58)
21. Trailer Brake Controller Unit (TBCU)
(if so equipped) (P. 2-63)
22. 4WD shif t switch (if so equipped)
(P. 5-111)
23. Push-button ignition switch (P. 5-13)
24. Driver supplemental knee air bag
(P. 1-80)
25. Tilt and telescopic steering wheel
control (P. 3-26)
26. Parking brake (P. 5-23)
27. Hood release (P. 3-23)
28. Headlight aiming control (if so
equipped) (P. 2-45)
Power inverter switch (if so equipped)
(P. 2-61)
Cargo lamp switch (P. 2-53)
Electronic locking rear differential
(E-Lock) system switch (if so equipped)
(P. 2-60)
Hill descent control system switch
(if so equipped) (P. 2-59) 29. Headlight switch (P. 2-45)
Fog light switch (if so equipped) (P. 2-52)
Instrument brightness control
switches (P. 2-51)
Trip reset switch (P. 2-7)
*Refer to the separate NissanConnect®
Owner’s Manual
Refer to the page number indicated in
parenthesis for operating details.
Instruments and controls2-5
Page 135 of 635
Towing Settings
The towing settings menu allows the user to access the trailer light check.
Menu itemExplanation
Trailer light check Allows user to select a mode in which the vehicle will test various lights that could affect a trailer if connected
properly. This feature can also be activated using the NISSAN Intelligent Key®. For additional information, see
“NISSAN Intelligent Key®” (P. 3-9) and “Towing a trailer” (P. 10-32).
Alerts
The alarm menu allows the user to set specific alarms for various items on the vehicle.
Some menu items shown below may not be equipped on your vehicle.
Menu item Explanation
Timer Alert Allows user to set the timer alert alarm.
Navigation Allows user to turn the navigation alarm on or off.
Phone Allows user to turn the phone alarm on or off.
Mail Allows user to turn the mail alarm on or off.
Instruments and controls2-29
Page 142 of 635
4WD shif t indicators
These indicators show which 4WD mode is
selected. For additional information, see
“Using 4–wheel drive (4WD)” (P. 5-107).
4WD MODE SHIFTING
This message appears when the vehicle is
shif ting into 4WD. For additional informa-
tion, see “Using 4–wheel drive (4WD)”
(P. 5-107).
AT (Automatic
Transmission) CHECK
If the service warning appears while the
engine is running, or while driving, it may
indicate that the AT is not functioning prop-
erly and may need servicing. Have the sys-
tem checked, and if necessary, repaired
promptly. It is recommended that you visit
a NISSAN dealer for this service.
AT (Automatic Transmission) Error:
See Owner’s Manual
If this message appears while the engine is
running, or while driving, it may indicate
that the AT is not functioning properly and
may need servicing. Have the system
checked, and if necessary, repaired
promptly. It is recommended that you visit
a NISSAN dealer for this service.
Service AT
This transmission has a high fluid tem-
perature protection mode. If the fluid tem-
perature becomes too high (for example,
climbing steep grades in high tempera-
tures with heavy loads, such as when tow-
ing a trailer), engine power and, under
some conditions, vehicle speed will be de-
creased automatically to reduce the
chance of transmission damage. Vehicle
speed can be controlled with the accelera-
tor pedal, but the engine and vehicle speed
may be reduced.
WARNING
When the high fluid temperature pro-
tection mode operation occurs, vehicle
speed may be gradually reduced. The
reduced speed may be lower than
other traffic, which could increase the
chance of a collision. Be especially
careful when driving. If necessary, pull
to the side of the road at a safe place
and allow the transmission to return to
normal operation; or have it repaired if
necessary.
Automatic Emergency
Braking (AEB) with
Pedestrian Detection
emergency warning
indicator
This indicator appears along, with an au-
dible warning, when the system detects
the possibility of a forward collision.
For additional information, see “Automatic
Emergency Braking (AEB) with Pedestrian
Detection” (P. 5-80).
Blind Spot Warning (BSW)/
Rear Cross Traffic Alert
(RCTA) indicator
This indicator appears when the BSW and
RCTA systems are engaged.
For additional information, see “Blind Spot
Warning (BSW)” (P. 5-32) and “Rear Cross
Traffic Alert (RCTA)” (P. 5-42).
Cruise control indicator
This indicator shows the cruise control sys-
tem status.
For additional information, see “Cruise con-
trol” (P. 5-49).
2-36Instruments and controls
Page 156 of 635
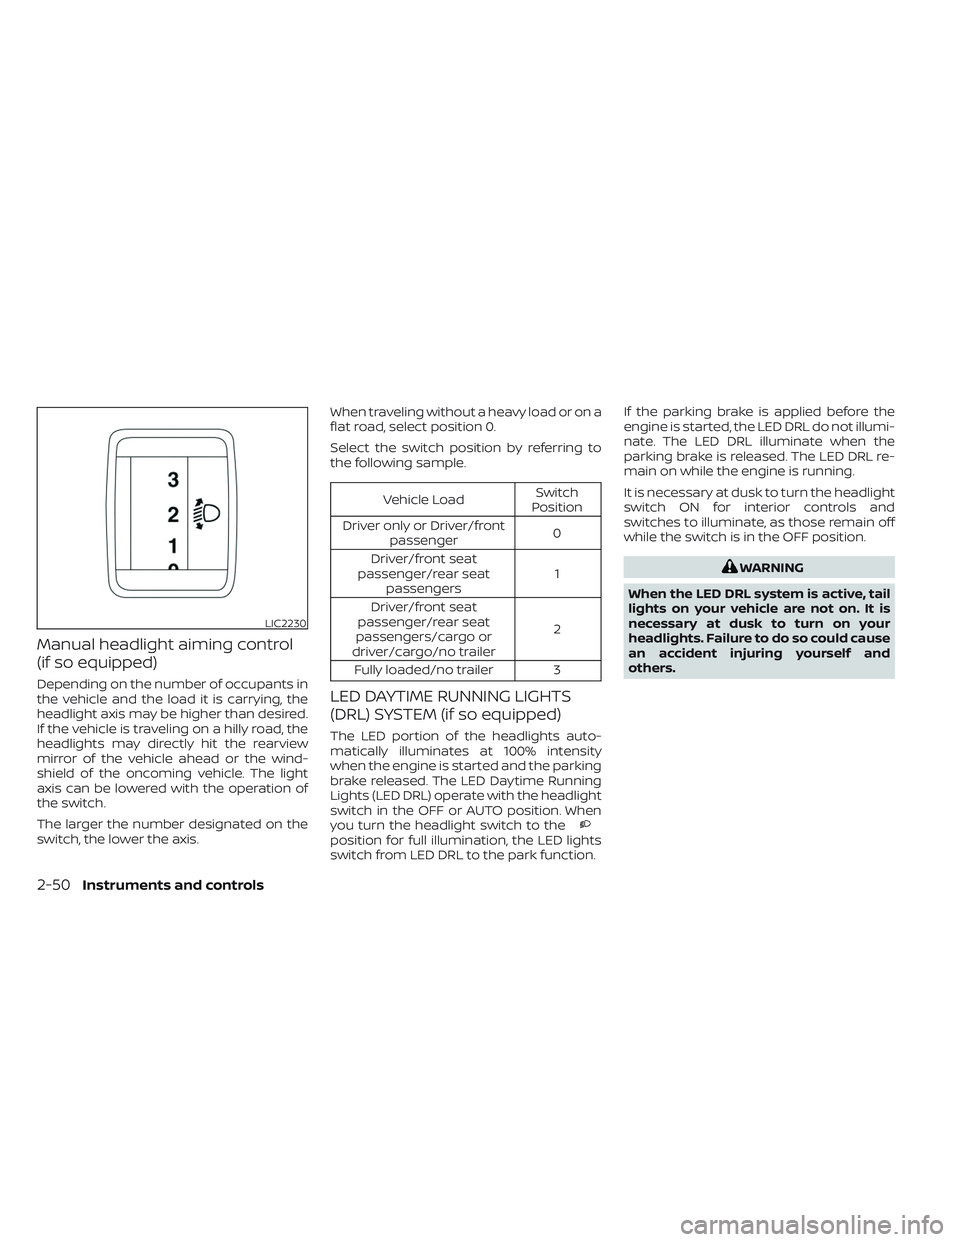
Manual headlight aiming control
(if so equipped)
Depending on the number of occupants in
the vehicle and the load it is carrying, the
headlight axis may be higher than desired.
If the vehicle is traveling on a hilly road, the
headlights may directly hit the rearview
mirror of the vehicle ahead or the wind-
shield of the oncoming vehicle. The light
axis can be lowered with the operation of
the switch.
The larger the number designated on the
switch, the lower the axis.When traveling without a heavy load or on a
flat road, select position 0.
Select the switch position by referring to
the following sample.
Vehicle Load
Switch
Position
Driver only or Driver/front passenger 0
Driver/front seat
passenger/rear seat passengers 1
Driver/front seat
passenger/rear seat
passengers/cargo or
driver/cargo/no trailer 2
Fully loaded/no trailer 3
LED DAYTIME RUNNING LIGHTS
(DRL) SYSTEM (if so equipped)
The LED portion of the headlights auto-
matically illuminates at 100% intensity
when the engine is started and the parking
brake released. The LED Daytime Running
Lights (LED DRL) operate with the headlight
switch in the OFF or AUTO position. When
you turn the headlight switch to the
position for full illumination, the LED lights
switch from LED DRL to the park function. If the parking brake is applied before the
engine is started, the LED DRL do not illumi-
nate. The LED DRL illuminate when the
parking brake is released. The LED DRL re-
main on while the engine is running.
It is necessary at dusk to turn the headlight
switch ON for interior controls and
switches to illuminate, as those remain off
while the switch is in the OFF position.
WARNING
When the LED DRL system is active, tail
lights on your vehicle are not on. It is
necessary at dusk to turn on your
headlights. Failure to do so could cause
an accident injuring yourself and
others.
LIC2230
2-50Instruments and controls
Page 169 of 635
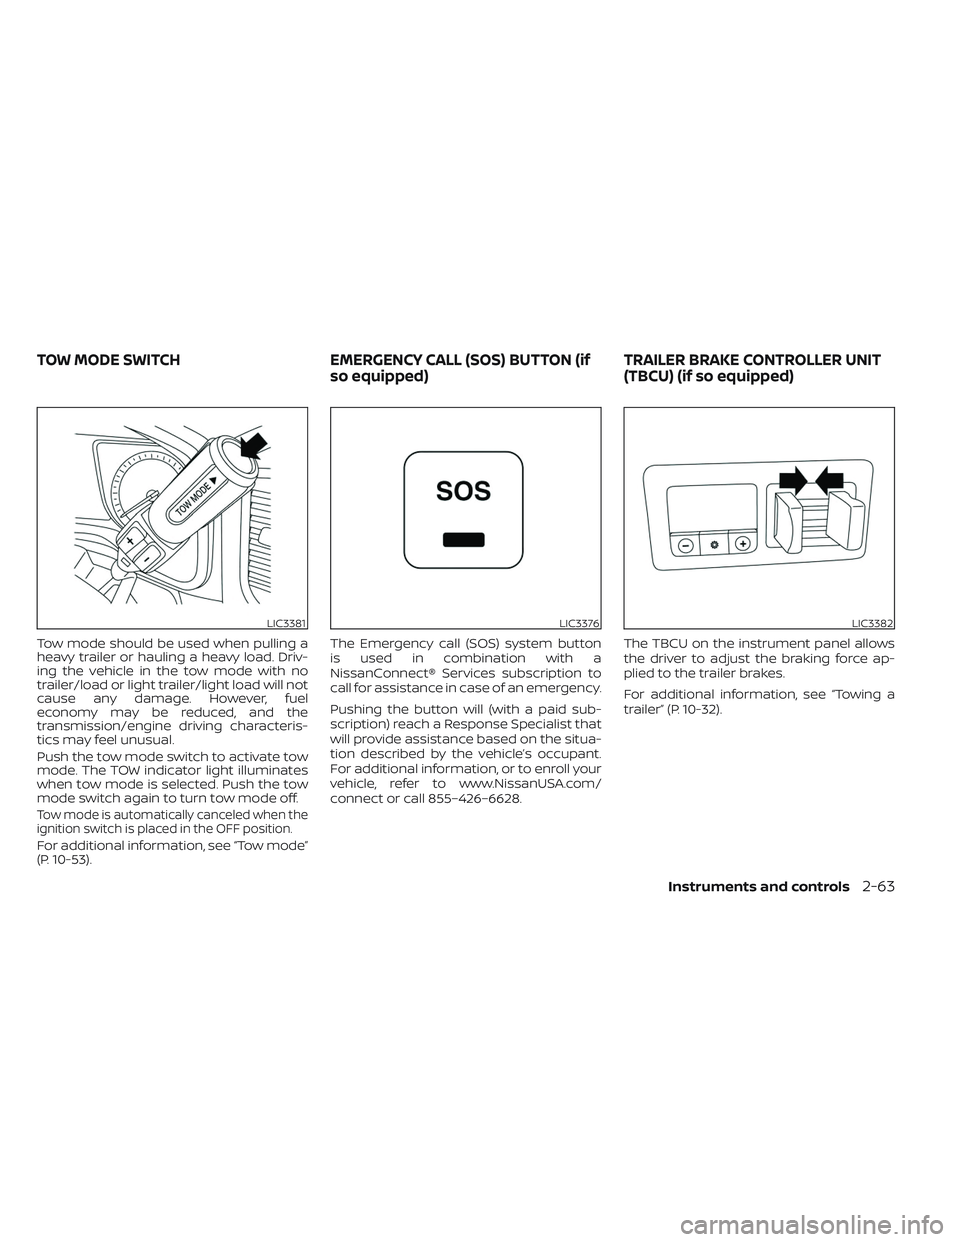
Tow mode should be used when pulling a
heavy trailer or hauling a heavy load. Driv-
ing the vehicle in the tow mode with no
trailer/load or light trailer/light load will not
cause any damage. However, fuel
economy may be reduced, and the
transmission/engine driving characteris-
tics may feel unusual.
Push the tow mode switch to activate tow
mode. The TOW indicator light illuminates
when tow mode is selected. Push the tow
mode switch again to turn tow mode off.
Tow mode is automatically canceled when the
ignition switch is placed in the OFF position.
For additional information, see “Tow mode”
(P. 10-53).The Emergency call (SOS) system button
is used in combination with a
NissanConnect® Services subscription to
call for assistance in case of an emergency.
Pushing the button will (with a paid sub-
scription) reach a Response Specialist that
will provide assistance based on the situa-
tion described by the vehicle’s occupant.
For additional information, or to enroll your
vehicle, refer to www.NissanUSA.com/
connect or call 855–426–6628.
The TBCU on the instrument panel allows
the driver to adjust the braking force ap-
plied to the trailer brakes.
For additional information, see “Towing a
trailer” (P. 10-32).
LIC3381LIC3376LIC3382
TOW MODE SWITCH
EMERGENCY CALL (SOS) BUTTON (if
so equipped) TRAILER BRAKE CONTROLLER UNIT
(TBCU) (if so equipped)
Instruments and controls2-63
Page 216 of 635
4. The hazard warning lights flash twiceand the horn beeps once.
5. All doors and the tailgate (if so equipped) will be locked.
WARNING
Af ter locking the doors using the Intel-
ligent Key, be sure that the doors have
been securely locked by operating the
door handles. Failure to follow these in-
structions may result in inadvertently
unlocking the doors, which may de-
crease the safety and security of your
vehicle.
Unlocking doors
1. Press thebutton on the Intelligent
Key to unlock the driver’s door.
2. The hazard warning lights flash once.
3. Press the
button again within 1
minute to unlock all doors and tailgate (if
so equipped).
All doors and tailgate (if so equipped) will be
locked automatically unless one of the fol-
lowing operations is performed within 1
minute af ter pressing the
button:
• Opening any doors.
• Pushing the ignition switch.
Using the interior lights
The interior lights illuminate for a period of
time when a door is unlocked and the
room light switch is in the DOOR position.
The lights can be turned off without waiting
by performing one of the following
operations:
• Placing the ignition switch in the ON position.
• Locking the doors with the Intelligent Key.
• Switching the room light switch to the “OFF” position.
For additional information, see “Interior
lights” (P. 2-88).
Opening windows
The Intelligent Key allows you to simultane-
ously open windows equipped with auto-
matic operation.
To open the windows, press the
but-
ton on the Intelligent Key for longer than 3
seconds af ter all doors are unlocked
The door windows will open while pressing
the
button on the Intelligent Key.
The door windows cannot be closed by
using the Intelligent Key.
Using the panic alarm
If you are near your vehicle and feel threat-
ened, you may activate the panic alarm to
call attention by pressing and holding the
button on the Intelligent Key for lon-
ger than 0.5 seconds.
The panic alarm and headlights will stay on
for a period of time.
The panic alarm stops when:
• It has run for a period of time.
• Any button is pressed on the Intelligent Key.
• The request switch (if so equipped) on the driver or passenger door is pushed and
the Intelligent Key is in range of the door
handle.
Trailer light check (if so equipped)
This functionality allows the customer to
confirm trailer light operation, without the
need of a second person to press the brake
pedal or activate each turn signal light. The
trailer light check can be performed by the
Intelligent Key or through the Vehicle Set-
tings in the vehicle information display. For
additional information, see “Vehicle infor-
mation display” (P. 2-23).
3-16Pre-driving checks and adjustments
Page 217 of 635
To activate the trailer light check function
with your Intelligent Key, perform the
following:
1. Aim the Intelligent Key at the vehicle.
2. Press and release the
LOCK
button.
3. Within 2 seconds, press and hold the
LOCK button again for at least 2
seconds, until the horn beeps once and
the park lights turn on.
The following events will occur:
• The lef t turn signal light on the vehicle and the trailer will flash for 5 seconds.
• The right turn signal light on the vehicle and the trailer will flash for 5 seconds.
• The brake lights on the vehicle and the trailer will turn ON for 5 seconds.
NOTE:
If the ignition switch is in the OFF po-
sition, the park lights will turn off af ter
the events above occur. If ignition
switch is in the ON position, lights will
stay on for 45 seconds af ter trailer
light check. If the trailer lights do not
work properly, check the connections
and bulbs. If the vehicle lights do not
turn on, check the bulbs. If the trailer
light check routine fails to start, en-
sure the following vehicle conditions:
• The vehicle is NOT moving, 0 mph (0 km/h)
• Brake switch is NOT depressed
• Lef t or right flasher is OFF
• Trailer light check configuration is NOT disabled and available in the meter
towing settings
• The hazard switch is NOT turned ON
• The shif t position is fully in P (Park) position
• Vehicle is within Remote Keyless Entry range
Answer back horn feature
If desired, the horn beep feature can be
deactivated using the Intelligent Key.
To deactivate: Press and hold the
andbuttonsfor at least 2 seconds.
The hazard warning lights will flash three
times to confirm that the horn beep fea-
ture has been deactivated.
To activate: Press and hold the
andbuttonsfor at least 2 seconds once
more.
The hazard warning lights will flash once
and the horn will sound once to confirm
that the horn beep feature has been
reactivated.
Deactivating the horn beep feature does
not silence the horn if the alarm is
triggered.
Pre-driving checks and adjustments3-17
Page 224 of 635
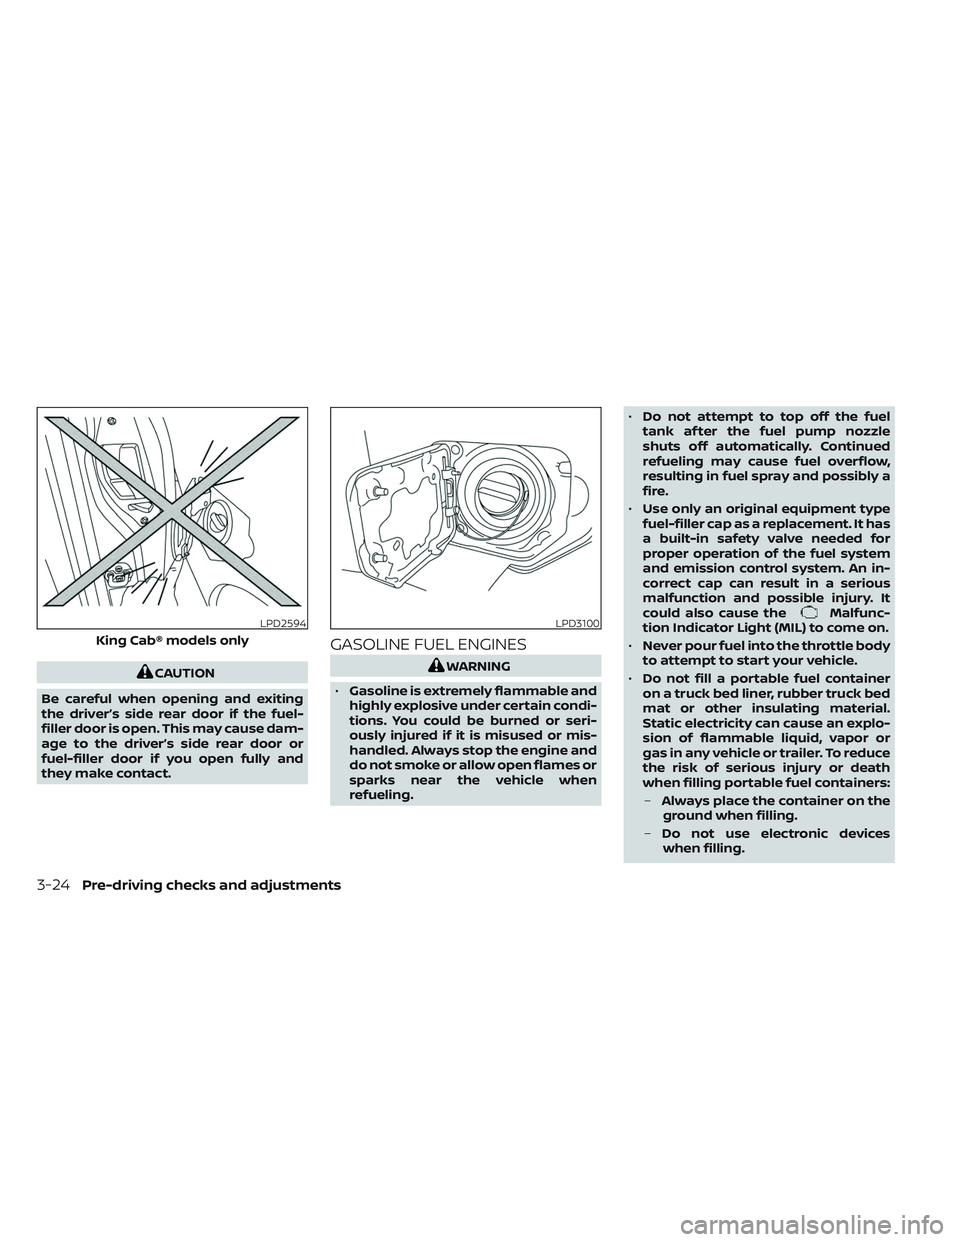
CAUTION
Be careful when opening and exiting
the driver’s side rear door if the fuel-
filler door is open. This may cause dam-
age to the driver’s side rear door or
fuel-filler door if you open fully and
they make contact.
GASOLINE FUEL ENGINES
WARNING
• Gasoline is extremely flammable and
highly explosive under certain condi-
tions. You could be burned or seri-
ously injured if it is misused or mis-
handled. Always stop the engine and
do not smoke or allow open flames or
sparks near the vehicle when
refueling. •
Do not attempt to top off the fuel
tank af ter the fuel pump nozzle
shuts off automatically. Continued
refueling may cause fuel overflow,
resulting in fuel spray and possibly a
fire.
• Use only an original equipment type
fuel-filler cap as a replacement. It has
a built-in safety valve needed for
proper operation of the fuel system
and emission control system. An in-
correct cap can result in a serious
malfunction and possible injury. It
could also cause the
Malfunc-
tion Indicator Light (MIL) to come on.
• Never pour fuel into the throttle body
to attempt to start your vehicle.
• Do not fill a portable fuel container
on a truck bed liner, rubber truck bed
mat or other insulating material.
Static electricity can cause an explo-
sion of flammable liquid, vapor or
gas in any vehicle or trailer. To reduce
the risk of serious injury or death
when filling portable fuel containers:
– Always place the container on the
ground when filling.
– Do not use electronic devices
when filling.LPD2594
King Cab® models only
LPD3100
3-24Pre-driving checks and adjustments