climate settings NISSAN TITAN 2023 Owners Manual
[x] Cancel search | Manufacturer: NISSAN, Model Year: 2023, Model line: TITAN, Model: NISSAN TITAN 2023Pages: 644, PDF Size: 7.8 MB
Page 105 of 644
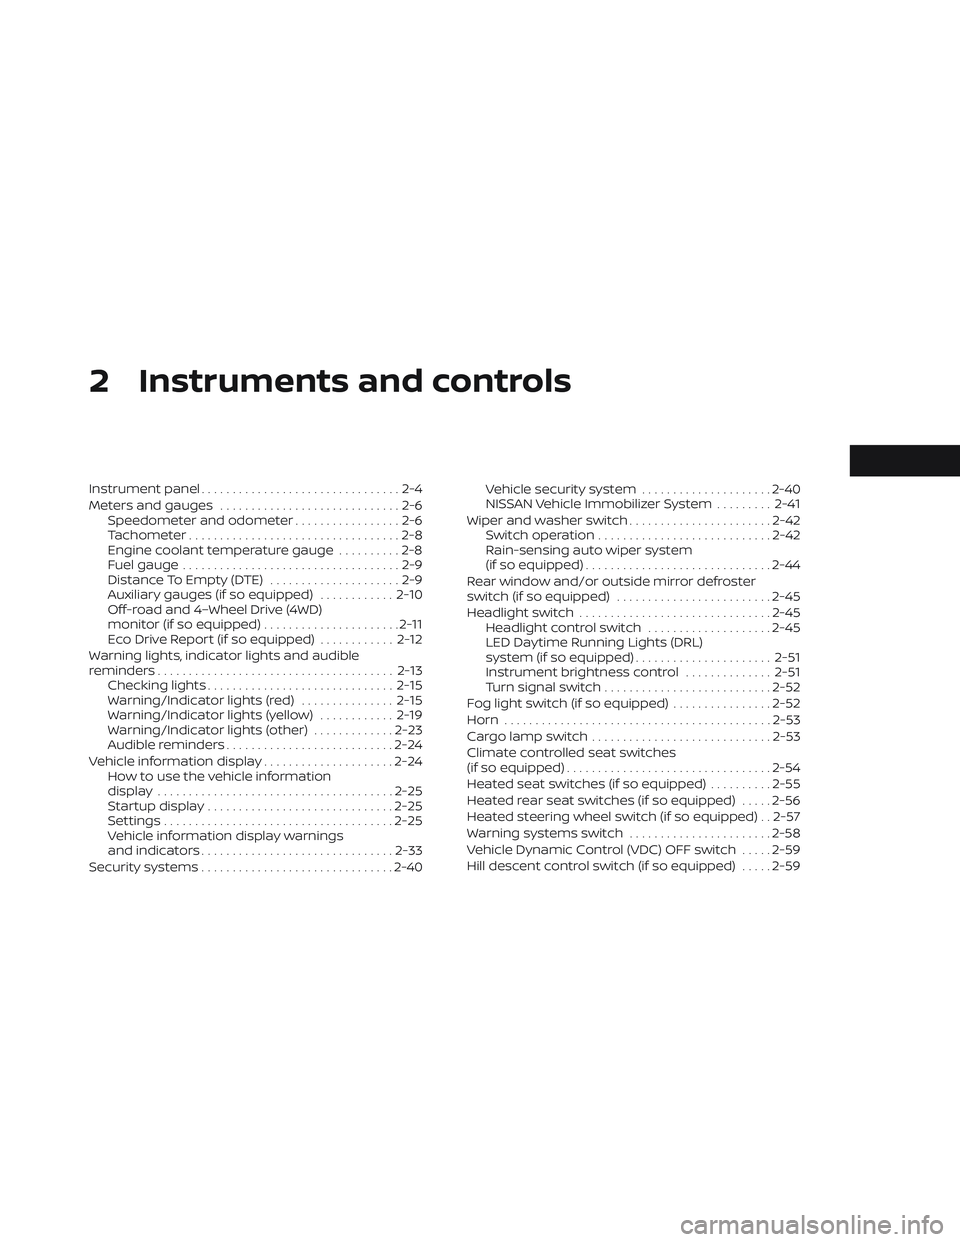
2 Instruments and controls
Instrument panel................................2-4
Meters and gauges .............................2-6
Speedometer and odometer .................2-6
Tachometer ..................................2-8
Engine coolant temperature gauge ..........2-8
Fuel gauge ...................................2-9
Distance To Empty (DTE) .....................2-9
Auxiliary gauges (if so equipped) ............2-10
Off-road and 4–Wheel Drive (4WD)
monitor (if so equipped) ......................2-11
Eco Drive Report (if so equipped) ............2-12
Warning lights, indicator lights and audible
reminders ...................................... 2-13
Checking lights .............................. 2-15
Warning/Indicator lights (red) ...............2-15
Warning/Indicator lights (yellow) ............2-19
Warning/Indicator lights (other) .............2-23
Audible reminders ........................... 2-24
Vehicle information display .....................2-24
How to use the vehicle information
display ...................................... 2-25
Startup display .............................. 2-25
Settings ..................................... 2-25
Vehicle information display warnings
and indicators ............................... 2-33
Security systems ............................... 2-40Vehicle security system
.....................2-40
NISSAN Vehicle Immobilizer System .........2-41
Wiper and washer switch .......................2-42
Switch operation ............................ 2-42
Rain-sensing auto wiper system
(if so equipped) .............................. 2-44
Rear window and/or outside mirror defroster
switch (if so equipped) ......................... 2-45
Headlight switch ............................... 2-45
Headlight control switch ....................2-45
LED Daytime Running Lights (DRL)
system (if so equipped) ......................2-51
Instrument brightness control ..............2-51
Turn signal switch ........................... 2-52
Fog light switch (if so equipped) ................2-52
Horn ........................................... 2-53
Cargo lamp switch ............................. 2-53
Climate
controlled seat switches
(if so equipped) ................................. 2-54
Heated seat switches (if so equipped) ..........2-55
Heated rear seat switches (if so equipped) .....2-56
Heated steering wheel switch (if so equipped) . . 2-57
Warning systems switch .......................2-58
Vehicle Dynamic Control (VDC) OFF switch .....2-59
Hill descent control switch (if so equipped) .....2-59
Page 252 of 644
Refer to the digital NissanConnect® Own-
er’s manual using the QR code on this
page, or your printed NissanConnect®
Owner’s manual (if so equipped). This
manual includes the following information:
• NissanConnect® Services (if so equipped)
• Navigation system (if so equipped)
• Audio system
• Apple CarPlay®
• Android Auto™
• Bluetooth® Hands-Free Phone system
• Viewing information
• Other settings• Voice recognition
• General system information
LHA5688
NISSANCONNECT® OWNER’S
MANUAL
4-2Monitor, climate, audio, phone and voice recognition systems
Page 258 of 644
4. Maneuver the steering wheel to makethe vehicle width guide lines
ODparallel
to the parking space
OCwhile referring
to the predicted course lines.
5. When the vehicle is parked in the space completely, move the shif t lever to the P
(Park) position and apply the parking
brake.
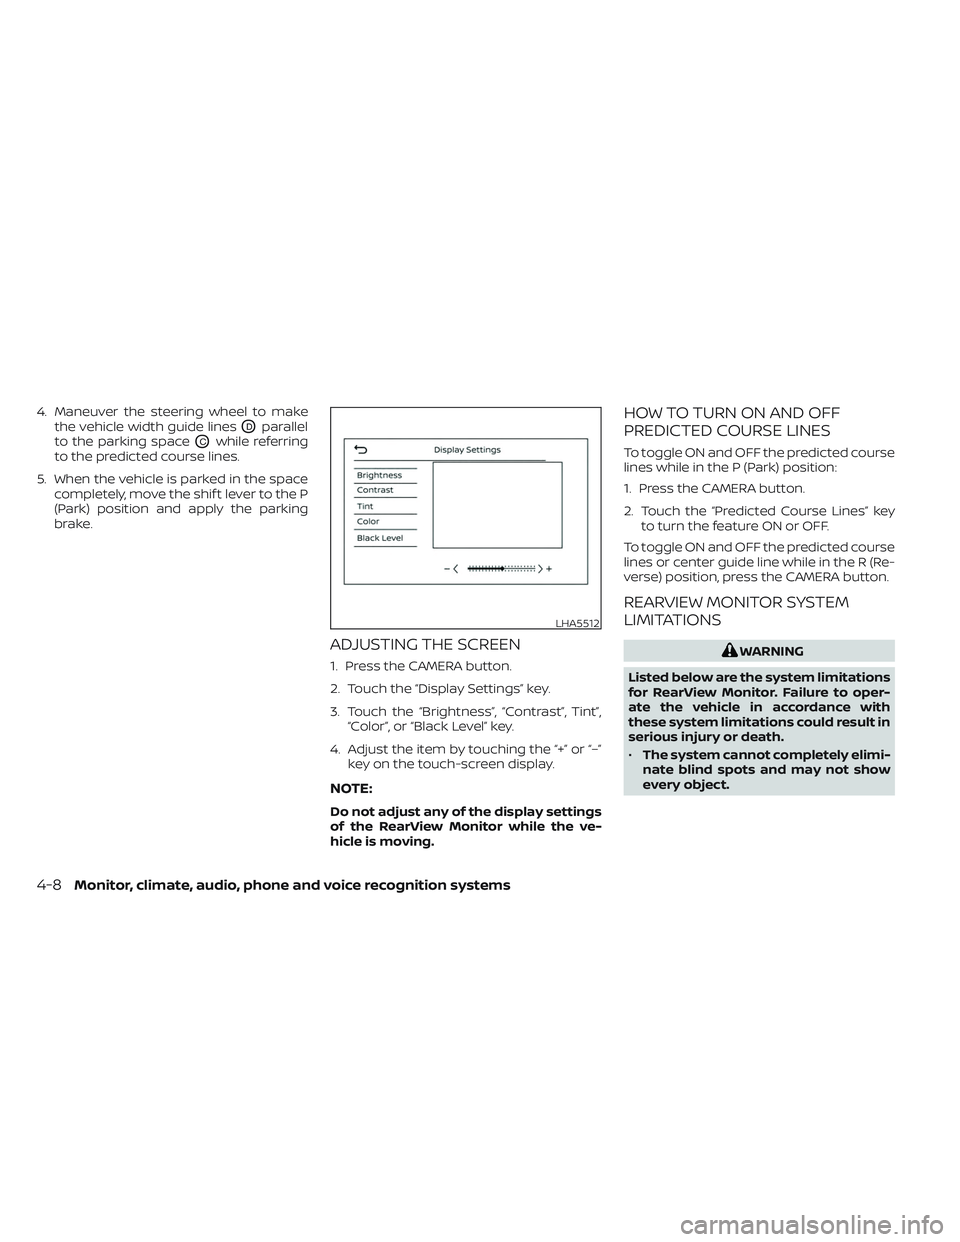
ADJUSTING THE SCREEN
1. Press the CAMERA button.
2. Touch the “Display Settings” key.
3. Touch the “Brightness”, “Contrast”, Tint”,“Color”, or “Black Level” key.
4. Adjust the item by touching the “+” or “–” key on the touch-screen display.
NOTE:
Do not adjust any of the display settings
of the RearView Monitor while the ve-
hicle is moving.
HOW TO TURN ON AND OFF
PREDICTED COURSE LINES
To toggle ON and OFF the predicted course
lines while in the P (Park) position:
1. Press the CAMERA button.
2. Touch the “Predicted Course Lines” keyto turn the feature ON or OFF.
To toggle ON and OFF the predicted course
lines or center guide line while in the R (Re-
verse) position, press the CAMERA button.
REARVIEW MONITOR SYSTEM
LIMITATIONS
WARNING
Listed below are the system limitations
for RearView Monitor. Failure to oper-
ate the vehicle in accordance with
these system limitations could result in
serious injury or death.
• The system cannot completely elimi-
nate blind spots and may not show
every object.
LHA5512
4-8Monitor, climate, audio, phone and voice recognition systems
Page 270 of 644
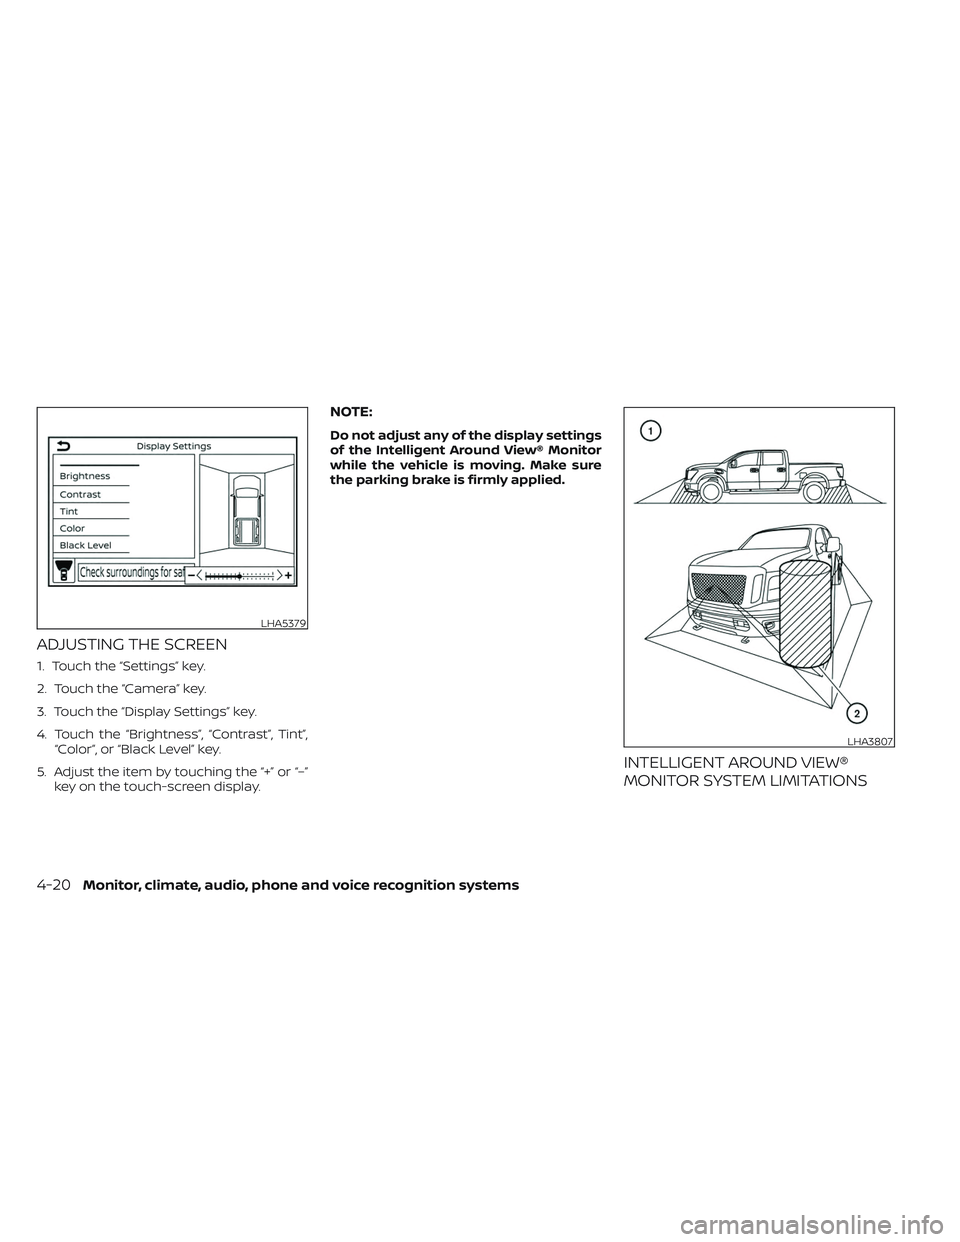
ADJUSTING THE SCREEN
1. Touch the “Settings” key.
2. Touch the “Camera” key.
3. Touch the “Display Settings” key.
4. Touch the “Brightness”, “Contrast”, Tint”,“Color”, or “Black Level” key.
5. Adjust the item by touching the “+” or “–” key on the touch-screen display.
NOTE:
Do not adjust any of the display settings
of the Intelligent Around View® Monitor
while the vehicle is moving. Make sure
the parking brake is firmly applied.
INTELLIGENT AROUND VIEW®
MONITOR SYSTEM LIMITATIONS
LHA5379
LHA3807
4-20Monitor, climate, audio, phone and voice recognition systems
Page 291 of 644
To turn system off
Press the ON-OFF button.
Rear window and/or outside
mirror defroster switch (if so
equipped)
For additional information, see “Rear win-
dow and/or outside mirror defroster
switch” (P. 2-45).
OPERATING TIPS
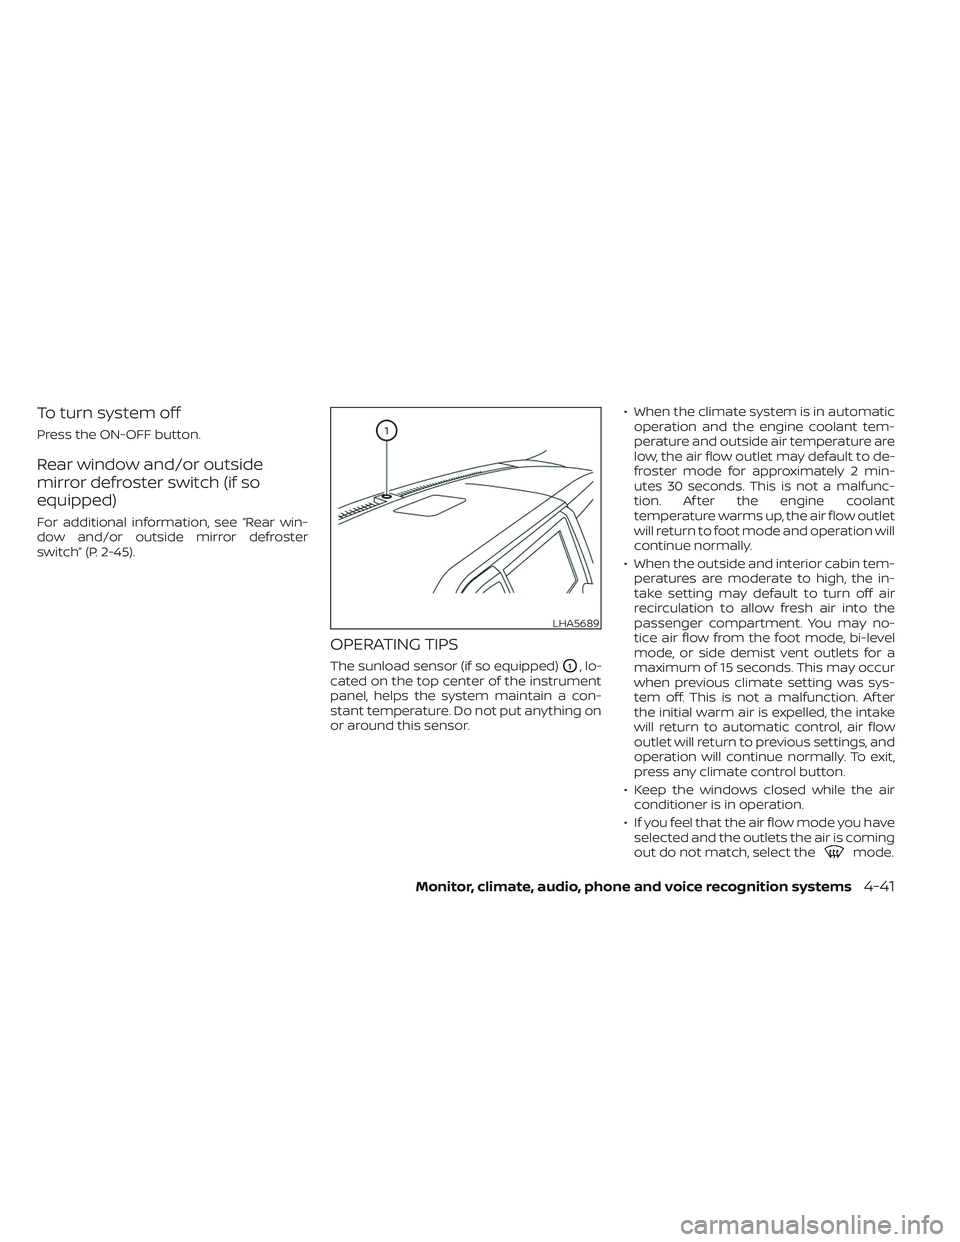
The sunload sensor (if so equipped)O1, lo-
cated on the top center of the instrument
panel, helps the system maintain a con-
stant temperature. Do not put anything on
or around this sensor. • When the climate system is in automatic
operation and the engine coolant tem-
perature and outside air temperature are
low, the air flow outlet may default to de-
froster mode for approximately 2 min-
utes 30 seconds. This is not a malfunc-
tion. Af ter the engine coolant
temperature warms up, the air flow outlet
will return to foot mode and operation will
continue normally.
• When the outside and interior cabin tem- peratures are moderate to high, the in-
take setting may default to turn off air
recirculation to allow fresh air into the
passenger compartment. You may no-
tice air flow from the foot mode, bi-level
mode, or side demist vent outlets for a
maximum of 15 seconds. This may occur
when previous climate setting was sys-
tem off. This is not a malfunction. Af ter
the initial warm air is expelled, the intake
will return to automatic control, air flow
outlet will return to previous settings, and
operation will continue normally. To exit,
press any climate control button.
• Keep the windows closed while the air conditioner is in operation.
• If you feel that the air flow mode you have selected and the outlets the air is coming
out do not match, select the
mode.
LHA5689
Monitor, climate, audio, phone and voice recognition systems4-41
Page 295 of 644
How to use the wireless headphones
When placing the headphones on your
head, make sure to observe the lef t and
right orientation. The headphones must be
oriented correctly (facing forward) to re-
ceive the audio signal. Press the
(power) button on the headphones,
then select channel “A” to listen to monitor
A, or channel “B” to listen to monitor B. Ad-
just the audio level using the volume con-
trol on each headphone.
Wired headphones
There is a 3.5mm stereo headphone out-
put on each monitor which can be used
with most standard stereo headphones
(wired headphones sold separately).
Bluetooth® streaming audio
To listen to audio throughout the entire ve-
hicle, the system includes the ability to
stream audio over a Bluetooth® connec-
tion to the vehicle’s stereo system.
When monitor A is selected as the source
to stream from, the audio output to the
wireless and wired headphones will be dis-
abled (only on monitor A). To use the wire-
less or wired headphones with monitor A,
you must turn off the Bluetooth® stream-
ing feature. To enable/disable Bluetooth® streaming, navigate to the “SETTINGS”
menu, or press
on the remote control
during content playback. For additional in-
formation, see “Settings” (P. 4-68).
Media compatibility
For a list of compatible media formats for
this system, see “Storage device format-
ting” (P. 4-45).
• The metadata or file information of some audio and video files may not be correctly
displayed.
• It is not possible to play content that is protected by DRM (Digital Rights
Management).
• There may be a delay before playback begins when using USB flash drives or SD
cards with complex folder hierarchies or
many files.
• Some audio, video, and image files may be incompatible with this system due to
file characteristics, file format, recording
sof tware used, directory structure,
and/or the type of audio/video encoding
used.
Storage device formatting
This system is compatible with several
types of formatting for USB flash drives and
SD cards. Refer to the documentation that
comes with your storage device for more
details on how to format.
FAT32 - USB and SDHC
Good for smaller capacity storage devices,
but individual files on the drive must be less
than 4GB. This format is good for music
and images.
EX-FAT - USB and SDXC
Better choice for larger capacity storage
devices with files that are more than 4GB.
This format is better for larger files such as
full-length movies.
NTFS - USB and SDXC
Best choice for very large capacity storage
devices - with no limitations on file size. This
format can be used for all file sizes.
Monitor, climate, audio, phone and voice recognition systems4-45
Page 302 of 644
WARNING
• Keep the batteries out of the reach of
children. In case the batteries are ac-
cidentally swallowed, immediately
consult a doctor. Also, when dispos-
ing of used batteries, please comply
with governmental regulations or
environmental public institution
rules that apply in your country/area.
CAUTION
• Always ensure that the batteries are
inserted with the positive and nega-
tive terminals in the correct direction
as shown in the battery compart-
ment
O3.
• Different types of batteries have dif-
ferent characteristics. Do not mix dif-
ferent types.
• Do not mix old and new batteries.
Mixing old and new batteries will
shorten battery life and/or cause
chemical leaks from the old
batteries. •
When batteries fail to function, re-
place them immediately.
• Remove the batteries if the head-
phones are not used for a month or
longer.
GENERAL OPERATION
Navigating menus
When fully powered on, the Home screen
can be accessed at any time by pressing
the
button on the remote control, or
thebutton on the monitor.
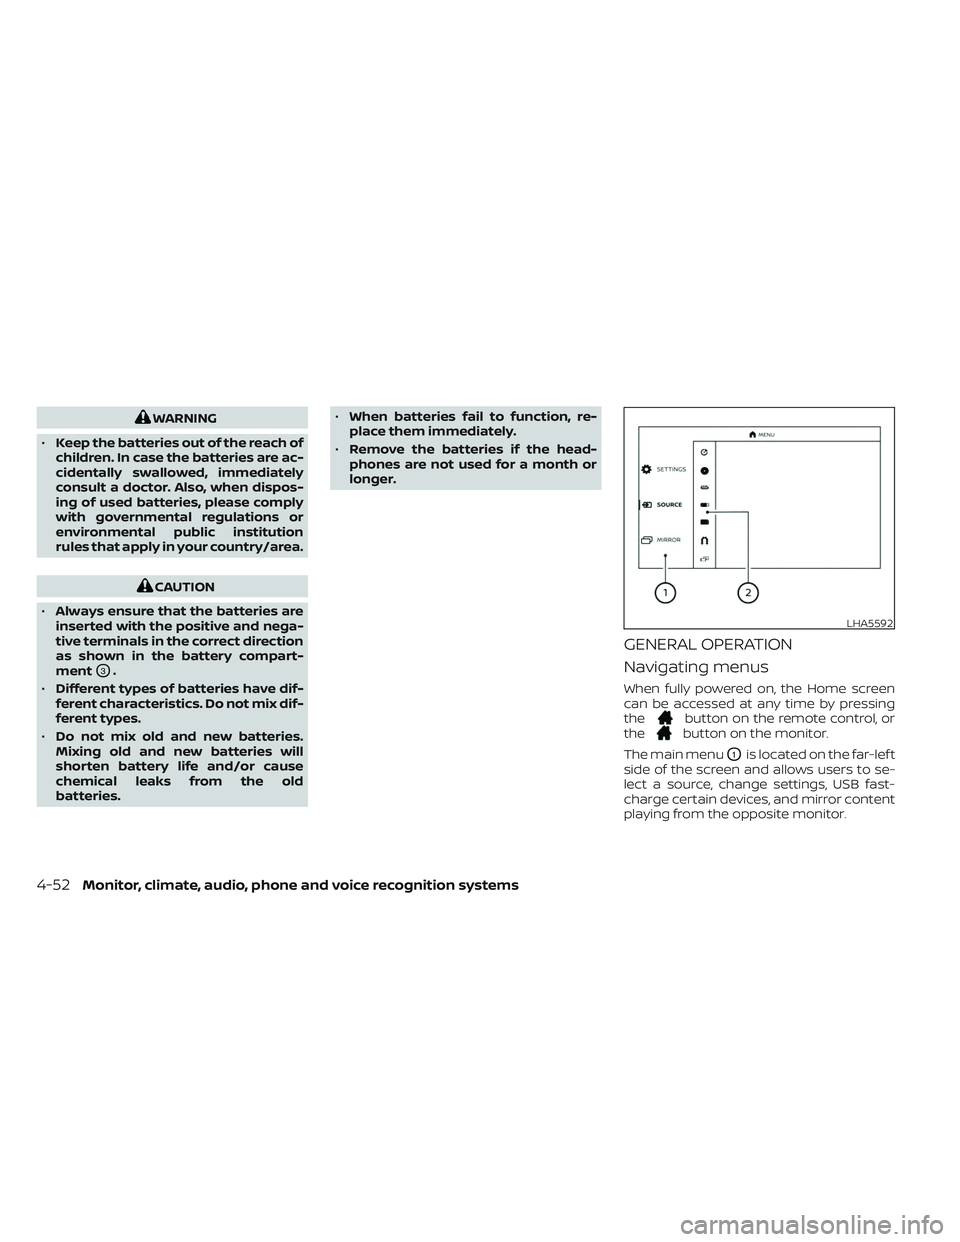
The main menu
O1is located on the far-lef t
side of the screen and allows users to se-
lect a source, change settings, USB fast-
charge certain devices, and mirror content
playing from the opposite monitor.
LHA5592
4-52Monitor, climate, audio, phone and voice recognition systems
Page 303 of 644
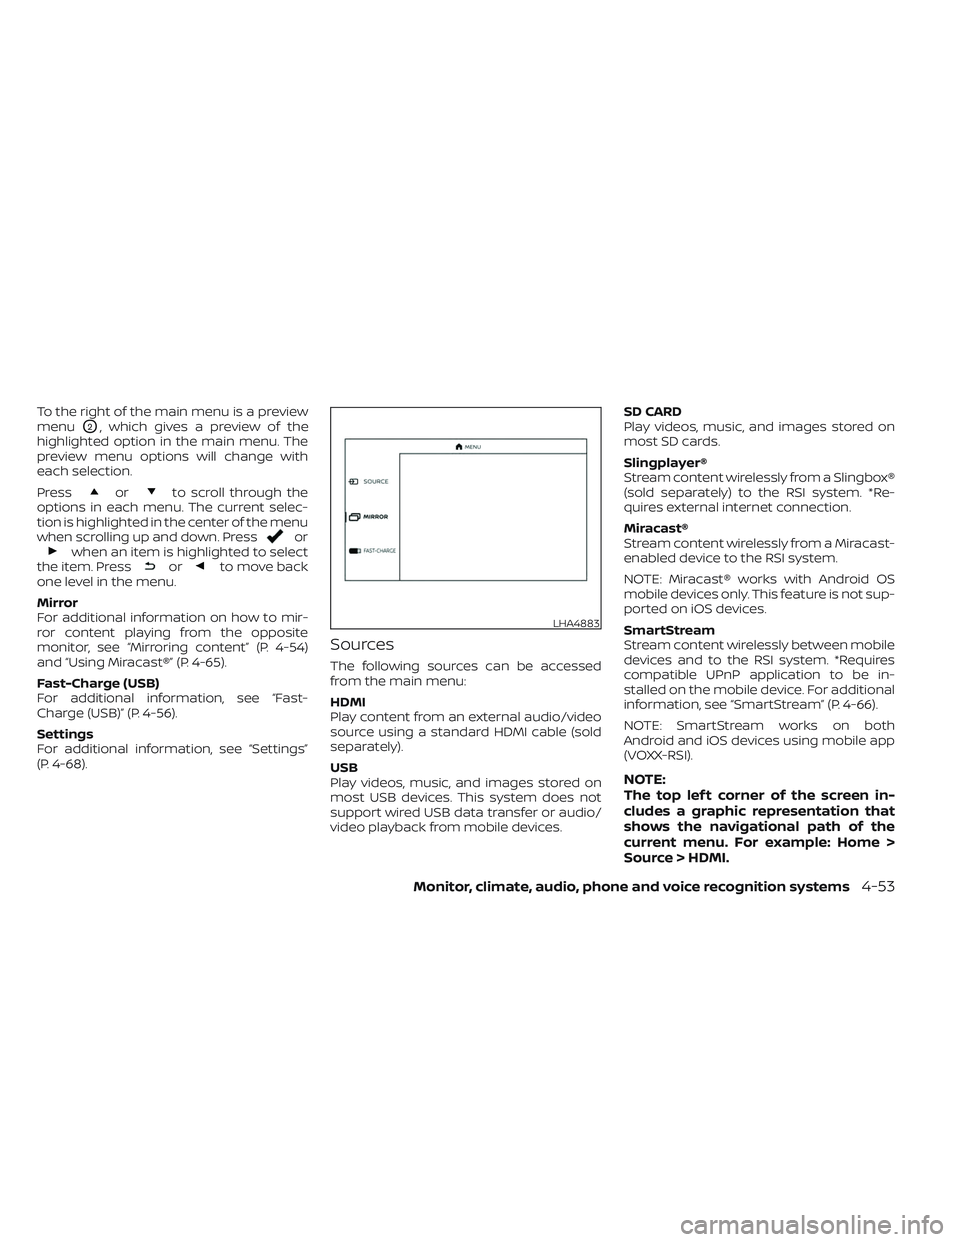
To the right of the main menu is a preview
menu
O2, which gives a preview of the
highlighted option in the main menu. The
preview menu options will change with
each selection.
Press
orto scroll through the
options in each menu. The current selec-
tion is highlighted in the center of the menu
when scrolling up and down. Press
orwhen an item is highlighted to select
the item. Pressorto move back
one level in the menu.
Mirror
For additional information on how to mir-
ror content playing from the opposite
monitor, see “Mirroring content” (P. 4-54)
and “Using Miracast®” (P. 4-65).
Fast-Charge (USB)
For additional information, see “Fast-
Charge (USB)” (P. 4-56).
Settings
For additional information, see “Settings”
(P. 4-68).
Sources
The following sources can be accessed
from the main menu:
HDMI
Play content from an external audio/video
source using a standard HDMI cable (sold
separately).
USB
Play videos, music, and images stored on
most USB devices. This system does not
support wired USB data transfer or audio/
video playback from mobile devices. SD CARD
Play videos, music, and images stored on
most SD cards.
Slingplayer®
Stream content wirelessly from a Slingbox®
(sold separately) to the RSI system. *Re-
quires external internet connection.
Miracast®
Stream content wirelessly from a Miracast-
enabled device to the RSI system.
NOTE: Miracast® works with Android OS
mobile devices only. This feature is not sup-
ported on iOS devices.
SmartStream
Stream content wirelessly between mobile
devices and to the RSI system. *Requires
compatible UPnP application to be in-
stalled on the mobile device. For additional
information, see “SmartStream” (P. 4-66).
NOTE: SmartStream works on both
Android and iOS devices using mobile app
(VOXX-RSI).
NOTE:
The top lef t corner of the screen in-
cludes a graphic representation that
shows the navigational path of the
current menu. For example: Home >
Source > HDMI.
LHA4883
Monitor, climate, audio, phone and voice recognition systems4-53
Page 304 of 644
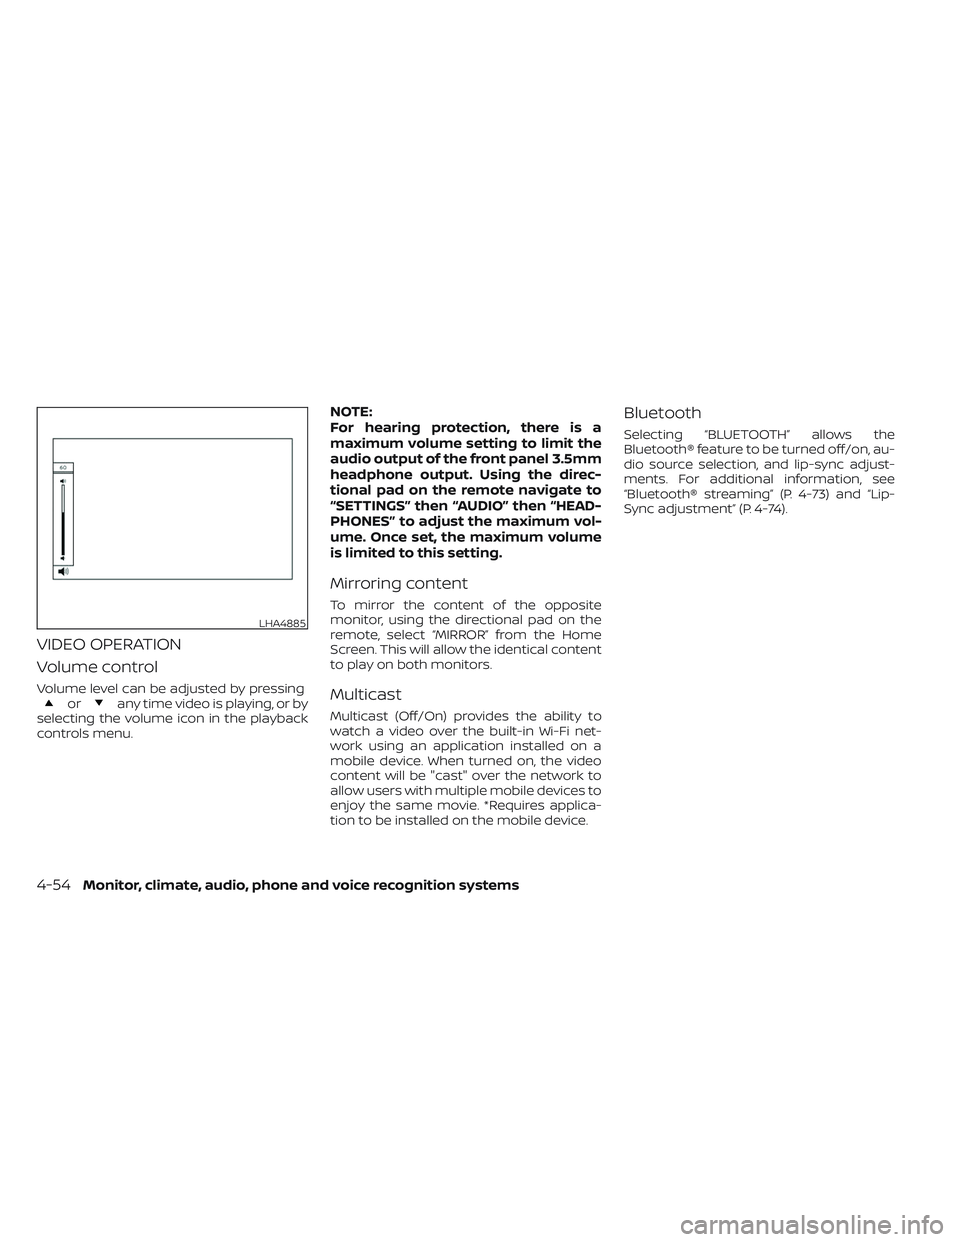
VIDEO OPERATION
Volume control
Volume level can be adjusted by pressingorany time video is playing, or by
selecting the volume icon in the playback
controls menu.
NOTE:
For hearing protection, there is a
maximum volume setting to limit the
audio output of the front panel 3.5mm
headphone output. Using the direc-
tional pad on the remote navigate to
“SETTINGS” then “AUDIO” then “HEAD-
PHONES” to adjust the maximum vol-
ume. Once set, the maximum volume
is limited to this setting.
Mirroring content
To mirror the content of the opposite
monitor, using the directional pad on the
remote, select “MIRROR” from the Home
Screen. This will allow the identical content
to play on both monitors.
Multicast
Multicast (Off/On) provides the ability to
watch a video over the built-in Wi-Fi net-
work using an application installed on a
mobile device. When turned on, the video
content will be "cast" over the network to
allow users with multiple mobile devices to
enjoy the same movie. *Requires applica-
tion to be installed on the mobile device.
Bluetooth
Selecting “BLUETOOTH” allows the
Bluetooth® feature to be turned off/on, au-
dio source selection, and lip-sync adjust-
ments. For additional information, see
“Bluetooth® streaming” (P. 4-73) and “Lip-
Sync adjustment” (P. 4-74).
LHA4885
4-54Monitor, climate, audio, phone and voice recognition systems
Page 310 of 644
10.Next
Select to go to the next chapter.
11. Repeat
Select once to repeat the entire video.
Select again to repeat the currently
playing chapter one time.
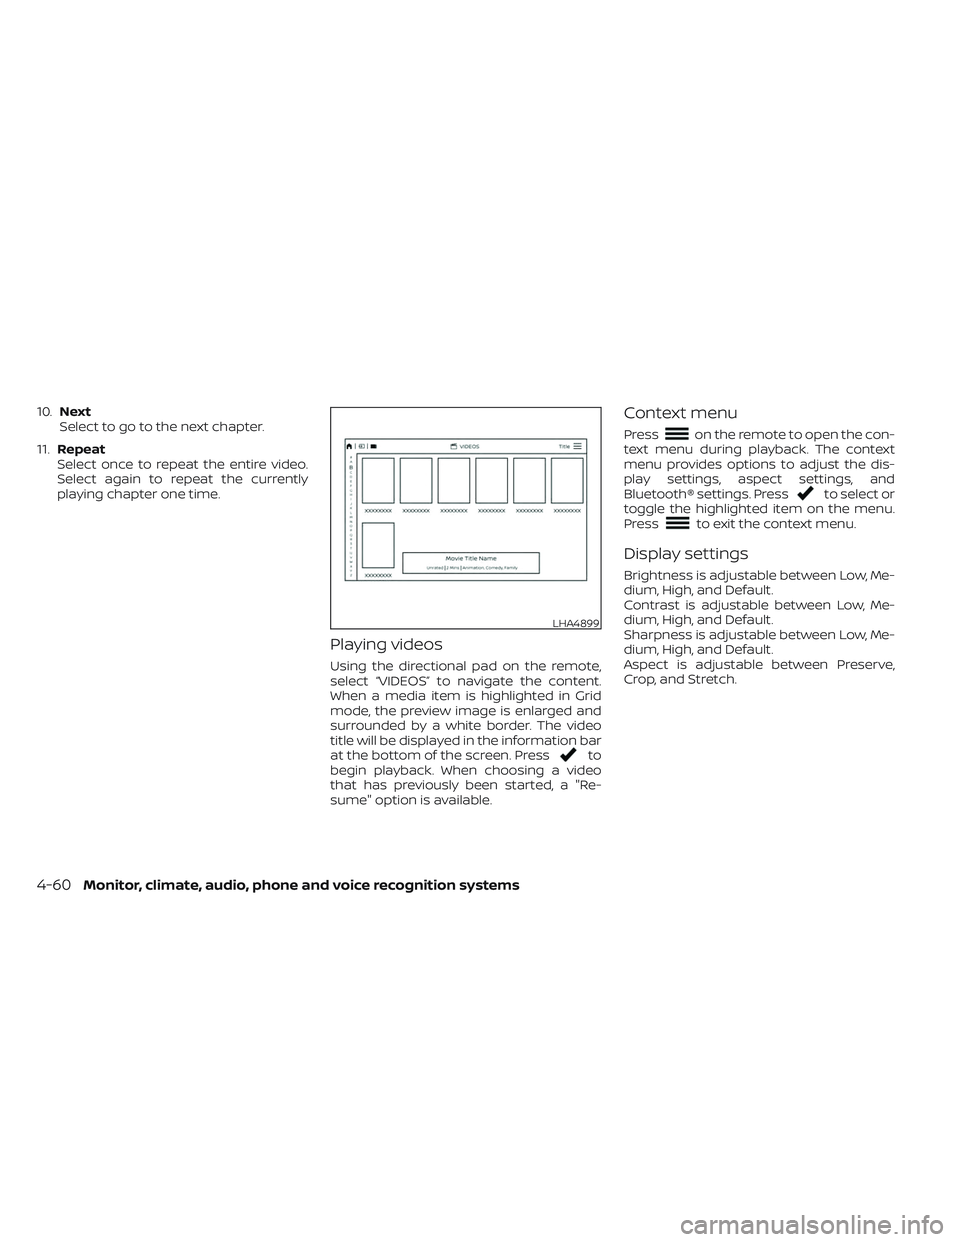
Playing videos
Using the directional pad on the remote,
select “VIDEOS” to navigate the content.
When a media item is highlighted in Grid
mode, the preview image is enlarged and
surrounded by a white border. The video
title will be displayed in the information bar
at the bottom of the screen. Press
to
begin playback. When choosing a video
that has previously been started, a "Re-
sume" option is available.
Context menu
Presson the remote to open the con-
text menu during playback. The context
menu provides options to adjust the dis-
play settings, aspect settings, and
Bluetooth® settings. Press
to select or
toggle the highlighted item on the menu.
Press
to exit the context menu.
Display settings
Brightness is adjustable between Low, Me-
dium, High, and Default.
Contrast is adjustable between Low, Me-
dium, High, and Default.
Sharpness is adjustable between Low, Me-
dium, High, and Default.
Aspect is adjustable between Preserve,
Crop, and Stretch.
LHA4899
4-60Monitor, climate, audio, phone and voice recognition systems