brake light NISSAN TITAN XD 2017 Owners Manual
[x] Cancel search | Manufacturer: NISSAN, Model Year: 2017, Model line: TITAN XD, Model: NISSAN TITAN XD 2017Pages: 671, PDF Size: 7.34 MB
Page 126 of 671
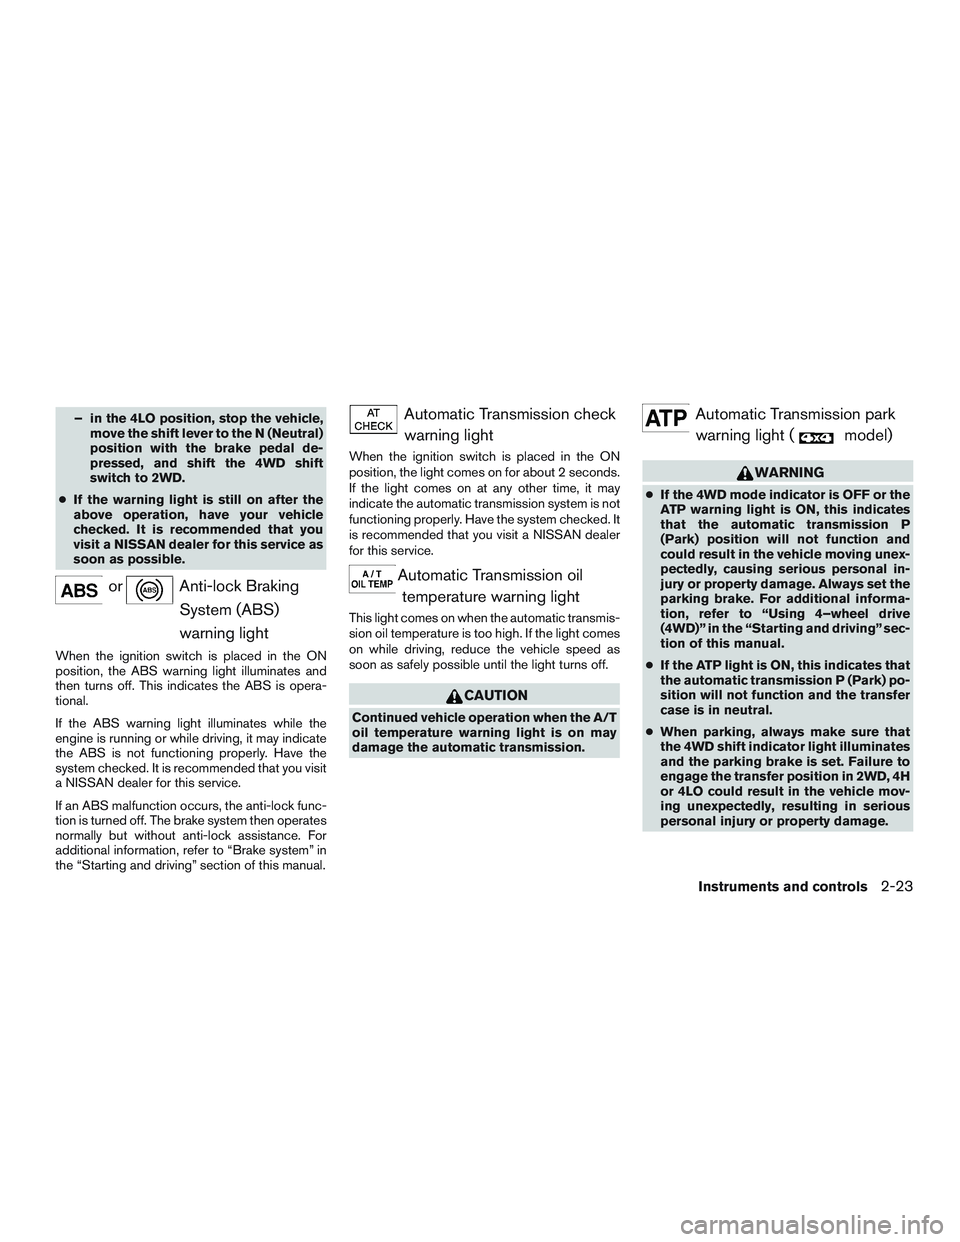
– in the 4LO position, stop the vehicle,move the shift lever to the N (Neutral)
position with the brake pedal de-
pressed, and shift the 4WD shift
switch to 2WD.
● If the warning light is still on after the
above operation, have your vehicle
checked. It is recommended that you
visit a NISSAN dealer for this service as
soon as possible.
Page 169 of 671
When the E-Lock system switch is turned ON,
the indicator light will flash until the system en-
gages. However, if all operation conditions listed
above are not met or the system becomes disen-
gaged, the indicator light will continue to flash.
The Anti-Lock Brake (ABS) system is disabled
and the ABS light illuminates when the E-Lock
system is ON. Also, the Vehicle Dynamic Control
(VDC) system is disabled and the VDC light
illuminates when the E-Lock system is ON.
For additional information, refer to “Electronic
locking rear differential (E-Lock) system” in the
“Starting and driving” section of this manual for
further explanation and system limitations.
Page 385 of 671
WARNING
The following actions can increase the
chance of losing control of the vehicle if
there is a sudden loss of tire air pressure.
Losing control of the vehicle may cause a
collision and result in personal injury.
●The vehicle generally moves or pulls in
the direction of the flat tire.
● Do not rapidly apply the brakes.
● Do not rapidly release the accelerator
pedal.
● Do not rapidly turn the steering wheel.
1. Remain calm and do not overreact.
2. Maintain a firm grip on the steering wheel with both hands and try to hold a straight
course.
3. When appropriate, slowly release the accel- erator pedal to gradually slow the vehicle.
4. Gradually steer the vehicle to a safe location off the road and away from traffic if possible.
5. Lightly apply the brake pedal to gradually stop the vehicle.
6. Turn on the hazard warning flashers and contact a roadside emergency service to
change the tire. For additional information, refer to “Changing a flat tire” in the “In case
of emergency” section of this manual.DRINKING ALCOHOL/DRUGS AND
DRIVING
Page 386 of 671
●Many hills are too steep for any vehicle.
If you drive up them, you may stall. If
you drive down them, you may not be
able to control your speed. If you drive
across them, you may roll over.
● Do not shift gears while driving on
downhill grades as this could cause
loss of control of the vehicle.
● Stay alert when driving to the top of a
hill. At the top there could be a drop-off
or other hazard that could cause an
accident.
● If your engine stalls or you cannot make
it to the top of a steep hill, never at-
tempt to turn around. Your vehicle could
tip or roll over. Always back straight
down in R (Reverse) gear and apply
brakes to control your speed.
● Heavy braking going down a hill could
cause your brakes to overheat and fade,
resulting in loss of control and an acci-
dent. Apply brakes lightly and use a low
gear to control your speed.
● Unsecured cargo can be thrown around
when driving over rough terrain. Prop-
erly secure all cargo so it will not be
thrown forward and cause injury to you
or your passengers. ●
Secure heavy loads in the cargo area as
far forward and as low as possible. Do
not equip the vehicle with tires larger
than specified in this manual. This could
cause your vehicle to roll over.
● Do not grip the inside or spokes of the
steering wheel when driving off-road.
The steering wheel could move sud-
denly and injure your hands. Instead
drive with your fingers and thumbs on
the outside of the rim.
● Before operating the vehicle, ensure
that the driver and all passengers have
their seat belts fastened.
● Lower your speed when encountering
strong crosswinds. With a higher center
of gravity, your NISSAN is more affected
by strong side winds. Slower speeds
ensure better vehicle control.
● Do not drive beyond the performance
capability of the tires, even with 4WD
engaged. ●
For 4WD equipped vehicles, do not at-
tempt to raise two wheels off the
ground and shift the transmission to
any drive or reverse position with the
engine running. Doing so may result in
drivetrain damage or unexpected ve-
hicle movement which could result in
serious vehicle damage or personal
injury.
● Do not attempt to test a 4WD equipped
vehicle on a 2-wheel dynamometer
(such as the dynamometers used by
some states for emissions testing) , or
similar equipment even if the other two
wheels are raised off the ground. Make
sure you inform test facility personnel
that your vehicle is equipped with 4WD
before it is placed on a dynamometer.
Using the wrong test equipment may
result in drivetrain damage or unex-
pected vehicle movement which could
result in serious vehicle damage or per-
sonal injury.
● Accelerating quickly, sharp steering
maneuvers or sudden braking may
cause loss of control.
Starting and driving5-9
Page 399 of 671
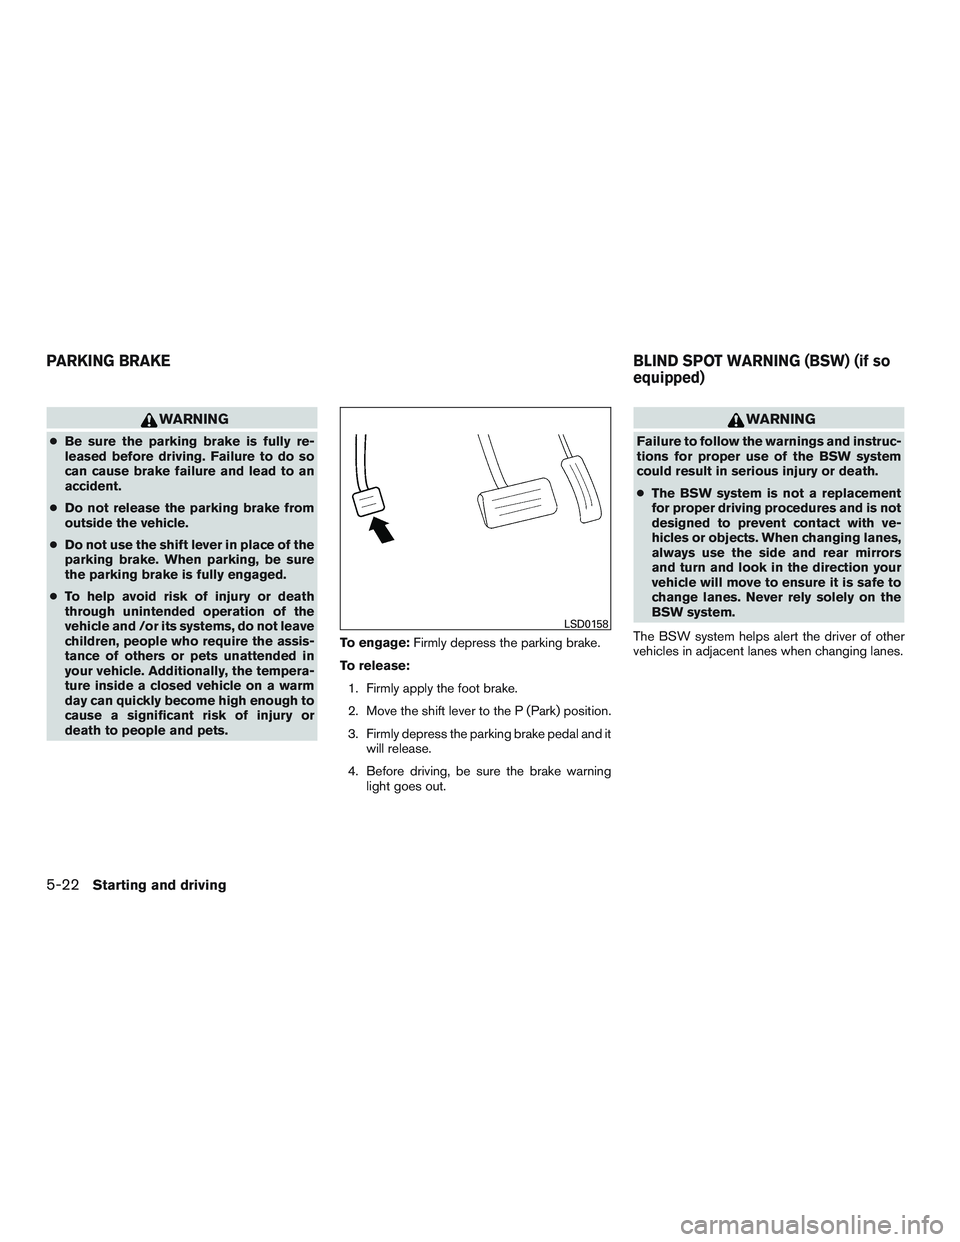
WARNING
●Be sure the parking brake is fully re-
leased before driving. Failure to do so
can cause brake failure and lead to an
accident.
● Do not release the parking brake from
outside the vehicle.
● Do not use the shift lever in place of the
parking brake. When parking, be sure
the parking brake is fully engaged.
● To help avoid risk of injury or death
through unintended operation of the
vehicle and /or its systems, do not leave
children, people who require the assis-
tance of others or pets unattended in
your vehicle. Additionally, the tempera-
ture inside a closed vehicle on a warm
day can quickly become high enough to
cause a significant risk of injury or
death to people and pets. To engage:
Firmly depress the parking brake.
To release: 1. Firmly apply the foot brake.
2. Move the shift lever to the P (Park) position.
3. Firmly depress the parking brake pedal and it will release.
4. Before driving, be sure the brake warning light goes out.
Page 419 of 671
●Push and hold the ACCEL/RES switch.
When the vehicle attains the speed you de-
sire, release the switch.
● Push and release the ACCEL/RES switch.
Each time you do this, the set speed in-
creases by about 1 mph (1.6 km/h).
To reset at a slower cruising speed, use one
of the following three methods:
● Lightly tap the brake pedal. When the ve-
hicle attains the desired speed, push the
COAST/SET switch and release it.
● Push and hold the COAST/SET switch. Re-
lease the switch when the vehicle slows to
the desired speed.
● Push and release the COAST/SET switch.
Each time you do this, the set speed de-
creases by about 1 mph (1.6 km/h).
To resume the preset speed, push and re-
lease the ACCEL/RES switch. The vehicle re-
turns to the last set cruising speed when the
vehicle speed is over 25 mph (40 km/h).
Page 428 of 671
●Do not drive the vehicle in the 4H or 4LO
position on dry hard surface roads. Driv-
ing on dry, hard surfaces in 4H or 4LO
may cause unnecessary noise, tire wear
and increased fuel consumption.
If the 4WD warning light or warning
message turn on when you are driving
on dry hard surface roads:
– in the 4H position, shift the 4WD shift switch to 2WD.
– in the 4LO position, stop the vehicle, move the automatic transmission
shift lever to the N position with the
brake pedal depressed, and shift the
4WD shift switch to 2WD.
● If the warning light or warning message
is still on after the above operation,
have your vehicle checked as soon as
possible. It is recommended that you
visit a NISSAN dealer for this service.
● The transfer case may be damaged if
you continue driving with the warning
light or warning message on. The E-Lock system can provide additional trac-
tion and should only be used when a vehicle has
become or is becoming stuck. This system oper-
ates by electronically “locking” the two rear drive
wheels together, allowing them to turn at the
same speed. The system is used when it is not
possible to free a stuck vehicle even when using
the 4LO position (4-wheel drive vehicles) .
When added traction is required, activate the
E-Lock system by pushing the switch on. For
additional information, refer to “Electronic locking
rear differential (E-Lock) system switch” in the
“Instruments and controls” section of this manual.
Once the system fully engages, the indicator light
in the instrument panel will remain on. When the
system is activated, both rear wheels will engage,
providing added traction.
The rear wheels may momentarily slip or move to
engage the system, and the system will only
engage up to approximately 4 mph (7 km/h).
Once the vehicle is free, the system should be
turned off and driving resumed.
The Anti-Lock Brake (ABS) system is disabled
and the ABS light illuminates when the E-Lock
system is on. Also, the Vehicle Dynamic Control
(VDC) system is disabled and the
Page 433 of 671
When the ABS senses that one or more wheels
are close to locking up, the actuator rapidly ap-
plies and releases hydraulic pressure. This action
is similar to pumping the brakes very quickly. You
may feel a pulsation in the brake pedal and hear a
noise from under the hood or feel a vibration from
the actuator when it is operating. This is normal
and indicates that the ABS is operating properly.
However, the pulsation may indicate that road
conditions are hazardous and extra care is re-
quired while driving.
BRAKE ASSIST
When the force applied to the brake pedal ex-
ceeds a certain level, the brake assist is activated
generating greater braking force than a conven-
tional brake booster even with light pedal force.
Page 436 of 671
WARNING
●Never rely solely on the hill descent
control system to control vehicle speed
when driving on steep downhill grades.
Always drive carefully and attentively
when using the hill descent control sys-
tem and decelerate the vehicle speed by
depressing the brake pedal if neces-
sary. Be especially careful when driving
on frozen, muddy or extremely steep
downhill roads. Failure to control ve-
hicle speed may result in a loss of con-
trol of the vehicle and possible serious
injury or death.
● The hill descent control may not control
the vehicle speed on a hill under all load
or road conditions. Always be prepared
to depress the brake pedal to control
vehicle speed. Failure to do so may re-
sult in a collision or serious personal
injury. The hill descent control system can only be acti-
vated when the 4H or 4LO switch is engaged.
The hill descent control system helps maintain
vehicle speed when driving under 15 mph
(25 km/h) on steeper downhill grades. Hill de-
scent control is useful when engine braking alone
cannot control vehicle speed. Hill descent con-
trol applies the vehicle brakes to control vehicle
speed allowing the driver to concentrate on
steering while reducing the burden of brake and
accelerator operation.
If the hill descent control light is blinking, the hill
descent control is engaged; however, the hill
descent control will not control the vehicle
speed.
● Once the system is activated, the indicator
light will remain on in the instrument panel.
For additional information, refer to “Hill de-
scent control system ON indicator light” in
the “Instruments and controls” section of this
manual.
● You may hear a noise from under the hood or
feel a vibration from the actuator when it is
operating. This indicates that the HDC sys-
tem is working properly. If the accelerator or brake pedal is depressed
while the hill descent control system is on, the
system will stop operating temporarily. As soon
as the accelerator or brake pedal is released, the
hill descent control system begins to function
again if the hill descent control operating condi-
tions are fulfilled.
For the best results, when descending steep
downhill grades, the hill descent control switch
should be ON and the shift lever in M1 (First) for
engine braking.
HILL DESCENT CONTROL SYSTEM (if
so equipped)
Starting and driving5-59
Page 437 of 671
WARNING
●Never rely solely on the hill start assist
system to prevent the vehicle from mov-
ing backward on a hill. Always drive
carefully and attentively. Depress the
brake pedal when the vehicle is stopped
on a steep hill. Be especially careful
when stopped on a hill on frozen or
muddy roads. Failure to prevent the ve-
hicle from rolling backwards may result
in a loss of control of the vehicle and
possible serious injury or death.
● The hill start assist system is not de-
signed to hold the vehicle at a standstill
on a hill. Depress the brake pedal when
the vehicle is stopped on a steep hill.
Failure to do so may cause the vehicle
to roll backwards and may result in a
collision or serious personal injury.
● The hill start assist may not prevent the
vehicle from rolling backwards on a hill
under all load or road conditions. Al-
ways be prepared to depress the brake
pedal to prevent the vehicle from rolling
backwards. Failure to do so may result
in a collision or serious personal injury. When the vehicle is stopped on a hill, the hill start
assist system automatically keeps the brakes ap-
plied. This helps prevents the vehicle from rolling
backward in the time it takes the driver to release
the brake pedal and apply the accelerator when
the vehicle is stopped on a hill.
Hill start assist will operate automatically under
the following conditions:
● The shift lever is shifted to a forward or
reverse gear.
● The vehicle is stopped completely on a hill
by applying the brake.
The maximum holding time is 2 seconds. After
2 seconds the vehicle will begin to roll back and
hill start assist will stop operating completely.
Hill start assist will not operate when the shift
lever is shifted into N (Neutral) or P (Park) or on a
flat and level road. When the VDC warning light
illuminates in the meter, the hill start assist system
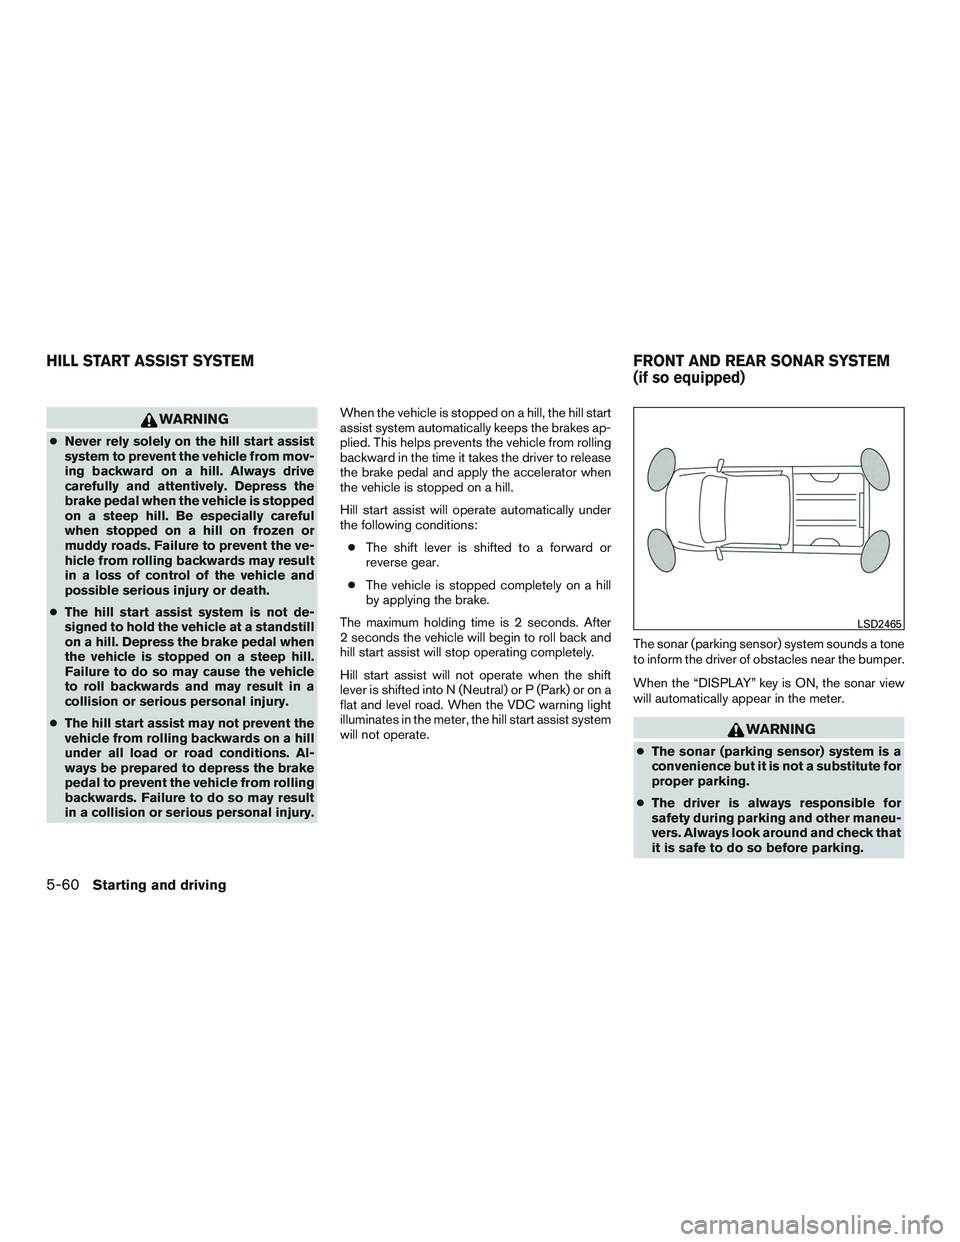
will not operate. The sonar (parking sensor) system sounds a tone
to inform the driver of obstacles near the bumper.
When the “DISPLAY” key is ON, the sonar view
will automatically appear in the meter.