ESP NISSAN VERSA 2007 1.G Quick Reference Guide
[x] Cancel search | Manufacturer: NISSAN, Model Year: 2007, Model line: VERSA, Model: NISSAN VERSA 2007 1.GPages: 12, PDF Size: 1.21 MB
Page 3 of 12

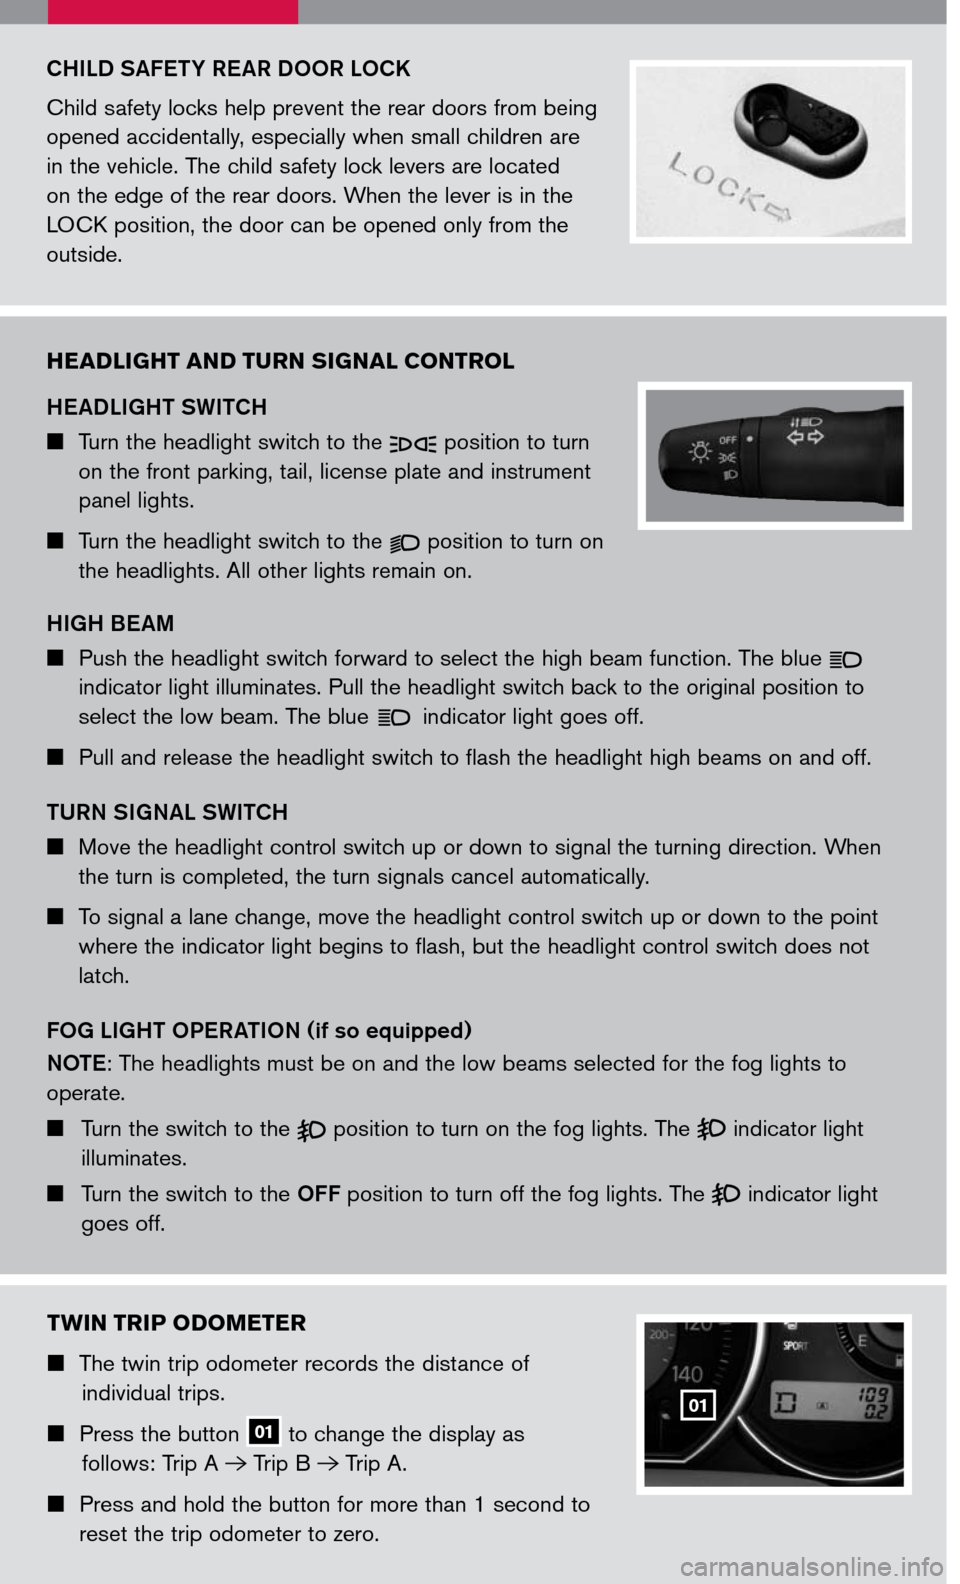
CHILD SAFETY REAR DOOR LOCK
Child safety locks help prevent the rear doors from being
opened accidentally, especially when small children are
in the vehicle. The child safety lock levers are located
on the edge of the rear doors. When the lever is in the
LOCK position, the door can be opened only from the
outside.
HEADLIGHT AND TURN SIGNAL CONTROL
HEADLIGHT SWITCH
Turn the headlight switch to the position to turn
on the front parking, tail, license plate and instrument
panel lights.
Turn the headlight switch to the position to turn on
the headlights. All other lights remain on.
HIGH BEAM
Push the headlight switch forward to select the high beam function. The blue
indicator light illuminates. Pull the headlight switch back to the original position to
select the low beam. The blue indicator light goes off.
Pull and release the headlight switch to flash the headlight high beams on and off.
TURN SIGNAL SWITCH
Move the headlight control switch up or down to signal the turning direction. When
the turn is completed, the turn signals cancel automatically.
To signal a lane change, move the headlight control switch up or down to the point
where the indicator light begins to flash, but the headlight control switch does not
latch.
FOG LIGHT OPERATION (if so equipped)
NOTE: The headlights must be on and the low beams selected for the fog lights to
operate.
Turn the switch to the position to turn on the fog lights. The indicator light
illuminates.
Turn the switch to the OFF position to turn off the fog lights. The indicator light
goes off.
TWIN TRIP ODOMETER
The twin trip odometer records the distance of
individual trips.
Press the button 01 to change the display as
follows: Trip A Trip B Trip A.
Press and hold the button for more than 1 second to
reset the trip odometer to zero.
01
Page 6 of 12

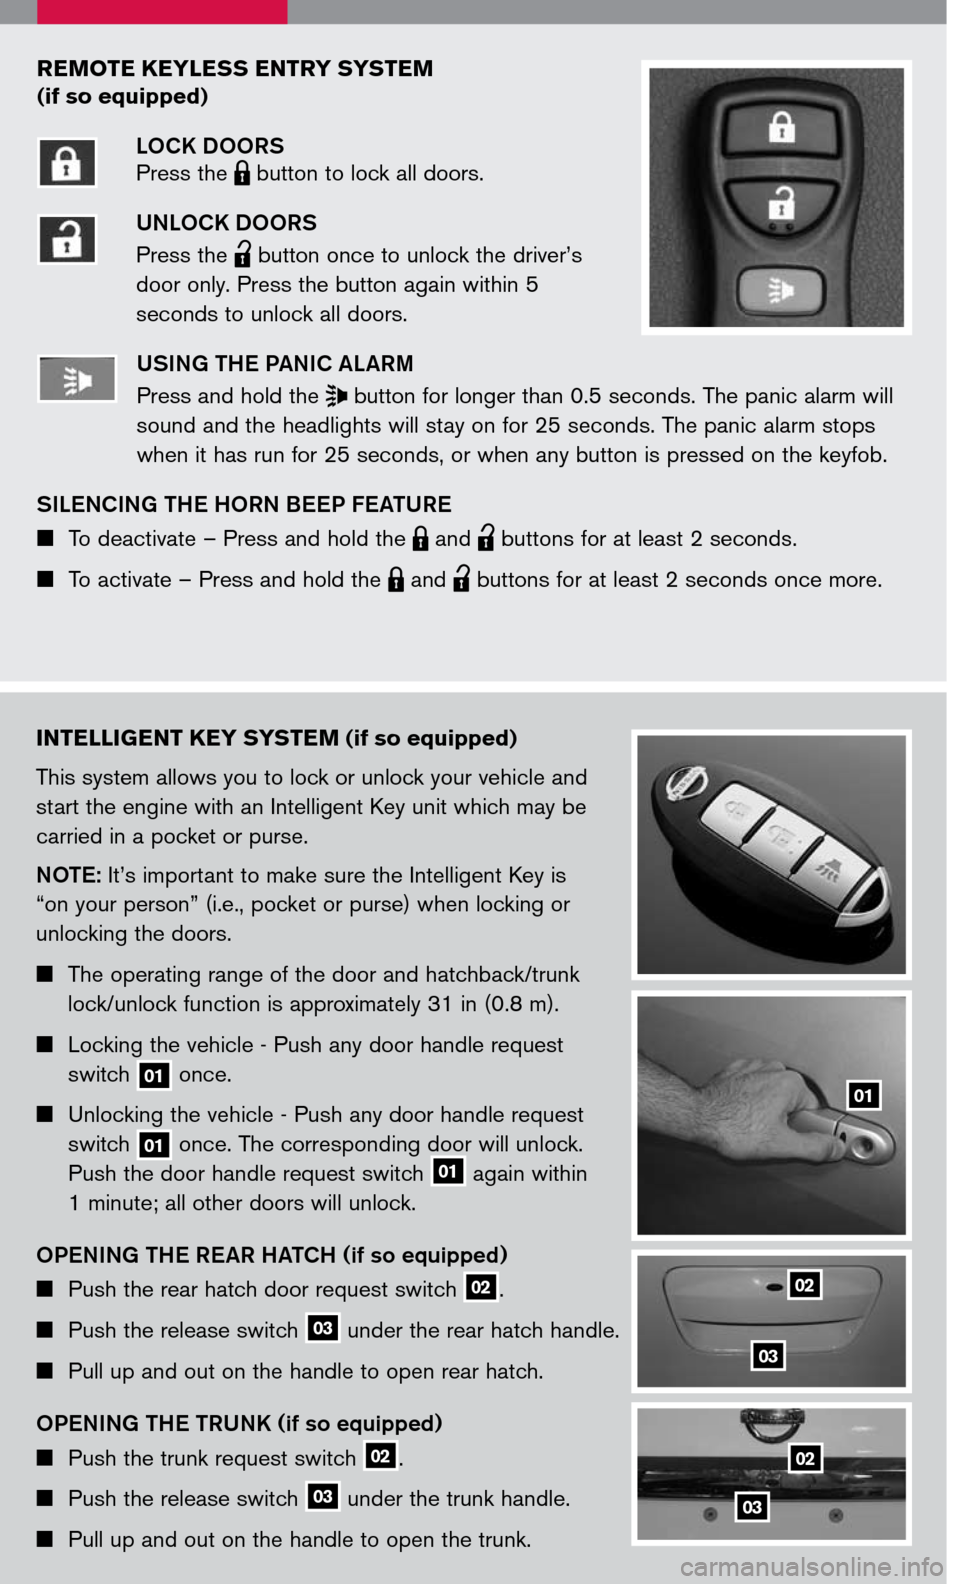
REMOTE KEYLESS ENTRY SYSTEM
(if so equipped)
LOCK DOORS
Press the LPD0150 button to lock all doors.
UNLOCK DOORS
Press the
lpd0151
button once to unlock the driver’s
door only. Press the button again within 5
seconds to unlock all doors.U SING THE PANIC ALARM
Press and hold the button for longer than 0.5 seconds. The panic alarm will
sound and the headlights will stay on for 25 seconds. The panic alarm stops
when it has run for 25 seconds, or when any button is pressed on the keyfob.
S ILENCING THE HORN BEEP FEATURE
To deactivate – Press and hold the LPD0150 and
lpd0151
buttons for at least 2 seconds.
To activate – Press and hold the LPD0150 and
lpd0151
buttons for at least 2 seconds once more.
INTELLIGENT KEY SYSTEM (if so equipped)
This system allows you to lock or unlock your vehicle and
start the engine with an Intelligent Key unit which may be
carried in a pocket or purse.
NOTE
: It’s important to make sure the Intelligent Key is
“on your person” (i.e., pocket or purse) when locking or
unlocking the doors.
The operating range of the door and hatchback/trunk
lock/unlock function is approximately 31 in (0.8 m).
Locking the vehicle - Push any door handle request
switch 01 once.
Unlocking the vehicle - Push any door handle request
switch 01 once. The corresponding door will unlock.
Push the door handle request switch 01 again within
1 minute; all other doors will unlock.
OPENING THE REAR HATCH (if so equipped)
Push the rear hatch door request switch 02.
Push the release switch 03 under the rear hatch handle.
Pull up and out on the handle to open rear hatch.
OPENING THE TRUNK (if so equipped)
Push the trunk request switch 02.
Push the release switch 03 under the trunk handle.
Pull up and out on the handle to open the trunk.
02
03
01
02
03
Page 10 of 12

AUDIO BUTTON
Press the AUDIO button to change the audio settings. Adjust the bass, treble,
balance, fade and Speed Sensitive Volume (SSV) and beep on /off by pressing the
AUDIO button until the desired mode appears in the display. Press the TUNE/
FF.REW/FOLDER button up or down to adjust to the desired level.
STATION AND CD SELE CT BU TTONS
To store a station in a preset you must first select A, B, or C memory bank by
pressing the PRESET A.B.C button and tune to the desired FM, AM or SAT*
station. Then press and hold the desired station select button for at least 2
seconds. When the preset indicator illuminates, a beep will sound, indicating
memorization is complete. To retrieve a previously set station, select the memory
bank where the preset was set, then press the corresponding station select button.
LOAD BUTTON
LOAD A SINGLE DISC - Press the LOAD button for less than 1.5 seconds. Select
the loading slot by pressing the CD insert button (1- 6), then insert the CD.
LOAD UP TO 6 DISCS - Press and hold the LOAD button for less than 1.5
seconds. The slot numbers (1- 6) will illuminate on the display when the CDs are
loaded into the charger.
10
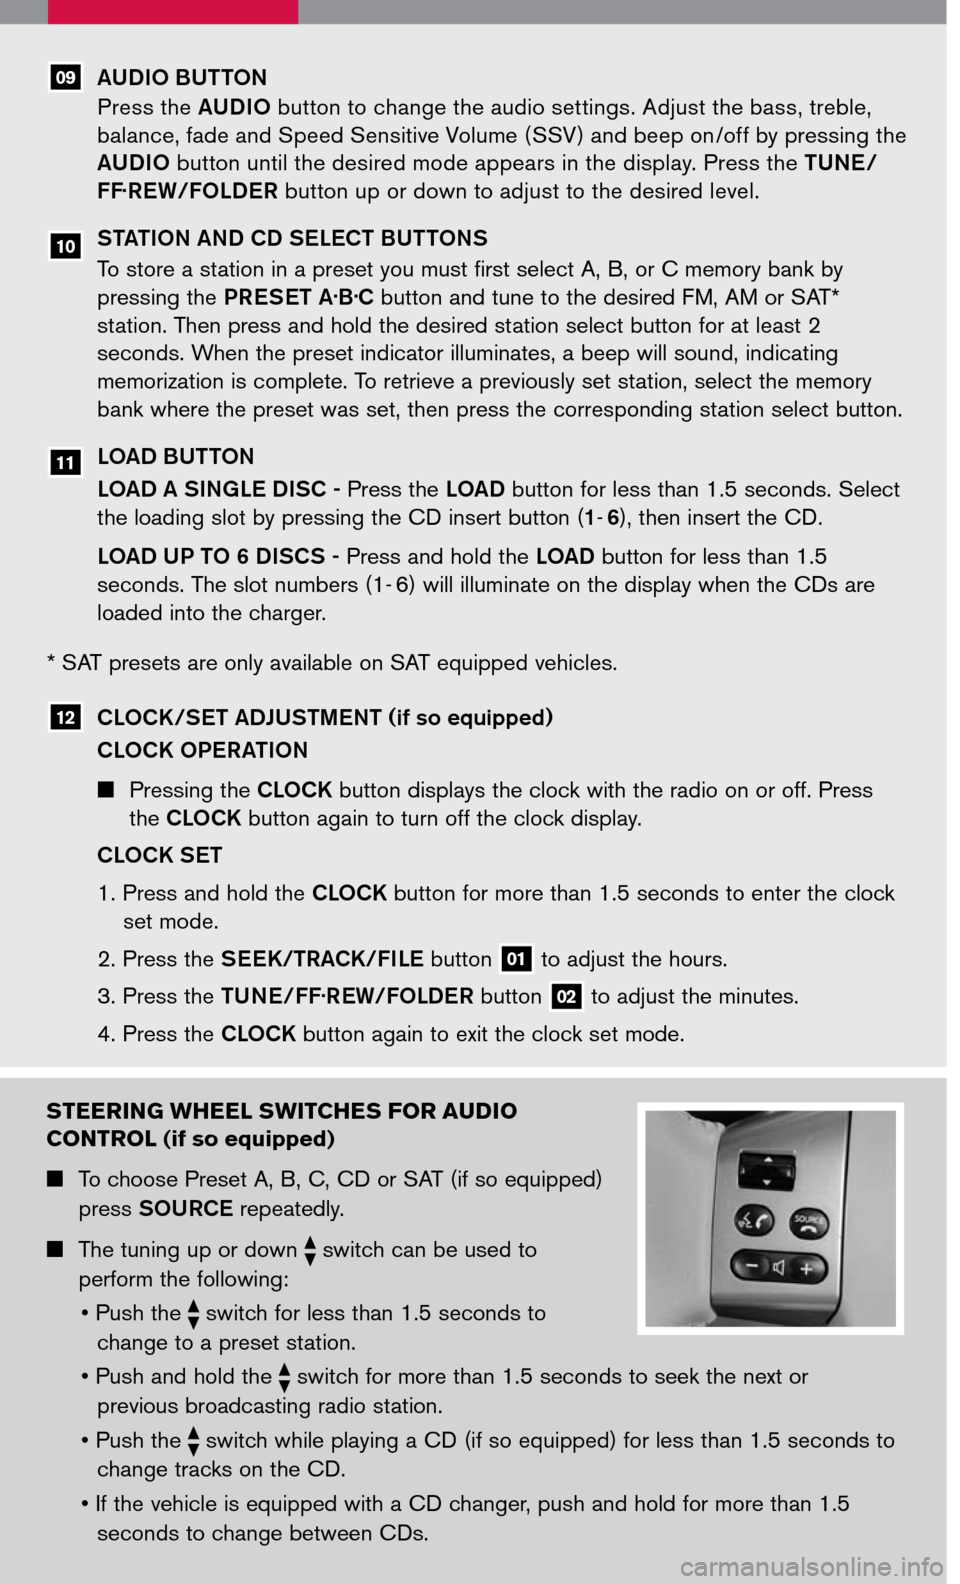
STEERING WHEEL SWITCHES FOR AUDIO
CONTROL (if so equipped)
To choose Preset A, B, C, CD or SAT (if so equipped)
press SOURCE repeatedly.
The tuning up or down switch can be used to
perform the following:
•
Push the switch for less than 1.5 seconds to
change to a preset station.
• Push and hold the
switch for more than 1.5 seconds to seek the next or
previous broadcasting radio station.
• Push the
switch while playing a CD (if so equipped) for less than 1.5 seconds to
change tracks on the CD.
• If the vehicle is equipped with a CD changer, push and hold for more than 1.5
seconds to change between CDs.
09
* SAT presets are only available on SAT equipped vehicles.
CLOCK/SET ADJUSTMENT (if so equipped)
CLOCK OPERATION
Pressing the CLOCK button displays the clock with the radio on or off. Press
the CLOCK button again to turn off the clock display.
CLOCK SET
1. Press and hold the CLOCK button for more than 1.5 seconds to enter the clock
set mode.
2. Press the SEEK/TRACK/FILE button 01 to adjust the hours.
3. Press the TUNE/FF.REW/FOLDER button 02 to adjust the minutes.
4. Press the CLOCK button again to exit the clock set mode.
12
11