lock NISSAN VERSA HATCHBACK 2011 1.G Quick Reference Guide
[x] Cancel search | Manufacturer: NISSAN, Model Year: 2011, Model line: VERSA HATCHBACK, Model: NISSAN VERSA HATCHBACK 2011 1.GPages: 12, PDF Size: 0.76 MB
Page 5 of 12

3
essential information
looSe Fuel caP (if so equipped)
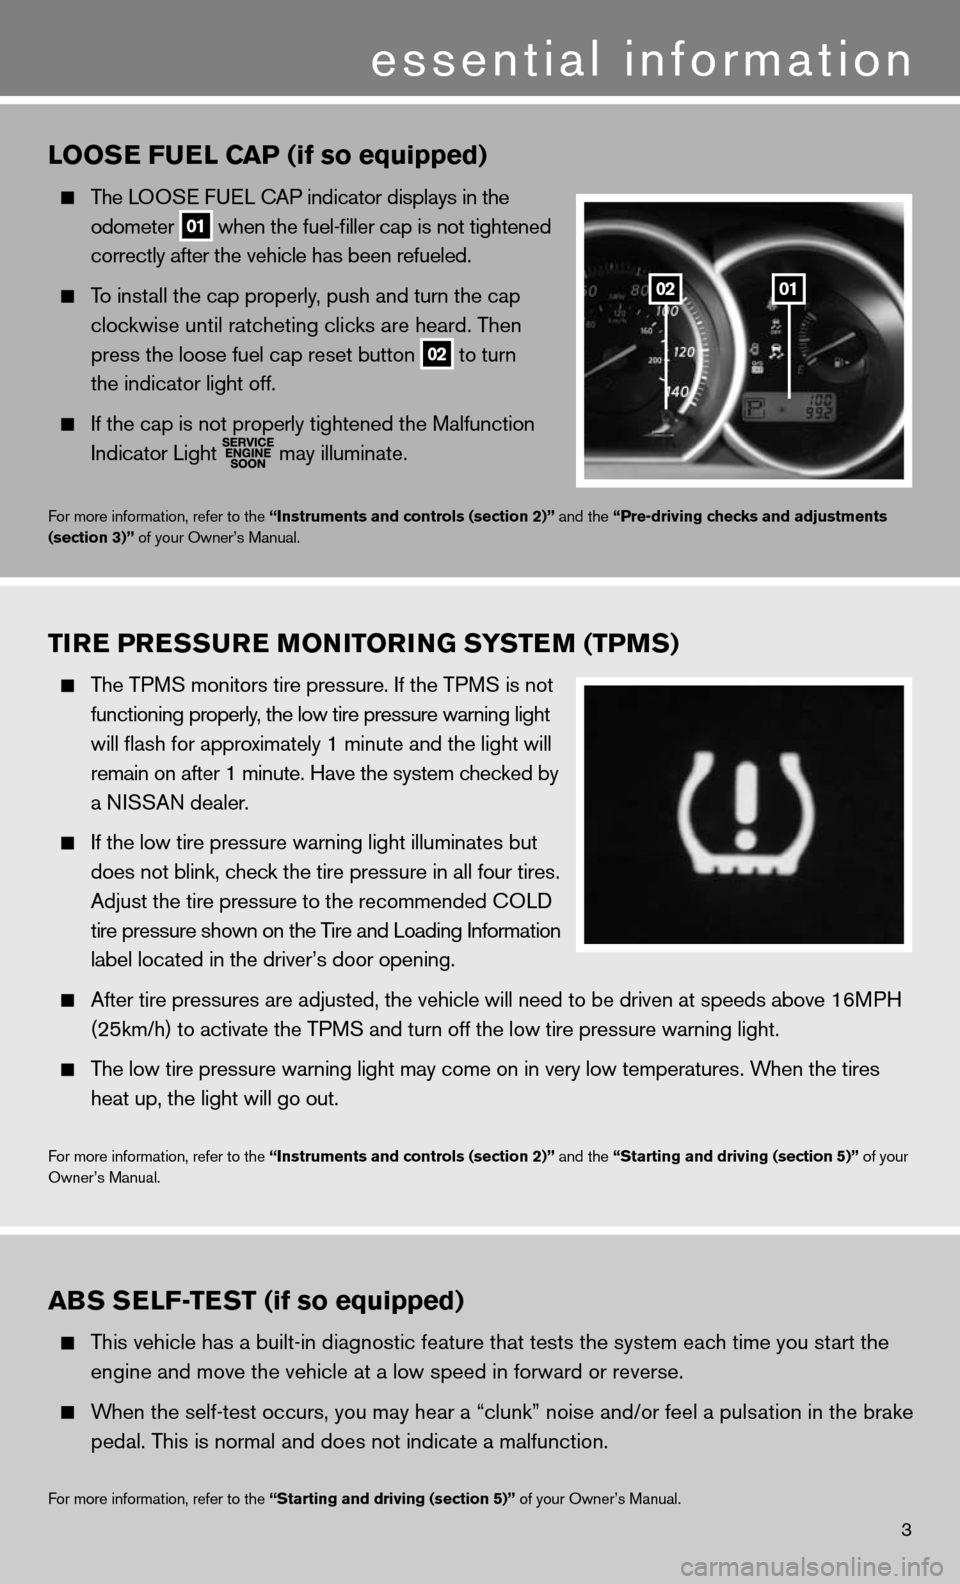
The LOOS e fue L cAP indicator displays in the
odometer
01 when the fuel-filler cap is not tightened
correctly after the vehicle has been refueled.
To install the cap properly, push and turn the cap
clockwise until ratcheting clicks are heard. Then
press the loose fuel cap reset button
02 to turn
the indicator light off.
i f the cap is not properly tightened the Malfunction
indicator Light
may illuminate.
f
or more information, refer to the “instruments and controls (section 2)” and the “Pre-driving checks and adjustments
(section 3)” of your Owner’s Manual.
Tire Pre SSure M oNiTori NG SYSTe M (TPMS)
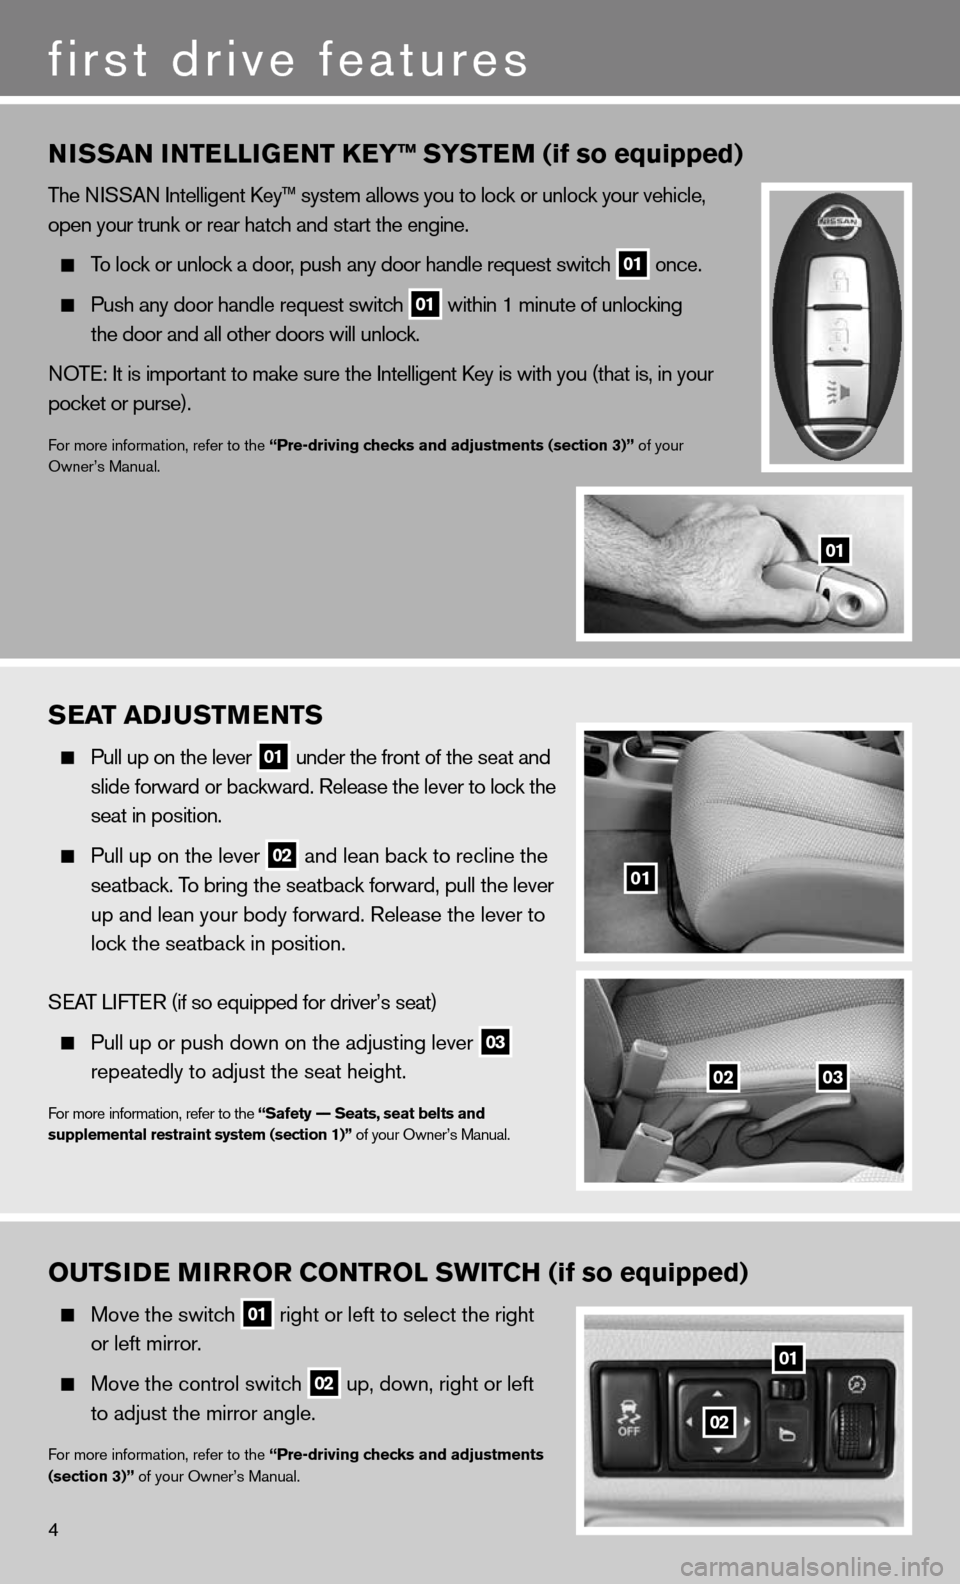
The TPMS monitors tire pressure. if the TPMS is not
functioning properly, the low tire pressure warning light
will flash for approximately 1 minute and the light will
remain on after 1 minute. Have the system checked by
a niSSAn dealer.
i f the low tire pressure warning light illuminates but
does not blink, check the tire pressure in all four tires.
Adjust the tire pressure to the recommended cOL d
tire pressure shown on the Tire and Loading information
label located in the driver’s door opening.
After tire pressures are adjusted, the vehicle will need to be driven at\
speeds above 16MPH
(25km/h) to activate the TPMS and turn off the low tire pressure warning light.
The low tire pressure warning light may come on in very low temperatures. When the tires
heat up, the light will go out.
for more information, refer to the “instruments and controls (section 2)” and the “Starting and driving (section 5)” of your
Owner’s Manual.
aBS S elF-Te ST (if so equipped)
This vehicle has a built-in diagnostic feature that tests the system each time you start the
engine and move the vehicle at a low speed in forward or reverse.
When the self-test occurs, you may hear a “clunk” noise and/or feel\
a pulsation in the brake
pedal. This is normal and does not indicate a malfunction.
for more information, refer to the “Starting and driving (section 5)” of your Owner’s Manual.
0102
Page 6 of 12

Sea T aDJ uSTM eNTS
Pull up on the lever
01 under the front of the seat and
slide forward or backward. Release the lever to lock the
seat in position.
Pull up on the lever
02 and lean back to recline the
seatback. To bring the seatback forward, pull the lever
up and lean your body forward. Release the lever to
lock the seatback in position.
SeAT LifTe R (if so equipped for driver’s seat)
Pull up or push down on the adjusting lever
03
repeatedly to adjust the seat height.
f
or more information, refer to the “Safety –– Seats, seat belts and
supplemental restraint system (section 1)” of your Owner’s Manual.
4
ouTS iD e M irror coNTrol SwiT cH (if so equipped)
Move the switch
01 right or left to select the right
or left mirror.
Move the control switch
02 up, down, right or left
to adjust the mirror angle.
for more information, refer to the “Pre-driving checks and adjustments
(section 3)” of your Owner’s Manual.
N iSSaN i NTelliGeNT K eY™ SYSTe M (if so equipped)
The niSSAn intelligent k ey™ system allows you to lock or unlock your vehicle,
open your trunk or rear hatch and start the engine.
To lock or unlock a door, push any door handle request switch
01 once.
Push any door handle request switch
01 within 1 minute of unlocking
the door and all other doors will unlock.
n OT e: it is important to make sure the intelligent key is with you (that is, in your
pocket or purse).
f or more information, refer to the “Pre-driving checks and adjustments (section 3)” of your
Owner’s Manual.
first drive features
01
01
01
0203
02
Page 10 of 12

rear HaTcH / Tru NK liD releaS e
unlock the rear hatch/trunk by pressing the button on the keyfob once and
then perform one of the following operations:
OP enin G THe ReAR HAT cH (if so equipped)
Push the Rear Hatch Request Switch
01 .
Push the Release Switch
02 under the rear hatch handle.
Pull up and out on the handle to open the rear hatch.
OP enin G THe TRunk (if so equipped)
Push the Trunk Request Switch
03 .
Push the Release Switch
04 under the trunk handle.
Pull up and out on the handle to open the trunk.
for more information, refer to the “Pre-driving checks and adjustments
(section 3)” of your Owner’s Manual.
first drive features
8
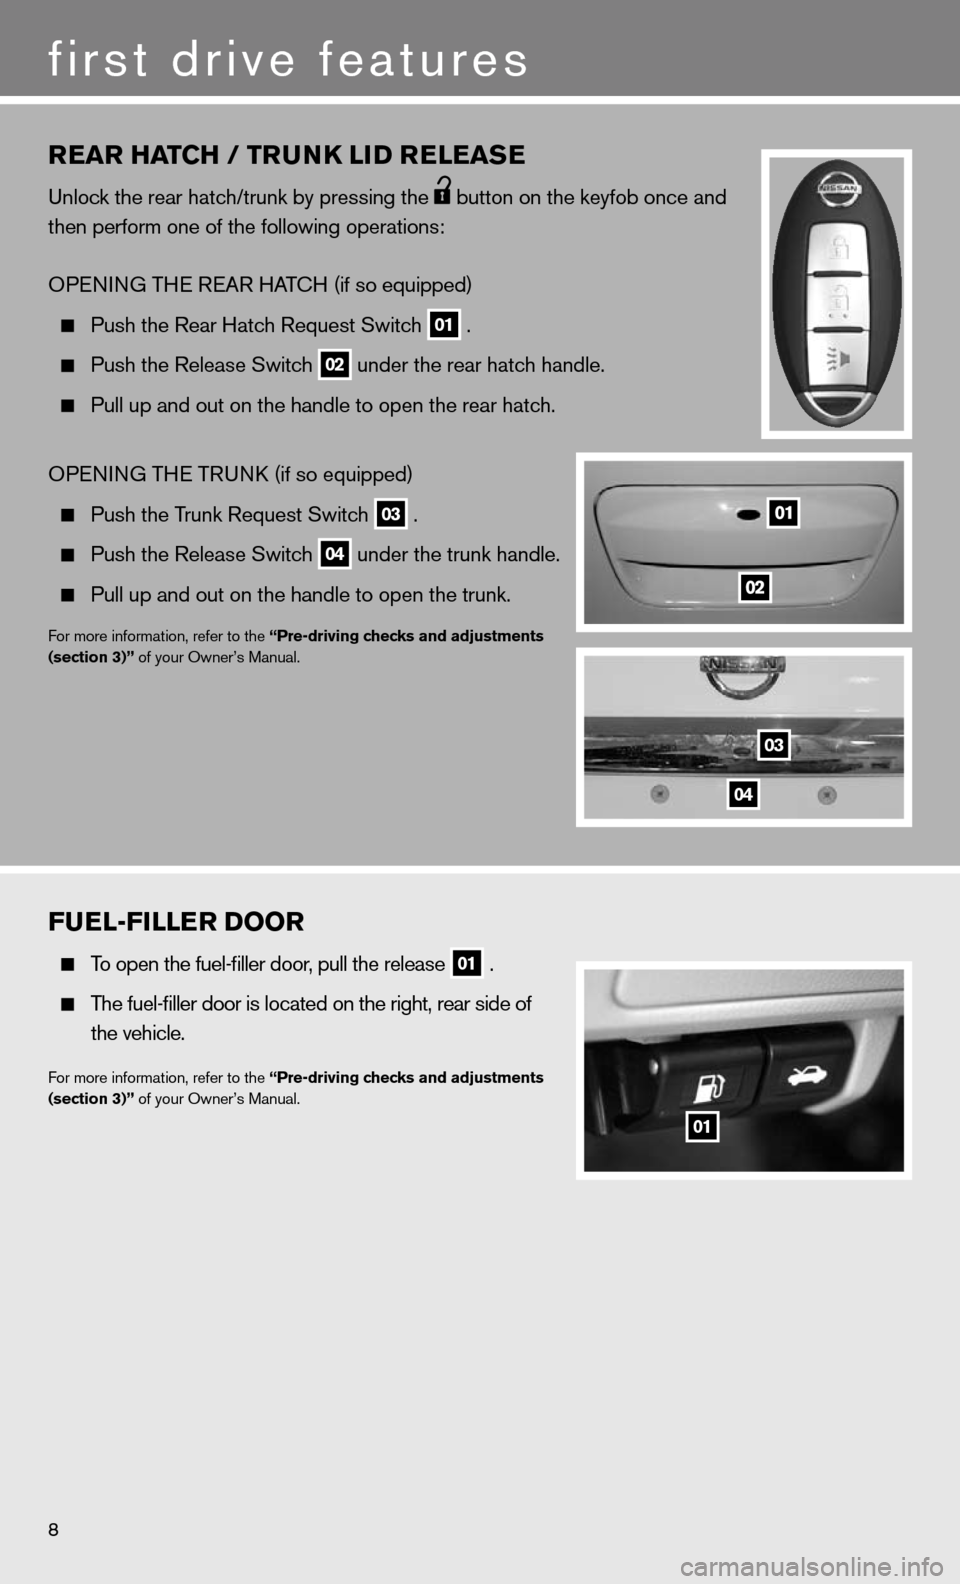
Fuel-Filler D oor
To open the fuel-filler door, pull the release
01 .
The fuel-filler door is located on the right, rear side of
the vehicle.
for more information, refer to the “Pre-driving checks and adjustments
(section 3)” of your Owner’s Manual.
01
03
04