service indicator NISSAN VERSA NOTE 2016 2.G User Guide
[x] Cancel search | Manufacturer: NISSAN, Model Year: 2016, Model line: VERSA NOTE, Model: NISSAN VERSA NOTE 2016 2.GPages: 402, PDF Size: 4.58 MB
Page 211 of 402
![NISSAN VERSA NOTE 2016 2.G User Guide SXM settings
To view the SXM settings:1. Press the [
] button.
2. Touch the “Settings” key.
3. Touch the “SXM” key.
The signal strength, activation status and other
information are displayed o NISSAN VERSA NOTE 2016 2.G User Guide SXM settings
To view the SXM settings:1. Press the [
] button.
2. Touch the “Settings” key.
3. Touch the “SXM” key.
The signal strength, activation status and other
information are displayed o](/img/5/505/w960_505-210.png)
SXM settings
To view the SXM settings:1. Press the [
] button.
2. Touch the “Settings” key.
3. Touch the “SXM” key.
The signal strength, activation status and other
information are displayed on the screen.
FM/AM/SAT radio operation
FM·AM button
Press the FM·AM button to change the band as
follows:
AM →FM1 →FM2 →AM
If another audio source is playing when the
FM·AM button is pressed, the audio source play-
ing will automatically be turned off and the last
radio station played will begin playing.
The FM stereo indicator (ST) is shown on the
screen during FM stereo reception. When the ste-
reo broadcast signal is weak, the radio automati-
cally changes from stereo to monaural reception.
SXM band select
Pressing the SXM button will change the band as
follows:
SXM1* →SXM2* →SXM3*→ SXM1* (satellite,
if so equipped) When the SXM button is pressed while the igni-
tion switch is in the ACC or ON position, the
radio will come on at the last station played.
The last station played will also come on when
the ON-OFF button is pressed.
*When the SXM button is pressed, the satellite
radio mode will be skipped unless an optional
satellite receiver and antenna are installed and a
SiriusXM® Satellite Radio service subscription is
active. Satellite radio is not available in Alaska,
Hawaii and Guam.
If a compact disc is playing when the SXM button
is pressed, the compact disc will automatically be
turned off and the last radio station played will
come on.
While the radio is in SXM mode, the operation
can be controlled through the touch-screen.
Touch the “Channels” key to display a list of
channels. Touch a channel displayed on the list to
change to that channel. Touch the “Categories”
key to display a list of categories. Touch a cat-
egory displayed on the list to display options
within that category.
Tuning with the touch-screen
When in AM or FM mode, the radio can be tuned
using the touch-screen. To bring up the visual
tuner, touch the “Tune” key on the lower right
corner of the screen. A screen appears with a bar
running from low frequencies on the left to high
frequencies on the right. Touch the screen at the
location of the frequency you wish to tune and the
station will change to that frequency. To return to
the regular radio display screen, touch the “OK”
key.
Tuning with the TUNE control knob
The radio can also be manually tuned using the
TUNE knob. When in FM or AM mode, turn the
TUNE control knob to the left for lower frequen-
cies or to the right for higher frequencies. When
in SXM mode, turn the TUNE control knob to
change the channel.
SEEK tuning
When in FM or AM mode, press the seek
buttons
orto tune from low to high
or high to low frequencies and to stop at the next
broadcasting station.
When in SXM mode, press the seek
buttons
orto change the category.
4-60Monitor, climate, audio, phone and voice recognition systems
Page 272 of 402
CAUTION
●Do not use leaded gasoline. Deposits
from leaded gasoline will seriously re-
duce the three-way catalyst’s ability to
help reduce exhaust pollutants.
● Keep your engine tuned up. Malfunc-
tions in the ignition, fuel injection, or
electrical systems can cause over rich
fuel flow into the three-way catalyst,
causing it to overheat. Do not keep driv-
ing if the engine misfires, or if notice-
able loss of performance or other un-
usual operating conditions are
detected. Have the vehicle inspected
promptly. It is recommended you visit a
NISSAN dealer for this service.
● Avoid driving with an extremely low fuel
level. Running out of fuel could cause
the engine to misfire, damaging the
three-way catalyst.
● Do not race the engine while warming it
up.
● Do not push or tow your vehicle to start
the engine.
TIRE PRESSURE MONITORING
SYSTEM (TPMS) (if so equipped)
Each tire, including the spare (if provided) ,
should be checked monthly when cold and in-
flated to the inflation pressure recommended by
the vehicle manufacturer on the vehicle placard
or tire inflation pressure label. (If your vehicle has
tires of a different size than the size indicated on
the vehicle placard or tire inflation pressure label,
you should determine the proper tire inflation
pressure for those tires.)
As an added safety feature, your vehicle has been
equipped with a Tire Pressure Monitoring System
(TPMS) that illuminates a low tire pressure telltale
when one or more of your tires is significantly
under-inflated. Accordingly, when the low tire pres-
sure telltale illuminates, you should stop and check
your tires as soon as possible, and inflate them to
the proper pressure. Driving on a significantly
under-inflated tire causes the tire to overheat and
can lead to tire failure. Under-inflation also reduces
fuel efficiency and tire tread life, and may affect the
vehicle’s handling and stopping ability.
Please note that the TPMS is not a substitute for
proper tire maintenance, and it is the driver’s
responsibility to maintain correct tire pressure,
even if under-inflation has not reached the level to
trigger illumination of the TPMS low tire pressure
telltale.
Your vehicle has also been equipped with a TPMS
malfunction indicator to indicate when the system
is not operating properly. The TPMS malfunction
indicator is combined with the low tire pressure
telltale. When the system detects a malfunction,
the telltale will flash for approximately one minute
and then remain continuously illuminated. This se-
quence will continue upon subsequent vehicle
start-ups as long as the malfunction exists. When
the malfunction indicator is illuminated, the system
may not be able to detect or signal low tire pressure
as intended. TPMS malfunctions may occur for a
variety of reasons, including the installation of re-
placement or alternate tires or wheels on the ve-
hicle that prevent the TPMS from functioning prop-
erly. Always check the TPMS malfunction telltale
after replacing one or more tires or wheels on your
vehicle to ensure that the replacement or alternate
tires and wheels allow the TPMS to continue to
function properly.
Additional information:
● Since the spare tire is not equipped with
TPMS, the TPMS does not monitor the tire
pressure of the spare tire.
● The TPMS will activate only when the vehicle
is driven at speeds above 16 mph (25 km/h).
Also, this system may not detect a sudden
drop in tire pressure (for example a flat tire
while driving) .
Starting and driving5-3
Page 287 of 402
Overdrive (O/D) OFF switch
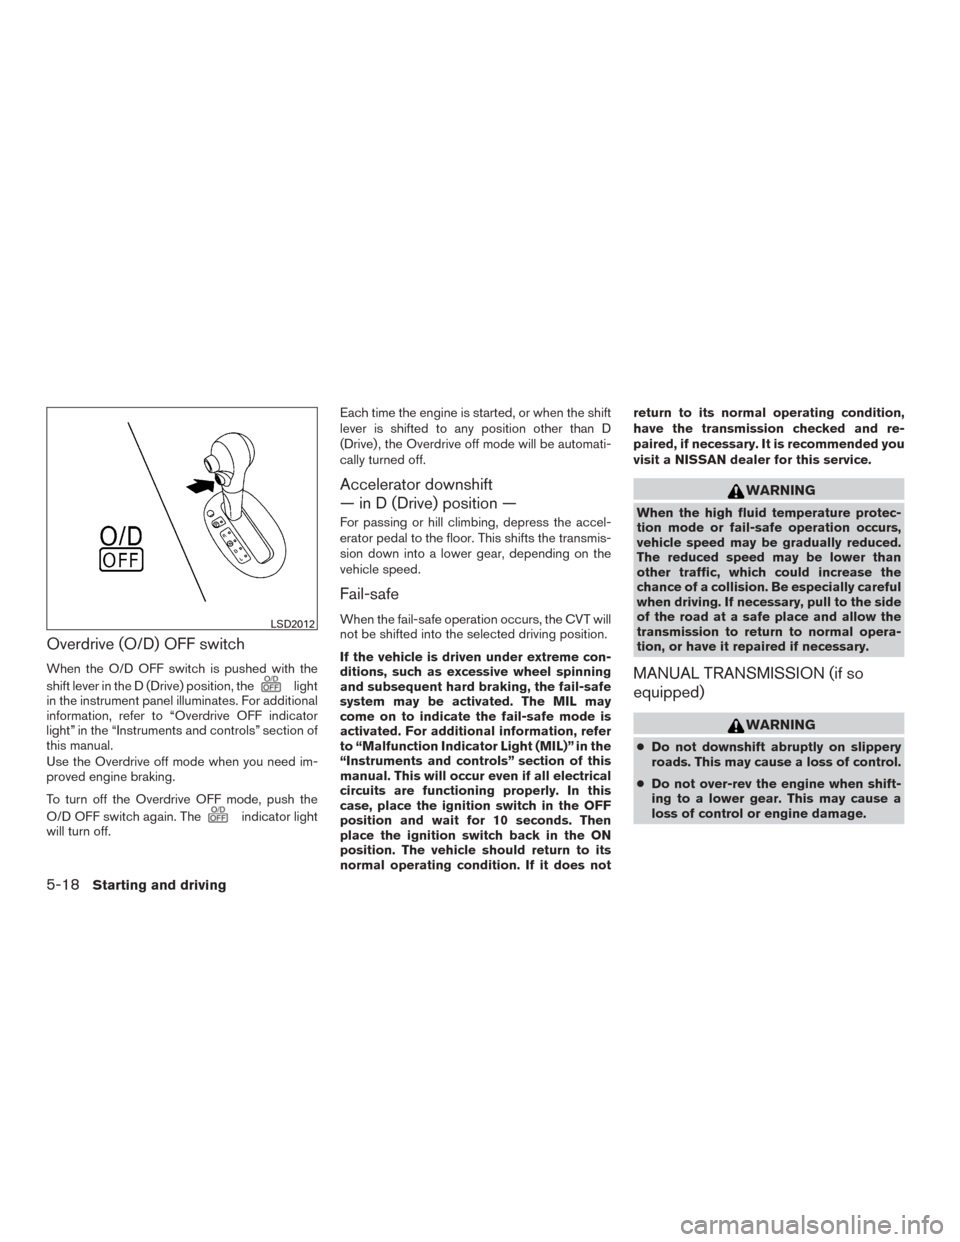
When the O/D OFF switch is pushed with the
shift lever in the D (Drive) position, the
light
in the instrument panel illuminates. For additional
information, refer to “Overdrive OFF indicator
light” in the “Instruments and controls” section of
this manual.
Use the Overdrive off mode when you need im-
proved engine braking.
To turn off the Overdrive OFF mode, push the
O/D OFF switch again. The
indicator light
will turn off. Each time the engine is started, or when the shift
lever is shifted to any position other than D
(Drive) , the Overdrive off mode will be automati-
cally turned off.
Accelerator downshift
— in D (Drive) position —
For passing or hill climbing, depress the accel-
erator pedal to the floor. This shifts the transmis-
sion down into a lower gear, depending on the
vehicle speed.
Fail-safe
When the fail-safe operation occurs, the CVT will
not be shifted into the selected driving position.
If the vehicle is driven under extreme con-
ditions, such as excessive wheel spinning
and subsequent hard braking, the fail-safe
system may be activated. The MIL may
come on to indicate the fail-safe mode is
activated. For additional information, refer
to “Malfunction Indicator Light (MIL)” in the
“Instruments and controls” section of this
manual. This will occur even if all electrical
circuits are functioning properly. In this
case, place the ignition switch in the OFF
position and wait for 10 seconds. Then
place the ignition switch back in the ON
position. The vehicle should return to its
normal operating condition. If it does notreturn to its normal operating condition,
have the transmission checked and re-
paired, if necessary. It is recommended you
visit a NISSAN dealer for this service.
WARNING
When the high fluid temperature protec-
tion mode or fail-safe operation occurs,
vehicle speed may be gradually reduced.
The reduced speed may be lower than
other traffic, which could increase the
chance of a collision. Be especially careful
when driving. If necessary, pull to the side
of the road at a safe place and allow the
transmission to return to normal opera-
tion, or have it repaired if necessary.
MANUAL TRANSMISSION (if so
equipped)
WARNING
●
Do not downshift abruptly on slippery
roads. This may cause a loss of control.
● Do not over-rev the engine when shift-
ing to a lower gear. This may cause a
loss of control or engine damage.
LSD2012
5-18Starting and driving
Page 306 of 402
TIRE PRESSURE MONITORING
SYSTEM (TPMS) (if so equipped)
This vehicle is equipped with the Tire Pressure
Monitoring System (TPMS) . It monitors tire pres-
sure of all tires except the spare. When the low
tire pressure warning light is lit, and the CHECK
TIRE PRES (pressure) warning message is dis-
played in the odometer, one or more of your tires
is significantly under-inflated. If the vehicle is
being driven with low tire pressure, the TPMS will
activate and warn you of it by the low tire pressure
warning light. This system will activate only when
the vehicle is driven at speeds above 16 mph
(25 km/h). For additional information, refer to
“Warning lights, indicator lights and audible re-
minders” in the “Instruments and controls” sec-
tion, and “Tire Pressure Monitoring System
(TPMS)” in the “Starting and driving” section of
this manual.
WARNING
●Radio waves could adversely affect
electric medical equipment. Those who
use a pacemaker should contact the
electric medical equipment manufac-
turer for the possible influences before
use. ●
If the low tire pressure warning light
illuminates while driving, avoid sudden
steering maneuvers or abrupt braking,
reduce vehicle speed, pull off the road
to a safe location and stop the vehicle
as soon as possible. Driving with under-
inflated tires may permanently damage
the tires and increase the likelihood of
tire failure. Serious vehicle damage
could occur and may lead to an accident
and could result in serious personal in-
jury. Check the tire pressure for all four
tires. Adjust the tire pressure to the
recommended COLD tire pressure
shown on the Tire and Loading Informa-
tion label to turn the low tire pressure
warning light OFF. If you have a flat tire,
replace it with a spare tire as soon as
possible.
● Since the spare tire is not equipped with
the TPMS, when a spare tire is mounted
or a wheel is replaced, the TPMS will
not function and the low tire pressure
warning light will flash for approxi-
mately 1 minute. The light will remain
on after 1 minute. Have your tires re-
placed and/or TPMS system reset as
soon as possible. It is recommended
you visit a NISSAN dealer for these
services. ●
Do not inject any tire liquid or aerosol
tire sealant into the tires, as this may
cause a malfunction of the tire pressure
sensors.
● Replacing tires with those not originally
specified by NISSAN could affect the
proper operation of the TPMS.
CHANGING A FLAT TIRE
If you have a flat tire, follow the instructions be-
low:
Stopping the vehicle
1. Safely move the vehicle off the road and away from traffic.
2. Turn on the hazard warning flashers.
3. Park on a level surface and apply the parking brake. Shift the manual transmission (M/T)
into R (Reverse) , or the Continuously Vari-
able Transmission (CVT) into P (Park) .
4. Turn off the engine.
5. Raise the hood to warn other traffic and to signal professional road assistance person-
nel that you need assistance.
6. Have all passengers get out of the vehicle and stand in a safe place, away from traffic
and clear of the vehicle.
FLAT TIRE
In case of emergency6-3
Page 348 of 402
If the brakes do not operate properly, have the
brakes checked by a NISSAN dealer.
Self-adjusting brakes
Your vehicle is equipped with self-adjusting
brakes.
The front disc-type brakes self-adjust every time
the brake pedal is applied. The rear drum-type
brakes self-adjust every time the parking brake is
applied.
WARNING
Have your brake system checked if the
brake pedal height does not return to nor-
mal. It is recommended that you visit a
NISSAN dealer for this service.
Brake pad wear indicators
The disc brake pads on your vehicle have audible
wear indicators. When a brake pad requires re-
placement, a high pitched scraping or screech-
ing sound will be heard when the vehicle is in
motion. The noise will be heard whether or not the
brake pedal is depressed. Have the brakes
checked as soon as possible if the wear indicator
sound is heard.Under some driving or climate conditions, occa-
sional brake squeak, squeal or other noise may
be heard. Occasional brake noise during light to
moderate stops is normal and does not affect the
function or performance of the brake system.
Proper brake inspection intervals should
be followed.
For additional information regard-
ing brake inspections, refer to the appropriate
maintenance schedule information in the
“NISSAN Service and Maintenance Guide”.
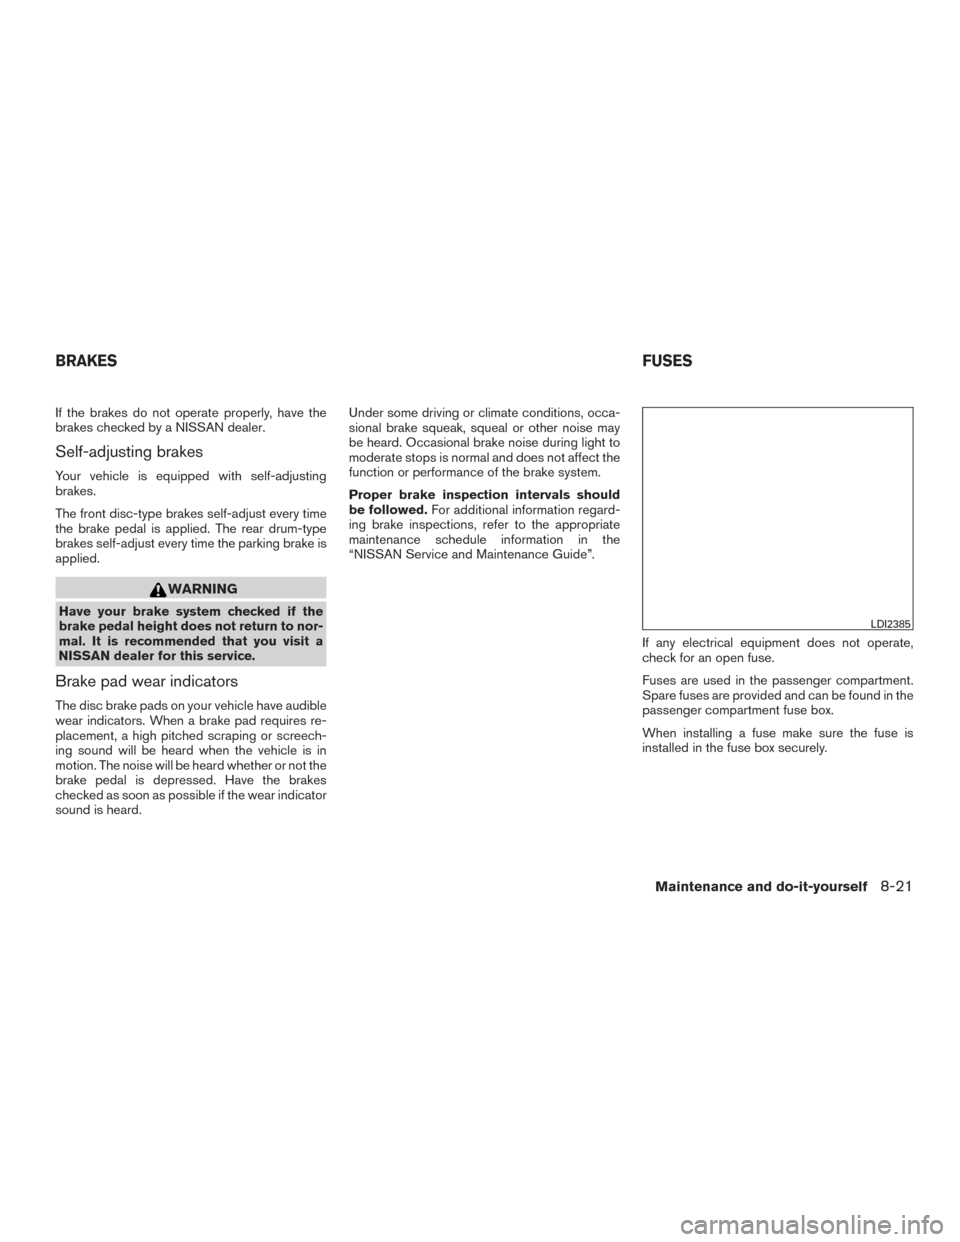
If any electrical equipment does not operate,
check for an open fuse.
Fuses are used in the passenger compartment.
Spare fuses are provided and can be found in the
passenger compartment fuse box.
When installing a fuse make sure the fuse is
installed in the fuse box securely.
LDI2385
BRAKES FUSES
Maintenance and do-it-yourself8-21
Page 367 of 402
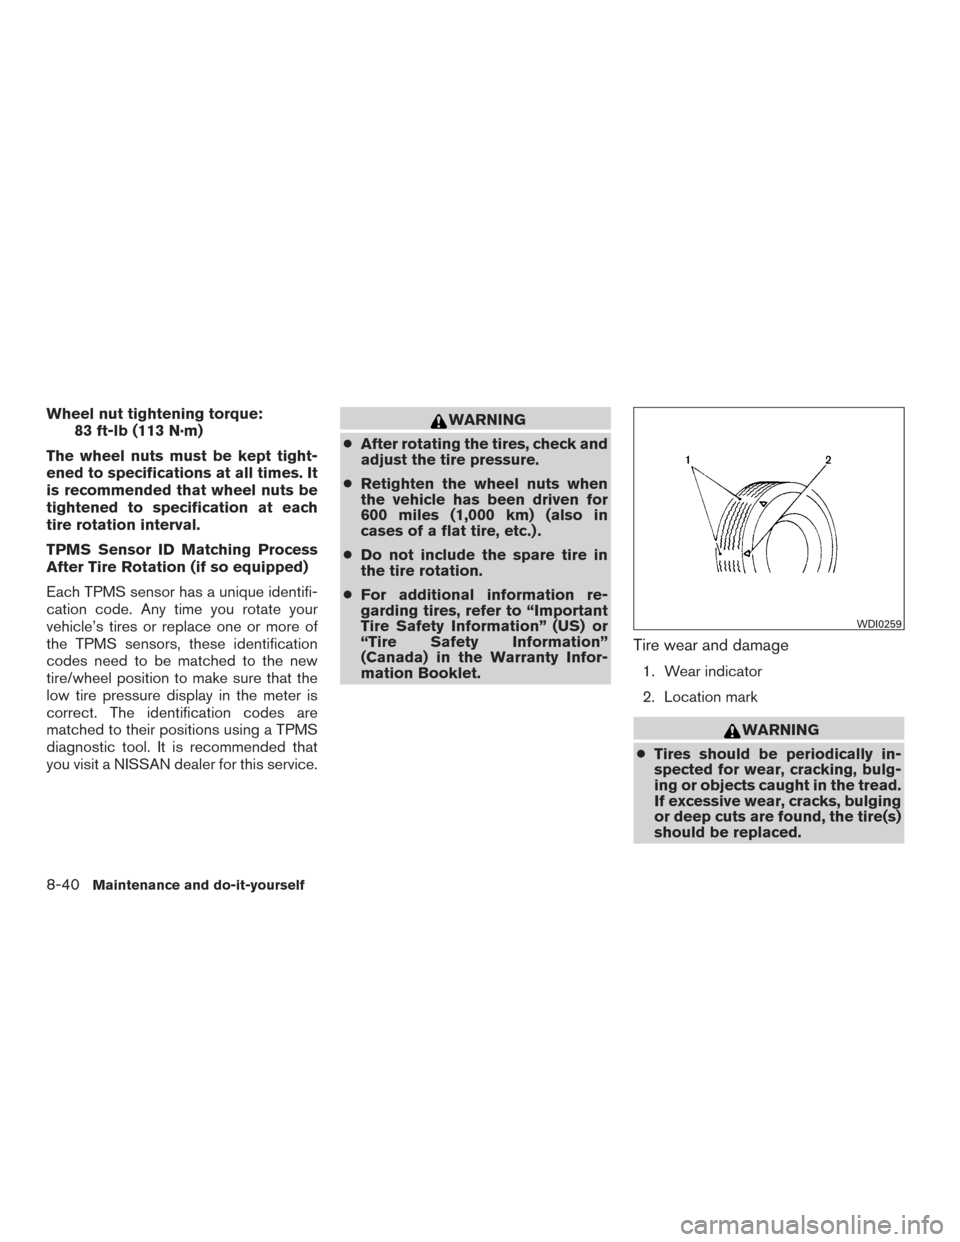
Wheel nut tightening torque:83 ft-lb (113 N·m)
The wheel nuts must be kept tight-
ened to specifications at all times. It
is recommended that wheel nuts be
tightened to specification at each
tire rotation interval.
TPMS Sensor ID Matching Process
After Tire Rotation (if so equipped)
Each TPMS sensor has a unique identifi-
cation code. Any time you rotate your
vehicle’s tires or replace one or more of
the TPMS sensors, these identification
codes need to be matched to the new
tire/wheel position to make sure that the
low tire pressure display in the meter is
correct. The identification codes are
matched to their positions using a TPMS
diagnostic tool. It is recommended that
you visit a NISSAN dealer for this service.WARNING
● After rotating the tires, check and
adjust the tire pressure.
● Retighten the wheel nuts when
the vehicle has been driven for
600 miles (1,000 km) (also in
cases of a flat tire, etc.) .
● Do not include the spare tire in
the tire rotation.
● For additional information re-
garding tires, refer to “Important
Tire Safety Information” (US) or
“Tire Safety Information”
(Canada) in the Warranty Infor-
mation Booklet.
Tire wear and damage
1. Wear indicator
2. Location mark
WARNING
● Tires should be periodically in-
spected for wear, cracking, bulg-
ing or objects caught in the tread.
If excessive wear, cracks, bulging
or deep cuts are found, the tire(s)
should be replaced.
WDI0259
8-40Maintenance and do-it-yourself
Page 368 of 402
●The original tires have built-in
tread wear indicators. When the
wear indicators are visible, the
tire(s) should be replaced.
● Tires degrade with age and use.
Have tires, including the spare,
over 6 years old checked by a
qualified technician because
some tire damage may not be ob-
vious. Replace the tires as neces-
sary to prevent tire failure and
possible personal injury.
● Improper service of the spare tire
may result in serious personal in-
jury. If it is necessary to repair the
spare tire, it is recommended that
you visit a NISSAN dealer for this
service.
● For additional information re-
garding tires, refer to “Important
Tire Safety Information” (US) or
“Tire Safety Information”
(Canada) in the Warranty Infor-
mation Booklet.Replacing wheels and tires
When replacing a tire, use the same size, tread
design, speed rating and load carrying capacity
as originally equipped. Recommended types and
sizes are shown in “Wheels and tires” in the
“Technical and consumer information” section of
this manual.
WARNING
● The use of tires other than those recom-
mended or the mixed use of tires of
different brands, construction (bias,
bias-belted or radial) , or tread patterns
can adversely affect the ride, braking,
handling, VDC system (if so equipped) ,
ground clearance, body-to-tire clear-
ance, tire chain clearance, speedometer
calibration, headlight aim and bumper
height. Some of these effects may lead
to accidents and could result in serious
personal injury.
● If your vehicle was originally equipped
with 4 tires that were the same size and
you are only replacing 2 of the 4 tires ,
install the new tires on the rear axle.
Placing new tires on the front axle may
cause loss of vehicle control in some
driving conditions and cause an acci-
dent and personal injury. ●
If the wheels are changed for any rea-
son, always replace with wheels which
have the same off-set dimension.
Wheels of a different off-set could
cause premature tire wear, degrade ve-
hicle handling characteristics, affect the
VDC system (if so equipped) and/or in-
terference with the brake discs/drums.
Such interference can lead to de-
creased braking efficiency and/or early
brake pad/shoe wear. For additional in-
formation on wheel off-set dimensions,
refer to “Wheels and tires” in the “Tech-
nical and consumer information” sec-
tion of this manual.
● Since the spare tire is not equipped with
the TPMS, when a spare tire is mounted
or a wheel is replaced, the TPMS (if so
equipped) will not function and the low
tire pressure warning light will flash for
approximately 1 minute. The light will
remain on after 1 minute. Have your
tires replaced and/or TPMS system re-
set as soon as possible. It is recom-
mended that you visit a NISSAN dealer
for this service.
Maintenance and do-it-yourself8-41
Page 394 of 402
10 Index
A
ABS (Anti-lock Braking System) ........5-28
Air bag (See supplemental restraint
system) .....................1-42
Air bag system Front (See supplemental front impact air bag
system) ...................1-49
Side and curtain (See supplemental side air
bag and curtain side-impact air bag
system) ...................1-56
Airbagwarninglabels.............1-58
Airbagwarninglight...........1-59,2-18
Air bag warning light, supplemental . .1-59, 2-18
Air cleaner housing filter ............8-18
Air conditioner Air conditioner operation ..........4-30
Air conditioner service ...........4-35
Air conditioner specification label .....9-12
Air conditioner system refrigerant and
oil recommendations .............9-7
Heater and air conditioner controls ....4-27
Servicing air conditioner ..........4-35
Airflowcharts..................4-31
Anchor point locations .............1-26
Antenna .....................4-77
Antifreeze ....................5-32
Anti-lock Braking System (ABS) ........5-28
Apps .......................4-78
Armrests .....................1-5
Around View® Monitor .............4-16
Audible reminders ...............2-21 Audio system
..................4-35
AMradioreception.............4-36
Bluetooth®audio..........4-73,4-74
Compact disc (CD)
player..........4-46,4-52,4-56,4-63
FM/AM radio with compact disc (CD)
player ....................4-48
FM-AM radio with compact disc (CD)
player ....................4-44
FM/AM/SAT radio with compact disc (CD)
player.................4-53,4-58
FMradioreception..........4-35,4-49
iPod® Player .............4-68,4-70
iPod® player operation .......4-68,4-70
Radio ....................4-35
Steering wheel audio control switch . . .4-76
USB interface ............4-64,4-66
USB (Universal Serial Bus) Connection
Port..................4-64,4-66
Automatic Automatic power window switch .....2-40
Automatic door locks ..............3-7
AUXjack..............4-47,4-49,4-64
B
Battery ..................5-32,8-14
Chargewarninglight............2-14
Battery replacement ..............8-24
Keyfob................8-24,8-24
NISSAN Intelligent Key® ..........8-26
Before starting the engine ...........5-13 Belt (See drive belt)
..............8-17
Block heater Engine ....................5-33
Bluetooth® audio ............4-73,4-74
Bluetooth® hands-free phone
system..............4-79,4-94,4-104
Bluetooth® streaming audio without Navigation
System (if so equipped) ............4-73
Boosterseats..................1-39
Brake Anti-lock Braking System (ABS) ......5-28
Brake fluid ..................8-13
Brakelight(Seestoplight).........8-29
Brake system ................5-27
Brakewarninglight.............2-13
Brakewearindicators........2-21,8-21
Parking brake operation ..........5-20
Self-adjusting brakes ............8-21
Brake fluid ....................8-13
Brakes ......................8-21
Brake system ..................5-27
Break-inschedule ...............5-23
Brightness/contrast button ...........4-9
Brightness control Instrument panel ..............2-27
Bulb check/instrument panel ..........2-13
Bulbreplacement................8-29
C
Capacities and recommended
fuel/lubricants ...................9-2
Page 398 of 402
Engine oil and oil filter recommendation . . .9-6
Engine oil viscosity..............9-7
Oneshotcall...........4-83,4-97,4-107
Outside mirrors .................3-31
Overheat Ifyourvehicleoverheats...........6-14
Owner’s manual order form ...........9-21
Owner’s manual/service manual order
information ....................9-21
P
Parking Parking brake operation ...........5-20
Parking/parking on hills ...........5-25
Parking brake ...................5-20
Phone, Bluetooth® hands-free
system ...............4-79,4-94,4-104
Power Power door locks ............3-6,3-7
Power outlet .................2-31
Power rear windows .............2-39
Power steering system ...........5-26
Power windows ...............2-38
Rear power windows ............2-39
Power outlet ...................2-31
Power steering ..................5-26
Precautions Maintenance precautions ...........8-5
Precautions on booster
seats...........1-22,1-29,1-35,1-39
Precautions on child
restraints .........1-22,1-29,1-35,1-39
Precautionsonseatbeltusage.......1-10 Precautions on supplemental restraint
system
....................1-42
Precautions when starting and driving ....5-2
Programmablefeatures ..........4-7,4-49
Push starting ...................6-14
R
Radio Car phone or CB radio ...........4-79
FM-AM radio with compact disc (CD)
player .....................4-44
FM/AM radio with compact disc (CD)
player .....................4-48
FM/AM/SAT radio with compact disc (CD)
player .................4-53,4-58
Steering wheel audio control switch ....4-76
Readiness for inspection maintenance (I/M)
test........................9-20
Rear center seat belt ..............1-16
Rear power windows ..............2-39
Rearseat......................1-4
Rearview mirror .................3-30
RearView Monitor ................4-10
Rear window defroster switch .........2-25
Rear window wiper and washer switches . . .2-24
Recommended Fluids ...............9-2
Recorders EventData..................9-20
Refrigerant recommendation ...........9-7
Registering a vehicle in another country ....9-10
Reporting safety defects (US only) .......9-19 S
Safety Child safety rear door lock ..........3-7
Child seat belts .....1-22,1-29,1-35,1-39
Reporting safety defects (US only) .....9-19
Seat adjustment Front manual seat adjustment ........1-3
Rear seat adjustment .............1-4
Seatbackpockets................2-32
Seat belt Child safety ..................1-19
Infants and small children ..........1-20
Injured Person ................
1-13
Largerchildren................1-20
Precautions on seat belt usage .......1-10
Pregnant women ...............1-13
Rear center seat belt ............1-16
Seatbeltextenders .............1-18
Seatbeltmaintenance............1-19
Seatbelts................1-10,7-5
Shoulder belt height adjustment ......1-18
Three-point type with retractor .......1-13
Seat belt extenders ...............1-18
Seatbeltwarninglight..........1-13,2-17
Seats Adjustment ...................1-2
Armrests....................1-5
Frontseats...................1-2
Heatedseats.................2-29
Manualfrontseatadjustment.........1-3
Rearseat....................1-4
Seats/floor mats ..................7-4
Security indicator light ..............2-20
10-5