automatic transmission NISSAN XTERRA 2002 WD22 / 1.G Owners Manual
[x] Cancel search | Manufacturer: NISSAN, Model Year: 2002, Model line: XTERRA, Model: NISSAN XTERRA 2002 WD22 / 1.GPages: 263, PDF Size: 2.22 MB
Page 57 of 263

Turn signal/hazard indicator lightsLow fuel warning lightMalfunction indicator light (MIL)
orBrake warning lightLow washer fluid warning light
(if so equipped)orAnti-lock brake warning
light
High beam indicator light4-wheel drive indicator light
(model)Supplemental air bag warning light
Seat belt warning light and chimeCRUISE main switch indicator light
(if so equipped)Automatic transmission park warning
light (model)
Engine oil pressure warning lightCruise SET switch indicator light
(if so equipped)Automatic transmission oil temperature
warning light (model)
Charge warning lightOverdrive off indicator light
(automatic transmission only)Door open warning light
CHECKING BULBS
Apply the parking brake and turn the ignition
key to the ON position without starting the
engine. The following lights come on:
,,,or,
If the driver's seat belt is fastened before the
ignition key is turned to the ON position, the
light will not come on briefly and then
go off.
The following lights come on briefly and
then go off:
or,,
If any light fails to come on, it may
indicate a burned-out bulb or an open
circuit in the electrical system. Have the
system repaired promptly.
WARNING/INDICATOR LIGHTS
AND AUDIBLE REMINDERS
2-10Instruments and controls
ZX
Page 58 of 263
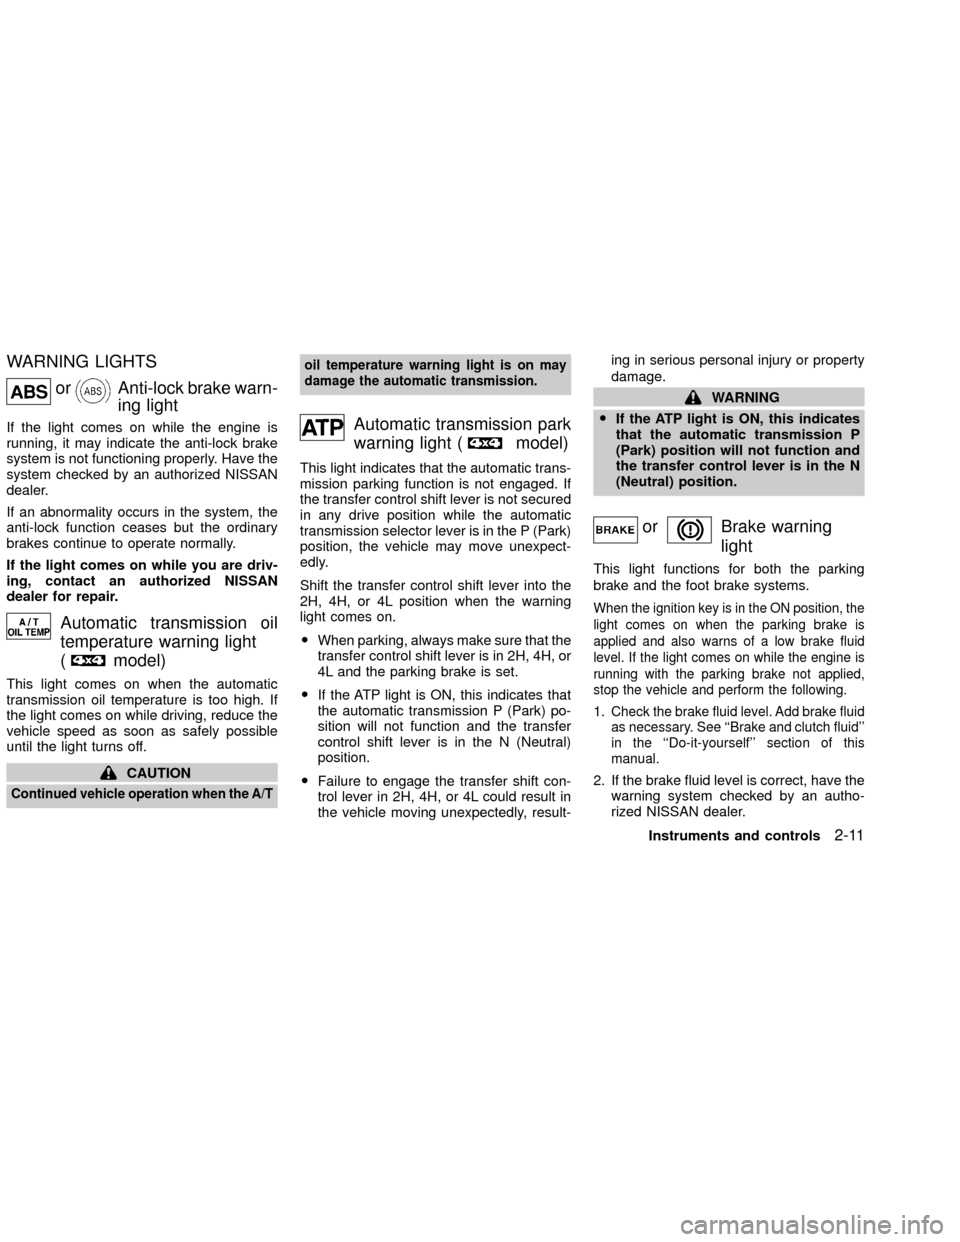
WARNING LIGHTS
orAnti-lock brake warn-
ing light
If the light comes on while the engine is
running, it may indicate the anti-lock brake
system is not functioning properly. Have the
system checked by an authorized NISSAN
dealer.
If an abnormality occurs in the system, the
anti-lock function ceases but the ordinary
brakes continue to operate normally.
If the light comes on while you are driv-
ing, contact an authorized NISSAN
dealer for repair.
Automatic transmission oil
temperature warning light
(
model)
This light comes on when the automatic
transmission oil temperature is too high. If
the light comes on while driving, reduce the
vehicle speed as soon as safely possible
until the light turns off.
CAUTION
Continued vehicle operation when the A/Toil temperature warning light is on may
damage the automatic transmission.
Automatic transmission park
warning light (
model)
This light indicates that the automatic trans-
mission parking function is not engaged. If
the transfer control shift lever is not secured
in any drive position while the automatic
transmission selector lever is in the P (Park)
position, the vehicle may move unexpect-
edly.
Shift the transfer control shift lever into the
2H, 4H, or 4L position when the warning
light comes on.
OWhen parking, always make sure that the
transfer control shift lever is in 2H, 4H, or
4L and the parking brake is set.
OIf the ATP light is ON, this indicates that
the automatic transmission P (Park) po-
sition will not function and the transfer
control shift lever is in the N (Neutral)
position.
OFailure to engage the transfer shift con-
trol lever in 2H, 4H, or 4L could result in
the vehicle moving unexpectedly, result-ing in serious personal injury or property
damage.
WARNING
OIf the ATP light is ON, this indicates
that the automatic transmission P
(Park) position will not function and
the transfer control lever is in the N
(Neutral) position.
orBrake warning
light
This light functions for both the parking
brake and the foot brake systems.
When the ignition key is in the ON position, the
light comes on when the parking brake is
applied and also warns of a low brake fluid
level. If the light comes on while the engine is
running with the parking brake not applied,
stop the vehicle and perform the following.
1.Check the brake fluid level. Add brake fluid
as necessary. See ``Brake and clutch fluid''
in the ``Do-it-yourself'' section of this
manual.
2. If the brake fluid level is correct, have the
warning system checked by an autho-
rized NISSAN dealer.
Instruments and controls
2-11
ZX
Page 61 of 263
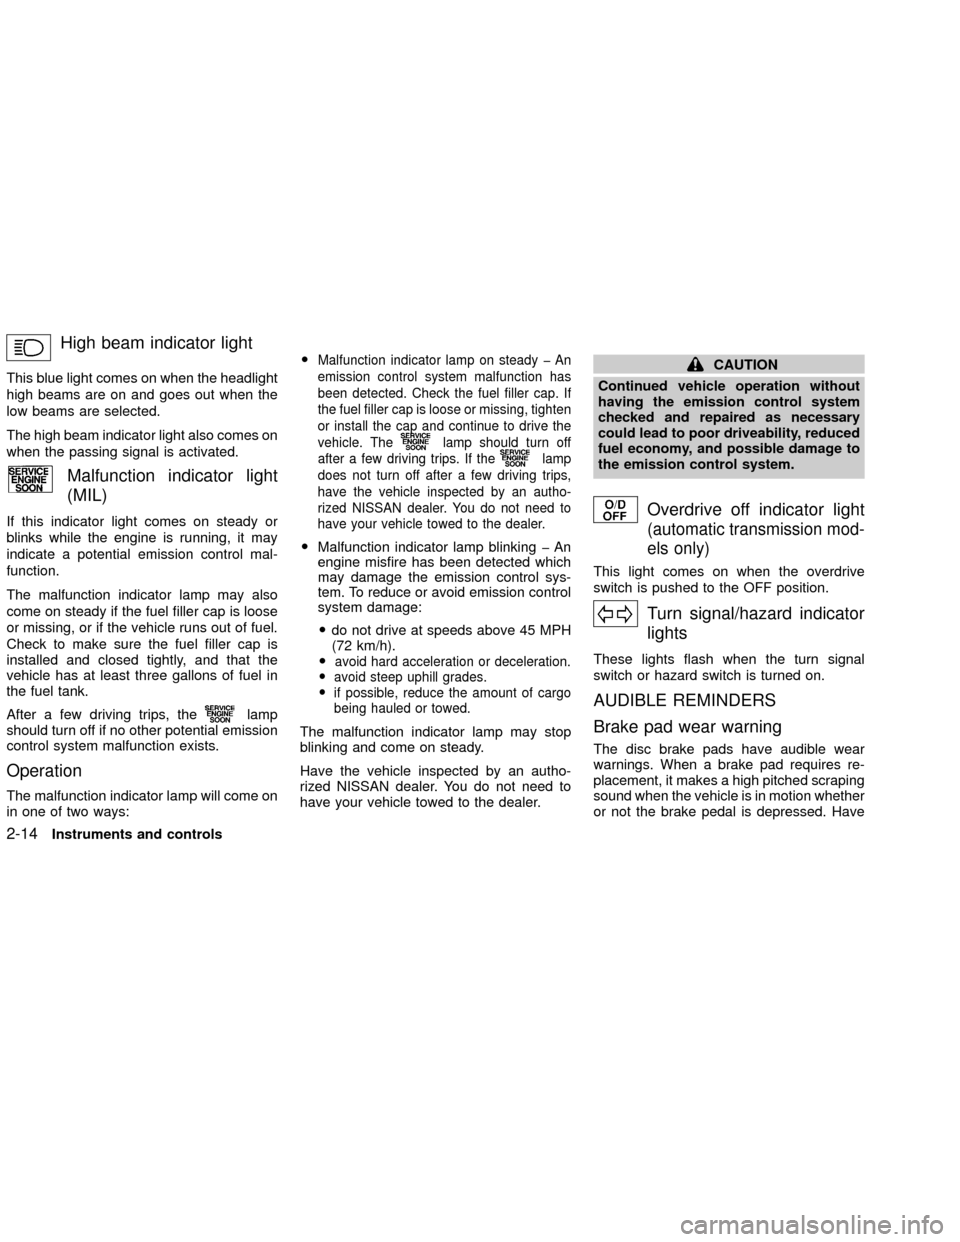
High beam indicator light
This blue light comes on when the headlight
high beams are on and goes out when the
low beams are selected.
The high beam indicator light also comes on
when the passing signal is activated.
Malfunction indicator light
(MIL)
If this indicator light comes on steady or
blinks while the engine is running, it may
indicate a potential emission control mal-
function.
The malfunction indicator lamp may also
come on steady if the fuel filler cap is loose
or missing, or if the vehicle runs out of fuel.
Check to make sure the fuel filler cap is
installed and closed tightly, and that the
vehicle has at least three gallons of fuel in
the fuel tank.
After a few driving trips, the
lamp
should turn off if no other potential emission
control system malfunction exists.
Operation
The malfunction indicator lamp will come on
in one of two ways:O
Malfunction indicator lamp on steady þ An
emission control system malfunction has
been detected. Check the fuel filler cap. If
the fuel filler cap is loose or missing, tighten
or install the cap and continue to drive the
vehicle. The
lamp should turn off
after a few driving trips. If the
lamp
does not turn off after a few driving trips,
have the vehicle inspected by an autho-
rized NISSAN dealer. You do not need to
have your vehicle towed to the dealer.
OMalfunction indicator lamp blinking þ An
engine misfire has been detected which
may damage the emission control sys-
tem. To reduce or avoid emission control
system damage:
Odo not drive at speeds above 45 MPH
(72 km/h).
O
avoid hard acceleration or deceleration.
Oavoid steep uphill grades.
Oif possible, reduce the amount of cargo
being hauled or towed.
The malfunction indicator lamp may stop
blinking and come on steady.
Have the vehicle inspected by an autho-
rized NISSAN dealer. You do not need to
have your vehicle towed to the dealer.
CAUTION
Continued vehicle operation without
having the emission control system
checked and repaired as necessary
could lead to poor driveability, reduced
fuel economy, and possible damage to
the emission control system.
Overdrive off indicator light
(automatic transmission mod-
els only)
This light comes on when the overdrive
switch is pushed to the OFF position.
Turn signal/hazard indicator
lights
These lights flash when the turn signal
switch or hazard switch is turned on.
AUDIBLE REMINDERS
Brake pad wear warning
The disc brake pads have audible wear
warnings. When a brake pad requires re-
placement, it makes a high pitched scraping
sound when the vehicle is in motion whether
or not the brake pedal is depressed. Have
2-14Instruments and controls
ZX
Page 132 of 263

5 Starting and driving
Precautions when starting and driving ...................5-2
Exhaust gas (carbon monoxide) .......................5-2
Three-way catalyst ............................................5-3
On-pavement and off-road driving
precautions ........................................................5-3
Avoiding collision and rollover ...........................5-3
Drinking alcohol/drugs and driving ....................5-4
Driving safety precautions .................................5-4
Ignition switch .........................................................5-6
Automatic transmission .....................................5-6
Manual transmission..........................................5-7
Key positions .....................................................5-7
Before starting the engine ......................................5-8
Starting the engine .................................................5-8
Driving the vehicle ..................................................5-9
Automatic transmission (if so equipped) ...........5-9
Manual transmission........................................5-13
Parking brake .......................................................5-14
Cruise control (if so equipped) .............................5-15
Precautions on cruise control ..........................5-15
Cruise control operations ................................5-16Break-in schedule ................................................5-17
Increasing fuel economy ......................................5-17
Using four-wheel drive .........................................5-18........................5-18
Transfer case shifting procedures ...................5-18
Auto-lock free-running hubs ............................5-19
Manual-lock free-running hubs.............................5-22
Parking/parking on hills ........................................5-24
Power steering .....................................................5-25
Brake system........................................................5-25
Braking precautions .........................................5-25
Anti-lock brake system (ABS) .........................5-26
Cold weather driving ............................................5-27
Freeing a frozen door lock ..............................5-27
Anti-freeze .......................................................5-27
Battery .............................................................5-27
Draining of coolant water ................................5-27
Tire equipment.................................................5-28
Special winter equipment ................................5-28
Driving on snow or ice.....................................5-28
Engine block heater (if so equipped) ..............5-29
ZX
Page 137 of 263
correctly could result in loss of con-
trol and/or a rollover accident.
OAlways use tires of the same type,
size, brand, construction (bias, bias
belted or radial), and tread pattern
on all four wheels. Install tire chains
on the rear wheels when driving on
slippery roads and drive carefully.
OBe sure to check the brakes immedi-
ately after driving in mud or water.
See ``Brake system'' later in this sec-
tion for ``Wet brakes''.
OAvoid parking your vehicle on steep
hills. If you get out of the vehicle and
it rolls forward, backward or side-
ways, you could be injured.
OWhenever you drive off-road
through sand, mud or water as deep
as the wheel hub, more frequent
maintenance may be required. See
``Periodic maintenance'' in the
``NISSAN Service and Maintenance
Guide.''
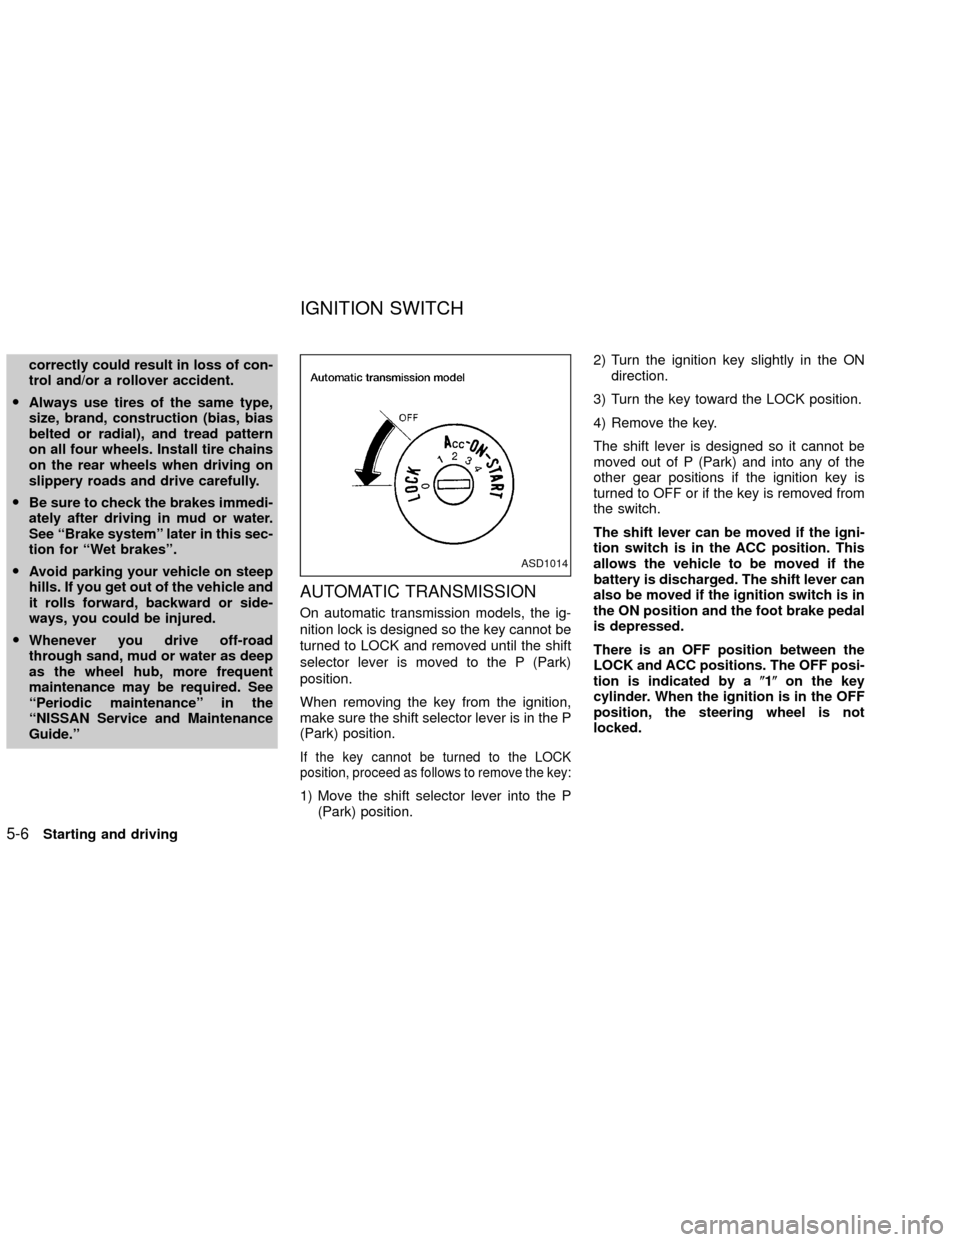
AUTOMATIC TRANSMISSION
On automatic transmission models, the ig-
nition lock is designed so the key cannot be
turned to LOCK and removed until the shift
selector lever is moved to the P (Park)
position.
When removing the key from the ignition,
make sure the shift selector lever is in the P
(Park) position.
If the key cannot be turned to the LOCK
position, proceed as follows to remove the key:
1) Move the shift selector lever into the P
(Park) position.2) Turn the ignition key slightly in the ON
direction.
3) Turn the key toward the LOCK position.
4) Remove the key.
The shift lever is designed so it cannot be
moved out of P (Park) and into any of the
other gear positions if the ignition key is
turned to OFF or if the key is removed from
the switch.
The shift lever can be moved if the igni-
tion switch is in the ACC position. This
allows the vehicle to be moved if the
battery is discharged. The shift lever can
also be moved if the ignition switch is in
the ON position and the foot brake pedal
is depressed.
There is an OFF position between the
LOCK and ACC positions. The OFF posi-
tion is indicated by a(1(on the key
cylinder. When the ignition is in the OFF
position, the steering wheel is not
locked.
ASD1014
IGNITION SWITCH
5-6Starting and driving
ZX
Page 139 of 263

ON (Normal operating position) (3)
This position turns on the ignition system
and electrical accessories.
START (4)
This position starts the engine. As soon as
the engine has started, release the key. It
automatically returns to the ON position.OMake sure the area around the vehicle is
clear.
OCheck fluid levels such as engine oil,
coolant, brake and clutch fluid, and win-
dow washer fluid as frequently as pos-
sible, at least whenever you refuel.
OCheck that all windows and lights are
clean.
OVisually inspect tires for their appearance
and condition. Also check tires for proper
inflation.
OLock all doors.
OPosition seat and adjust head restraints.
OAdjust inside and outside mirrors.
OFasten seat belts and ask all passengers
to do likewise.
OCheck the operation of warning lights
when key is turned to the ON (3) position.
See9Warning/Indicator lights and au-
dible reminders9in the9Instruments and
controls9section.1. Apply the parking brake.
2.Automatic transmission:
Move the selector lever to P (Park) or N
(Neutral). P (Park) is preferred.
The shift lever cannot be moved out of
P (Park) and into any of the other gear
positions if the ignition key is turned
to OFF or if the key is removed from
the ignition switch.
The starter is designed not to operate
if the selector lever is in one of the
driving positions.
Manual transmission:
Move the gearshift lever to N (Neutral),
and fully depress the clutch pedal to the
floor while starting the engine.
The starter is designed not to operate
unless the clutch pedal is fully de-
pressed.
3.With your foot off the accelerator
pedal,turn the ignition key to START.
Release the key when the engine starts.
If the engine starts, but fails to run, repeat
the above procedure.
BEFORE STARTING THE
ENGINESTARTING THE ENGINE
5-8Starting and driving
ZX
Page 140 of 263
OIf the engine is very hard to start in
extremely cold or hot weather, depress
the accelerator pedal fully and hold it
to help start the engine.
OIn the summer, when restarting the
engine within 30 minutes after it has
been stopped, keep the accelerator
pedal fully depressed while starting.
CAUTION
Do not operate the starter for more than
15 seconds at a time. If the engine does
not start, turn the key off and wait 10
seconds before cranking again, other-
wise the starter could be damaged.
4.Warm-up
Always allow the engine to idle for at
least 30 seconds after starting. Drive at a
moderate speed for a short distance first,
especially in cold weather.
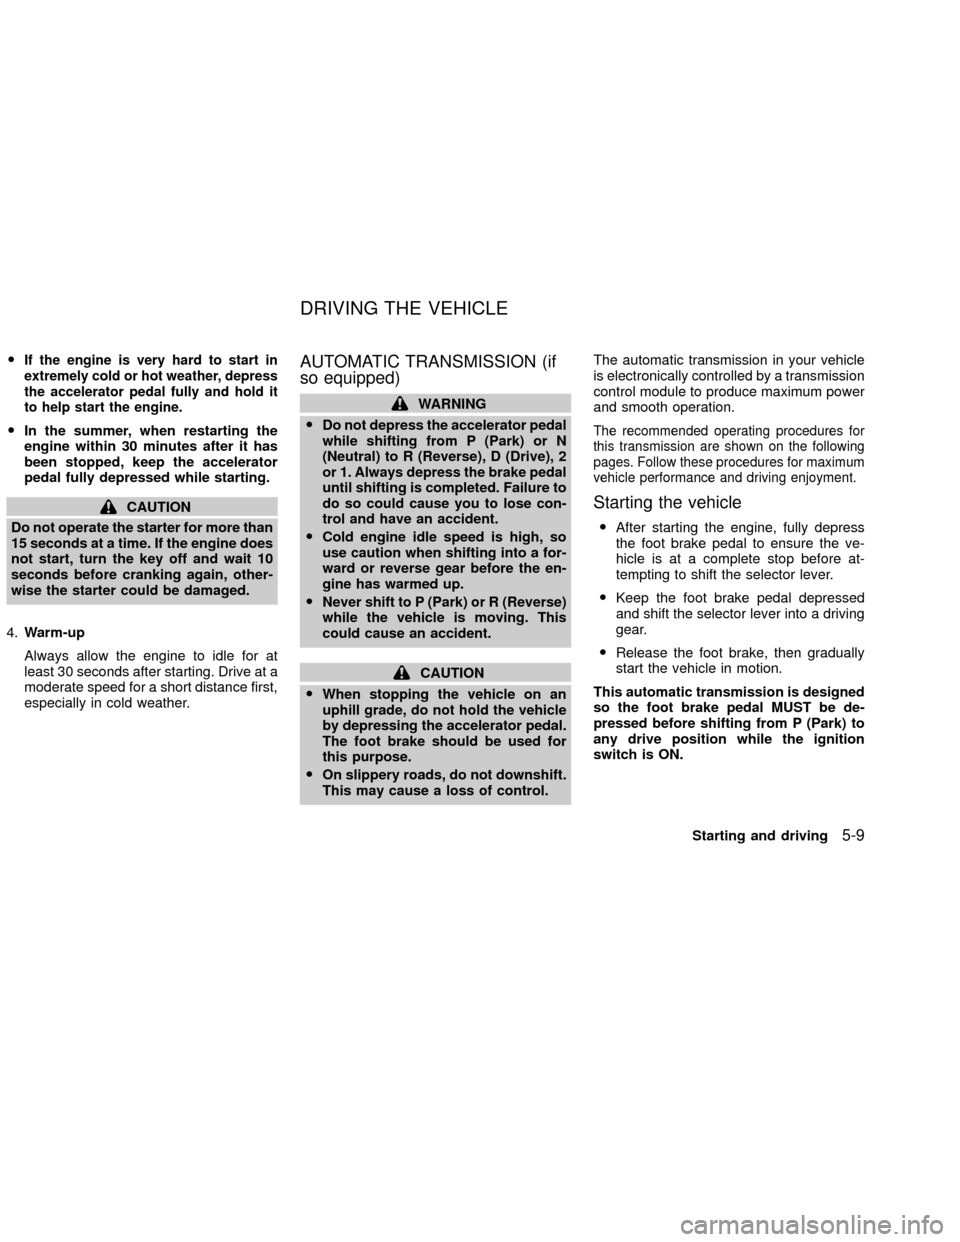
AUTOMATIC TRANSMISSION (if
so equipped)
WARNING
ODo not depress the accelerator pedal
while shifting from P (Park) or N
(Neutral) to R (Reverse), D (Drive), 2
or 1. Always depress the brake pedal
until shifting is completed. Failure to
do so could cause you to lose con-
trol and have an accident.
OCold engine idle speed is high, so
use caution when shifting into a for-
ward or reverse gear before the en-
gine has warmed up.
ONever shift to P (Park) or R (Reverse)
while the vehicle is moving. This
could cause an accident.
CAUTION
OWhen stopping the vehicle on an
uphill grade, do not hold the vehicle
by depressing the accelerator pedal.
The foot brake should be used for
this purpose.
OOn slippery roads, do not downshift.
This may cause a loss of control.The automatic transmission in your vehicle
is electronically controlled by a transmission
control module to produce maximum power
and smooth operation.
The recommended operating procedures for
this transmission are shown on the following
pages. Follow these procedures for maximum
vehicle performance and driving enjoyment.
Starting the vehicle
OAfter starting the engine, fully depress
the foot brake pedal to ensure the ve-
hicle is at a complete stop before at-
tempting to shift the selector lever.
OKeep the foot brake pedal depressed
and shift the selector lever into a driving
gear.
ORelease the foot brake, then gradually
start the vehicle in motion.
This automatic transmission is designed
so the foot brake pedal MUST be de-
pressed before shifting from P (Park) to
any drive position while the ignition
switch is ON.
DRIVING THE VEHICLE
Starting and driving5-9
ZX
Page 146 of 263

To engage:Firmly depress the parking
brake.
To release:
1. Firmly apply foot brake.
2. Manual transmission models:
Place the gearshift in the N (Neutral)
position.
Automatic transmission models:
Move the shift selector lever to the P
(Park) position.
3. Pull out the parking brake release lever.4. Before driving, be sure the brake warning
light goes out.PRECAUTIONS ON CRUISE
CONTROL
cThe cruise control system cancels auto-
matically if it is not functioning properly.
The SET indicator light in the instrument
panel then blinks to warn the driver.
cIf the SET indicator light blinks, turn the
cruise control main switch off and have
the system checked by an authorized
NISSAN dealer.
cThe SET indicator light may blink when
the cruise control main switch is turned
ON while pushing the RES/ACCEL,
WSD0021WSD0013
CRUISE CONTROL (if so
equipped)
Starting and driving5-15
ZX
Page 147 of 263

COAST/SET, or CANCEL switch (located
on the steering wheel). To properly use
the cruise control system, use the follow-
ing procedures.
WARNING
Do not use the cruise control when
driving under the following conditions.
cWhen it is not possible to keep the
vehicle at a set speed.
cIn heavy traffic or in traffic that var-
ies in speed.
cOn winding or hilly roads.
c
On slippery roads (rain, snow, ice, etc.).
cIn very windy areas.
Doing so could cause a loss of vehicle
control and result in an accident.
CAUTION
On manual transmission models, do
not shift into N (Neutral) without de-
pressing the clutch pedal when the
cruise control is set. Should this occur,
depress the clutch pedal and turn the
main switch off immediately. Failure to
do so may cause engine damage.
CRUISE CONTROL OPERA-
TIONS
The cruise control allows driving at a speed
between 25 to 90 MPH (40 to 144 km/h)
without keeping your foot on the accelerator
pedal.
To turn on the cruise control,push the
main switch. The CRUISE indicator light in
the instrument panel comes on.
To set cruising speed,accelerate the ve-
hicle to the desired speed, push the
COAST/SET switch and release it. The SET
light in the instrument cluster comes on.
Take your foot off the accelerator pedal.
Your vehicle maintains the set speed.
cTo pass another vehicle,depress the
accelerator pedal. When you release the
pedal, the vehicle returns to the previ-
ously set speed.
c
The vehicle may not maintain the set speed
when going up or down steep hills. If this
happens, drive without the cruise control.
To cancel the preset speed,use one of the
following three methods:
a) Push the CANCEL button; the SET light
in the instrument cluster goes out.b) Tap the brake pedal; the SET light goes
out.
c) Turn the main switch off. Both the
CRUISE indicator on the main switch and
SET light in the instrument cluster go out.
The cruise control is automatically can-
celled and the SET light in the instrument
panel goes out if:
cyou depress the brake or clutch pedal
while pushing the RES/ACCEL or
COAST/SET switch.
cthe vehicle slows down more than 8 MPH
(13 km/h) below the set speed.
cyou depress the clutch pedal (manual
transmission), or move the shift selector
lever to N (Neutral) (automatic transmis-
sion).
To reset at a faster cruising speed,use
one of the following three methods.
a) Depress the accelerator pedal. When the
vehicle attains the desired speed, push
and release the COAST/SET switch.
b) Push and hold the RES/ACCEL switch.
When the vehicle attains the speed you
desire, release the switch.
5-16Starting and driving
ZX
Page 149 of 263
OKeep your engine tuned up.
OFollow the recommended periodic main-
tenance schedule.
OKeep the tires inflated to the correct
pressure. Low tire pressure increases
tire wear and wastes fuel.
OKeep the front wheels in correct align-
ment. Improper alignment increases tire
wear and lowers fuel economy.
OAir conditioner operation lowers fuel
economy. Use the air conditioner only
when necessary.
OWhen cruising at highway speeds, it is
more economical to use the air condi-
tioner and leave the windows closed to
reduce drag.
O
Use 4H or 4L position only when neces-
sary. Four-wheel drive operation lowers
fuel economy.
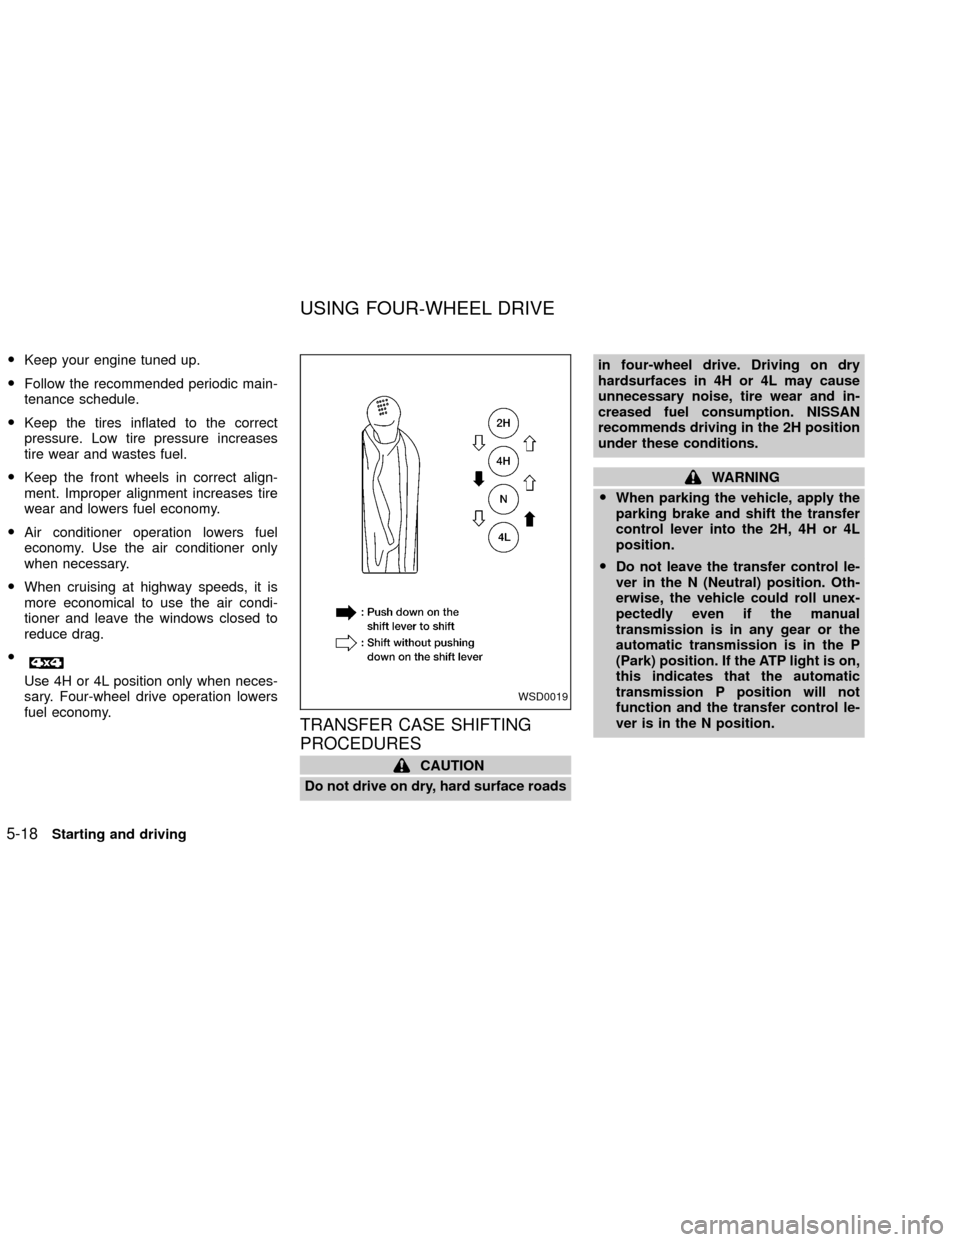
TRANSFER CASE SHIFTING
PROCEDURES
CAUTION
Do not drive on dry, hard surface roadsin four-wheel drive. Driving on dry
hardsurfaces in 4H or 4L may cause
unnecessary noise, tire wear and in-
creased fuel consumption. NISSAN
recommends driving in the 2H position
under these conditions.
WARNING
OWhen parking the vehicle, apply the
parking brake and shift the transfer
control lever into the 2H, 4H or 4L
position.
ODo not leave the transfer control le-
ver in the N (Neutral) position. Oth-
erwise, the vehicle could roll unex-
pectedly even if the manual
transmission is in any gear or the
automatic transmission is in the P
(Park) position. If the ATP light is on,
this indicates that the automatic
transmission P position will not
function and the transfer control le-
ver is in the N position.
WSD0019
USING FOUR-WHEEL DRIVE
5-18Starting and driving
ZX