ESP NISSAN XTERRA 2007 N50 / 2.G Quick Reference Guide
[x] Cancel search | Manufacturer: NISSAN, Model Year: 2007, Model line: XTERRA, Model: NISSAN XTERRA 2007 N50 / 2.GPages: 14, PDF Size: 1.46 MB
Page 8 of 14

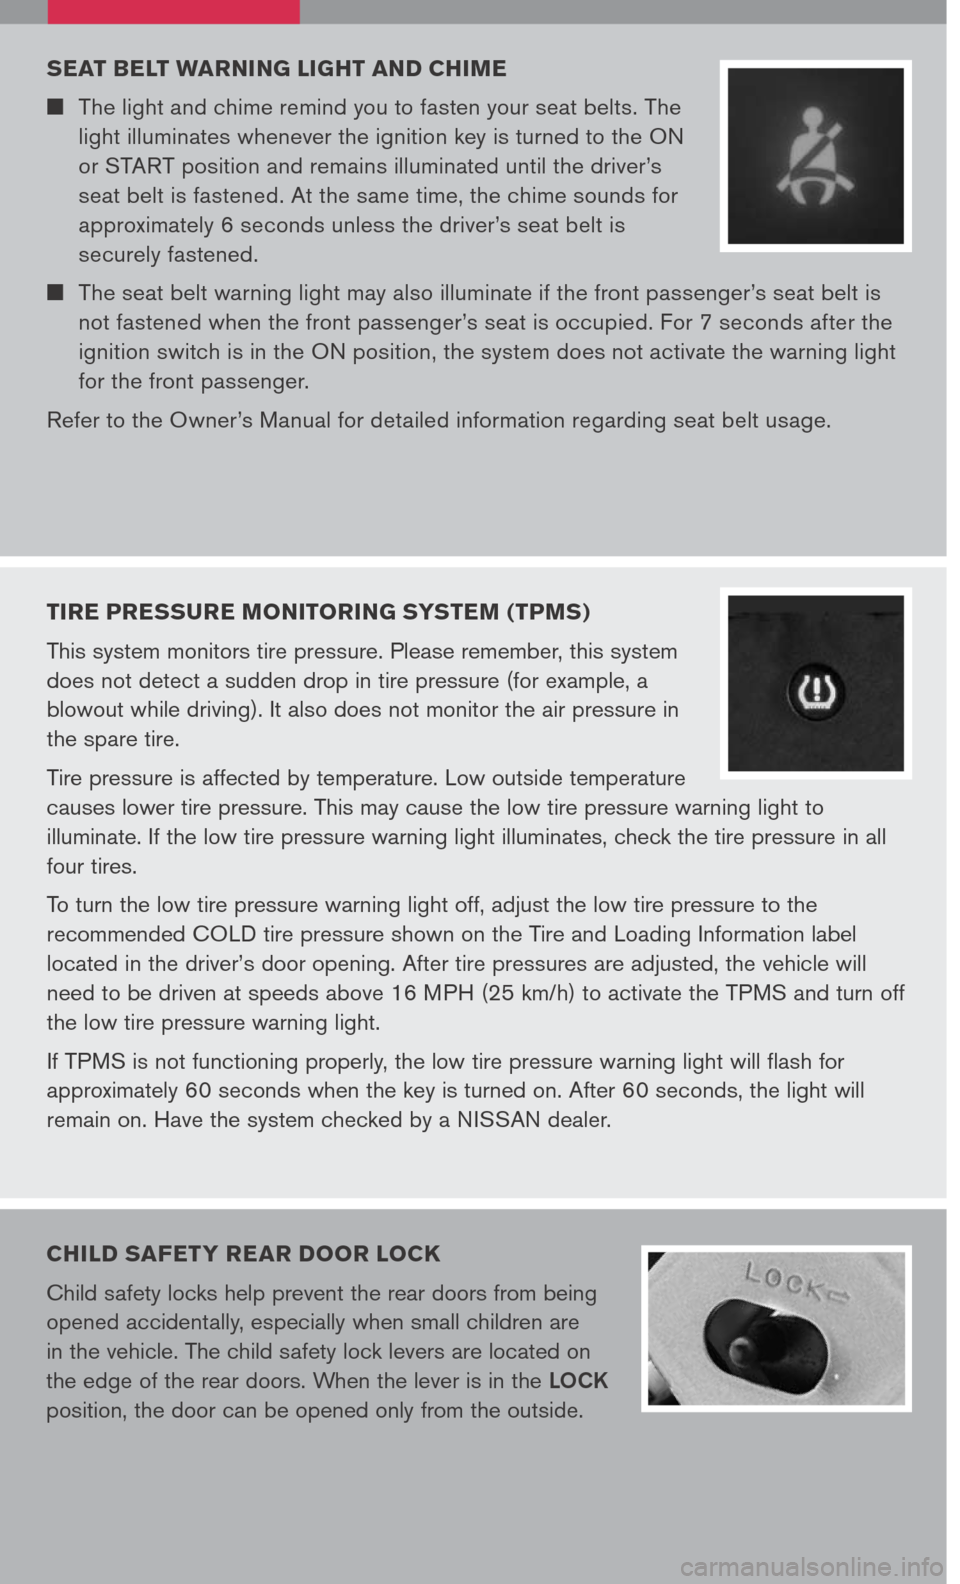
TIRE PRESSURE MONITORING SYSTEM (TPMS)
This system monitors tire pressure. Please remember, this system
does not detect a sudden drop in tire pressure (for example, a
blowout while driving). It also does not monitor the air pressure in
the spare tire.
Tire pressure is affected by temperature. Low outside temperature
causes lower tire pressure. This may cause the low tire pressure warning light to
illuminate. If the low tire pressure warning light illuminates, check the tire pressure in all
four tires.
To turn the low tire pressure warning light off, adjust the low tire pressure to the
recommended COLD tire pressure shown on the Tire and Loading Information label
located in the driver’s door opening. After tire pressures are adjusted, the vehicle will
need to be driven at speeds above 16 MPH (25 km/h) to activate the TPMS and turn off
the low tire pressure warning light.
If TPMS is not functioning properly, the low tire pressure warning light will flash for
approximately 60 seconds when the key is turned on. After 60 seconds, the light will
remain on. Have the system checked by a NISSAN dealer.
SEAT BELT WARNING LIGHT AND CHIME
The light and chime remind you to fasten your seat belts. The
light illuminates whenever the ignition key is turned to the ON
or START position and remains illuminated until the driver’s
seat belt is fastened. At the same time, the chime sounds for
approximately 6 seconds unless the driver’s seat belt is
securely fastened.
The seat belt warning light may also illuminate if the front passenger’s seat belt is
not fastened when the front passenger’s seat is occupied. For 7 seconds after the
ignition switch is in the ON position, the system does not activate the warning light
for the front passenger.
Refer to the Owner’s Manual for detailed information regarding seat belt usage.
CHILD SAFET Y RE AR DOOR LOCK
Child safety locks help prevent the rear doors from being
opened accidentally, especially when small children are
in the vehicle. The child safety lock levers are located on
the edge of the rear doors. When the lever is in the LOCK
position, the door can be opened only from the outside.
Page 11 of 14

MP3 PLAYBACK (if so equipped)
In addition to playing audio CDs, the audio system can play MP3 files
recorded on CD-ROM, CD-R, and CD-RW discs. Each disc can have a
maximum of 8 folder levels and 255 folders. A total of 512 MP3 files can be
played back During MP3 playback, some recorded ID3 tag information can
be displayed by pressing the CLOCK DISP button. Press the CAT FOLDER
button to navigate the MP3 folders.
LOAD BUTTON
LOAD A SINGLE DISC - Press the LOAD button for less than 1.5 seconds.
Select the loading slot by pressing the CD insert button (1-6), then insert the CD.
LOAD UP TO 6 DISCS - Press and hold the LOAD button for less than 1.5
seconds. The slot numbers (1-6) will illuminate on the display when the CDs
are loaded into the changer.
EJECT BUTTON
EJECT A SINGLE DISC - Press the button for less than 1.5 seconds. Select
the eject slot by pressing the CD insert button (1-6). The CD will then eject.
EJECT ALL DISCS - Press and hold the button for more than 1.5 seconds.
STATION AND CD SELECT BUTTONS
To store a radio station in a preset you must first select A, B, or C memory bank
by pressing the PRESET A.B.C button and tuning to the desired FM, AM, or
SAT* station. Then, press and hold the desired station select button for at least
2 seconds. When the preset indicator illuminates, a beep will sound, indicating
memorization is complete. To retrieve a previously set station, select the memory
bank where the preset was set, then press the corresponding station select
button.
TUNING AND AUDIO CONTROL KNOB
To manually tune the radio, turn the TUNE knob. To adjust the Bass, Midrange,
Treble, Fade, Balance, and Speed Sensitive Volume (SSV) (if so equipped), press
the AUDIO knob until the desired mode appears in the display. Then turn the
TUNE knob to adjust to the desired level.
06
07
08
09
* SAT presets are only available on SAT equipped vehicles.
CLOCK SET/ADJUSTMENT
1. Press and hold the
DISP CLOCK button until it beeps. The hours will start flashing.
2. Press the
CAT FOLDER or SEEK/TRACK button to adjust the hours.
3. Press the
CLOCK DISP button to switch to the minute adjustment.
4. Press the
CAT FOLDER or SEEK/TRACK button to adjust the minutes.
5. Press the
DISP CLOCK button to store the time.