buttons NISSAN XTERRA 2007 N50 / 2.G Quick Reference Guide
[x] Cancel search | Manufacturer: NISSAN, Model Year: 2007, Model line: XTERRA, Model: NISSAN XTERRA 2007 N50 / 2.GPages: 14, PDF Size: 1.46 MB
Page 7 of 14

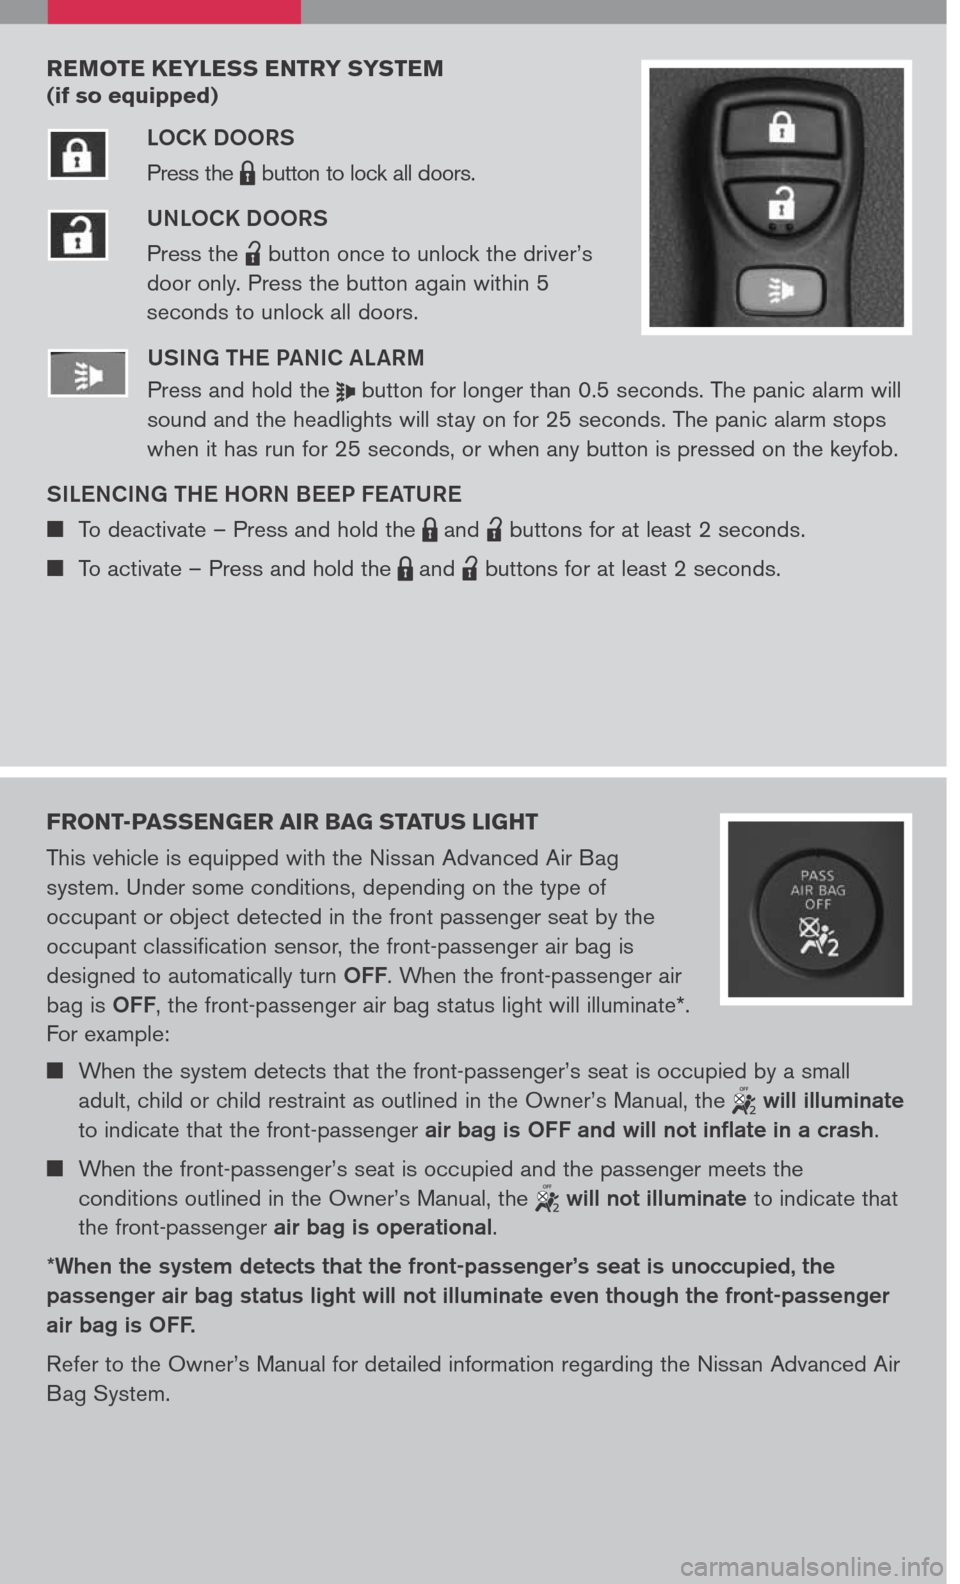
REMOTE KEYLESS ENTRY SYSTEM
(if so equipped)
LOCK DOORS
Press the LPD0150 button to lock all doors.
UNLOCK DOORS
Press the lpd0151 button once to unlock the driver’s
door only. Press the button again within 5
seconds to unlock all doors.U SING THE PANIC ALARM
Press and hold the button for longer than 0.5 seconds. The panic alarm will
sound and the headlights will stay on for 25 seconds. The panic alarm stops
when it has run for 25 seconds, or when any button is pressed on the keyfob.
S ILENCING THE HORN BEEP FEATURE
To deactivate – Press and hold the LPD0150 and lpd0151 buttons for at least 2 seconds.
To activate – Press and hold the LPD0150 and lpd0151 buttons for at least 2 seconds.
FRONT-PASSENGER AIR BAG STATUS LIGHT
This vehicle is equipped with the Nissan Advanced Air Bag
system. Under some conditions, depending on the type of
occupant or object detected in the front passenger seat by the
occupant classification sensor, the front-passenger air bag is
designed to automatically turn OFF. When the front-passenger air
bag is OFF, the front-passenger air bag status light will illuminate*.
For example:
When the system detects that the front-passenger’s seat is occupied by a small
adult, child or child restraint as outlined in the Owner’s Manual, the will illuminate
to indicate that the front-passenger air bag is OFF and will not inflate in a crash.
When the front-passenger’s seat is occupied and the passenger meets the
conditions outlined in the Owner’s Manual, the will not illuminate to indicate that
the front-passenger air bag is operational.
*When the system detects that the front-passenger’s seat is unoccupied, the
passenger air bag status light will not illuminate even though the front-passenger
air bag is OFF.
Refer to the Owner’s Manual for detailed information regarding the Nissan Advanced Air
Bag System.
Page 11 of 14

MP3 PLAYBACK (if so equipped)
In addition to playing audio CDs, the audio system can play MP3 files
recorded on CD-ROM, CD-R, and CD-RW discs. Each disc can have a
maximum of 8 folder levels and 255 folders. A total of 512 MP3 files can be
played back During MP3 playback, some recorded ID3 tag information can
be displayed by pressing the CLOCK DISP button. Press the CAT FOLDER
button to navigate the MP3 folders.
LOAD BUTTON
LOAD A SINGLE DISC - Press the LOAD button for less than 1.5 seconds.
Select the loading slot by pressing the CD insert button (1-6), then insert the CD.
LOAD UP TO 6 DISCS - Press and hold the LOAD button for less than 1.5
seconds. The slot numbers (1-6) will illuminate on the display when the CDs
are loaded into the changer.
EJECT BUTTON
EJECT A SINGLE DISC - Press the button for less than 1.5 seconds. Select
the eject slot by pressing the CD insert button (1-6). The CD will then eject.
EJECT ALL DISCS - Press and hold the button for more than 1.5 seconds.
STATION AND CD SELECT BUTTONS
To store a radio station in a preset you must first select A, B, or C memory bank
by pressing the PRESET A.B.C button and tuning to the desired FM, AM, or
SAT* station. Then, press and hold the desired station select button for at least
2 seconds. When the preset indicator illuminates, a beep will sound, indicating
memorization is complete. To retrieve a previously set station, select the memory
bank where the preset was set, then press the corresponding station select
button.
TUNING AND AUDIO CONTROL KNOB
To manually tune the radio, turn the TUNE knob. To adjust the Bass, Midrange,
Treble, Fade, Balance, and Speed Sensitive Volume (SSV) (if so equipped), press
the AUDIO knob until the desired mode appears in the display. Then turn the
TUNE knob to adjust to the desired level.
06
07
08
09
* SAT presets are only available on SAT equipped vehicles.
CLOCK SET/ADJUSTMENT
1. Press and hold the
DISP CLOCK button until it beeps. The hours will start flashing.
2. Press the
CAT FOLDER or SEEK/TRACK button to adjust the hours.
3. Press the
CLOCK DISP button to switch to the minute adjustment.
4. Press the
CAT FOLDER or SEEK/TRACK button to adjust the minutes.
5. Press the
DISP CLOCK button to store the time.