ignition NISSAN XTERRA 2007 N50 / 2.G Quick Reference Guide
[x] Cancel search | Manufacturer: NISSAN, Model Year: 2007, Model line: XTERRA, Model: NISSAN XTERRA 2007 N50 / 2.GPages: 14, PDF Size: 1.46 MB
Page 3 of 14

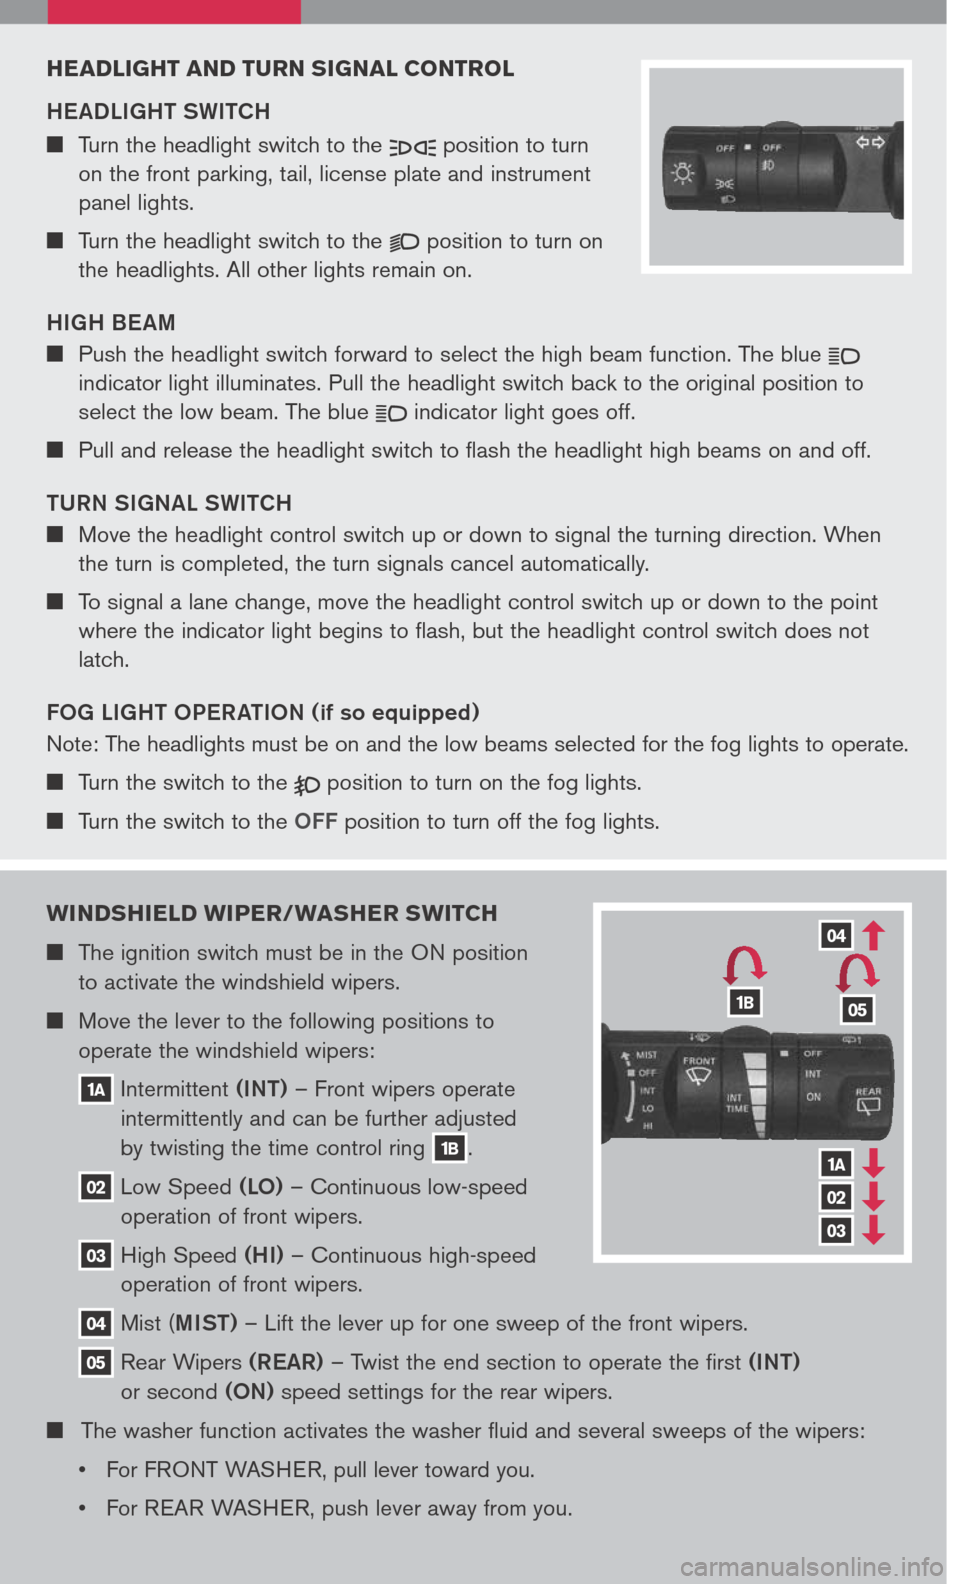
WINDSHIELD WIPER/WASHER SWITCH
The ignition switch must be in the ON position
to activate the windshield wipers.
Move the lever to the following positions to
operate the windshield wipers:
1A Intermittent (INT) – Front wipers operate
intermittently and can be further adjusted
by twisting the time control ring 1B.
02 Low Speed (LO) – Continuous low-speed
operation of front wipers.
03 High Speed (HI) – Continuous high-speed
operation of front wipers.
04 Mist (MIST) – Lift the lever up for one sweep of the front wipers.
05 Rear Wipers (REAR) – Twist the end section to operate the first (INT)
or second (ON) speed settings for the rear wipers.
The washer function activates the washer fluid and several sweeps of the wipers:
• For F
RONT WASHER, pull lever toward you.
• F
or REAR WASHER, push lever away from you.
HEADLIGHT AND TURN SIGNAL CONTROL
HEADLIGHT SWITCH
Turn the headlight switch to the position to turn
on the front parking, tail, license plate and instrument
panel lights.
Turn the headlight switch to the position to turn on
the headlights. All other lights remain on.
HIGH BEAM
Push the headlight switch forward to select the high beam function. The blue indicator light illuminates. Pull the headlight switch back to the original position to
select the low beam. The blue indicator light goes off.
Pull and release the headlight switch to flash the headlight high beams on and off.
TURN SIGNAL SWITCH
Move the headlight control switch up or down to signal the turning direction. When
the turn is completed, the turn signals cancel automatically.
To signal a lane change, move the headlight control switch up or down to the point
where the indicator light begins to flash, but the headlight control switch does not
latch.
FOG LIGHT OPERATION (if so equipped)
Note: The headlights must be on and the low beams selected for the fog lights to operate.
Turn the switch to the position to turn on the fog lights.
Turn the switch to the OFF position to turn off the fog lights.
1A
02
03
04
1B05
Page 6 of 14

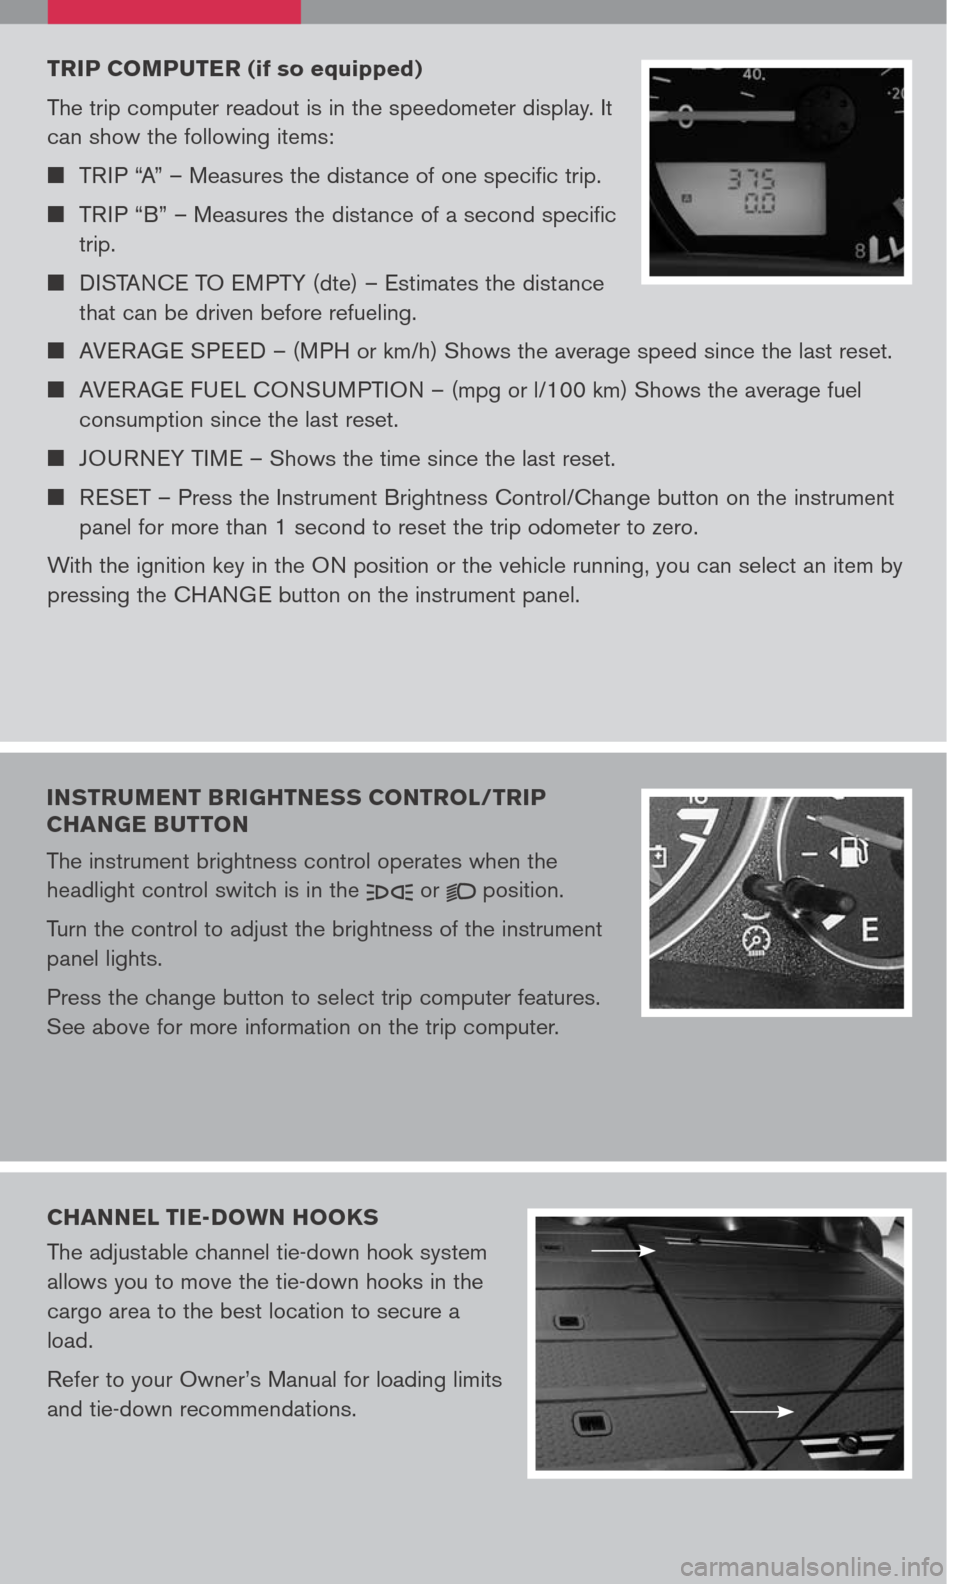
TRIP COMPUTER (if so equipped)
The trip computer readout is in the speedometer display. It
can show the following items:
TRIP “A” – Measures the distance of one specific trip.
TRIP “B” – Measures the distance of a second specific
trip.
DISTANCE TO EMPTY (dte) – Estimates the distance
that can be driven before refueling.
AVERAGE SPEED – (MPH or km/h) Shows the average speed since the last reset.
AVERAGE FUEL CONSUMPTION – (mpg or l/100 km) Shows the average fuel
consumption since the last reset.
JOURNEY TIME – Shows the time since the last reset.
RESET – Press the Instrument Brightness Control/Change button on the instrument
panel for more than 1 second to reset the trip odometer to zero.
With the ignition key in the ON position or the vehicle running, you can select an item by
pressing the CHANGE button on the instrument panel.
INSTRUMENT BRIGHTNESS CONTROL/TRIP
CHANGE BUTTON
The instrument brightness control operates when the
headlight control switch is in the or position.
Turn the control to adjust the brightness of the instrument
panel lights.
Press the change button to select trip computer features.
See above for more information on the trip computer.
CHANNEL TIE-DOWN HOOKS
The adjustable channel tie-down hook system
allows you to move the tie-down hooks in the
cargo area to the best location to secure a
load.
Refer to your Owner’s Manual for loading limits
and tie-down recommendations.
Page 8 of 14

TIRE PRESSURE MONITORING SYSTEM (TPMS)
This system monitors tire pressure. Please remember, this system
does not detect a sudden drop in tire pressure (for example, a
blowout while driving). It also does not monitor the air pressure in
the spare tire.
Tire pressure is affected by temperature. Low outside temperature
causes lower tire pressure. This may cause the low tire pressure warning light to
illuminate. If the low tire pressure warning light illuminates, check the tire pressure in all
four tires.
To turn the low tire pressure warning light off, adjust the low tire pressure to the
recommended COLD tire pressure shown on the Tire and Loading Information label
located in the driver’s door opening. After tire pressures are adjusted, the vehicle will
need to be driven at speeds above 16 MPH (25 km/h) to activate the TPMS and turn off
the low tire pressure warning light.
If TPMS is not functioning properly, the low tire pressure warning light will flash for
approximately 60 seconds when the key is turned on. After 60 seconds, the light will
remain on. Have the system checked by a NISSAN dealer.
SEAT BELT WARNING LIGHT AND CHIME
The light and chime remind you to fasten your seat belts. The
light illuminates whenever the ignition key is turned to the ON
or START position and remains illuminated until the driver’s
seat belt is fastened. At the same time, the chime sounds for
approximately 6 seconds unless the driver’s seat belt is
securely fastened.
The seat belt warning light may also illuminate if the front passenger’s seat belt is
not fastened when the front passenger’s seat is occupied. For 7 seconds after the
ignition switch is in the ON position, the system does not activate the warning light
for the front passenger.
Refer to the Owner’s Manual for detailed information regarding seat belt usage.
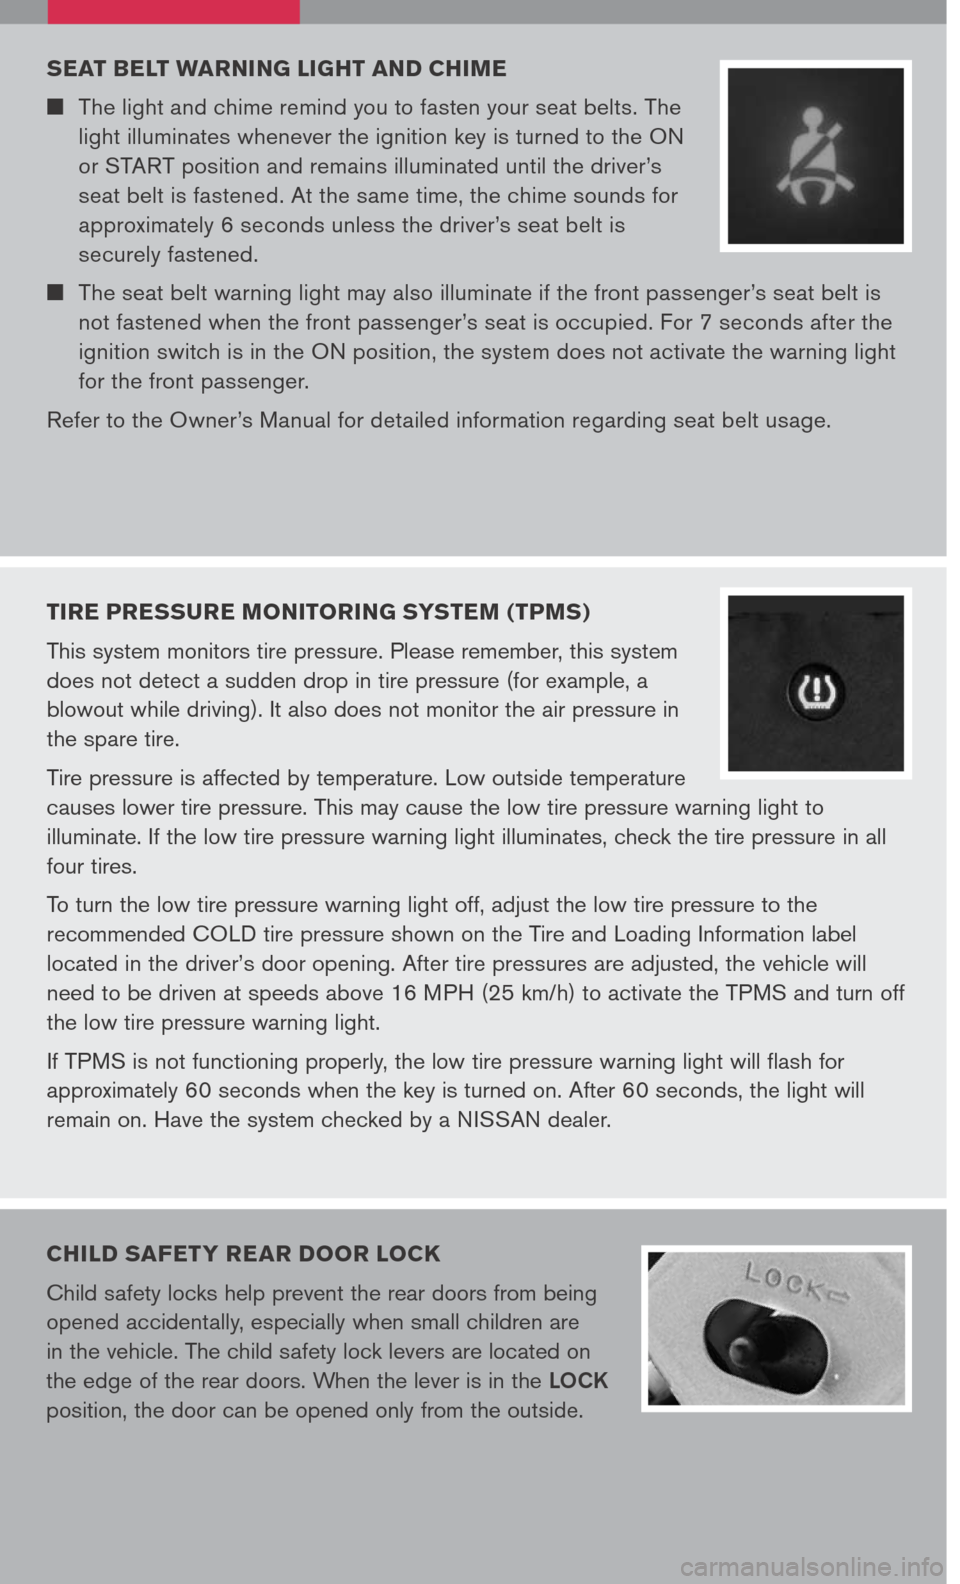
CHILD SAFET Y RE AR DOOR LOCK
Child safety locks help prevent the rear doors from being
opened accidentally, especially when small children are
in the vehicle. The child safety lock levers are located on
the edge of the rear doors. When the lever is in the LOCK
position, the door can be opened only from the outside.