display NISSAN XTERRA 2013 N50 / 2.G LC2 Navigation Manual
[x] Cancel search | Manufacturer: NISSAN, Model Year: 2013, Model line: XTERRA, Model: NISSAN XTERRA 2013 N50 / 2.GPages: 104, PDF Size: 1.27 MB
Page 77 of 104
To display flight information on the screen:1. Press the MENU button.
2. Touch “Next Page”. 3. Touch “Flight Information”.
NOTE:
This feature can also be accessed using
the NISSAN Voice Recognition System (if
so equipped) by pressing the
orbutton on the steering wheel and
when prompted, saying “Information” then
“Flight Information”. 4. Touch “Flight Number”.
LNV2381LNV2257LNV2253
FLIGHT INFORMATION (if so
equipped) (Canada only)
Navigation4-43
Page 78 of 104
5. Enter the flight number. The display showsthe touch keyboard.
“HOW TO INPUT CHARAC-
TERS” (page 2-8) 6. Touch “Request Flight Information”. This key
is only active if a flight number has been
entered.
7. The flight information is displayed on the screen.
When searching for flight information, the follow-
ing criteria are available:
● Direction
Touch to select “Departure” or “Arrival”.
● Departure Day
Touch to select “Today” or “Tomorrow”. To display fuel prices at gas stations in the sur-
rounding area on the screen:
1. Press the MENU button.
2. Touch “Next Page”.
LNV2254LNV2252LNV2381
FUEL PRICES (if so equipped)
(Canada only)
4-44Navigation
Page 79 of 104
3. Touch “Fuel Prices”.
NOTE:
This feature can also be accessed using
the NISSAN Voice Recognition System (if
so equipped) by pressing the
orbutton on the steering wheel and
when prompted, saying “Information” then
“Fuel Prices”. 4. A list of gas stations is displayed with the
distance and direction to each entry. Touch
an entry on the screen to view information
about that gas station. 5. The name, address and phone number of
the gas station are displayed. If available,
the prices for each grade of gasoline are
also displayed. Touch “Store” to store the
location in the address book. Touch “Call”
to call the location using the Bluetooth®
Hands-Free Phone System. Touch “Map” to
view the location on the map. Touch “Start”
to begin route guidance to the location.
LNV2257LNV2255LNV2256
Navigation4-45
Page 81 of 104
5 Other settings
System settings...................................5-2
Touchscreen click ..............................5-3
System beeps. . . ...............................5-3
Reset settings. . . ...............................5-3
Display settings ...................................5-3
Display ........................................5-3 Brightness
.....................................5-4
Clock settings.....................................5-4 Set clock ......................................5-5
Language settings .................................5-6
Info services settings ...............................5-6
Page 82 of 104
The system can be customized according to
your preference.1. Press the MENU button.
2. Touch “Settings”. 3. Touch “System”.
4. Select the preferred setting item on the
screen and the next screen will be shown.
You may need to use the scrolling dial or the
touch screen to scroll if more than one
screen of options is available.
The following settings are available:
● Display
“DISPLAY SETTINGS”
(page 5-3)
● Clock Settings
“CLOCK SETTINGS” (page 5-4)
● Language
“LANGUAGE SETTINGS”
(page 5-6)
LNV2378LNV2236LNV2087
SYSTEM SETTINGS
5-2Other settings
Page 83 of 104
●Touchscreen Click
“TOUCHSCREEN CLICK”
(page 5-3)
● System Beeps
“SYSTEM BEEPS” (page 5-3)
● “Reset All Settings/Memory”
“RESET SETTINGS” (page 5-3)
5. Select the button of the preferred item and adjust the setting. Alternatively, use the
scrolling dial or steering wheel scrolling
switch (if so equipped) .
6. Press the BACK or
BACK button to
return to the previous screen or press the
NAV button to return to the current location
map screen.
TOUCHSCREEN CLICK
Use this setting to change the audible confirma-
tion between the on or off position when a
screen button is touched.
Select the “Touchscreen Click” key to toggle be-
tween On and Off.
SYSTEM BEEPS
Use this setting to change the audible confirma-
tion when:
● a button on the unit is pressed and held for
about two seconds, such as the
button.
● a pop-up message appears on the screen.
Select the “System Beeps” key to toggle be-
tween ON and OFF.
RESET SETTINGS
Use this setting to restore the factory default
settings.
Touch the “Reset All Settings/Memory” key and
then confirm the message. If you choose “Yes”,
the system will reset the settings to the default
settings. If you choose “No”, the default settings
will not be restored and the display returns to the
system settings screen.
DISPLAY
Switching the display on or off
This setting allows you to turn the display on or
off. When the display is turned off, the clock will
still be displayed.
To turn off the display, press the
button.
The display will switch on when:
● the
button is pressed.
● any other button is pressed.
● receiving incoming calls or during a phone
call. When the call is ended, the display re-
turns to clock display.
Ty p e ALNV2181
DISPLAY SETTINGS
Other settings5-3
Page 84 of 104
Voice guidance (if active) continues even when
the display is turned off.
Press and hold the
button for more than
two seconds to switch the display to a larger dis-
play of the digital clock.
Changing day-night brightness
Press the
button for less than two sec-
onds to toggle:
● between day and auto (night) when head-
lights are on.
● between night and auto (day) when head-
lights are off.
While the display is showing the current bright-
ness mode, turn the TUNE/SCROLL dial to ad-
just the brightness.
The day or night mode can also be toggled from
the Display Settings menu.
BRIGHTNESS
This menu allows you to adjust the brightness of
the screen. 1. Press the MENU button.
2. Touch the “Settings” key.
3. Touch the “System” key.
4. Touch the “Display” key.
5. Touch the “Brightness” key repeatedly. Each time the key is touched the brightness
mode will change as follows:
Very Bright →Bright →Default →Dark →
Very Dark →Very Bright
6. To save the setting, press the BACK or
BACK button to return to the pre-
vious screen. This setting allows you to make clock
adjustments.
1. Press the MENU button.
2. Touch the “Settings” key.
3. Touch the “System” key.
4. Touch the “Clock Settings” key.
5. Select the preferred setting item and make an adjustment.
● “Time Format”:
Touch the “Time Format” key to change the
clock format between 12-hour and 24-
hour.
● “Date Format”:
Touch the “Date Format” key to choose one
of five available date formats.
Ty p e BLNV2398LNV2092LNV2088
CLOCK SETTINGS
5-4Other settings
Page 86 of 104
This setting allows you to change the language
used by the system.1. Press the MENU button.
2. Touch the “Settings” key.
3. Touch the “System” key.
4. Touch the “Language” key.
5. Select the appropriate language. The avail- able languages are:
– English
– Français
– Español
6. The program loading screen is displayed. Upon completion, the start-up screen is au-
tomatically displayed.NOTE:
Certain remote functions require compat-
ible phone, not included with vehicle. Cel-
lular network provided by independent cel-
lular companies not within Nissan’s
control. Cellular network not available in
all areas. NissanConnect Google™ services
require subscription and owner consent to
activate, subscription service for a period
of time is included in vehicle price, sub-
scription available for purchase thereafter.
Standard text rates, voice minutes, roam-
ing charges and/or data usage may apply. 1. Press the MENU button.
2. Touch the “Settings” key.
3. Touch the “Info” key.
LNV2378
LANGUAGE SETTINGS
INFO SERVICES SETTINGS
5-6Other settings
Page 88 of 104
●Select Country for Service
Select to choose the appropriate country for
service.
NOTE:
Make sure that the correct country for ser-
vice is selected after driving across a bor-
der to avoid international dialing charges.
● Entries to Download
Select to adjust the number of entries to
download when info services are requested.
By default, the system displays six entries. The
number of entries can be set between 1 and
20.
● Temperate Unit
Select to toggle between degrees Fahrenheit
and Celsius. ●
Distance Units
Select to toggle between miles and
kilometers.
LNV2070
5-8Other settings
Page 89 of 104
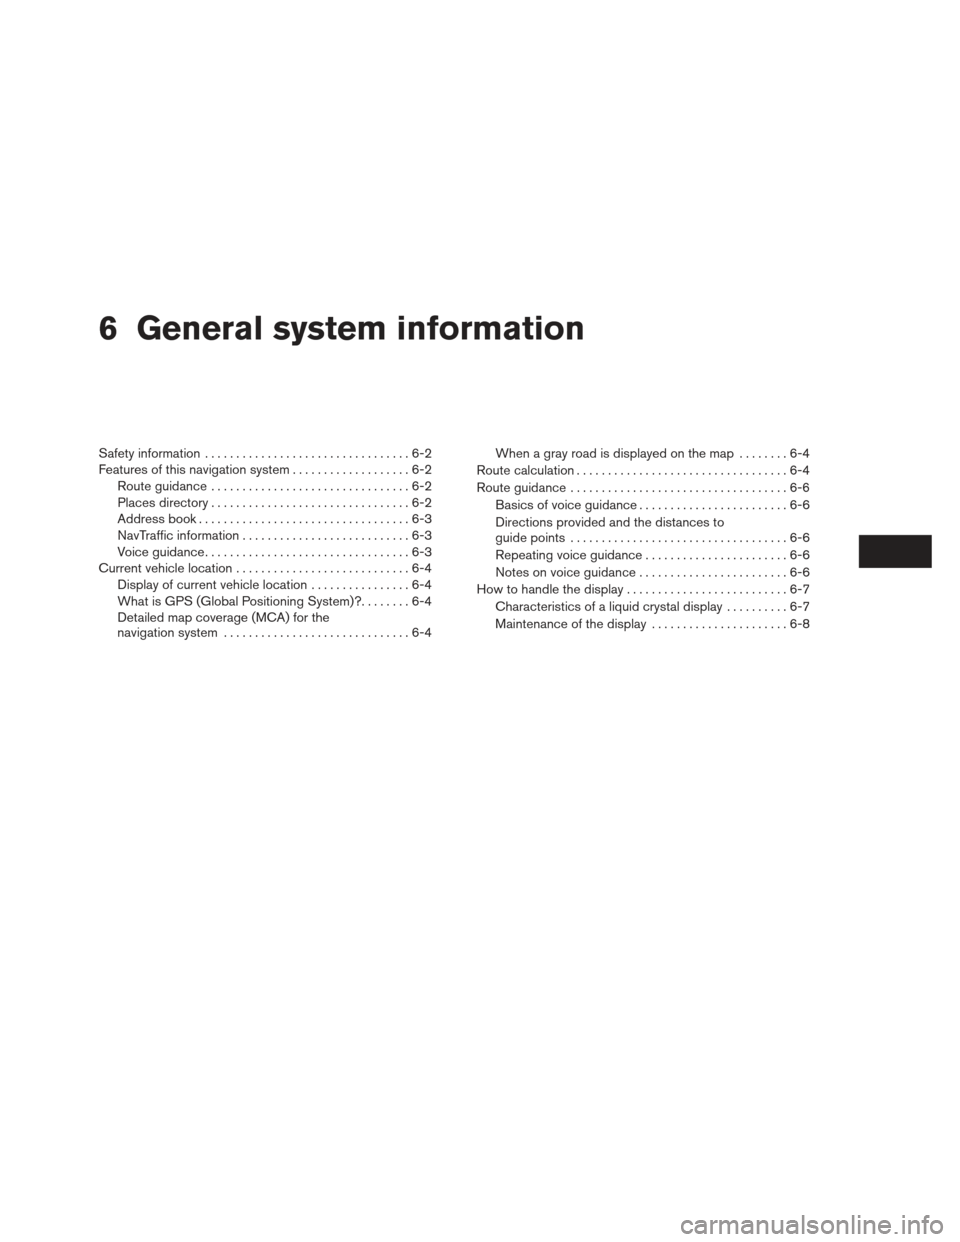
6 General system information
Safety information.................................6-2
Features of this navigation system ...................6-2
Route guidance ................................6-2
Places directory ................................6-2
Address book . . . ...............................6-3
NavTraffic information ...........................6-3
Voice guidance. . ...............................6-3
Current vehicle location ............................6-4
Display of current vehicle location ................6-4
What is GPS (Global Positioning System)? ........6-4
Detailed map coverage (MCA) for the
navigation system ..............................6-4 When a gray road is displayed on the map
........6-4
Route calculation ..................................6-4
Route guidance ...................................6-6
Basics of voice guidance ........................6-6
Directions provided and the distances to
guide points ...................................6-6
Repeating voice guidance .......................6-6
Notes on voice guidance ........................6-6
How to handle the display ..........................6-7
Characteristics of a liquid crystal display ..........6-7
Maintenance of the display ......................6-8