instrument panel Oldsmobile Achieva 1995 Owner's Manuals
[x] Cancel search | Manufacturer: OLDSMOBILE, Model Year: 1995, Model line: Achieva, Model: Oldsmobile Achieva 1995Pages: 340, PDF Size: 16.99 MB
Page 18 of 340
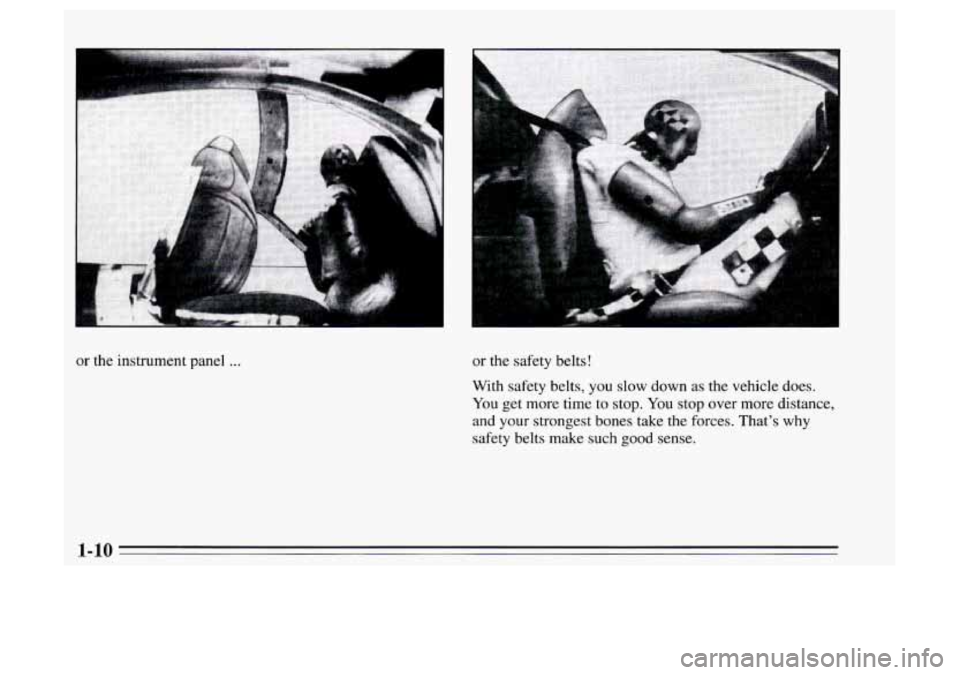
or the instrument panel ... or the safety belts!
With safety belts,
you slow down as the vehicle does.
You get
more time to stop. You stop over more distance,
and your strongest bones take the forces. That's why
safety belts make such good sense.
Page 28 of 340
Supplemental Restraint System (SRS)
This part explains the Supplemental Restraint System
(SRS), or air bag.
Your Oldsmobile has an air bag for the driver.
Here
are the most important things to know about the air
bag system:
AIR
BAG
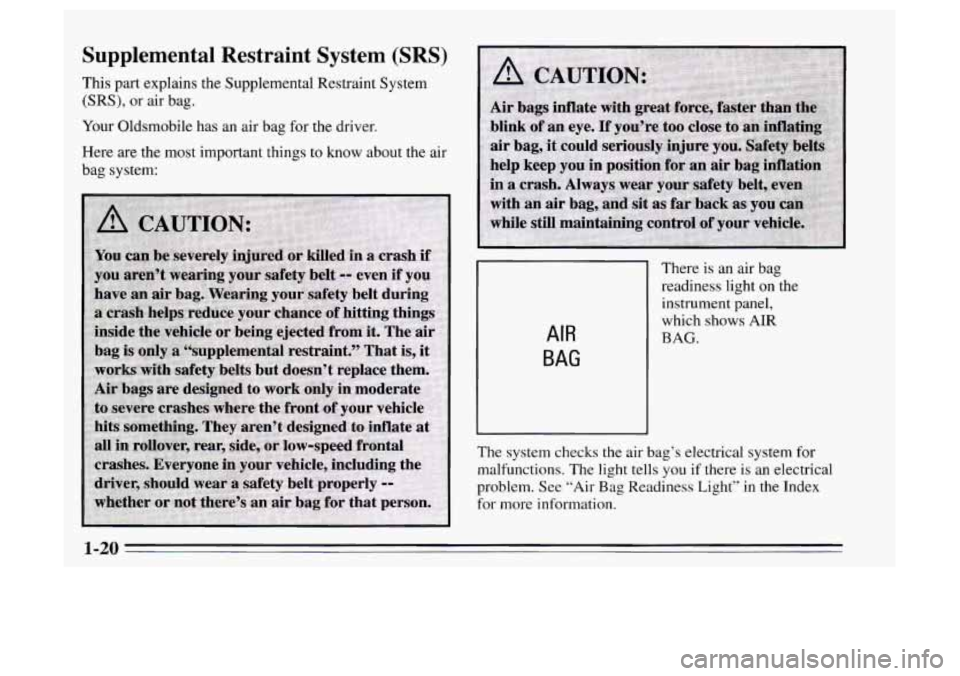
There is an air bag
readiness light
on the
instrument panel,
which
shows AIR
BAG.
The system checks the air bag’s electrical system for
malfunctions. The light tells you
if there is an electrical
problem. See “Air
Bag Readiness Light” in the Index
for more information.
1-20
Page 57 of 340

Section 2 Features and Controls
Here you can learn about the many standard and
optional features
on your Oldsmobile, and information
on starting, shifting and braking. Also explained are the
instrument panel and the warning systems that tell you
if
everything is working properly -- and what to do if you
have a problem.
Keys
2-1
Page 69 of 340
Ignition Switch
A E
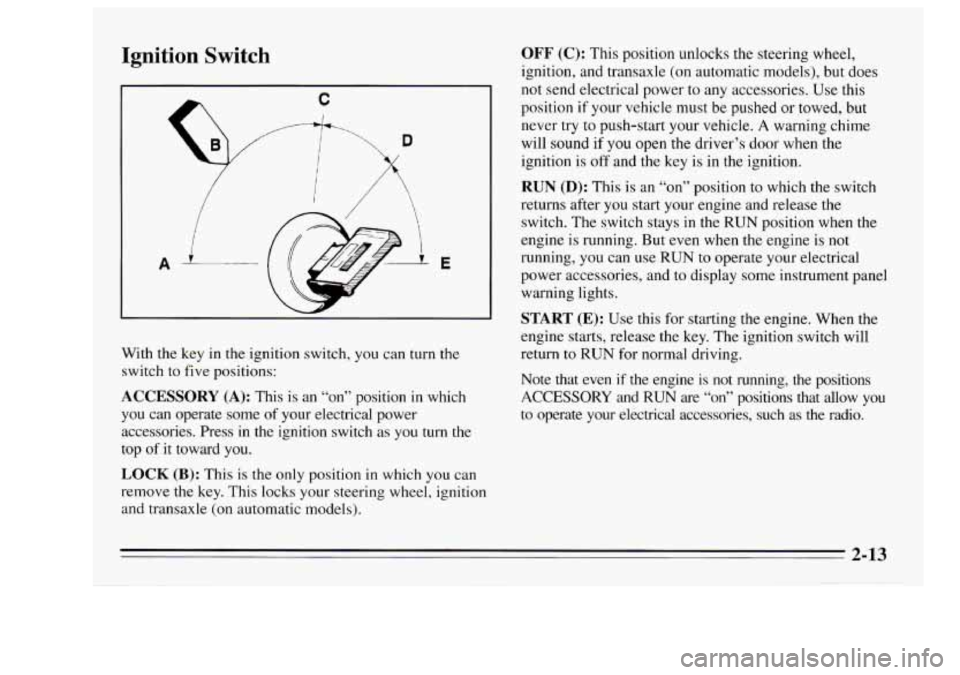
With the key in the ignition switch, you can turn the
switch to five positions:
ACCESSORY (A): This is an “on” position in which
you can operate some
of your electrical power
accessories. Press in the ignition switch as you
turn the
top
of it toward you.
LOCK (B): This is the only position in which you can
remove the key. This locks your steering wheel, ignition
and transaxle (on automatic models).
OFF (C): This position unlocks the steering wheel,
ignition, and transaxle (on automatic models), but does
not send electrical power to any accessories. Use this
position
if your vehicle must be pushed or towed, but
never try to push-start your vehicle.
A warning chime
will sound if
you open the driver’s door when the
ignition is
off and the key is in the ignition.
RUN (D): This is an “on” position to which the switch
returns after you start your engine and release the
switch. The switch stays
in the RUN position when the
engine is running. But even when the engine
is not
running, you can use
RUN to operate your electrical
power accessories, and to display some instrument panel
warning lights.
START (E): Use this for starting the engine. When the
engine starts, release the key.
The ignition switch will
return to
RUN for normal driving.
Note that even
if the engine is not running, the positions
ACCESSORY and RUN are “on” positions that allow you
to operate your electrical accessories, such as the radio.
2-13
Page 71 of 340
Starting Your Engine
Engines start differently. The 8th digit of your Vehicle
Identification Number (VIN) shows the code letter or
number for your engine. You will find the
VIN at the top
left of your instrument panel. (See “Vehicle
Identification Number” in the Index.) Follow the proper
steps
to start the engine.
Automatic transaxle:
Move your shift lever to PARK (P) or NEUTRAL (N).
Your engine won’t start in any other position -- that’s a
safety feature. To restart when you’re already moving,
use NEUTRAL
(N) only. .... - ,
I i
NOTICE:
Don’t try to shift to PARK (P) if your Oldsmobile
is moving. If you do, you could damage the
transaxle. Shift to PARK (P) only when your
vehicle is stopped. Manual.
transaxle:
The gear selector should be in neutral. Hold the clutch
pedal to the floor
and start the engine. Your vehicle
won’t start if the clutch pedal is not all the way down
--
that’s a safety feature.
To start your 2.3 Liter engine:
1. Without pushing the accelerator pedal, turn your
ignition key to START. When the engine starts, let
go of the key. The idle speed will go down as your
engine gets warm.
I NOTICE:
Holding your key in START for longer than
15 seconds at a time will cause your battery to be
drained much sooner. And the excessive heat can
damage your starter motor.
2. If it doesn’t start right away, and if the weather is
very cold (below
-20” F, or -29” C), push the
accelerator pedal about one-quarter of the way down
while you turn the key to START.
Do this until the
engine starts. As soon as it does,
let go of the key.
2-15
Page 90 of 340
Turn Signal and Lane Change Indicator
a
0
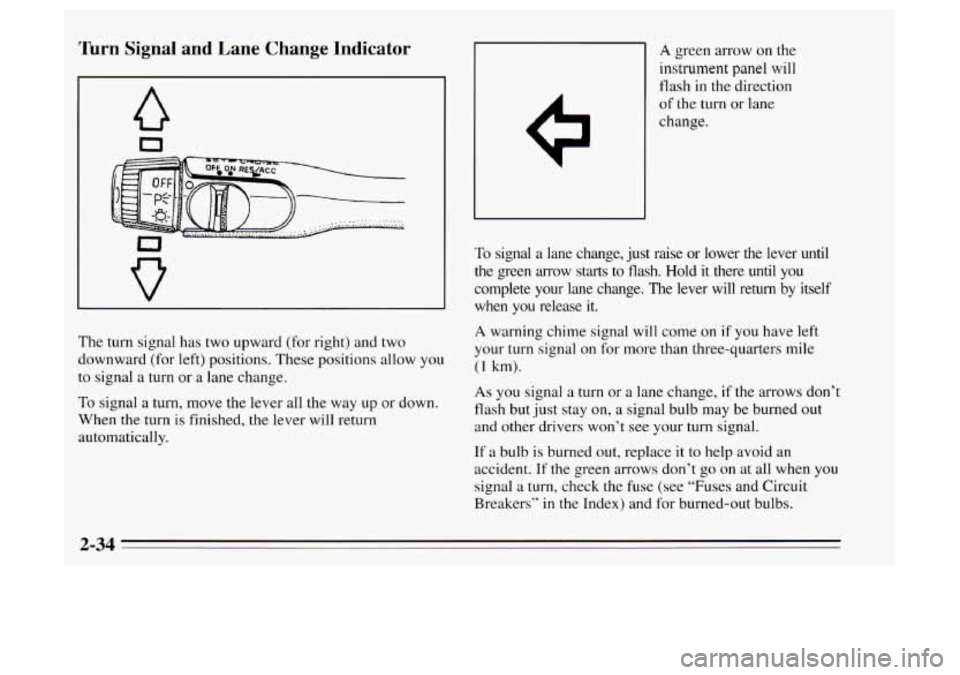
The turn signal has two upward (for right) and two
downward (for left) positions. These positions allow
you
to signal a turn or a lane change.
To signal a turn, move the lever all the way
up or down.
When
the turn is finished, the lever will return
automatically.
A green arrow on the
instrument panel will
flash in the direction
of the turn or lane
change.
To signal
a lane change, just raise or lower the lever until
the green arrow starts to flash. Hold it there until
you
complete your lane change. The lever will return by itself
when you release it.
A warning chime signal will come on if you have left
your turn signal on for more than three-quarters mile
(1 km).
As you signal a turn or a lane change, if the arrows don I:
flash but just stay on, a signal bulb may be burned out
and other drivers won’t see your
turn signal.
If a bulb is burned out, replace it to help avoid an
accident.
If the green arrows don’t go on at all when you
signal a turn, check the fuse (see “Fuses and Circuit
Breakers’’ in the Index) and for burned-out bulbs.
2-34
Page 91 of 340
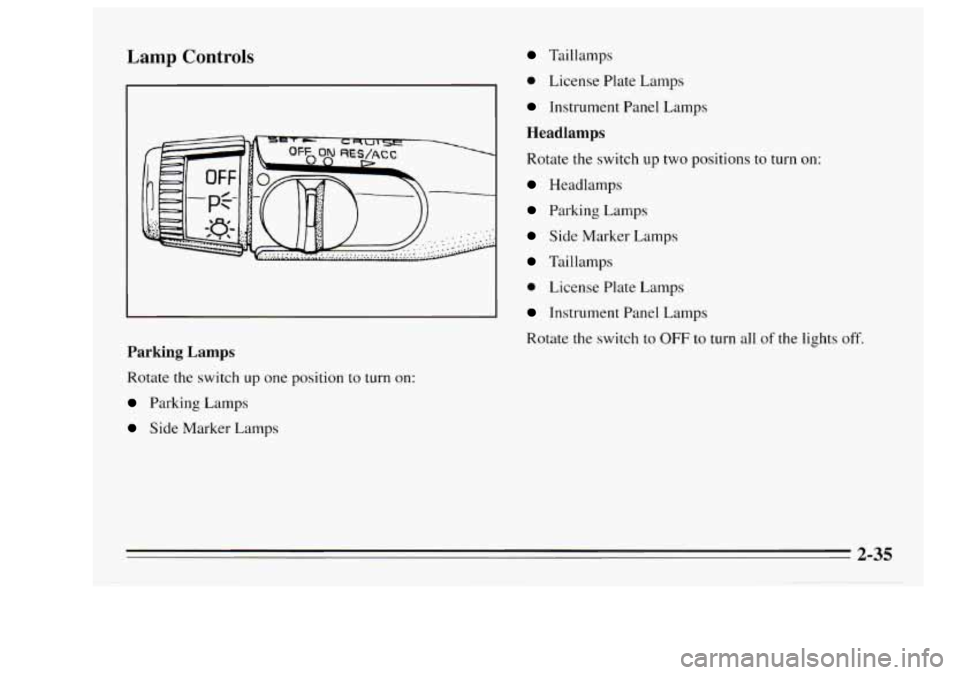
Lamp Controls
Parking Lamps
Rotate the switch up one position to turn on:
Parking Lamps
Side Marker Lamps
Tai 1 I amps
0 License Plate Lamps
Instrument Panel Lamps
Headlamps
Rotate the switch up two positions to turn on:
Headlamps
Parking Lamps
Side Marker Lamps
Taillamps
0 License Plate Lamps
Instrument Panel Lamps
Rotate the switch to
OFF to turn all of the lights off.
2-35
Page 92 of 340
Lamps On Reminder
If you open the driver’s door and turn off the ignition
while leaving the lamps on,
you will hear a warning
chime.
Flash-to-Pass (Except Canada)
Flash-to-pass lets you use your high beam headlamps to
signal a driver
in front of you that you want to pass.
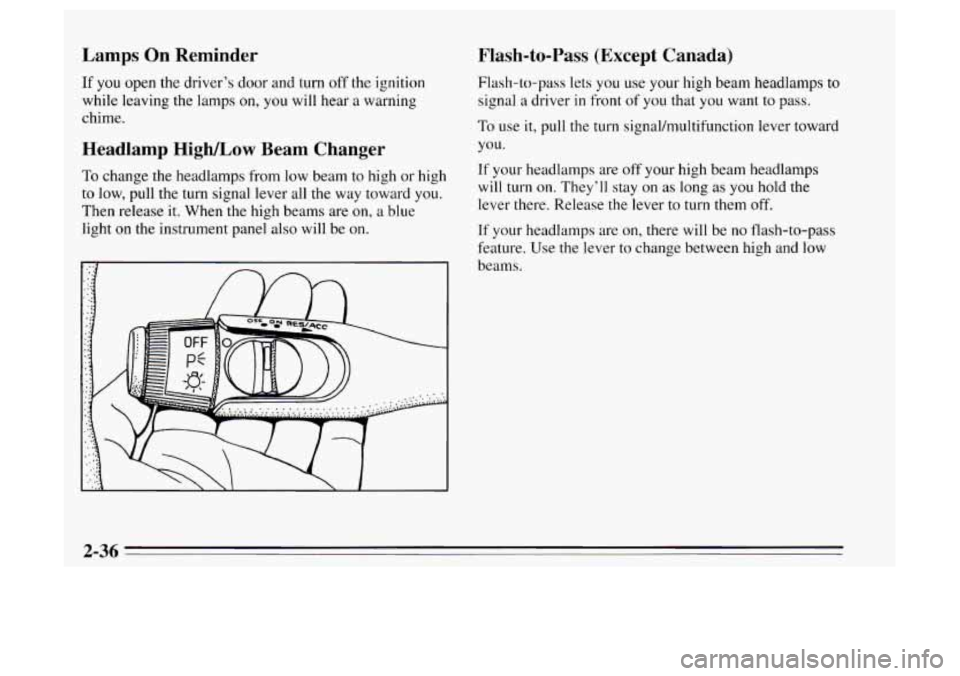
To use it, pull the turn signal/multifunction lever toward
Headlamp High/Low Beam Changer you.
To change the headlamps from low beam to high or high If your headlamps are off your high beam headlamps
will turn
on. They’ll stay on as long as you hold the to low, pull the turn signal lever all the way toward you.
Then release it. When the high beams are on, a blue
light
on the instrument panel also will be on. lever there. Release
thelever to turn them
off.
If your headlamps are on, there will be no flash-to-pass
feature. Use the lever
to change between high and low
beams.
2-36
Page 99 of 340
To Get Out of Cruise Control
There are two ways to turn off the cruise control:
Step lightly on the brake pedal or push the clutch
pedal, if you have
a manual transaxle; OR
Move the cruise switch to OFF.
To Erase Cruise Speed Memory
When you turn off the cruise control or the ignition,
your cruise control set speed memory is erased.
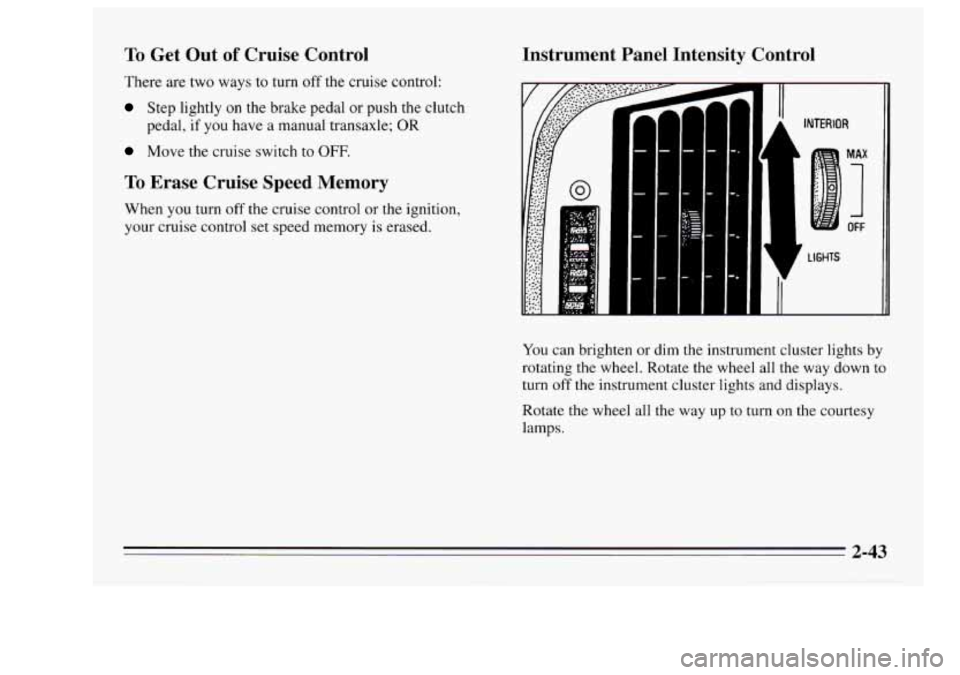
Instrument Panel Intensity Control
I A lNTER’OR 7
A LIGHTS
You can brighten or dim the instrument cluster lights by
rotating the wheel. Rotate the wheel all the way down to
turn
off the instrument cluster lights and displays.
Rotate
the wheel all the way up to turn on the courtesy
lamps.
2-43
Page 100 of 340
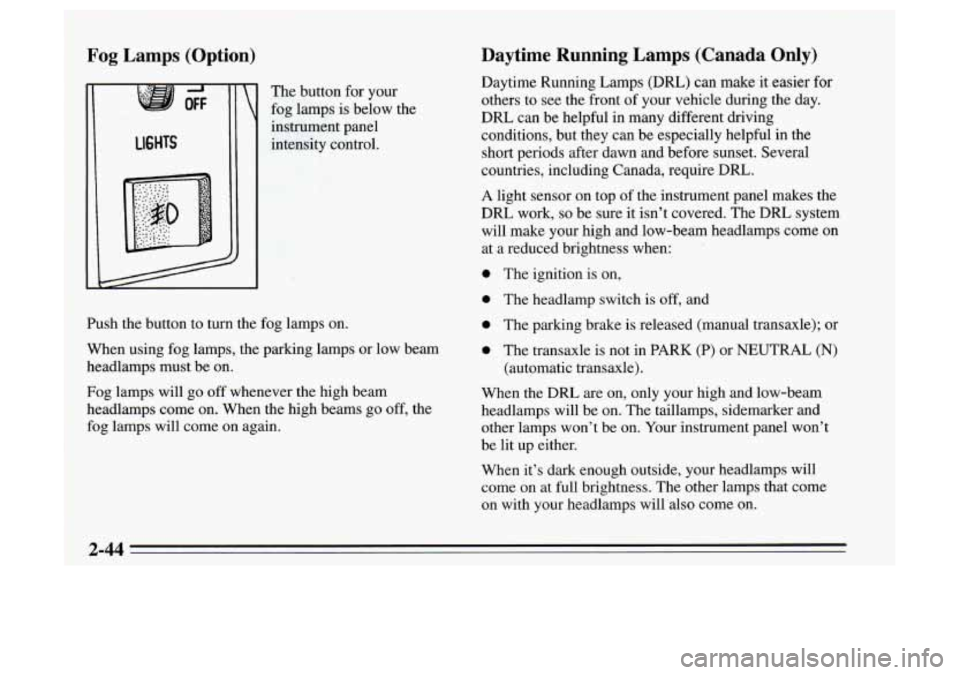
Fog Lamps (Option) Daytime Running Lamps (Canada Only)
7 %.
OFF
LIGHTS
The
button for your
fog lamps is below the
instrument panel
intensity control. Daytime Running
Lamps (DRL) can make it easier for
others to see the front of your vehicle during the day.
DRL can be helpful in many different driving
conditions, but they can
be especially helpful in the
short periods after dawn and before sunset. Several
countries, including Canada, require DRL.
A light sensor on top of the instrument panel makes the
DRL work,
so be sure it isn’t covered. The DRL system
will make your high and low-beam headlamps come on
at a reduced brightness when:
0 The ignition is on,
Push the button to turn the fog lamps on.
When using fog lamps, the parking lamps or low beam
headlamps must be on.
Fog lamps will go off whenever the high beam
headlamps come on. When the high beams go
off, the
fog lamps will come on again.
0 The headlamp switch is off, and
0 The parking brake is released (manual transaxle); or
0 The transaxle is not in PARK (P) or NEUTRAL (N)
(automatic transaxle).
When the DRL are on, only your high and low-beam
headlamps will be on. The taillamps, sidemarker and
other lamps won’t be on. Your instrument panel won’t
be lit up either.
When it’s dark enough outside, your headlamps will
come on at
full brightness. The other lamps that come
on with your headlamps will also come on.