stop start Oldsmobile Achieva 1995 Owner's Manuals
[x] Cancel search | Manufacturer: OLDSMOBILE, Model Year: 1995, Model line: Achieva, Model: Oldsmobile Achieva 1995Pages: 340, PDF Size: 16.99 MB
Page 66 of 340
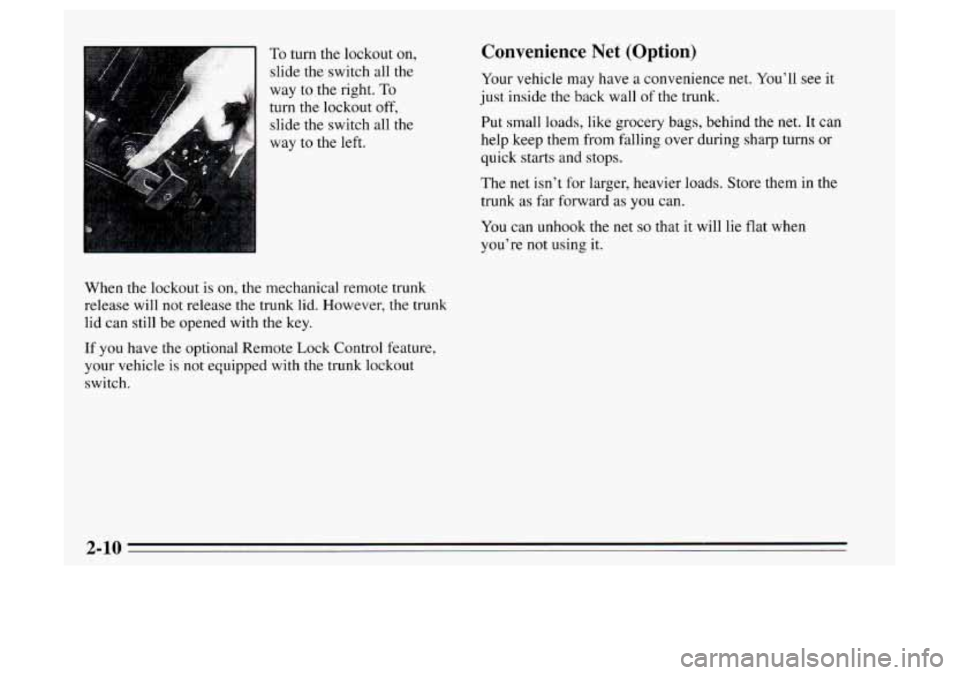
To turn the lockout on,
slide the switch all the
way
to the right. To
turn the lockout off,
slide the switch all the
way to the left.
When the lockout is
on, the mechanical remote trunk
release will not release
the trunk lid. However, the trunk
lid can still be opened with the key.
If
you have the optional Remote Lock Control feature,
your vehicle is not equipped with the trunk lockout
switch.
Convenience Net (Option)
Your vehicle may have a convenience net. You’ll see it
just inside the back wall of the trunk.
Put small loads, like grocery bags, behind the net. It can
help keep them from falling over during sharp turns
or
quick starts and stops.
The net isn’t for larger, heavier loads. Store them in the
trunk as far forward as you can.
You can unhook the net so that it will lie flat when
you’re
not using it.
2-10
Page 68 of 340
New Vehicle 4LBreak-In” Parking at Night
Park in a lighted spot, close all windows and lock your
vehicle. Remember to keep your valuables out
of sight.
Put them
in a storage area, or take them with you.
, Parking Lots
If you park in a lot where someone will be watching
your vehicle, it’s best to lock it up and take your keys.
But what
if you have to leave your ignition key? What if
you have to leave something valuable in your vehicle?
0 Put your valuables in a storage area, like your trunk
or glove box.
0 Lock the glove box.
0 Lock all the doors except the driver’s.
0 Then take the door key with you.
NOTICE:
Your modern Oldsmobile doesn’t need an
elaborate “break-in.” But
it will perform better
in the long run
if you follow these guidelines:
0 Don’t drive at any one speed -- fast or
slow
-- for the first 500 miles (804 km).
Don’t make full-throttle starts.
200 miles (322 km) or so. During this time
your new brake linings aren’t yet broken
in. Hard stops with new linings
can mean
premature wear and earlier replacement.
Follow this “breaking-in” guideline every
time you get new brake linings.
0 Don’t tow a trailer during “break-in.” See
(‘Towing
a Trailer’’ in the Index for more
information.
0 Avoid making hard stops for the first
2-12
-5 T
Page 71 of 340
Starting Your Engine
Engines start differently. The 8th digit of your Vehicle
Identification Number (VIN) shows the code letter or
number for your engine. You will find the
VIN at the top
left of your instrument panel. (See “Vehicle
Identification Number” in the Index.) Follow the proper
steps
to start the engine.
Automatic transaxle:
Move your shift lever to PARK (P) or NEUTRAL (N).
Your engine won’t start in any other position -- that’s a
safety feature. To restart when you’re already moving,
use NEUTRAL
(N) only. .... - ,
I i
NOTICE:
Don’t try to shift to PARK (P) if your Oldsmobile
is moving. If you do, you could damage the
transaxle. Shift to PARK (P) only when your
vehicle is stopped. Manual.
transaxle:
The gear selector should be in neutral. Hold the clutch
pedal to the floor
and start the engine. Your vehicle
won’t start if the clutch pedal is not all the way down
--
that’s a safety feature.
To start your 2.3 Liter engine:
1. Without pushing the accelerator pedal, turn your
ignition key to START. When the engine starts, let
go of the key. The idle speed will go down as your
engine gets warm.
I NOTICE:
Holding your key in START for longer than
15 seconds at a time will cause your battery to be
drained much sooner. And the excessive heat can
damage your starter motor.
2. If it doesn’t start right away, and if the weather is
very cold (below
-20” F, or -29” C), push the
accelerator pedal about one-quarter of the way down
while you turn the key to START.
Do this until the
engine starts. As soon as it does,
let go of the key.
2-15
Page 72 of 340
3. If your engine still won’t start (or starts but then
stops), it could be flooded with too much gasoline.
Try pushing your accelerator pedal all the way
to the
floor and holding it there as you hold the key
in
START for about three seconds. This clears the extra
gasoline from the engine. If the vehicle starts briefly
but then stops again, do the same thing, but this time
keep the pedal about one-quarter
of the way down
for five
or six seconds.
NOTICE:
Your engine is designed to work with the
electronics in your vehicle.
If you add electrical
parts or accessories, you could change the way
the fuel injection system operates. Before adding
electrical equipment, check with your retailer.
If
you don’t, your engine might not perform
properly.
If you ever have to have your vehicle towed, see
the part
of this manual that tells how to do it
without damaging your vehicle. See “Towing
Your Vehicle’’ in the Index. To
start your
3.1 Liter engine:
I. Without pushing t.he accelerator pedal, turn your
ignition key to
START. When the engine starts, let
go of the key. The idle speed will go down as your
engine gets warm.
NOTICE:
Holding your key in START for longer than
15 seconds at a time will cause your battery to be
drained much sooner. And the excessive heat can
damage your starter motor.
2. If your engine won’t start (or starts but then stops), it
could be flooded with too much gasoline. Try
pushing your accelerator pedal all the way to the
floor and holding
it there as you hold the key in
START for about three seconds. If the vehicle starts
briefly but then stops again, do
the same thing, but
this time keep the pedal down for five or six seconds.
This clears the extra gasoline from the engine.
2-16
-
Page 76 of 340
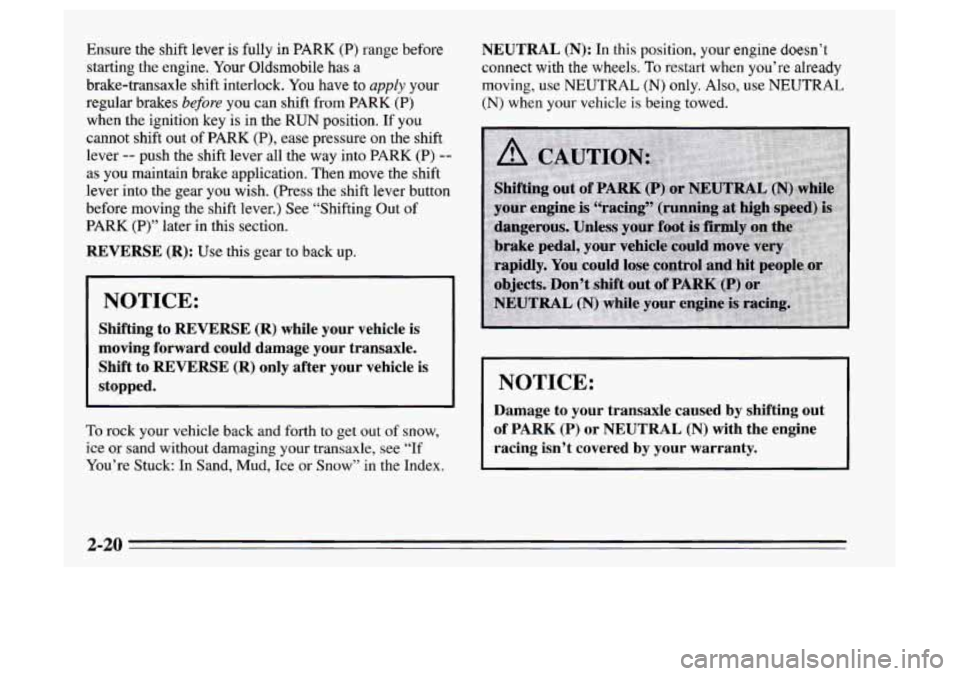
Ensure the shift lever is fully in PARK (P) range before
starting the engine. Your Oldsmobile has a
brake-transaxle shift interlock. You have to
apply your
regular brakes
before you can shift from PARK (P)
when the ignition key is in the RUN position. If you
cannot shift out of
PARK (P), ease pressure on the shift
lever
-- push the shift lever all the way into PARK (P) --
as you maintain brake application. Then move the shift
lever into the gear you wish. (Press the shift lever button
before moving the shift lever.) See “Shifting Out of
PARK (P)” later in this section.
REVERSE (R): Use this gear to back up.
NOTICE:
Shifting to REVERSE (R) while your vehicle is
moving forward could damage your transaxle.
Shift to REVERSE
(R) only after your vehicle is
stopped.
To rock your vehicle back and forth to get out of snow,
ice or sand without damaging your transaxle, see
“If
You’re Stuck: In Sand, Mud, Ice or Snow” in the Index.
NEUTRAL (N): In this position, your engine doesn’t
connect with the wheels.
To restart when you’re already
moving, use
NEUTRAL (N) only. Also, use NEUTRAL
(N) when your vehicle is being towed.
I NOTICE: I
Damage to your transaxle caused by shifting out
of
PARK (P) or NEUTRAL (N) with the engine
racing isn’t covered by your warranty.
2-20
Page 80 of 340
SECOND (2): Press the clutch pedal as you let up 011
the accelerator pedal and shift into SECOND (2). Then
slowly let
up on the clutch pedal as you press the
accelerator pedal.
THIRD (3), FOURTH (4) and FIFTH (5): Shift into
THIRD (3), FOURTH (4) and FIFTH (5) the same way
you do for SECOND (2). Slowly let up on the clutch
pedal as you press the accelerator pedal.
To stop, let up on the accelerator pedal and press the brake
pedal. Just before the vehicle stops, press the clutch pedal
and the brake pedal, and shift into NEUTRAL (N).
NEUTRAL (N): Use this position when you start or
idle your engine.
REVERSE (R): To back up, press down the clutch
pedal and shift into REVERSE
(R). Let up on the clutch
pedal slowly while pressing the accelerator pedal.
NOTICE:
Shift to REVERSE (R) only after your vehicle is
stopped. Shifting to REVERSE (R) while your
vehicle
is moving could damage your transaxle.
Also, use REVERSE (Rj, along with the parking brake,
for parking your vehicle.
Up Shift Light (Manual Transaxle)
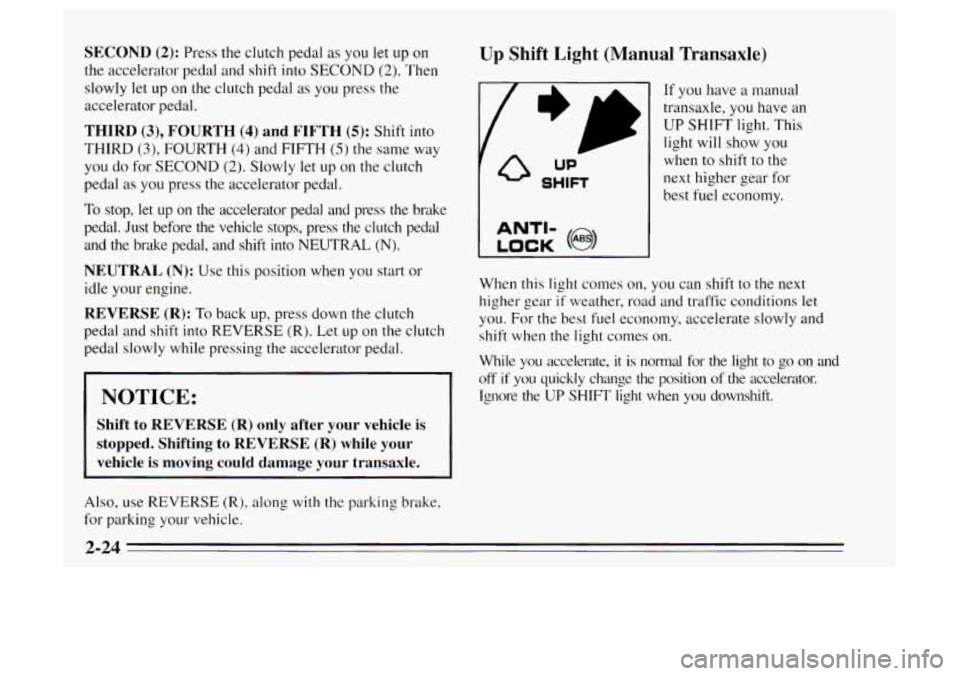
If you have a manual
transaxle, you have an
UP
SHIFT light. This
light
will show you
when
to shift to the
next higher gear for
best fuel economy.
When this light comes on, you can shift to the next
higher gear
if weather, road and traffic conditions let
you. For the best fuel economy, accelerate slowly and
shift when the light comes on.
While you accelerate,
it is normal for the light to go on and
off if you quickly change the position of the accelerator.
Ignore the UP SHIFT light when
you downshift.
2-24
Page 118 of 340
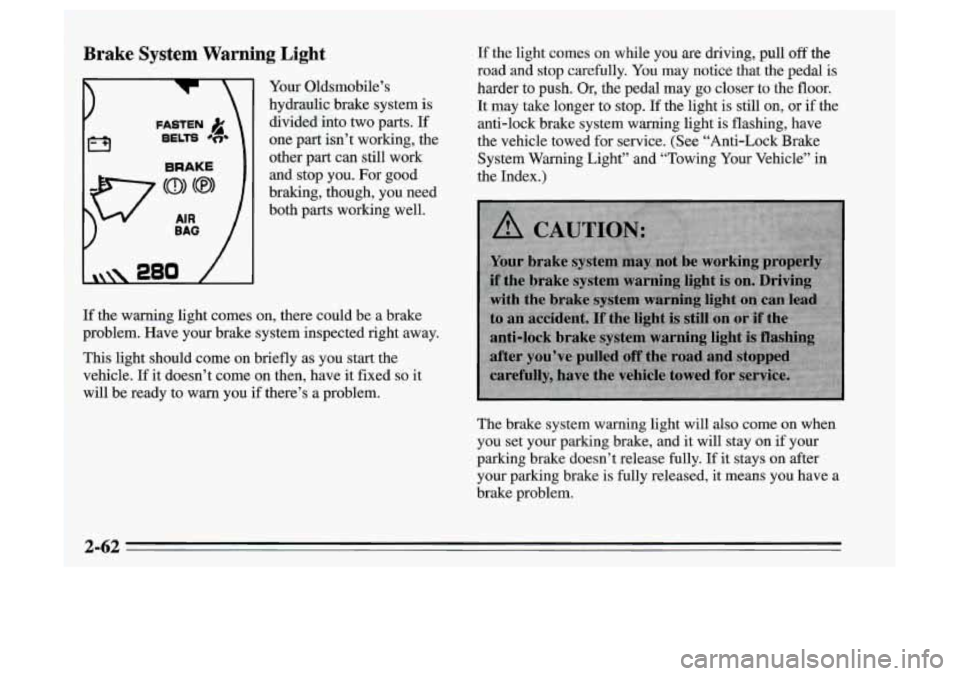
Brake System Warning Light
FASTEN )i
BELTS #e*
BRAKE
Your Oldsmobile’s
hydraulic brake system is
divided into two parts. If
one part isn’t working, the
other part can still work and stop you. For good
braking, though, you need
both parts working well. If the light comes
on while you are driving, pull off the
road
and stop carefully. You may notice that the pedal is
harder to push. Or, the pedal may go closer to the floor.
It may take longer to stop. If the light is still on, or if the
anti-lock brake system warning light is flashing, have
the vehicle towed for service. (See “Anti-Lock Brake
System Warning Light” and “Towing Your Vehicle” in
the Index.)
If the warning light comes on, there could be a brake
problem. Have your brake system inspected right away.
This light should come on briefly as you start the
vehicle. If
it doesn’t come on then, have it fixed so it
will be ready to warn you if there’s a problem.
The brake system warning light will also come
on when
you set your parking brake, and it will stay on
if your
parking brake doesn’t release fully.
If it stays on after
your parking brake is fully released, it means you have a
brake problem.
2-62
Page 119 of 340
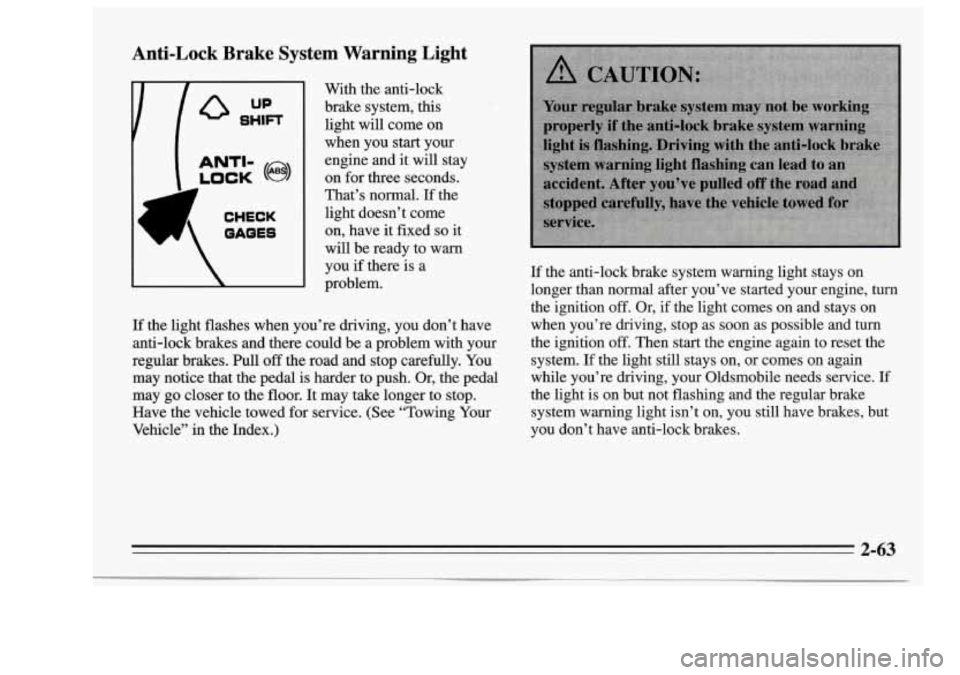
Anti-Lock Brake System Warning Light
‘A CHECK
OAQES
With the anti-lock
brake system,
this
light will come on
when you start your
engine and it will stay
on for
three seconds.
That’s normal.
If the
light doesn’t come
on, have it fiied
so it
will be ready to warn
you
if there is a
problem.
If the light flashes when you’re driving, you don’t have
anti-lock brakes and there could be a problem with your
regular brakes. Pull
off the road and stop carefully. You
may notice that the pedal is harder to push. Or, the pedal
may go closer to the floor. It may take longer to stop.
Have the vehicle towed for service. (See “Towing Your
Vehicle” in the Index.)
If the anti-lock brake system warning light stays on
longer than normal after you’ve started your engine,
turn
the ignition off. Or, if the light comes on and stays on
when you’re driving, stop as soon as possible and turn
the ignition
off. Then start the engine again to reset the
system.
If the light still stays on, or comes on again
while you’re driving, your Oldsmobile needs service.
If
the light is on but not flashing and the regular brake
system warning light isn’t on, you still have brakes, but
you don’t have anti-lock brakes.
2-63
Page 123 of 340
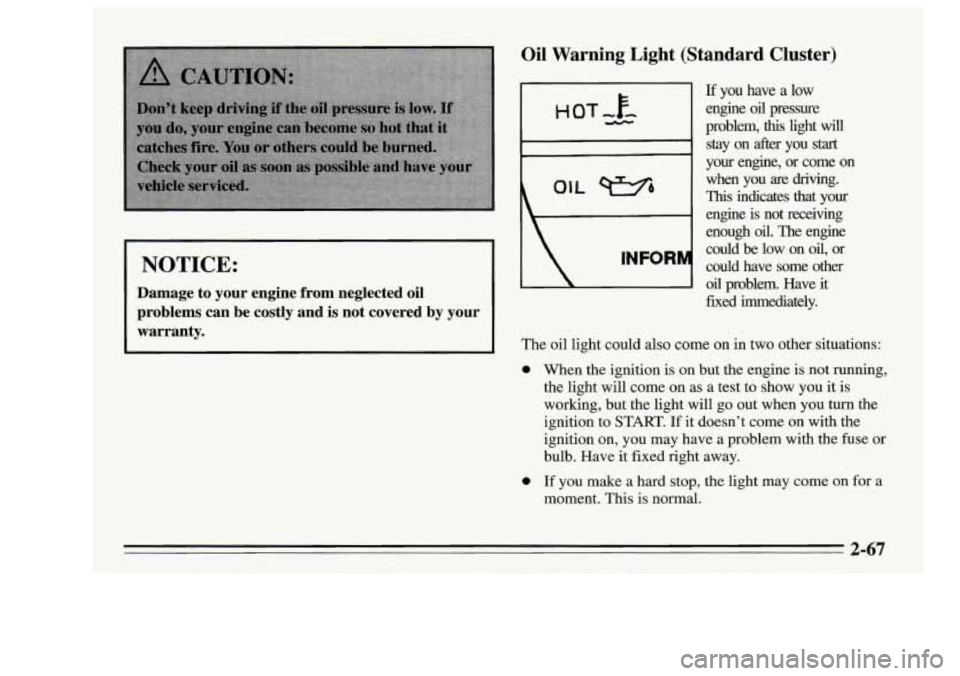
I NOTICE:
Damage to your engine from neglected oil
problems can be costly and is not covered by your
warranty.
Oil Warning Light (Standard Cluster)
If you have a low
engine
oil pressure
problem,
this light will
stay on after you start
your engine, or come on when you are driving.
This indicates that your
engine is not receiving
enough
oil. The engine
could be low on oil, or
could have some other
oil problem. Have it
fixed immediately.
The oil light could also come on in two other situations:
0
0 When the ignition is on but the engine is not running,
the light will come on as a test to show you it is
working, but the light will go out when you
turn the
ignition to START.
If it doesn’t come on with the
ignition on, you may have a problem with the fuse or
bulb. Have it fixed right away.
If you make a hard stop, the light may come on for a
moment. This is normal.
2-67
Page 138 of 340
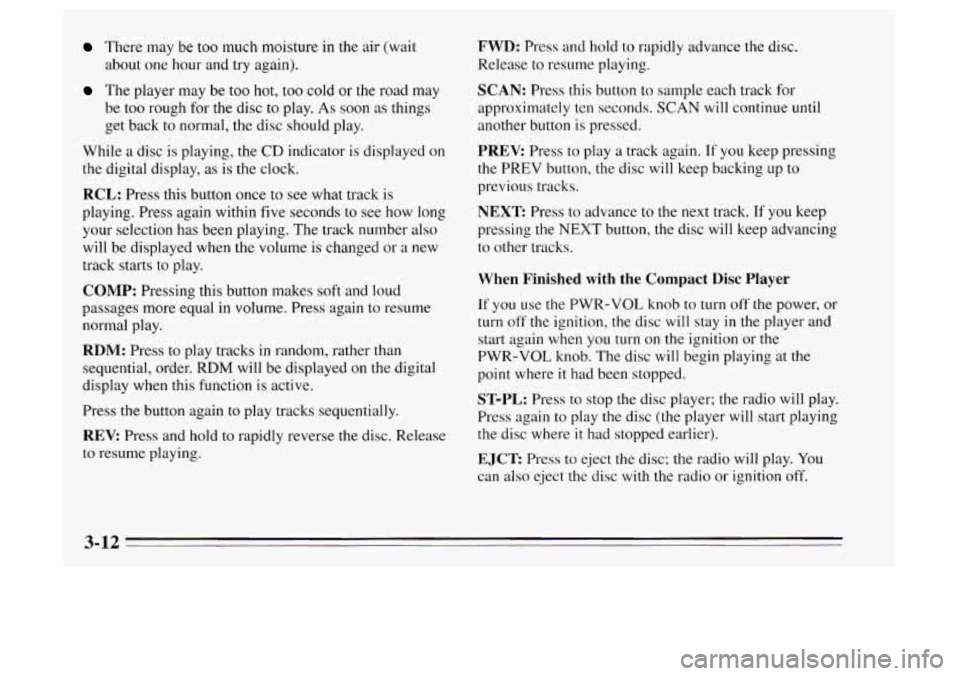
There may be too much moisture in the air (wait
The player may be too hot, too cold or the road may
about
one hour
and try again).
be too rough for
the disc to play. As soon as things
get back to normal, the disc should play.
While a disc is playing, the
CD indicator is displayed on
the digital display, as is the clock.
RCL: Press this button once to see what track is
playing. Press again within five seconds to see how long
your selection has been playing. The track number also
will be displayed when the volume is changed
or a new
track starts to play.
COMP: Pressing this button makes soft and loud
passages more equal in volume. Press again to resume
normal play.
RDM: Press to play tracks in random, rather than
sequential, order.
RDM will be displayed on the digital
display when this function is active.
Press the button again
to play tracks sequentially.
REV: Press and hold to rapidly reverse the disc. Release
to resume playing.
FWD: Press and hold to rapidly advance the disc.
Release to resume playing.
SCAN: Press this button to sample each track for
approximately ten seconds.
SCAN will continue until
another button is pressed.
PREV. Press to play a track again. If you keep pressing
the PREV button, the disc will keep backing up to
previous tracks.
NEXT Press to advance to the next track. If you keep
pressing the NEXT button, the disc will keep advancing
to other tracks.
When Finished with the Compact Disc Player
If you use the PWR-VOL knob to turn off the power, or
turn off the ignition, the disc will stay in the player and
start again when you turn
on the ignition or the
PWR-VOL knob. The disc will begin playing at the
point where
it had been stopped.
ST-PL: Press to stop the disc player; the radio will play.
Press again to play the disc (the player
will start playing
the disc where
it had stopped earlier).
EJCT Press to eject the disc; the radio will play. You
can
also eject the disc with the radio or ignition off.
3-12