ignition Oldsmobile Alero 2003 s Owner's Guide
[x] Cancel search | Manufacturer: OLDSMOBILE, Model Year: 2003, Model line: Alero, Model: Oldsmobile Alero 2003Pages: 354, PDF Size: 16.74 MB
Page 136 of 354
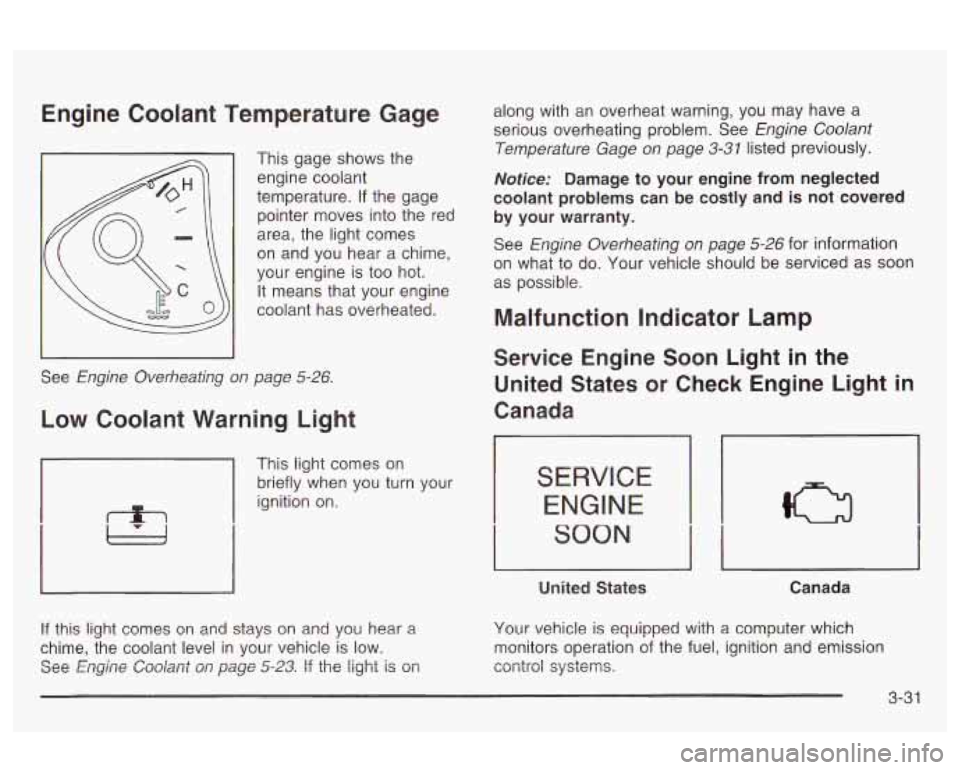
Engine Coolant Temperature Gage
This gage shows the engine coolant
temperature.
if the gage
pointer moves into the red
area, the light comes
on and you hear a chime,
your engine
is too hot.
It means that your engine
coolant has overheated.
See
Engine Overheating on page 5-26.
Low Coolant Warning Light
1
This light comes on
briefly when you turn your
ignition on.
!f this !ight comes on and stays on and you hear a
chime, the coolant level in your vehicle is low.
See
Engine Coolant on page 5-23. If the light is on along
with an overheat warning, you may have a
serious overheating problem. See
Engine Coolant
Temperature Gage on page 3-31
listed previously.
Notice: Damage to your engine from neglected
coolant problems can be costly and is not covered
by your warranty.
See
Engine Overheating on page 5-26 for information
on what
to do. Your vehicle should be serviced as soon
as possible.
Malfunction Indicator Lamp
Service Engine Soon Light in the
United States
or Check Engine Light in
Canada
17
SERVICE
ENGINE
SOON
II I I I
United States Canada
Your vehicle is equipped with a computer which
monitors operation of the fuel, ignition and emission
control systems.
3-3 1
Page 137 of 354
This system is called OBD I1 (On-Board
Diagnostics-Second Generation) and is intended to
assure that emissions are at acceptable levels for the
life of the vehicle, helping to produce a cleaner
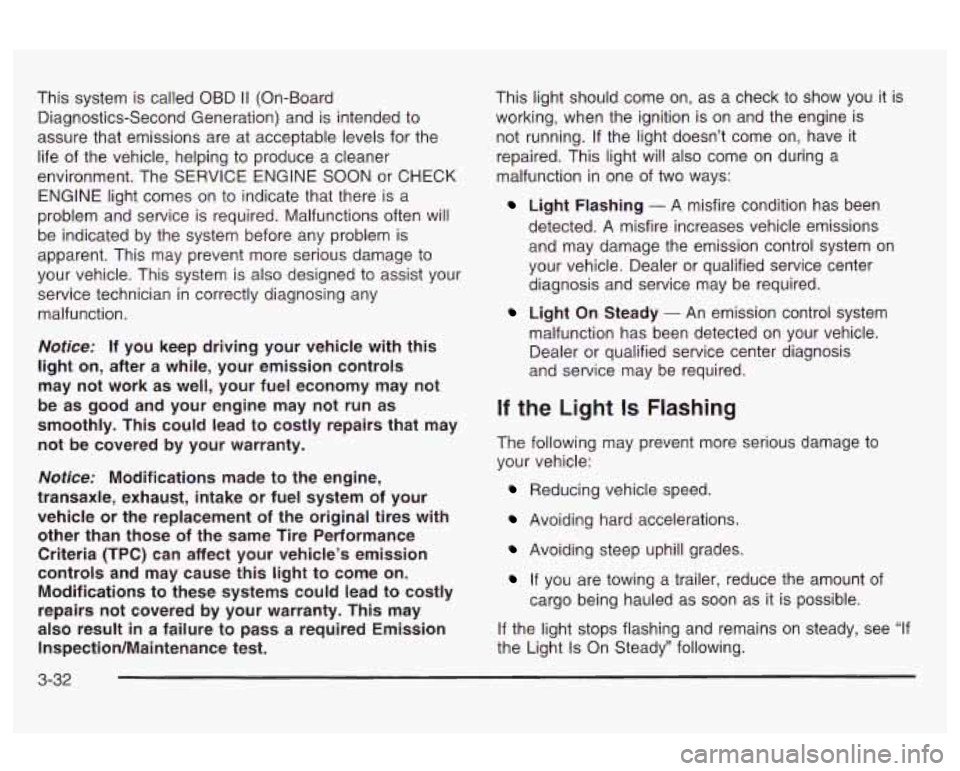
environment. The SERVICE ENGINE SOON or
CHECK
ENGINE light comes on to indicate that there is a
problem and service is required. Malfunctions often will
be indicated by the system before any problem is
apparent. This may prevent more serious damage to
your vehicle. This system is also designed to assist your
service technician in correctly diagnosing any
malfunction.
Notices If you keep driving your vehicle with this
light on, after a while, your emission controls
may not work as well, your fuel economy may not
be as good and your engine may not run as
smoothly. This could lead to costly repairs that may
not be covered by your warranty.
Notices Modifications made to the engine,
transaxle, exhaust, intake or fuel system of your
vehicle or the replacement of the original tires with other than those of the same Tire Performance
Criteria (TPC) can affect your vehicle’s emission
controls and may cause this light to come
on.
Modifications to these systems could lead to costly
repairs not covered by your warranty. This may
also result
in a failure to pass a required Emission
Inspection/Maintenance test. This light should
come on, as a check to show you it is
working, when the ignition is on and the engine is
not running.
If the light doesn’t come on, have it
repaired. This light will also come on during a
malfunction
in one of two ways:
Light Flashing - A misfire condition has been
detected. A misfire increases vehicle emissions
and may damage the emission control system on
your vehicle. Dealer or qualified service center
diagnosis and service may be required.
Light On Steady - An emission control system
malfunction has been detected on your vehicle.
Dealer or qualified service center diagnosis
and service may be required.
If the Light Is Flashing
The following may prevent more serious damage to
your vehicle:
Reducing vehicle speed.
Avoiding hard accelerations.
Avoiding steep uphill grades.
If you are towing a trailer, reduce the amount of
cargo being hauled as soon as it is possible.
If the light stops flashing and remains on steady, see “If
the Light Is On Steady’’ following.
3-32
Page 139 of 354
Your vehicle will not pass this inspection if the OBD
(on-board diagnostic) system determines that critical
emission control systems have not been completely
diagnosed by the system. The vehicle would be
considered not ready for inspection. This can happen it
you have recently replaced your battery or
if your
battery has run down. The diagnostic system is
designed to evaluate critical emission control systems
during normal driving. This may take several days
of routine driving.
If you have done this and your vehicle
still does not pass the inspection for lack
of OBD
system readiness, see your dealer or qualified service
center to prepare the vehicle for inspection.
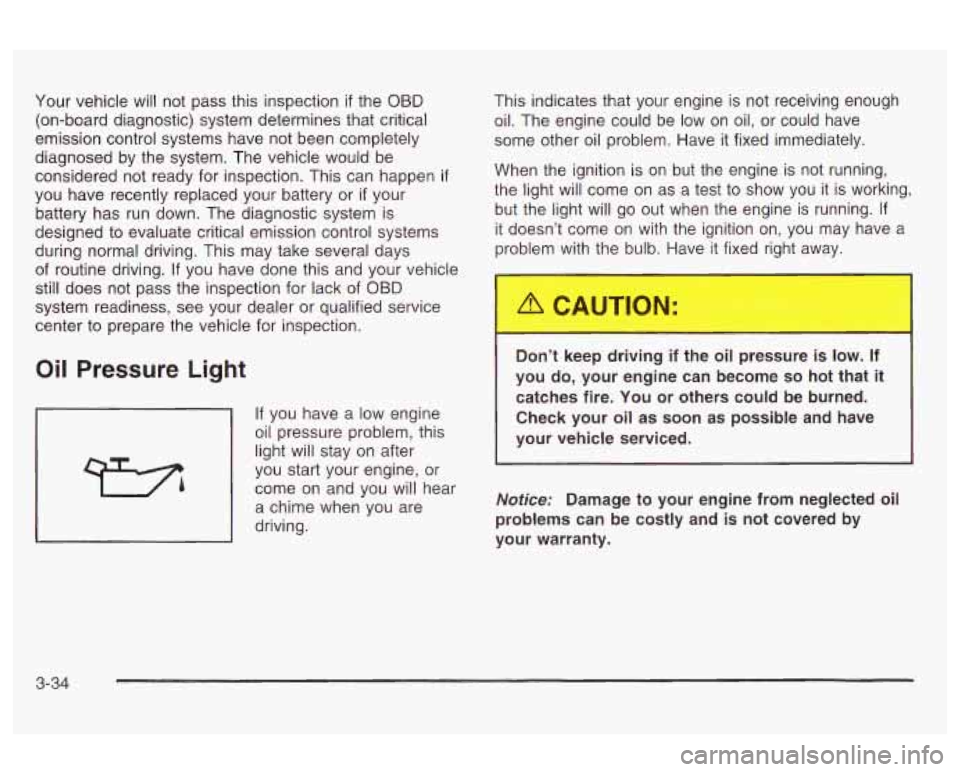
Oil Pressure Light
If you have a low engine
oil pressure problem, this
light will stay on after
you start your engine, or
come on and you will hear
a chime when you are
driving. This indicates that
your engine is not receiving enough
oil. The engine could be low on oil, or could have
some other oil problem. Have it fixed immediately.
When the ignition is on but the engine is not running,
the light will come on as a test to show you it is working,
but the light will go out when the engine is running. If
it doesn’t come on with the ignition
on, you may have a
problem with the bulb. Have it fixed right away.
Don’t keer ing
if the oil pressi.. - is low. If
you do, your engine can become so hot that it
catches fire. You or others could be burned.
Check your oil as soon as possible and have
your vehicle serviced.
Notice: Damage to your engine from neglected oil
problems can be costly and
is not covered by
your warranty.
3-34
Page 141 of 354
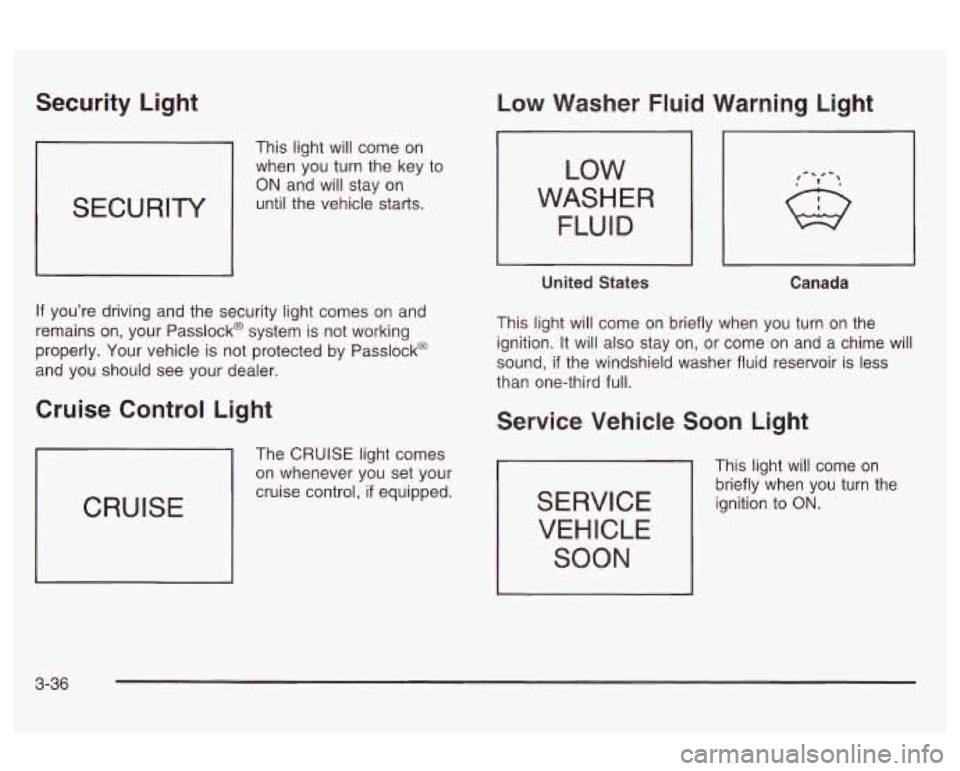
Security Light
SECURITY
This light will come on
when you turn the key to
ON and will stay on
until the vehicle starts.
If you’re driving and the security light comes on and
remains on, your Passlock@ system is not working
properly. Your vehicle is not protected by Passlock@
and you should see your dealer.
Cruise Control Light
CRUISE
The CRUISE light comes
on whenever you set your
cruise control,
if equipped.
Low Washer Fluid Warning Light
LOW
WASHER
FLUID
United States Canada
This light will come on briefly when you turn on the
ignition. It will also stay on, or come on and a chime will
sound,
if the windshield washer fluid reservoir is less
than one-third full.
Service Vehicle Soon Light
SERVICE VEHICLE
SOON
This light will come on
briefly when you turn the
ignition
to ON.
3-36
Page 142 of 354
It will stay on, or come on and a chime will sound if it
detects a problem on the vehicle, such as a Daytime
Running Lamps (DRL) or an automatic headlamp
system malfunction. If this happens, see your dealer as
soon as possible.
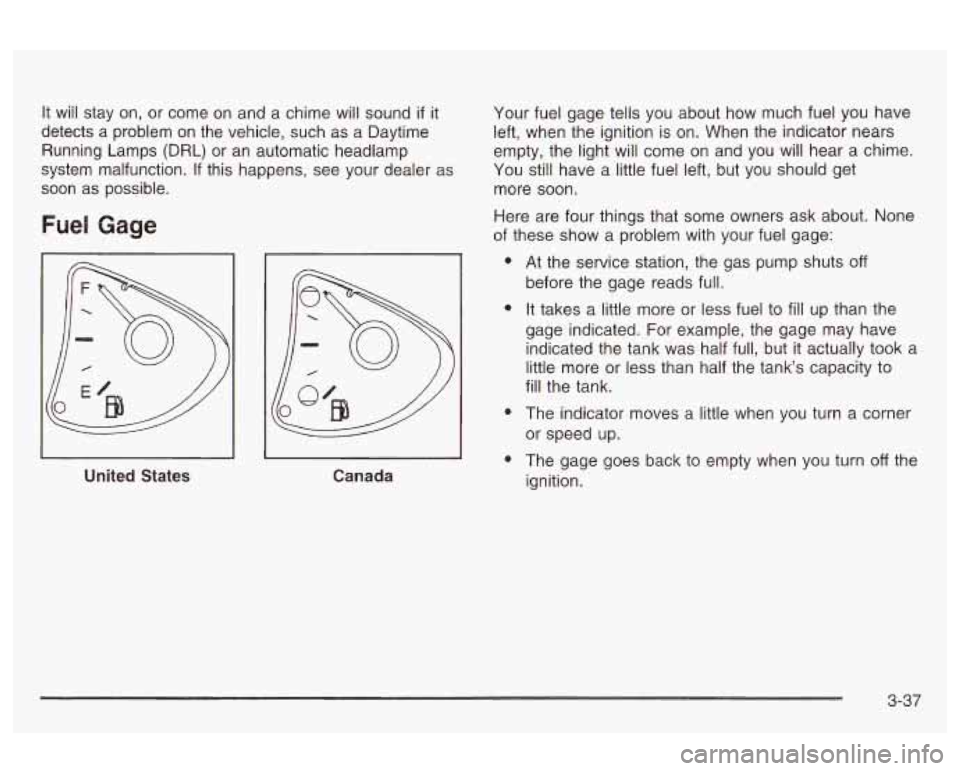
Fuel Gage
United States Canada Your
fuel gage tells you about how much fuel you have
left, when the ignition is on. When the indicator nears
empty, the light will come on and you will hear a chime.
You still have a little fuel left, but you should get
more soon.
Here are four things that some owners ask about. None
of these show a problem with your fuel gage:
e
e
e
e
At the service station, the gas pump shuts off
before the gage reads full.
It takes a little more or less fuel to
fill up than the
gage indicated. For example, the gage may have
indicated the tank was half full, but it actually took a
little more or less than half the tank’s capacity to
fill the tank.
The indicator moves a little when you turn a corner
or speed up.
The gage goes back to empty when you turn
off the
ignition.
3-37
Page 143 of 354
Audio System(s)
Nofice: Before you add any sound equipment to
your vehicle
- like a tape player, CB radio, mobile
telephone or two-way radio
- be sure you can
add what you want.
If you can, it’s very important to
do it properly. Added sound equipment may
interfere with the operation of your vehicle’s engine,
Delphi Electronics radio or other systems, and
even damage them. Your vehicle’s systems may
interfere with the operation
of sound equipment that
has been added improperly.
So, before adding sound equipment, check with
your dealer and be sure
to check federal rules
covering mobile radio and telephone units.
Your audio system has been designed to operate easily
and to give years of listening pleasure.
You will get
the most enjoyment out of it
if you acquaint yourself with
it first. Find out what your audio system can do and
how to operate all of its controls to be sure you’re getting
the most out of the advanced engineering that went
into
it.
Your vehicle has a feature called Retained Accessory
Power (RAP). With RAP, you can play your audio
system even after the ignition
is turned off. See Retained
Accessory Power under
Ignition Positions on page 2- 17.
Setting the Time for Radios without
Radio Data Systems (RDS)
Press and hold the HR or MIN arrow for two seconds.
Then press the HR arrow until the correct hour appears
on the display. Press and hold the MIN arrow until
the correct minute appears. The time may be set with
the ignition on or
off.
Setting the Time for Radios with
Radio Data Systems (RDS)
Press and hold HR or MIN for two seconds. Then press
and hold HR until the correct hour appears on the
display. AM or PM will also appear. Press and hold MIN
until the correct minute appears on the display. The
time may be set with the ignition on or
off.
To synchronize the time with an FM station broadcasting
Radio Data System (RDS) information, press and
hold HR and MIN at the same time for two seconds until
UPDATED appears on the display.
If the time is not
available from the station, NO UPDATE will appear on
the display instead.
RDS time is broadcast once a minute. Once you have
tuned to an RDS broadcast station, it may take a
few minutes before pressing and holding the
HR and
MIN buttons will result in an update to the time.
3-38
Page 144 of 354
Radio with CD (Base Level)
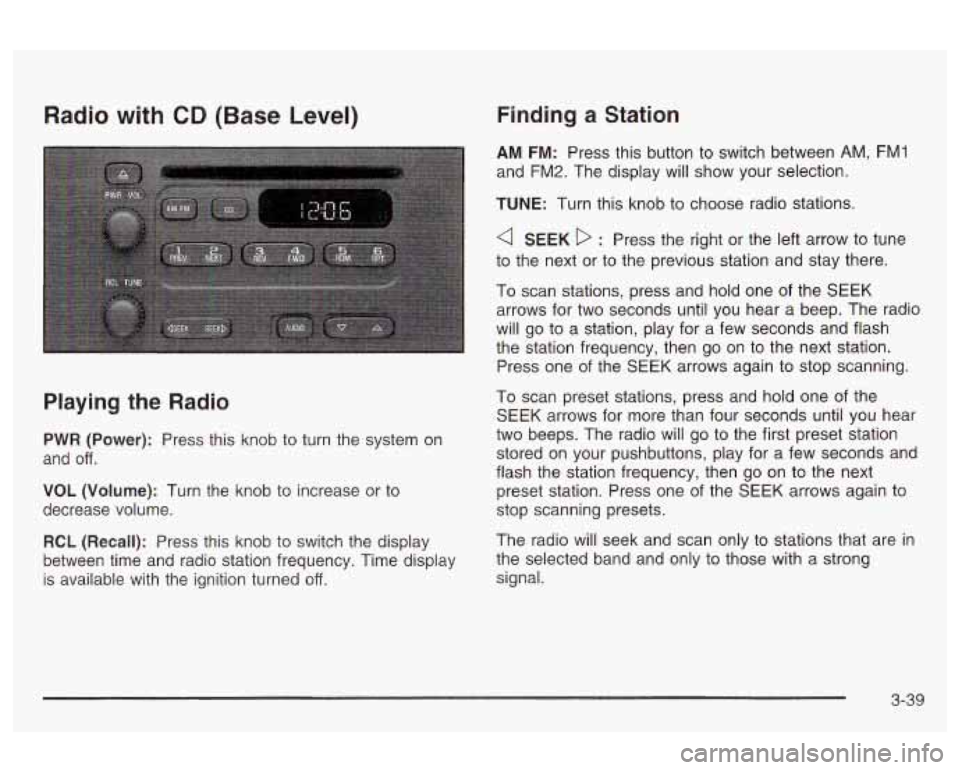
Playing the Radio
PWR (Power): Press this knob to turn the system on
and
off.
VOL (Volume): Turn the knob to increase or to
decrease volume.
RCL
(Recall): Press this knob to switch the display
between time and radio station frequency. Time display
is available with the ignition turned
off.
Finding a Station
AM FM: Press this button to switch between AM, FM1
and FM2. The display will show your selection.
TUNE: Turn this knob to choose radio stations.
a SEEK D : Press the right or the left arrow to tune
to the next or to the previous station and stay there.
To scan stations, press and hold one of the SEEK
arrows for two seconds until you hear a beep. The radio
will go to a station, play for a few seconds and flash
the station frequency, then go on to the next station.
Press one of the SEEK arrows again to stop scanning.
To scan preset stations, press and hold one of the
SEEK arrows for more than four seconds until you hear
two beeps. The radio will go to the first preset station
stored on your pushbuttons, play for a few seconds and
flash the station frequency, then go on to the next
preset station. Press one of the SEEK arrows again to
stop scanning presets.
The radio will seek and scan only to stations that are
in
the selected band and only to those with a strong
signal.
3-39
Page 146 of 354
Radio Messages
CAL (Calibration): Your audio system has been
calibrated for your vehicle from the factory.
If CAL
appears on the display it means that your radio has not
been configured properly for your vehicle and must
be returned to the dealership for service.
LOC (Locked): This message is displayed when the
THEFTLOCK@ system has locked up. You must
return to the dealership for service.
Playing a Compact Disc
Insert a disc partway into the slot, label side up. The
player will pull it in. The disc should begin playing. The
display will show CD. If you want to insert a compact
disc with the ignition
off, first press RCL or the eject
button.
If an error appears on the display, see “Compact Disc
Messages” later in this section.
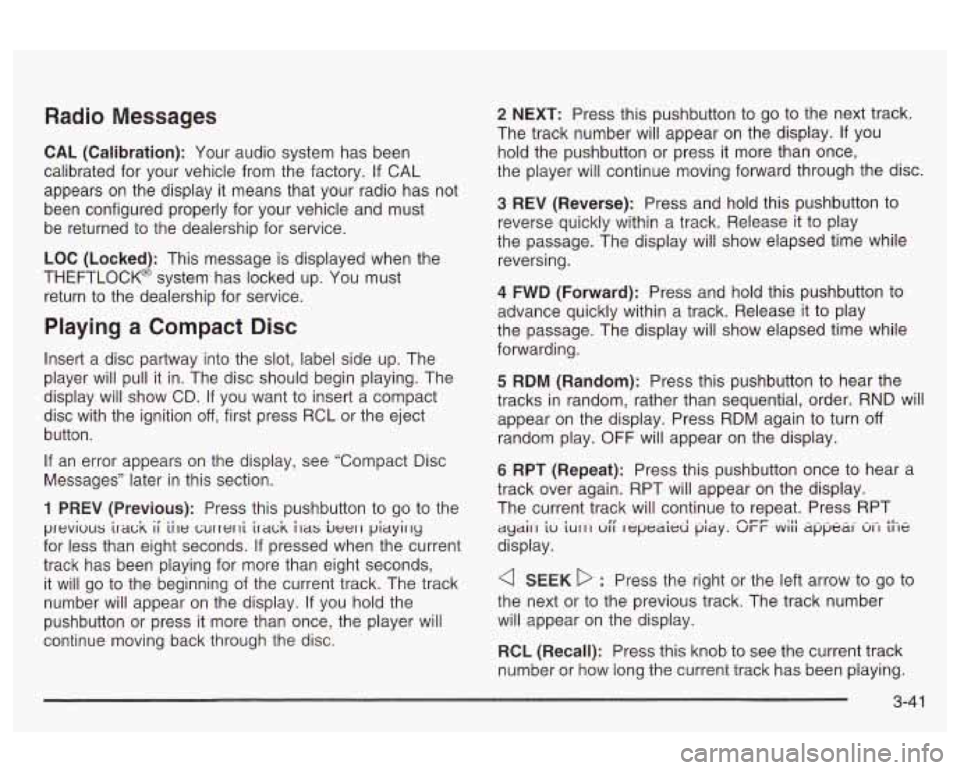
1 PREV (Previous): Press this pushbutton to go to the
previuus ira& ii iile currerli ira& ilas beer1 piayirly
for less than eight seconds. If pressed when the current
track has been playing for more than eight seconds,
it
will go to the beginning of the current track. The track
number will appear on the display.
If you hold the
pushbutton or press it more than once, the player will
continue moving back through the disc.
2 NEXT: Press this pushbutton to go to the next track.
The track number will appear on the display.
If you
hold the pushbutton or press it more than once,
the player will continue moving forward through the disc.
3 REV (Reverse): Press and hold this pushbutton to
reverse quickly within a track. Release it to play
the passage. The display will show elapsed time while
reversing.
4 FWD (Forward): Press and hold this pushbutton to
advance quickly within a track. Release it to play
the passage. The display will show elapsed time while
forwarding.
5 RDM (Random): Press this pushbutton to hear the
tracks in random, rather than sequential, order.
RND will
appear on the display. Press RDM again to turn
off
random play. OFF will appear on the display.
6 RPT (Repeat): Press this pushbutton once to hear a
track over again. RPT will appear on the display.
The current track will continue to repeat. Press RPT
display.
ayail.1 iu ~UIII uii repeated pky. ur-r WIII dppe&I 61-1 the nt-t- . . .:II - .- .-
a SEEK D : Press the right or the left arrow to go to
the next or to the previous track. The track number
will appear on the display.
RCL (Recall): Press this knob to see the current track
number
or how long the current track has been playing.
3-41
Page 147 of 354
AM FM: Press this button to play the radio when a disc
is in the player. The disc will stop but remain in the
player.
CD: With a compact disc in the player and the radio
playing, press this button to play the compact disc. CD
will appear on the display.
4 (Eject): Press this button to eject a CD. Eject may
be activated with either the ignition or radio
off. CDs
may be loaded with the radio and ignition
off if this
button is pressed first.
Compact Disc Messages
If the disc comes out, it could be for one of the following
reasons:
You’re driving on a very rough road. When the road
It’s very hot. When the temperature returns to
The disc is dirty, scratched, wet or upside down.
The air is very humid. If so, wait about an hour and
becomes
smoother, the disc should play.
normal, the disc should play.
try again.
If the CD is not playing correctly, for any other reason,
try a known good CD.
If any error occurs repeatedly or if an error can’t be
corrected, contact your dealer.
Radio with CD (Up Level)
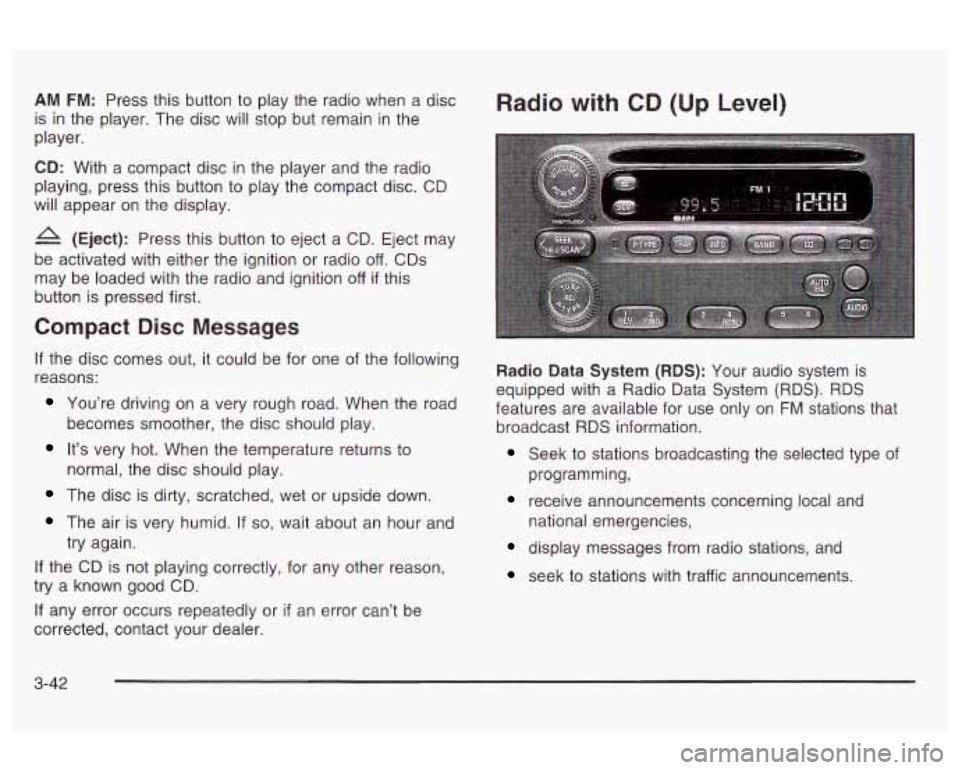
Radio Data System (RDS): Your audio system is
equipped with a Radio Data System (RDS). RDS
features are available for use only on
FM stations that
broadcast RDS information.
Seek to stations broadcasting the selected type of
receive announcements concerning local and
programming,
national
emergencies,
display messages from radio stations, and
seek to stations with traffic announcements.
3-42
Page 149 of 354
RCL (Recall): Push this knob to switch the display
between the radio station frequency and the time.
Pushing this knob with the ignition
off will display
the time.
For XMTM (USA only,
if your radio is equipped with
XMTM Satellite Radio Service), pressing this button while
in XMTM mode to retrieve various pieces of information
related to the current song or channel. By pressing
and releasing the RCL button, you may retrieve
four different categories of information: Artist,
Song Title, Category or PTY, Channel
NumberKhannel Name.
For DAB (Canada only,
if your radio is equipped with
DAB), pushing this knob switches the display between
channel name and PTY name.
To change the default on the display, push the knob
until you see the display you want, then hold the knob
until the display flashes. The selected display will
now be the default.
Finding a Station
BAND: Press this button to switch between AM, FMI,
FM2, or XMI, XM2 (USA only,
if your radio is
equipped with XMTM Satellite Radio Service) or DAB1 or
DAB2 (Canada only,
if your radio is equipped with
DAB). The display will show your selection.
TUNE: Turn this knob to choose radio stations.
For DAB (Canada only,
if your radio is equipped with
DAB), the TUNE knob allows you to navigate the
DAB frequency range. Turning this knob will tune up or
tune down the range. The radio will display the letter
L with a number next to it (1 through 23). Each L number
refers to a frequency and there can be multiple
stations contained in one frequency. It may also take a
few seconds, once you have tuned to a frequency,
for that frequency to gather all of the stations.
Depending on how many stations are within a frequency,
with every tune up or down, you may be tuning to
another station or to another frequency. The display
will
show your selections.
< SEEK > : Press the right or the left arrow to go to
the next or to the previous station and stay there.
The radio will seek only to stations that are in the
selected band and only to those with a strong signal.
3-44