ignition Oldsmobile Alero 2004 Owner's Manuals
[x] Cancel search | Manufacturer: OLDSMOBILE, Model Year: 2004, Model line: Alero, Model: Oldsmobile Alero 2004Pages: 360, PDF Size: 2.49 MB
Page 66 of 360
Servicing Your Air Bag-Equipped
Vehicle
Air bags affect how your vehicle should be serviced.
There are parts of the air bag system in several places
around your vehicle. You don’t want the system to
inflate while someone is working on your vehicle. Your
dealer and the service manual have information
about servicing your vehicle and the air bag system. To
purchase a service manual, seeService Publications
Ordering Information on page 7-12.
{CAUTION:
For up to 10 minutes after the ignition key is
turned off and the battery is disconnected, an
air bag can still in�ate during improper service.
You can be injured if you are close to an air bag
when it in�ates. Avoid wires wrapped with
yellow tape or yellow connectors. They are
probably part of the air bag system. Be sure to
follow proper service procedures, and make
sure the person performing work for you is
quali�ed to do so.
The air bag system does not need regular maintenance.
Restraint System Check
Checking Your Restraint Systems
Now and then, make sure the safety belt reminder light
and all your belts, buckles, latch plates, retractors
and anchorages are working properly. Look for any other
loose or damaged safety belt system parts. If you see
anything that might keep a safety belt system from doing
its job, have it repaired.
Torn or frayed safety belts may not protect you in a
crash. They can rip apart under impact forces. If a belt
is torn or frayed, get a new one right away.
Also look for any opened or broken air bag covers, and
have them repaired or replaced. The air bag system
does not need regular maintenance.
1-60
Page 69 of 360
Keys...............................................................2-2
Remote Keyless Entry System.........................2-3
Remote Keyless Entry System Operation...........2-4
Doors and Locks.............................................2-7
Door Locks....................................................2-7
Power Door Locks..........................................2-8
Delayed Locking.............................................2-8
Programmable Automatic Door Locks................2-9
Rear Door Security Locks..............................2-10
Lockout Protection........................................2-11
Leaving Your Vehicle....................................2-12
Trunk..........................................................2-12
Windows........................................................2-14
Manual Windows..........................................2-14
Power Windows............................................2-15
Sun Visors...................................................2-15
Theft-Deterrent Systems..................................2-16
Passlock
®....................................................2-16
Starting and Operating Your Vehicle................2-16
New Vehicle Break-In....................................2-16
Ignition Positions..........................................2-17Starting Your Engine.....................................2-18
Engine Coolant Heater..................................2-20
Automatic Transaxle Operation.......................2-22
Manual Transaxle Operation...........................2-25
Parking Brake..............................................2-27
Shifting Into Park (P).....................................2-28
Shifting Out of Park (P).................................2-30
Parking Your Vehicle/Key Removal..................2-30
Parking Over Things That Burn.......................2-31
Engine Exhaust............................................2-31
Running Your Engine While You Are Parked. . . .2-32
Mirrors...........................................................2-33
Manual Rearview Mirror.................................2-33
Outside Remote Control Mirror.......................2-33
Outside Power Mirrors...................................2-33
Outside Convex Mirror...................................2-34
Storage Areas................................................2-34
Glove Box...................................................2-34
Cupholder(s)................................................2-34
Center Console Storage Area.........................2-35
Sunroof.........................................................2-35
Section 2 Features and Controls
2-1
Page 70 of 360
Keys
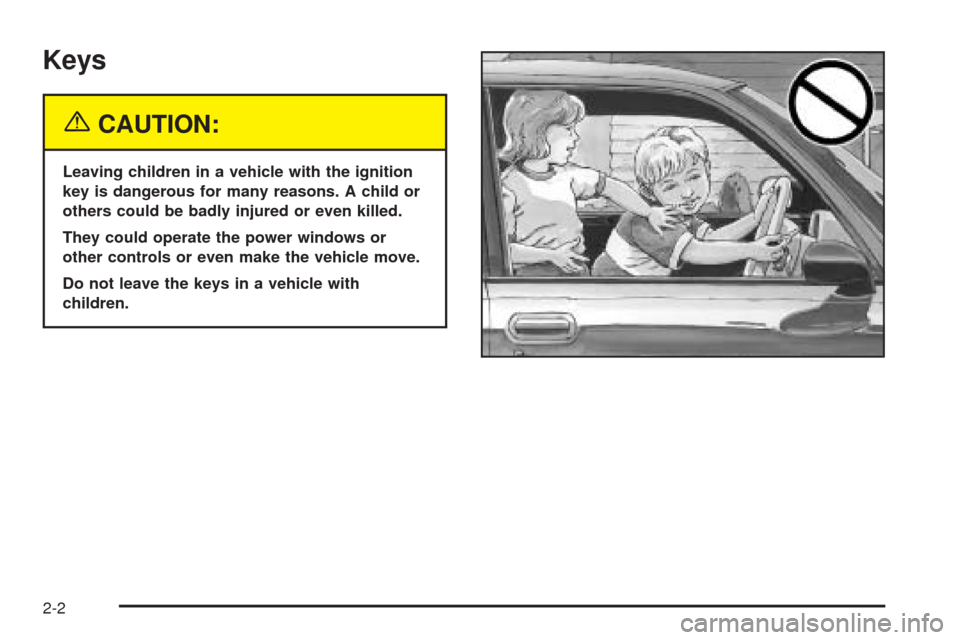
{CAUTION:
Leaving children in a vehicle with the ignition
key is dangerous for many reasons. A child or
others could be badly injured or even killed.
They could operate the power windows or
other controls or even make the vehicle move.
Do not leave the keys in a vehicle with
children.
2-2
Page 71 of 360
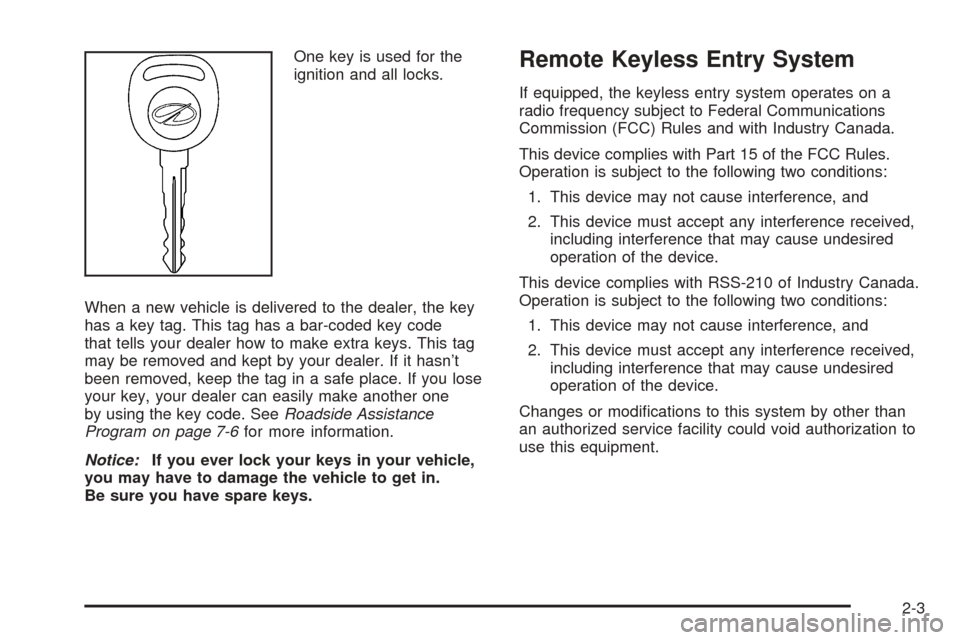
One key is used for the
ignition and all locks.
When a new vehicle is delivered to the dealer, the key
has a key tag. This tag has a bar-coded key code
that tells your dealer how to make extra keys. This tag
may be removed and kept by your dealer. If it hasn’t
been removed, keep the tag in a safe place. If you lose
your key, your dealer can easily make another one
by using the key code. SeeRoadside Assistance
Program on page 7-6for more information.
Notice:If you ever lock your keys in your vehicle,
you may have to damage the vehicle to get in.
Be sure you have spare keys.Remote Keyless Entry System
If equipped, the keyless entry system operates on a
radio frequency subject to Federal Communications
Commission (FCC) Rules and with Industry Canada.
This device complies with Part 15 of the FCC Rules.
Operation is subject to the following two conditions:
1. This device may not cause interference, and
2. This device must accept any interference received,
including interference that may cause undesired
operation of the device.
This device complies with RSS-210 of Industry Canada.
Operation is subject to the following two conditions:
1. This device may not cause interference, and
2. This device must accept any interference received,
including interference that may cause undesired
operation of the device.
Changes or modifications to this system by other than
an authorized service facility could void authorization to
use this equipment.
2-3
Page 73 of 360
W(Unlock):Press this button once to unlock the
driver’s door. If the button is pressed again within five
seconds, all remaining doors will unlock. The interior
lamps will stay on for 10 seconds or until the ignition is
turned on. The parking lamps will flash twice to
indicate unlocking has occurred.
V(Remote Trunk Release):Press this button to
open the trunk, if the trunk lockout is not engaged. You
can open the trunk with the transmitter when the
vehicle speed is less than 2 mph (3 km/h), when the
parking brake is engaged, or when the ignition is off. The
interior lamps will come on for 10 seconds or until the
ignition switch is turned to ON.
L(Remote Alarm):Press this button to make the
horn sound and the headlamps and the parking lamps
flash for up to two minutes. The interior lamps will
come on and remain on while the horn is sounding and
the lamps are flashing. Turn off the horn and lamps
by pressing the remote alarm button again or by turning
the ignition to ON.
Programmable Horn Chirp
When you use the remote keyless entry transmitter to
lock the doors or use the delayed locking feature
the parking lamps will flash and the horn will chirp.
Disable the programmable horn chirp by pressing and
holding either of the door lock switches in the unlock
position for 10 seconds with the ignition ON and all of
the doors closed. When you hear the horn chirp,
programming is complete.
Reactivate the horn chirp feature by repeating the
above procedure.
Matching Transmitter(s) to Your
Vehicle
Each remote keyless entry transmitter is coded to prevent
another transmitter from unlocking your vehicle. If a
transmitter is lost or stolen, a replacement can be
purchased through your dealer. Remember to bring any
remaining transmitters with you when you go to your
dealer. When the dealer matches the replacement
transmitter to your vehicle, any remaining transmitters
must also be matched. Once your dealer has coded the
new transmitter, the lost transmitter will not unlock your
vehicle. Each vehicle can have a maximum of four
transmitters matched to it.
2-5
Page 76 of 360
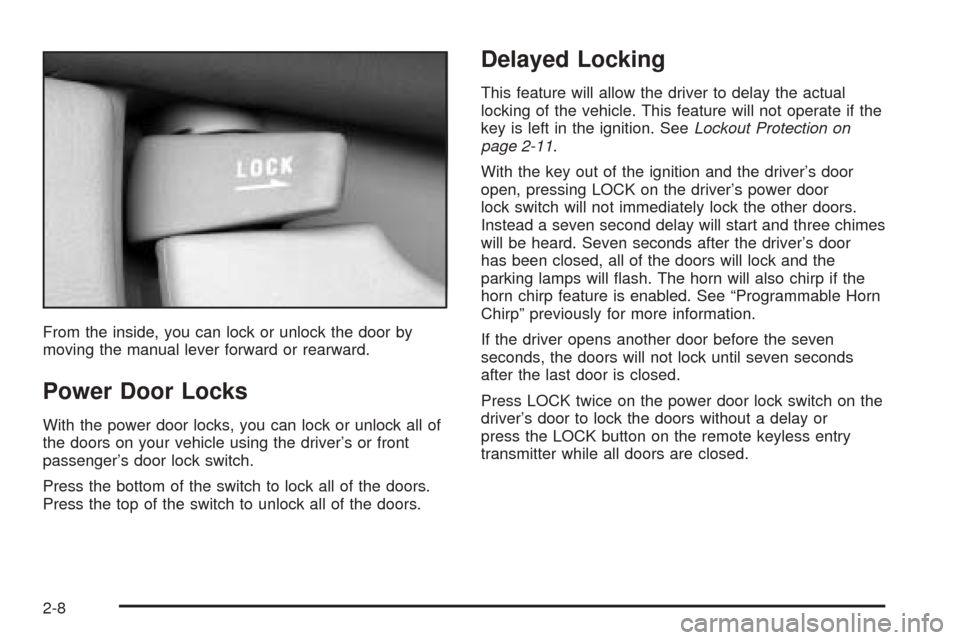
From the inside, you can lock or unlock the door by
moving the manual lever forward or rearward.
Power Door Locks
With the power door locks, you can lock or unlock all of
the doors on your vehicle using the driver’s or front
passenger’s door lock switch.
Press the bottom of the switch to lock all of the doors.
Press the top of the switch to unlock all of the doors.
Delayed Locking
This feature will allow the driver to delay the actual
locking of the vehicle. This feature will not operate if the
key is left in the ignition. SeeLockout Protection on
page 2-11.
With the key out of the ignition and the driver’s door
open, pressing LOCK on the driver’s power door
lock switch will not immediately lock the other doors.
Instead a seven second delay will start and three chimes
will be heard. Seven seconds after the driver’s door
has been closed, all of the doors will lock and the
parking lamps will flash. The horn will also chirp if the
horn chirp feature is enabled. See “Programmable Horn
Chirp” previously for more information.
If the driver opens another door before the seven
seconds, the doors will not lock until seven seconds
after the last door is closed.
Press LOCK twice on the power door lock switch on the
driver’s door to lock the doors without a delay or
press the LOCK button on the remote keyless entry
transmitter while all doors are closed.
2-8
Page 78 of 360
Before your vehicle was shipped from the factory it was
programmed in Mode 1. To determine the current
mode or to change to a different mode, do the following:
1. Put an automatic transaxle in PARK (P) or a
manual transaxle in REVERSE (R) with the parking
brake engaged and turn the ignition to ON.
2. Press and hold the lower part of the power door
lock switch for 10 seconds. Release the switch
when you hear the chime.
3. Count the number of chimes you hear. The number
of chimes tells you which mode your vehicle is in.
You can change the mode by pressing and
holding the lower part of the power door lock switch
(two chimes for Mode 2, three chimes for Mode 3
and four chimes for Mode 4).
4. Repeat Step 2 until you hear the number of chimes
that matches the mode you want.
The mode you selected is now set.Rear Door Security Locks
If your vehicle is a four-door model, it has rear door
security locks that help prevent passengers from
opening the rear doors from the inside.
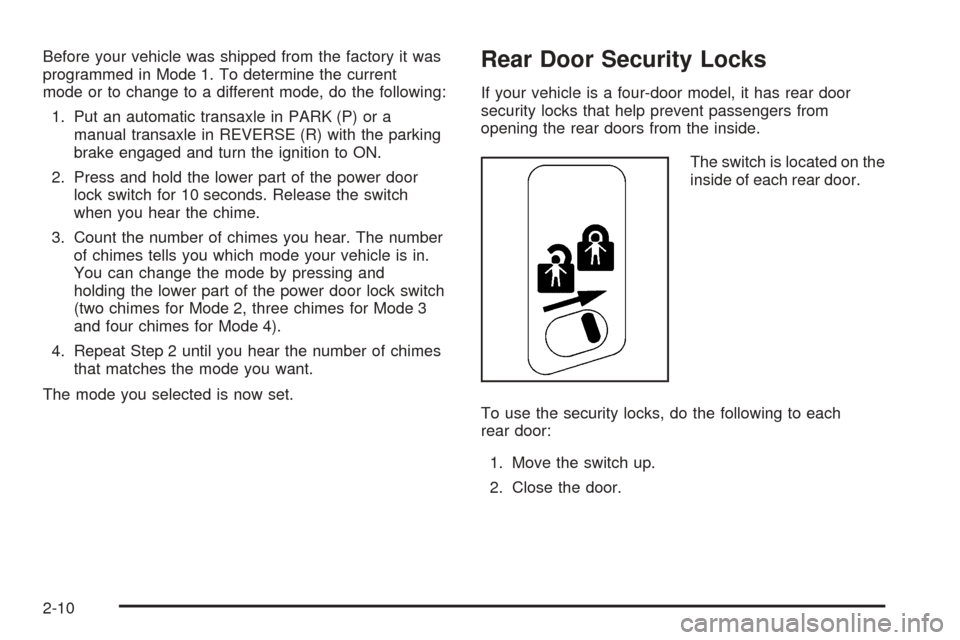
The switch is located on the
inside of each rear door.
To use the security locks, do the following to each
rear door:
1. Move the switch up.
2. Close the door.
2-10
Page 79 of 360
The rear doors on your vehicle cannot be opened from
the inside when this feature is in use. If you want to
open a rear door when the security lock is on, do
the following:
1. Unlock the door from the inside.
2. Then open the door from the outside.
If you don’t cancel the security lock feature, adults or
older children who ride in the rear won’t be able to open
the rear door from the inside. You should let adults
and older children know how these security locks work,
and how to cancel the locks.
To cancel a rear door lock, do the following:
1. Unlock the door from the inside and open it from
the outside.
2. Move the switch down.
3. Do the same to the other rear door.
The rear doors will now work normally.Lockout Protection
Lockout protection is intended to provide enhanced
security and convenience. This feature prevents a driver
who has left the key in the ignition from locking the
doors, using the power door locks while any door
is open.
To override this feature, when the key is in the ignition
and any door is open, press and hold down the
power door lock switch for three seconds.
This feature cannot guarantee that you will never be
locked out of your vehicle. If you don’t leave the key in
the ignition, or if you use the manual door lock or
the remote keyless entry transmitter, you could still lock
your keys inside your vehicle. Always remember to
take your keys with you.
2-11
Page 81 of 360
Remote Trunk Release
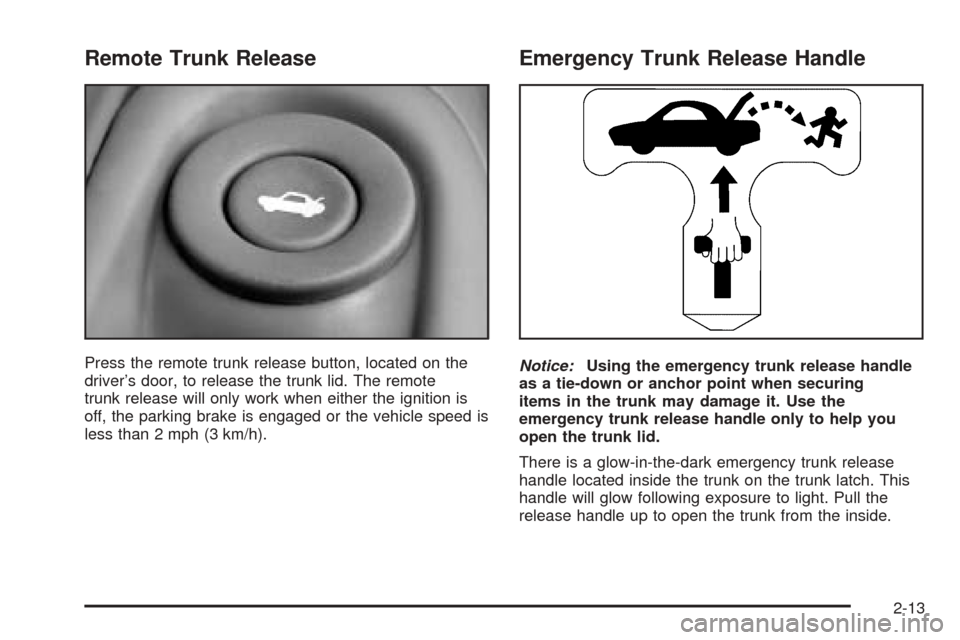
Press the remote trunk release button, located on the
driver’s door, to release the trunk lid. The remote
trunk release will only work when either the ignition is
off, the parking brake is engaged or the vehicle speed is
less than 2 mph (3 km/h).
Emergency Trunk Release Handle
Notice:Using the emergency trunk release handle
as a tie-down or anchor point when securing
items in the trunk may damage it. Use the
emergency trunk release handle only to help you
open the trunk lid.
There is a glow-in-the-dark emergency trunk release
handle located inside the trunk on the trunk latch. This
handle will glow following exposure to light. Pull the
release handle up to open the trunk from the inside.
2-13
Page 84 of 360
Theft-Deterrent Systems
Vehicle theft is big business, especially in some cities.
Although your vehicle has a number of theft-deterrent
features, we know that nothing we put on it can make it
impossible to steal.
Passlock®
Your vehicle has the Passlock®theft-deterrent system.
Passlock
®is a passive theft-deterrent system.
Passlock®enables fuel if the ignition lock cylinder has
not been tampered with.
During normal operation, the SECURITY light will go off
about five seconds after the ignition key is turned to
ON and the engine is started.
After attempting to start the engine, if the SECURITY
light flashes or stays on, wait ten minutes with the key in
ON until the light goes off. Then turn the ignition to
OFF before attempting to start the engine again.
SeeRoadside Assistance Program on page 7-6for
more information.
Starting and Operating Your
Vehicle
New Vehicle Break-In
Notice:Your vehicle does not need an elaborate
“break-in.” But it will perform better in the long run
if you follow these guidelines:
Do not drive at any one speed — fast or
slow — for the �rst 500 miles (805 km). Do not
make full-throttle starts.
Avoid making hard stops for the �rst 200 miles
(322 km) or so. During this time your new
brake linings are not yet broken in. Hard stops
with new linings can mean premature wear
and earlier replacement. Follow this breaking-in
guideline every time you get new brake
linings.
Do not tow a trailer during break-in. SeeTowing
a Trailer on page 4-39for more information.
2-16