mirror OLDSMOBILE AURORA 1996 Owners Manual
[x] Cancel search | Manufacturer: OLDSMOBILE, Model Year: 1996, Model line: AURORA, Model: OLDSMOBILE AURORA 1996Pages: 388, PDF Size: 20.24 MB
Page 11 of 388

Memory Seat
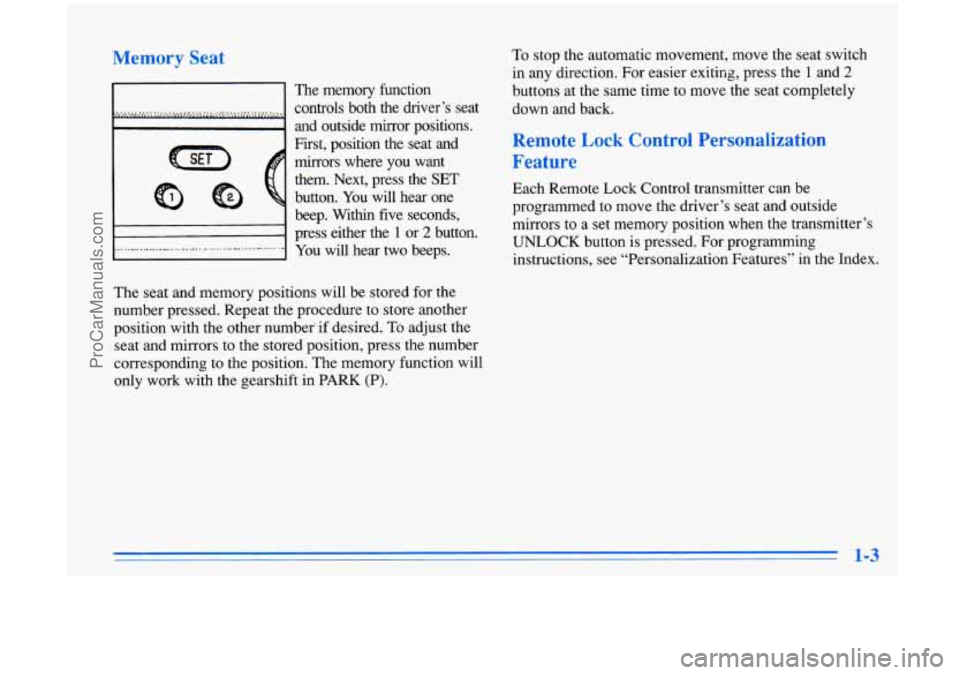
11 The memory function
................... __ .......................... controls both the driver’s seat
and outside mirror positions.
CE)
First, position the seat and
mirrors where you want
them. Next, press the SET
button. You will hear one
beep. Within five seconds,
11 prek either the 1 or 2 button.
............................................ - ....... I You will hear two beeps.
The seat and memory positions will be stored for the
number pressed. Repeat the procedure to store another
position with the other number’if desired.
To adjust the
seat and mirrors to the stored position, press the number
corresponding to the position. The memory function will
only work with the gearshift in PARK
(P).
To stop the automatic movement, move the seat switch
in any direction. For easier exiting, press the
1 and 2
buttons at the same time to move the seat completely
down
and back.
Remote Lock Control Personalization
Feature
Each Remote Lock Control transmitter can be
programmed to move the driver’s seat and outside
mirrors to a set memory position when the transmitter’s
UNLOCK button is pressed. For programming
instructions, see “Personalization Features” in the Index.
ProCarManuals.com
Page 65 of 388

Operation
The driver’s door will unlock when UNLOCK is pressed.
If pressed again within
25 seconds, all doors will unlock.
Pressing the UNLOCK button will also illuminate the interior lamps. (See “Illuminated Entry”
in the Index.)
All doors will lock when
LOCK is pressed.
The trunk will unlock when the opened trunk symbol is
pressed, but only when the ignition is off. The trunk
symbol will also work when the ignition is on, but only
while in PARK
(P) or NEUTRAL (N).
Panic Mode
When the button with the horn symbol on the key
transmitter is pressed, the horn will sound and the
headlamps and taillamps will flash for up to two
minutes. This can be turned off by pressing the panic
button again, unlocking the vehicle with a key or by
turning the ignition to
on.
If only the panic button works, the transmitter needs to
be resynchronized to the receiver. Do this by pressing
and holding both the
LOCK and UNLOCK buttons for
about eight seconds; you must be within range of the
vehicle. Once the transmitter has been resynchronized,
the horn will chirp and the exterior lamps will flash
once. The system should now operate properly.
Personalization Features
Each key transmitter can be programmed to the driver’s
preference for programmable automatic door locks, key
transmitter response and perimeter lighting. See each
feature in the Index.
The transmitters can also be programmed to move the
driver’s seat and outside mirrors to a set memory position
when the key transmitter’s
UNLOCK button is pressed.
To program the system:
1.
2.
3.
4.
Adjust the driver’s seat to a comfortable position.
Adjust both outside mirrors to suit you. See “Outside
Mirrors” in the Index.
Press the SET button on the driver’s door armrest.
You will hear one beep.
Within five seconds, press one of the two memory
buttons on the armrest. You will hear two beeps
to
confirm that the mirror and the seat positions are
entered into memory.
Press the UNLOCK button on the appropriate
transmitter within five seconds. You will hear
two beeps.
The second key transmitter can be programmed to
record a different seat and mirror position by following
the same steps.
2-9
. -~ ..
ProCarManuals.com
Page 103 of 388

Front Reading Lamps Rear Reading Lamps
These lamps and the interior courtesy lamps will come
on when you open a door. They will turn off when you
turn on the ignition. If the door is
left open, they will
turn off after about
10 minutes.
To turn on the reading lamps when the doors are closed,
press the button behind the lamp you want on. Press
it
again to turn the lamp off.
These lamps work even when the ignition is
off. To avoid
draining your vehicle’s battery, be sure to
turn off all
front and rear reading lamps when leaving your vehicle. These lamps
go on when
you open the doors. You can
also turn them on by pressing the button to the side
of
the lamp. Press it again to turn them off.
Trunk Lamp
When you open the trunk to its full open position, a
lamp will come
on inside the trunk. This lamp will
automatically turn off when the trunk
is closed.
Inadvertent Load Protection
This feature shuts off the courtesy, reading, trunk, glove
box and visor vanity mirror lamps,
if any are left on for
more than
10 minutes when the ignition is off. This will
keep your battery from running
down.
ProCarManuals.com
Page 104 of 388

v11 '--ors
Electulchromic Day, A. ght Rearvir .~rror w
Your vehicle may have an automatic electrochromic
day/night rearview mirror.
This mirror automatically changes
to reduce glare from
headlamps behind you. A photocell on the back of the
mirror senses when it is becoming dark outside. Another
photocell built into the mirror surface, senses when
headlamps are behind you. At
night, when the glare is too high, the mirror will
gradually darken to reduce glare (this change may take a
few seconds). The mirror will return
to its clear daytime
state when the glare is reduced.
Press the button at the base of the mirror to turn on the
automatic feature. The button has an indicator light to
show it is on. Press the button again
to turn the
automatic feature off.
Dt -
The automatic mirror has a time delay feature which
prevents unnecessary switching from the night back to
the day position. This delay prevents rapid changing of
the mirror as you drive under lights and through traffic.
u= Day 1c
The reverse day mode is another important feature
of the electrochromic mirror. When you shift into
REVERSE (R), the mirror changes to the day mode.
This gives you a bright image in the mirror as you
back up.
Use a cotton swab and glass cleaner to clean the
photocells when necessary.
ProCarManuals.com
Page 105 of 388

Power Remote Control Mirror
The controls on the far left
of the instrument panel
control both outside
rearview mirrors. Move the
center switch
to the left to
select the driver’s side
rearview mirror, or
to the
right to select the
passenger’s side rearview
/’/ I mirror.-
Then press the arrows to adjust each mirror
so that you
can just see the side of your vehicle when you are sitting
in a comfortable driving position.
To lock the controls, leave the selector switch in the
middle
position.
When,you operate the rear window defogger, a defogger
also warms the driver’s and passenger’s outside
rearview mirrors
to help clear them of ice and snow.
Convex Outside Mirror
Your passenger’s side mirror is convex. A convex
mirror’s surface is curved
so you can see more from the
driver’s seat.
-..
A convex mirror can make things (like other
vehicles) look farther away than they really are.
If you cut too sharply into the right lane, you
could hit a vehicle on your right. Check your
inside mirror or glance over your shoulder before
changing lanes.
2-49
ProCarManuals.com
Page 106 of 388

Heated Outside Rearview Mirror (Option)
When you operate the rear window defogger, a defogger
also warms the optional heated driver’s outside rearview
mirror to help clear it of ice and snow. This is an
electrochromic mirror that operates with the same
controls as the Electrochromic Daymight Rearview
Mirror, and it works the same way. See “Electrochromic
Daymight Rearview Mirror” earlier in this section.
Storage Compartments
Glove Box
Use the door key to lock and unlock the glove box.
To open, pull the latch release on the left side of the
glove box door.
Front Storage Armrest
The front armrest opens into a storage area. To open it,
lift the front edge. Inside you will find storage for
cassettes, compact discs and coins.
In front of the storage area is a cupholder. Press and
release the cupholder cover to open. Push the cupholder
forward
to lock it when in use. Press the cupholder back
to its recessed position when not in use.
111 down the bolster in the back seat to reveal cupholders
and
an armrest, which opens into a storage area.
ProCarManuals.com
Page 109 of 388

Sun Visors Illuminated Visor Vanity Mirrors
To block out glare, you can swing down the visors. You
can also remove them from the center mount and swing
them to the side, while the auxiliary visor remains to
block glare from the front.
To extend the visor at the sides, pull out the extension.
When you open the cover to the driver or passenger side
visor vanity mirror, the lamps will come
on. You can
adjust the brightness of the lamps with the switch by
sliding the lever up or down.
ProCarManuals.com
Page 115 of 388

15. Selectable Shift
The
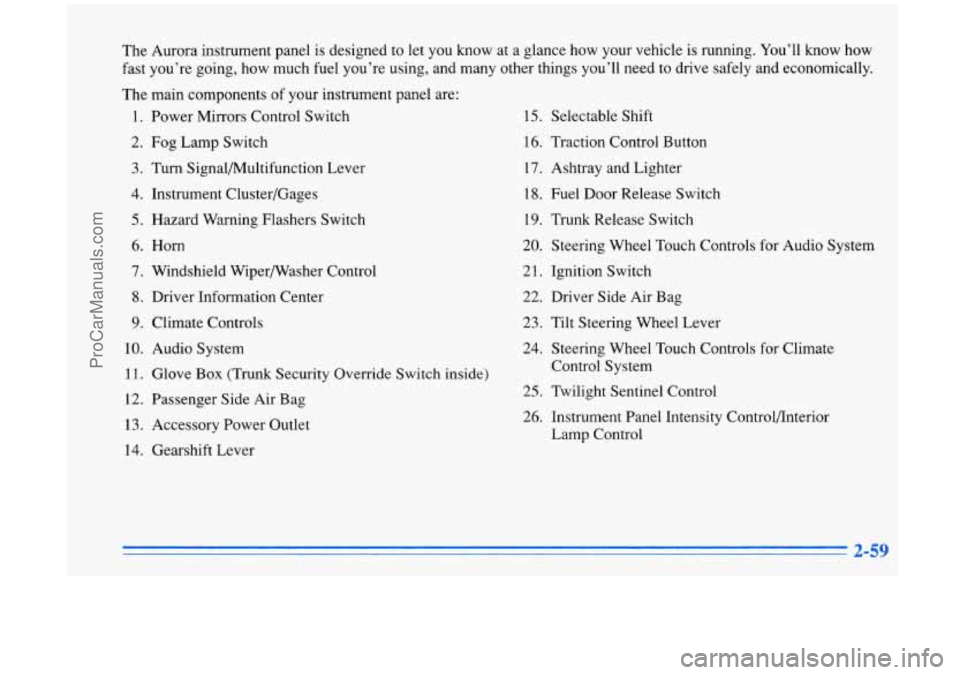
Aurora instrument panel is designed to let you know at a glance how your vehicle is running. You’ll know how
fast you’re going, how much fuel you’re using, and many other things you’ll need to drive safely and economically.
The main components of your instrument panel are: 1. Power Mirrors Control Switch
2. Fog Lamp Switch
3. Turn Signal/Multifunction Lever
4. Instrument Cluster/Gages
5. Hazard Warning Flashers Switch
6. Horn
7. Windshield Wipermasher Control
8. Driver Information Center
9. Climate Controls
10. Audio System 11. Glove
Box (Trunk Security Override Switch inside)
12. Passenger Side Air Bag
13. Accessory Power Outlet
14. Gearshift Lever 16. Traction Control Button
17. Ashtray and Lighter
18. Fuel Door Release Switch
19. Trunk Release Switch
20. Steering
Wheel Touch Controls for Audio System
21. Ignition Switch 22. Driver Side Air Bag
23. Tilt Steering Wheel Lever
24. Steering Wheel Touch Controls for Climate
Control System
25, Twilight Sentinel Control
26. Instrument Panel Intensity Controlflnterior Lamp Control
ProCarManuals.com
Page 147 of 388

Do not attach a temporary vehicle license across the
defogger grid on the rear window.
When you operate the rear window defogger, the
outside rearview mirrors are also heated to help remove
ice and fog.
I NOTICE:
Don’t use a razor blade or something else sharp
on the inside
of the rear window. If you do, you
could cut or damage the warming grid, and the
repairs wouldn’t be covered by your warranty.
Passenger Temperature Control
...... ........ ........ *...... . .......- ......... ......e... ........ .......... M _._e. ....
With this feature, the right
front seat passenger can
control the comfort setting
for their own zone.
To use ..........
......... ..... this feature, adjust the
...... side armrest to the desired
........ control on the passenger
comfort level.
The passenger temperature control on the passenger
armrest will illuminate only if the headlamps or parking
lamps are on.
ProCarManuals.com
Page 181 of 388

0 Do not get too close to the vehicle you want to pass
while you’re awaiting an opportunity. For one thing,
following too closely reduces your area of vision,
especially
if you’re following a larger vehicle. Also,
’ you won’t have adequate space if the vehicle ahead
suddenly slows or stops. Keep back a reasonable
distance.
0 When it looks like a chance to pass is coming up,
start to accelerate but stay in the right lane and don’t
get too close. Time your move
so you will be
increasing speed as the time comes to move into the
other lane. If the way is clear to pass, .you will have a
“running start” that more than makes up for the
distance you would lose by dropping back. And if
something happens to cause you to cancel your pass,
you need only slow down and drop back again and
wait for another opportunity.
0 If other cars are lined up to pass a slow vehicle, wait
your turn. But take care that someone isn’t trying to
pass you as you pull out to pass the slow vehicle.
Remember to glance over your shoulder and check
the blind spot.
0 Check your mirrors, glance over your shoulder, and
start your left lane change signal before moving
out
of the right lane to pass. When you are far enough
ahead of the passed vehicle to see its front in your
inside mirror, activate your right lane change signal and move back into the right lane. (Remember that
your right outside mirror is convex. The vehicle you
just passed may seem to be farther away from you
than
it really is.)
Try not to pass more than one vehicle at a time on
two-lane roads. Reconsider before passing the next
vehicle.
Don’t overtake a slowly moving vehicle too rapidly.
Even though the brake lamps are not flashing, it may
be slowing down or starting to turn.
0 If you’re being passed, make it easy for the
following driver to get ahead of
you. Perhaps you
can ease a little to the right.
ProCarManuals.com