climate control Oldsmobile Aurora 1997 Owner's Manuals
[x] Cancel search | Manufacturer: OLDSMOBILE, Model Year: 1997, Model line: Aurora, Model: Oldsmobile Aurora 1997Pages: 404, PDF Size: 20.75 MB
Page 89 of 404
Running Your Engine While
You’re Parked
It’s better not to park with the engine running. But if you
ever have to, here are some things to know.
A CAUTION:
-
Idling the engine with the climate control system
off could allow dangerous exhaust into your vehicle
(see the earlier Caution under “Engine Exhaust”).
Also, idling in
a closed-in place can let deadly
carbon monoxide
(CO) into your vehicle even if
the fan switch is
at the highest setting. One place
this can happen is
a garage. Exhaust -- with
CO
-- can come in easily. NEVER park in a
garage with the engine running.
Another closed-in place can be
a blizzard. (See
“Blizzard” in the Index.)
‘
A CAUTION:
I
It can be dangerous to get out of your vehicle if
the shift lever is not fully in
PARK (P) with the
parking brake firmly set. Your vehicle can roll.
Don’t leave your vehicle when the engine is
running unless you have
to. If you’ve left the
engine running, the vehicle can move suddenly.
You or others could be injured.
To be sure your
vehicle won’t move, even when you’re on fairly
level ground, always set your parking brake and
move the shift lever to PARK
(P).
Follow the proper steps to be sure your vehicle won’t
move. See “Shifting Into
PARK (P)” in the Index.
If you are parking on a hill and if you’re pulling a
trailer, also see “Towing a Trailer” in the Index.
2-33
Page 102 of 404
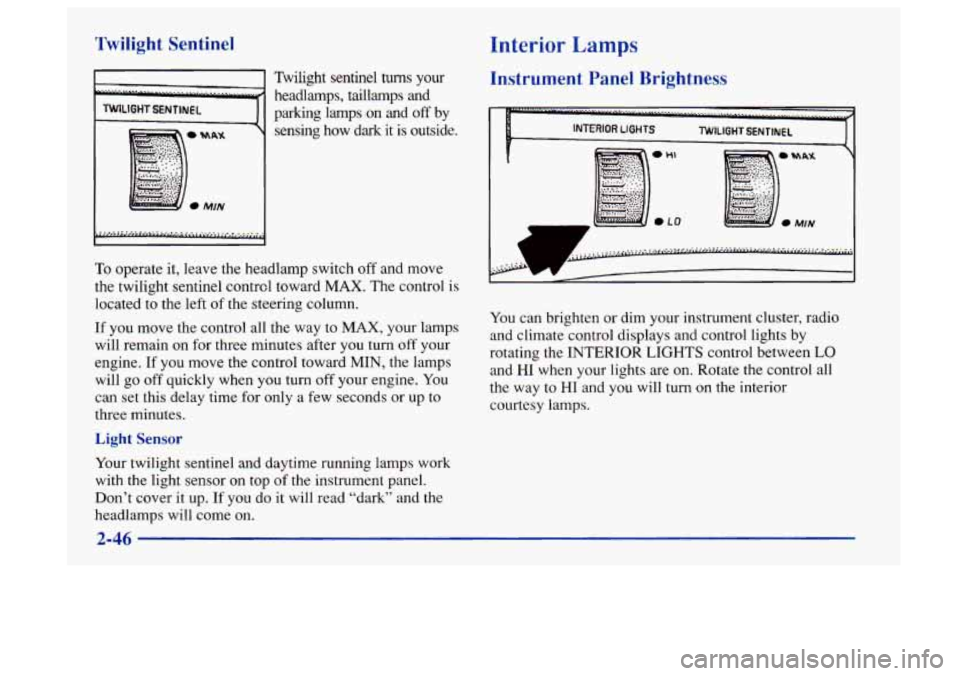
Twilight Sentinel
TWILIGHTSENTINEL I
Twilight sentinel hlms your
headlamps, taillamps and
parking lamps on and
off by
sensing how dark it
is outside.
To operate it, leave the headlamp switch off and move
the twilight sentinel control toward
MAX. The control is
located to the left of the steering column.
If you move the control all the way to MAX, your lamps
will remain on for three minutes after
you turn off your
engine. If
you move the control toward MIN, the lamps
will go off quickly when
you turn off your engine. You
can set this delay time for only a few seconds or up to
three minutes.
Light Sensor
Your twilight sentinel and daytime running lamps work
with the light sensor on top
of the instrument panel.
Don't cover
it up. If you do it will read "dark" and the
headlamps will come on.
Interior Lamps
Instrument Panel Brightness
INTERIOR LIGHTS TWILIGHT SENTINEL
C A
You can brighten or dim your instrument cluster, radio
and climate control displays and control lights by
rotating the INTERIOR
LIGHTS control between LO
and HI when your lights are on. Rotate the control all
the way to HI and you will turn on the interior
courtesy lamps.
2-46
Page 121 of 404
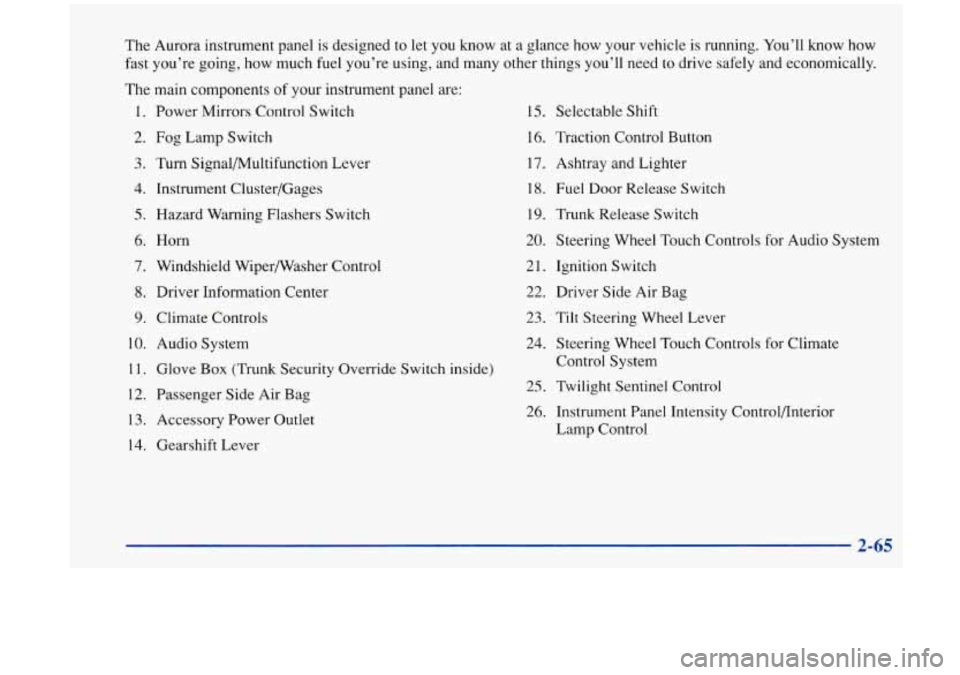
The Aurora instrument panel is designed to let you know at a glance how your vehicle is running. You’ll know how
fast you’re going, how much fuel you’re using, and many other things you’ll need to drive safely and economically.
The main components
of your instrument panel are:
1. Power Mirrors Control Switch
2.
Fog Lamp Switch
3. Turn Signal/Multifunction Lever
4. Instrument Cluster/Gages
5. Hazard Warning Flashers Switch
6.
Horn
7. Windshield Wipermasher Control
8. Driver Information Center
9. Climate Controls
10. Audio System
11. Glove Box (Trunk Security Override Switch inside)
12. Passenger Side Air Bag
13. Accessory Power Outlet
14. Gearshift Lever
15. Selectable Shift
16. Traction Control Button
17. Ashtray and Lighter
18. Fuel Door Release Switch
19. Trunk Release Switch
20. Steering Wheel Touch Controls for Audio System
21. Ignition Switch
22. Driver Side Air Bag
23. Tilt Steering Wheel Lever
24. Steering Wheel Touch Controls for Climate
Control System
25. Twilight Sentinel Control
26. Instrument Panel Intensity Control/Interior
Lamp Control
Page 126 of 404
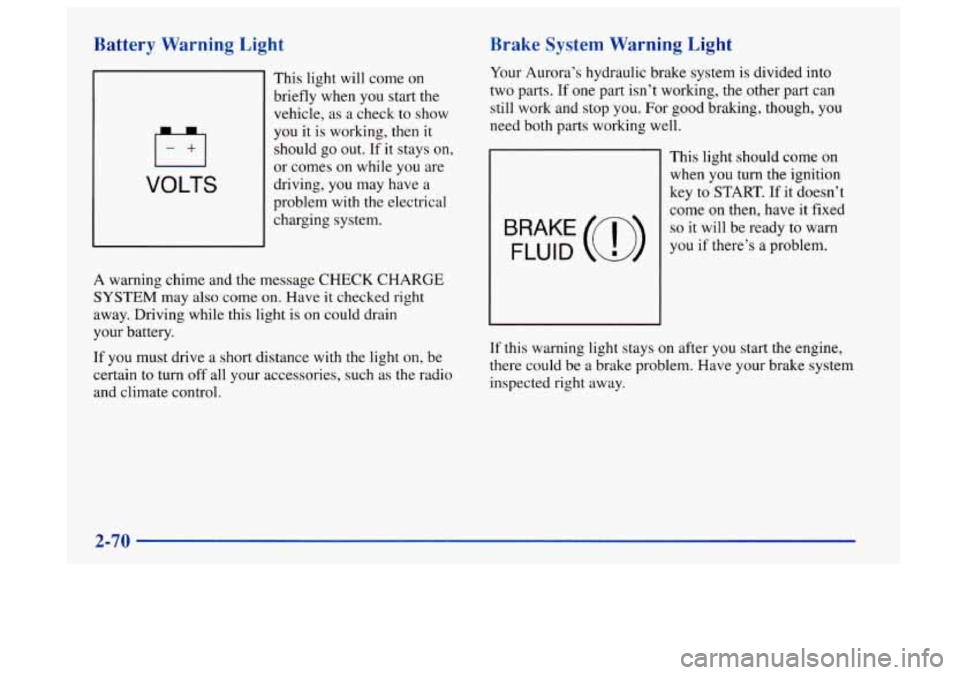
Battery Warning Light
U
VOLTS
This light will come on
briefly when you start the
vehicle, as a check to show
you it is working, then it
should go out. If
it stays on,
or comes on while
you are
driving, you may have a
problem with the electrical
charging system.
A warning chime and the message CHECK CHARGE
SYSTEM may also come on. Have it checked right
away. Driving while this light is on could drain
your battery.
If you must drive a short distance with the light on, be
certain to turn off all your accessories, such as the radio
and climate control.
Brake System Warning Light
Your Aurora’s hydraulic brake system is divided into
two parts. If one part isn’t working, the other part can
still work and stop you. For good braking, though, you
need both parts working well.
This light should come on
when you turn
the ignition
key to
START. If it doesn’t
come
on then, have it fixed
so it will be ready to warn
BRAKE (a) you if there’s a problem. FLUID
If this warning light stays on after you start the engine,
there could be a brake problem. Have your brake system
inspected right away.
2-70
Page 136 of 404
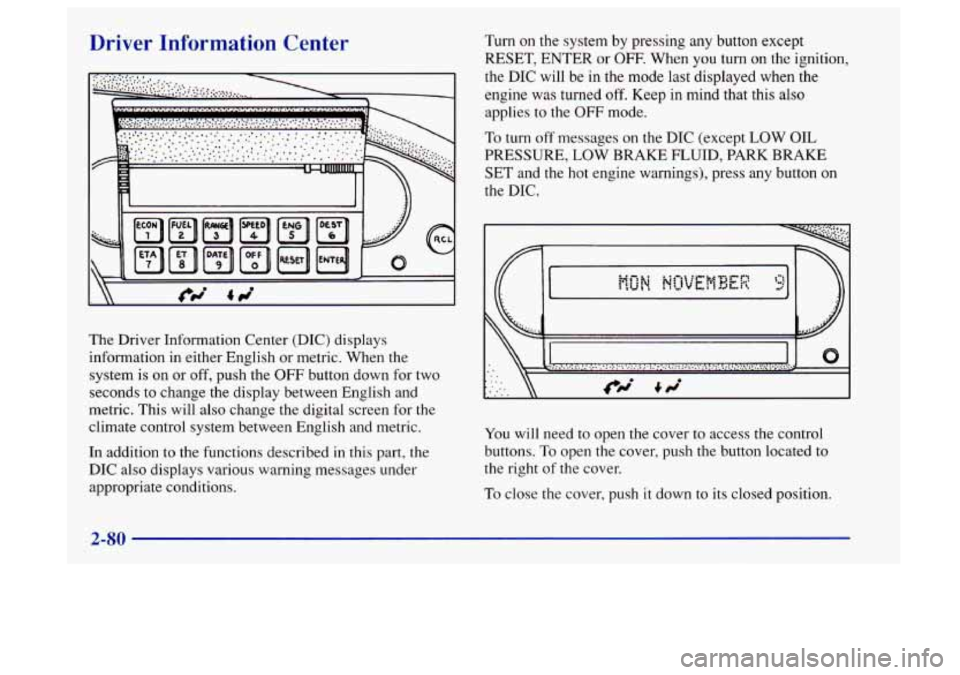
Driver Information Center
The Driver Information Center (DIC) displays
information in either English or metric. When the
system
is on or off, push the OFF button down for two
seconds to change the display between English and
metric. This will also change the digital screen for the
climate control system between English and metric.
In addition to the functions described in this part, the
DIC also displays various warning messages under
appropriate conditions.
Turn on the system by pressing any button except
RESET, ENTER or
OFF- When you turn on the ignition,
the DIC will be in the mode
last displayed when the
engine was turned
off. Keep in mind that this also
applies to the
OFF mode.
To turn off messages on the DIC (except LOW OIL
PRESSURE,
LOW BRAKE FLUID, PARK BRAKE
SET and the hot engine warnings), press any button on
the DIC.
0
You will need to open the cover to access the control
buttons.
To open the cover, push the button located to
the right of the cover.
To close the cover, push it down to its closed position.
2-80
Page 145 of 404
@ Section 3 Comfort Controls and Audio Systems
In this section, you’ll find out how to operate the comfort control and audio systems offered with your Aurora. Be
sure to read about the particular systems supplied with your vehicle.
3-2 3-2 3-6
3
-7
3-7
3-9
3 -9
3-10
3-10
3-1
1
3-1 1
Comfort Controls
Automatic Electronic Climate Control
Air Conditioning
Heating
Ventilation System
Defogging and Defrosting
Rear Window Defogger
Passenger Temperature Control
Steering Wheel Controls for Climate Control
Setting the Clock
AM-FM Stereo with Cassette
Tape and
Compact Disc Player with Automatic
Tone Control 3-
17
3-22
3-25
3-28
3-29
3-29
3-30
3-30
3-3 1
Delco-Bose@ AM-FM Stereo with Cassette
Tape and Compact Disc Player with
Automatic Tone Control
Trunk Mounted CD Changer
Theft-Deterrent Feature Steering Wheel Controls for-Audio System
Understanding Radio Reception
Tips About Your Audio System
Care of Your Cassette Tape Player
Care
of Your Compact Discs
Power Antenna Mast Care
3-1
Page 146 of 404
Comfort Controls
This section tells you how to operate your climate
control system. Your climate control system uses
ozone-friendly
R- 134a refrigerant.
Automatic Electronic Climate Control
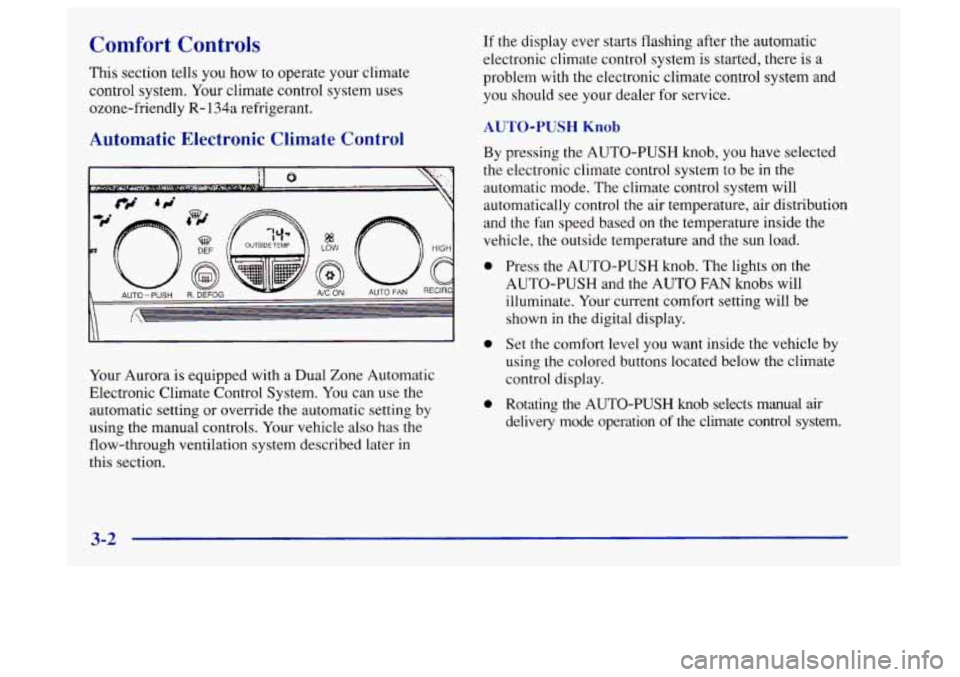
Your Aurora is equipped with a Dual Zone Automatic
Electronic Climate Control System. You can use the
automatic setting or override the automatic setting
by
using the manual controls. Your vehicle also has the
flow-through ventilation system described later
in
this section.
If the display ever starts flashing after the automatic
electronic climate control system is started, there is a
problem with the electronic climate control system and
you should see your dealer for service.
AUTO-PUSH Knob
By pressing the AUTO-PUSH knob, you have selected
the electronic climate control system to be in the
automatic mode. The climate control system will
automatically control the air temperature, air distribution
and the fan speed based on
the temperature inside the
vehicle, the outside temperature and the sun load.
0
0
0
Press the AUTO-PUSH knob. The lights on the
AUTO-PUSH and the AUTO FAN knobs will
illuminate. Your current comfort setting will be
shown in the digital display.
Set the comfort level you want inside the vehicle by
using the colored buttons located below the climate
control display.
Rotating the
AUTO-PUSH knob selects manual air
delivery mode operation of the climate control system.
3-2
Page 148 of 404
Automatic Operation
Press the AUTO-PUSH knob when you want the system
to automatically adjust the interior temperature to your
preference. When the system is set for automatic
operation, air will come from the floor, upper or the
windshield outlets depending on the temperature inside
the vehicle, the outside temperature and the sun load.
Fan speed will vary as the system reaches and maintains
the comfort setting you have selected.
To find your comfort setting, start with the system in
automatic mode by pressing the AUTO-PUSH knob.
Adjust the comfort setting by using
the red and blue
buttons located below the digital display until you reach
a value of 75°F (24"C), on the display. Give the vehicle
about
20 minutes to stabilize and then readjust the
comfort setting if necessary. The display will show the
comfort setting for five seconds and then
it will show
the outside temperature.
In cold weather, the system will delay turning on the fan
to avoid blowing cold air. The length of the delay
depends
on the engine coolant temperature and the
outside temperature. Rotating the AUTO FAN knob will
override this delay by turning
off the automatic fan
mode and changing the fan speed.
I A I
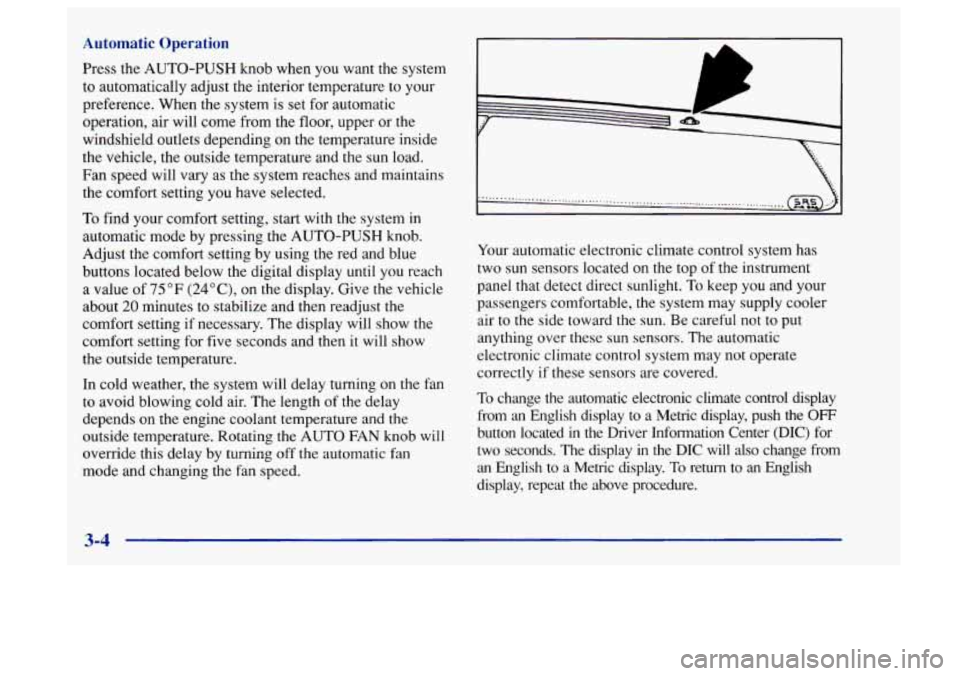
Your automatic electronic climate control system has
two sun sensors located on the top of the instrument
panel that detect direct sunlight.
To keep you and your
passengers comfortable, the system may supply cooler
air to the side toward the sun. Be careful not
to put
anything over these sun sensors. The automatic
electronic climate control system may not operate
correctly if these sensors are covered.
To change the automatic electronic climate control display
from an English display to a Metric display, push the
OFF
button located in the Driver Information Center (DIC) for
two seconds. The display
in the DIC will also change from
an English
to a Metric display. To return to an English
display, repeat
the above procedure.
3-4
Page 154 of 404
1 NOTICE: I
Don’t use a razor blade or something else sharp
on the inside
of the rear window. If you do, you
could cut or damage the warming grid, and the
repairs wouldn’t be covered by your warranty.
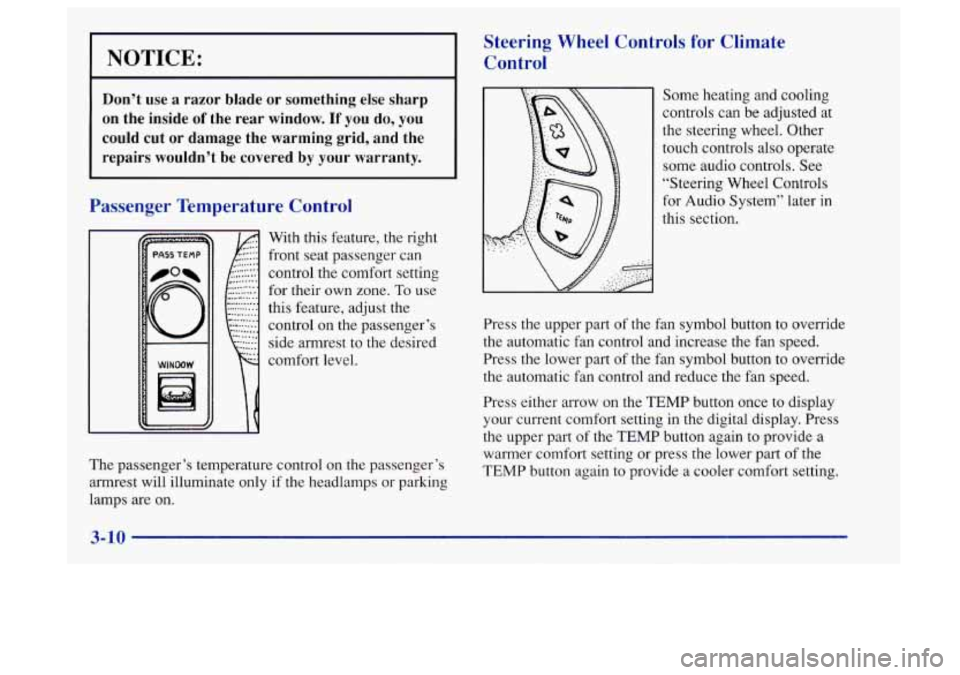
Passenger Temperature Control
With this feature, the right
front seat passenger can
control the comfort setting
for their own zone. To use
this feature, adjust the
control on the passenger’s side armrest to the desired
comfort level.
Steering Wheel Controls for Climate
Control
The passenger’s temperature control on the passenger’s
armrest will illuminate only if
the headlamps or parking
lamps are on. Some
heating and cooling
controls can be adjusted at
the steering wheel. Other
touch controls also operate
some audio controls. See
“Steering Wheel Controls
for Audio System” later in
this section.
Press the upper part of the fan symbol button to override
the automatic fan control and increase the fan speed.
Press the lower part of the fan symbol button to override
the automatic fan control and reduce the fan speed.
Press either arrow on the
TEMP button once to display
your current comfort setting in the digital display. Press
the upper part of the TEMP button again to provide a
warmer comfort setting or press the lower part of the
TEMP button again to provide
a cooler comfort setting.
3-10
Page 172 of 404
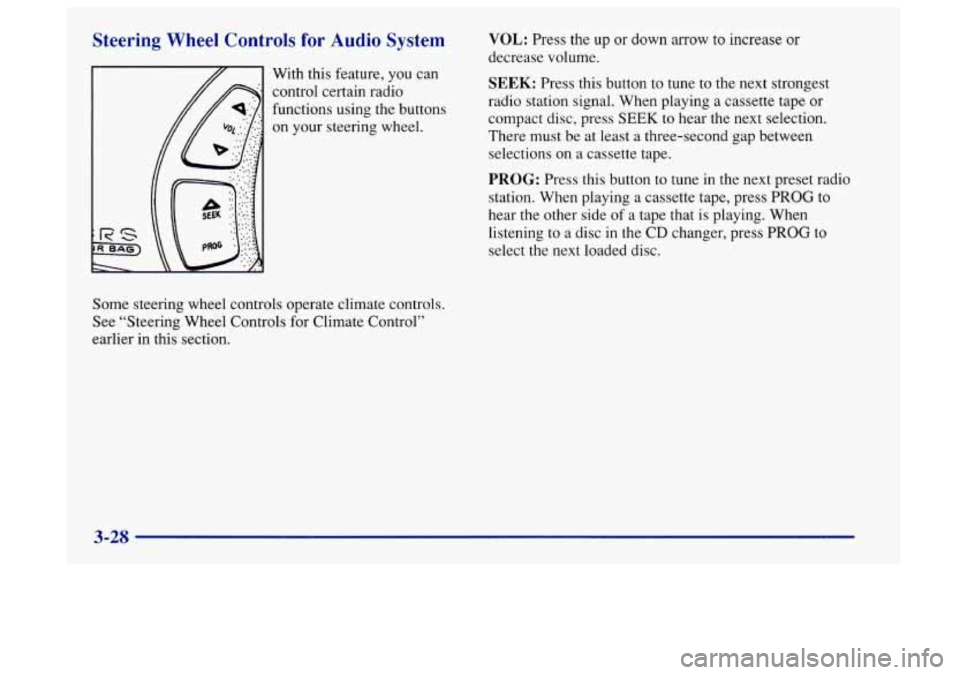
Steering Wheel Controls for Audio System
With this feature, you can
control certain radio
functions using the buttons
on your steering wheel.
VOL: Press the up or down arrow to increase or
decrease volume.
SEEK: Press this button to tune to the next strongest
radio station signal. When playing a cassette tape
or
compact disc, press SEEK to hear the next selection.
There must be at least a three-second gap between
selections on a cassette tape.
PROG: Press this button to tune in the next preset radio
station. When playing a cassette tape, press
PROG to
hear the other side
of a tape that is playing. When
listening to a disc
in the CD changer, press PROG to
select the next loaded disc.
Some steering wheel controls operate climate controls.
See “Steering Wheel Controls for Climate Control”
earlier in this section.
3-28