engine Oldsmobile Aurora 1998 s Owner's Guide
[x] Cancel search | Manufacturer: OLDSMOBILE, Model Year: 1998, Model line: Aurora, Model: Oldsmobile Aurora 1998Pages: 380, PDF Size: 19.75 MB
Page 142 of 380
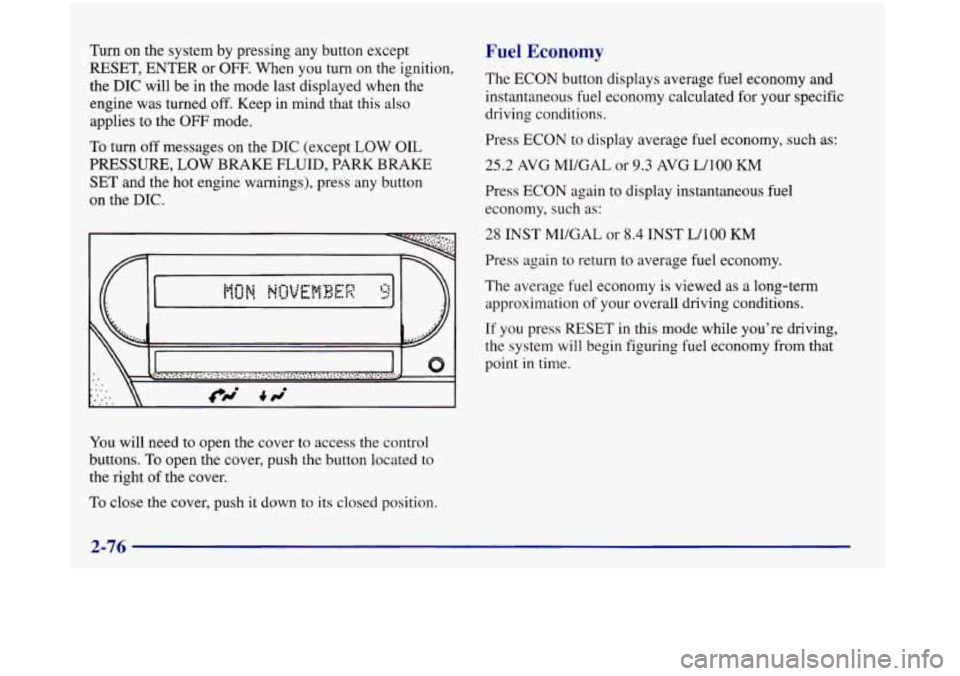
Turn on the system by pressing any button except
RESET, ENTER or OFF. When you turn on the ignition,
the
DIC will be in the mode last displayed when the
engine was turned off. Keep in mind that this also
applies to the
OFF mode.
To turn off messages on the DIC (except LOW OIL
PRESSURE, LOW BRAKE FLUID, PARK BRAKE
SET and the hot engine warnings), press any button
on the DIC.
\ II
You will need to open the cover to access the control
buttons.
To open the cover, push the button located to
the right
of the cover.
To close the cover, push it down to its closed position.
Fuel Economy
The ECON button displays average fuel economy and
instantaneous fuel economy calculated for your specific
driving conditions.
Press ECON to display average fuel economy, such as:
25.2 AVG MI/GAL or 9.3 AVG WlOO KM
Press ECON again to display instantaneous fuel
economy, such as:
28 INST MUGAL or 8.4 INST WlOO KM
Press again to return to average fuel economy.
The average fuel economy is viewed as a long-term
approximation
of your overall driving conditions.
If you press RESET in this mode while you’re driving,
the system will begin figuring fuel economy from that
point
in time.
Page 143 of 380
Fuel
Press FUEL to see how much fuel has been used since
you last pressed the reset button. The display will show
a reading such as:
10.4 GALLONS USED or 39.4 LITERS USED
To learn how much fuel will be used from a specific
starting point, first press FUEL to display fuel used,
then press RESET.
Don’t confuse fuel used with
the amount of fuel in your tank.
Fuel Range
RANGE calculates the remaining distance you can drive
without refueling. It’s based on fuel economy and the
fuel remaining in the tank. The display will show a
reading such as:
FUEL RANGE
235 MI or FUEL RANGE 378 KM
If the range is less than 50 miles (80 km), the display
will read LOW FUEL RANGE.
The fuel economy data used to determine fuel range is
an average of recent driving conditions.
As your driving
conditions change, this data is gradually updated.
Resetting fuel range causes the fuel economy data to be
updated immediately. To reset fuel range, press
RANGE, then RESET.
Average Speed
The calculation for average speed begins when SPEED
is reset. Press SPEED to display the average speed,
such as:
AVG SPEED 55 MPH or AVG SPEED 90 KM/H
To reset the average speed, press SPEED and
then RESET.
Engine
The ENG button scrolls through the following functions:
0 Oil pressure, such as:
OIL PRESSURE
40 PSI or OIL PRESSURE
276 Wa
0 Battery voltage, such as:
BATTERY
13.8 VOLTS
Transaxle fluid life, such as:
TRANS FLUID
LIFE 40%
This is an estimate of the transaxle fluid’s remaining
useful life. It will show 100% when the system is
reset after a transaxle fluid change. It
will alert you
to change your transaxle fluid on a schedule
consistent with your driving conditions.
Page 144 of 380
0 Engine oil life, such as:
OIL LIFE 30%
This is an estimate of the oil’s remaining useful life.
It will show
100% when the system is reset after an
oil change.
It will alert you to change your oil on a
schedule consistent with your driving conditions.
When the remaining oil life or transaxle fluid life is low,
the system will alert you with a message:
CHANGE
OIL SOON or CHANGE TRNS
FLUID SOON
When the oil or transaxle fluid life is down to zero,
you will receive the message:
CHANGE OIL NOW or CHANGE TRNS FLUID NOW
To reset the OIL LIFE reminder after an oil change
or the TRNS FLUID LIFE reminder after a transaxle
fluid change:
1. With the ignition on, press the ENG button so the
OIL LIFE percentage or the TRNS LIFE percentage
is displayed.
2. Press RESET and hold for five seconds. The word
RESET will appear, then OIL LIFE
100% or TRNS
FLUID 100%.
Remember, you must reset the OIL LIFE or TRNS
FLUID yourself after each oil or transaxle fluid change.
It will not reset itself. Also, be careful not to reset the
OIL LIFE
or TRNS FLUID accidentally at any time
other than when the oil or transaxle fluid has just been
changed. It can’t be reset accurately until the next oil or
transaxle fluid change.
The DIC does not replace the need to maintain your
vehicle as recommended in the Maintenance Schedule
in this manual. Also, the oil change reminder will not
detect dusty conditions or engine malfunctions that may
affect the oil. If you drive in dusty areas, change your oil
after every
3,000 miles (5 000 km) or three months,
whichever occurs first, unless the DIC instructs you to
do
so sooner. Also, the oil change reminder does not
measure how much oil you have in your engine.
So, be
sure to check your oil level often. See “Engine Oil” in
the Index.
2-78
Page 145 of 380
Check Oil Level Warning
When CHECK OIL LEVEL appears, it indicates that the
engine oil level is 1 to
1 1/2 quarts (0.9 L to 1.4 L) low.
The message will appear only if the engine is running
and it’s been at least eight minutes since the engine was
last running. If the message appears, check the oil
dipstick level. If it reads low, your oil level should be
brought up to the proper level (see “Engine Oil” in the Index). After bringing the oil to the proper level, the
ignition must be off for eight minutes to allow the
majority
of oil to drain into the oil pan.
Distance to Destination
This feature acts as a reverse trip odometer by counting
backward from an estimated distance which you enter
before starting your trip.
It also uses that information to
determine the estimated time of arrival.
To set, press DEST, then
RESET and enter a maximum
of four digits for the length
of your trip. (Always use
whole miles or kilometers.) Then press ENTER. The
system will only accept the last four digits you enter
as your distance to destination.
The system will display the total distance to destination,
such as:
365 MI TO DEST or 587 KM TO DEST When
the system counts down
to zero distance
remaining, even
if you’re in another display, a chime
will sound and the display will show:
TRIP COMPLETE
The TRIP COMPLETE message will go off when you
press any button, or when you turn your ignition to
OFF,
then on. The display returns to the mode displayed prior
to the interruption.
Estimated Time of Arrival (ETA)
ETA is based on the average speed, the date and time of
the day, and the estimated distance to your destination.
After you have entered your distance to destination,
press ETA to display estimated time
of arrival, such as:
ETA TUE
12% PM
Press ETA again to display the time to destination. The
display will show the current time
as the hours and
minutes to destination, such as:
1250 TIME
TO DEST
If the time to destination calculation is seven days or
greater, the display will read:
TRIP OVER
7 DAYS
Page 154 of 380
Automatic Operation
Press the AUTO-PUSH knob when you want the system
to automatically adjust the interior temperature to your
preference. When the system
is set for automatic
operation, air will come from the floor, upper or the
windshield outlets depending on the temperature inside
the vehicle, the outside temperature and the
sun load.
Fan speed will vary as the system reaches and maintains
the comfort setting you have selected.
To find your comfort setting, start with the system in
automatic mode by pressing the AUTO-PUSH knob.
Adjust the comfort setting by using the red and blue
buttons located below the digital display until
you reach
a setting of
75°F (24"C), on the display. Give the
vehicle about 20 minutes to stabilize and then readjust
the comfort setting
if necessary. The display will show
the comfort setting for five seconds and then it will
show the outside temperature.
In cold weather, the system will delay turning on the fan
to avoid blowing cold air. The length of the delay
depends
on the engine coolant temperature and the
outside temperature. Rotating the AUTO
FAN knob will
override this delay by turning off the automatic fan
mode and changing the fan speed.
...................................... ...................................................
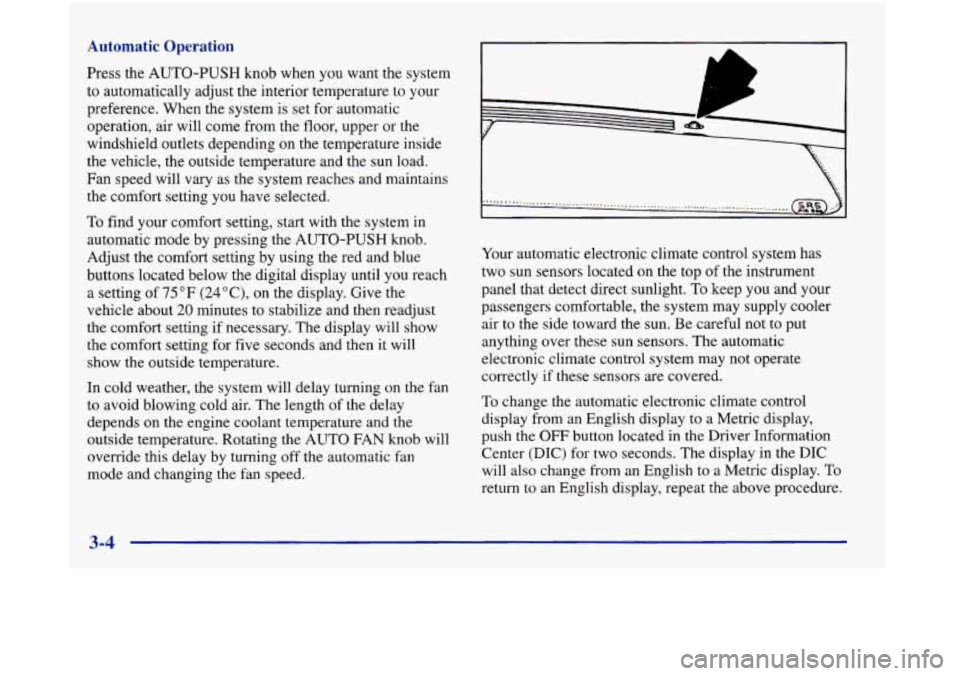
Your automatic electronic climate control system has
two sun sensors located on the top of the instrument
panel that detect direct sunlight.
To keep you and your
passengers comfortable, the system may supply cooler
air to the side toward the sun. Be careful not to put
anything over these sun sensors. The automatic
electronic climate control system may not operate
correctly
if these sensors are covered.
To change the automatic electronic climate control
display from an English display to a Metric display,
push the
OFF button located in the Driver Information
Center (DIC) for two seconds. The display in the DIC
will also change from an English to a Metric display. To
return to an English display, repeat the above procedure.
Page 156 of 380
Operating the RECIRC mode in cold temperatures or
under high humidity conditions may cause moisture to
form on the inside of the windshield.
If this condition
occurs, deselect the RECIRC button.
A/C ON: Press this button to turn the air conditioning
on and
off. If the system is operating in the automatic
mode, the A/C
ON indicator light will automatically
illuminate. In the auto mode, the
A/C compressor will
only operate when the system determines it
is needed.
OFF: Rotate the AUTO-PUSH knob to OFF. Turning
the system off will cause the fan to turn off and the
airflow to be directed out the lower floor outlets. The
system will still try to keep the interior
of the vehicle at
the previously chosen
comfort setting. The outside
temperature will show in the display when the system is
set to
OFF.
Air Conditioning
The air conditioner cools, dehumidifies and filters the
air for the inside of the vehicle.
The air conditioning compressor is enabled in all modes
unless the A/C
ON button is in the off position (the
indicator light will not be illuminated). However, the air
conditioning compressor will not operate when the
outside temperature is below
42°F (7 "C). When the air
conditioner is on, you may sometimes notice slight
changes
in your vehicle's engine speed and power. This
is normal, because the system is designed to cycle the
compressor on and off to keep the desired cooling and
help fuel economy.
On very hot days, open the windows long enough to let
the hot air out. This reduces the time required to cool the
interior of the vehicle to a comfortable level. If the
system is in the automatic mode (AUTO-PUSH knob
indicator light is on), during very hot days the system
will automatically
go to the RECIRC mode and the
temperature door will be positioned at
the full cold
position for maximum cooling.
You can choose the
extreme comfort setting of
60" F (1 6 O C), but the
system will not cool any faster by choosing the extreme
comfort setting.
Page 157 of 380
Heating
In cold weather, if the automatic mode is selected
(AUTO-PUSH knob indicator light is on), the system
will automatically direct the airflow out of the lower
floor outlets and the temperature door will be positioned
at the full hot position. You can choose the extreme
comfort setting of
90°F (32°C) but the system will not
warm
up any faster by selecting the extreme
comfort setting.
In cold weather, the system will delay turning on the fan
to avoid blowing cold air. The length of the delay
depends on the engine coolant temperature and the
outside temperature. The fan speed will increase as the
temperature
of the engine coolant increases. Rotating the
AUTO FAN
knob will override this delay by turning off
the automatic fan control mode and changing the
fan speed.
Ventilation System
Your vehicle’s flow-through ventilation system always
allows outside air
to flow through your vehicle when it
is moving, even when the system is off.
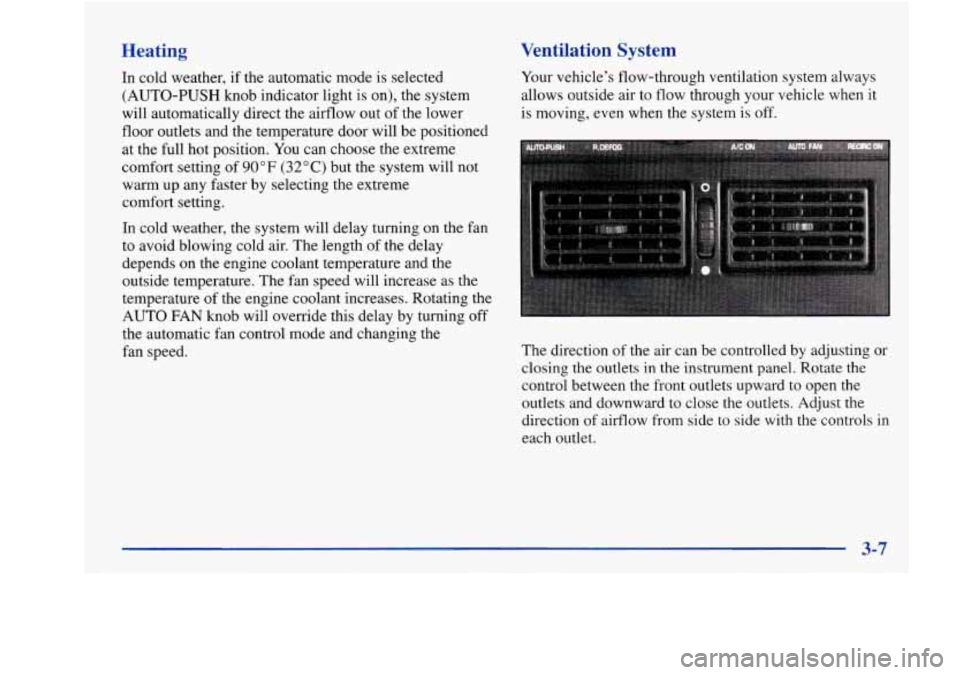
The direction of the air can be controlled by adjusting or
closing the outlets
in the instrument panel. Rotate the
control between the front outlets upward to open the
outlets and downward to close the outlets. Adjust the
direction of airflow
from side to side with the controls in
each outlet.
Page 161 of 380

Audio Systems
Your Delco Electronics audio system has been designed
to operate easily and give years of listening pleasure.
You will get the most enjoyment out of it
if you acquaint
yourself with it first. Find out what your Delco
Electronics system can do and how to operate all its
controls, to be sure you’re getting the most out of the
advanced engineering that went into it.
AM-FM Stereo with Cassette Tape and
Compact
Disc Player with Automatic
Tone Control
Setting the Clock
Press and hold HR until the correct hour appears. The
letter
A or P may appear on the display for AM or PM.
Then, press and hold
MN until the correct minute
appears.
The clock may be set with the ignition on
or off.
Standard Radio -- Base@ Not Shown
If your vehicle is equipped with the Base@ AM-FM
Stereo with Cassette Tape and Compact Disc Player (not
shown), automatic tone control is not available. Your radio
will have
a MUTE button rather than a TONE button.
Playing the Radio
PWR-VOL: Press this knob to turn the system on and
off.
To increase volume, turn the knob to the right. Turn
it to
the left to decrease volume.
3-11
Page 175 of 380
NOTICE:
Before you add any sound equipment to your
vehicle
-- like a tape player, CB radio, mobile
telephone or two-way radio
-- be sure you can
add what you want.
If you can, it’s very
important to do it properly. Added sound
equipment may interfere with the operation of
your vehicle’s engine, Delco Electronics radio or
other systems, and even damage them. Your
vehicle’s systems may interfere with the
operation of sound equipment that has been
added improperly.
So, before adding sound equipment, check with
your retailer and be sure to check Federal rules
covering mobile radio and telephone units.
Care of Your Cassette Tape Player
A tape player that is not cleaned regularly can cause
reduced sound quality, ruined cassettes or a damaged
mechanism. Cassette tapes should be stored in their
cases away from contaminants, direct sunlight and
extreme heat. If they aren’t, they may not operate
properly or may cause failure of the tape player.
Your tape player should be cleaned regularly after every
50 hours of use. Your radio may display CLN to indicate
that you have used your tape player for
50 hours without
resetting the tape clean timer. If this message appears on
the display, your cassette tape player needs to be cleaned. It will still play tapes, but you should clean it as
soon as possible to prevent damage to your tapes and
player. If you notice a reduction in sound quality, try a
known good cassette to see if
it is the tape or the tape
player at fault. If this other cassette has no improvement
in sound quality, clean the tape player.
The recommended cleaning method for your cassette
tape player is the use of a scrubbing action,
non-abrasive cleaning cassette with pads which scrub
the tape head as the hubs of the cleaner cassette turn.
The recommended cleaning cassette is available through
your retail facility
(GM Part No. 12344789).
3-25
Page 185 of 380
If your engine ever stops while you’re driving, brake
normally but don’t pump your brakes. If you do, the
pedal may get harder to push down. If your engine
stops, you will still have some power brake assist. But
you will use
it when you brake. Once the power assist is
used up, it may take longer to stop and the brake pedal
will be harder to push.
Anti-Lock Brakes
Your vehicle has anti-lock brakes (ABS). ABS is an
advanced electronic braking system that will help
prevent a braking skid.
When you start your engine and begin to drive away,
your anti-lock brake system will check itself. You may
hear a momentary motor or clicking noise while this
test is going on, and you may even notice that your
brake pedal moves a little. This
is normal.
If there’s a problem with
the anti-lock brake system,
this warning light will stay
System Warning Light” in
the Index.
LOCK
ANT‘- (@) on. See “Anti-Lock Brake Here’s
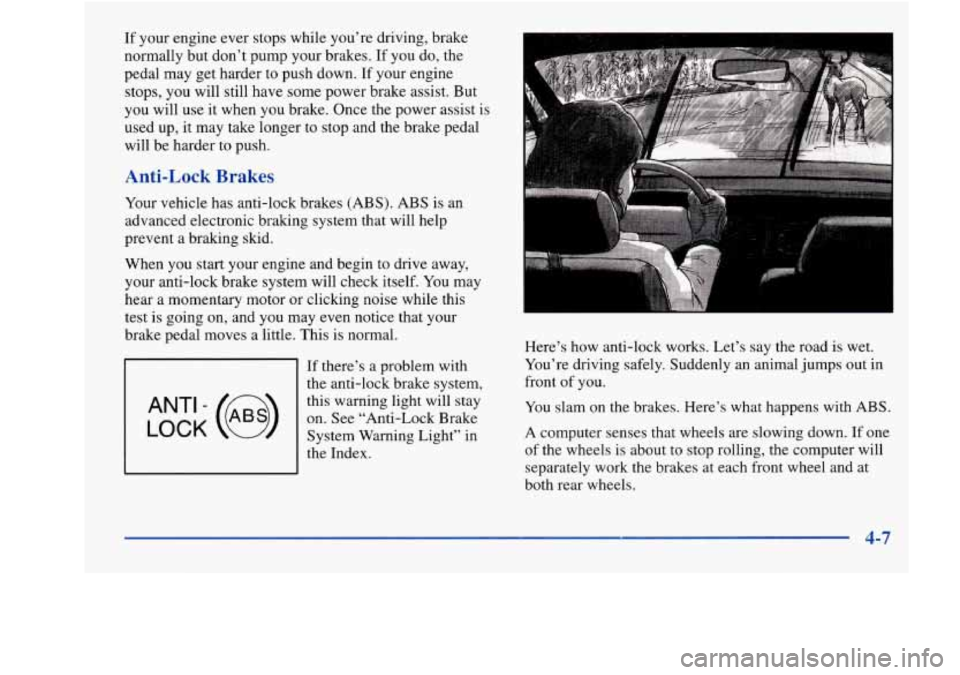
how anti-lock works. Let’s say the road
is wet.
You’re driving safely. Suddenly an animal jumps out in
front
of you.
You slam on the brakes. Here’s what happens with ABS.
A computer senses that wheels are slowing down. If one
of the wheels is about to stop rolling, the computer will
separately work the brakes at each front wheel and at
both rear wheels.
4-7