engine OLDSMOBILE BRAVADA 1996 Owners Manual
[x] Cancel search | Manufacturer: OLDSMOBILE, Model Year: 1996, Model line: BRAVADA, Model: OLDSMOBILE BRAVADA 1996Pages: 340, PDF Size: 17.49 MB
Page 3 of 340
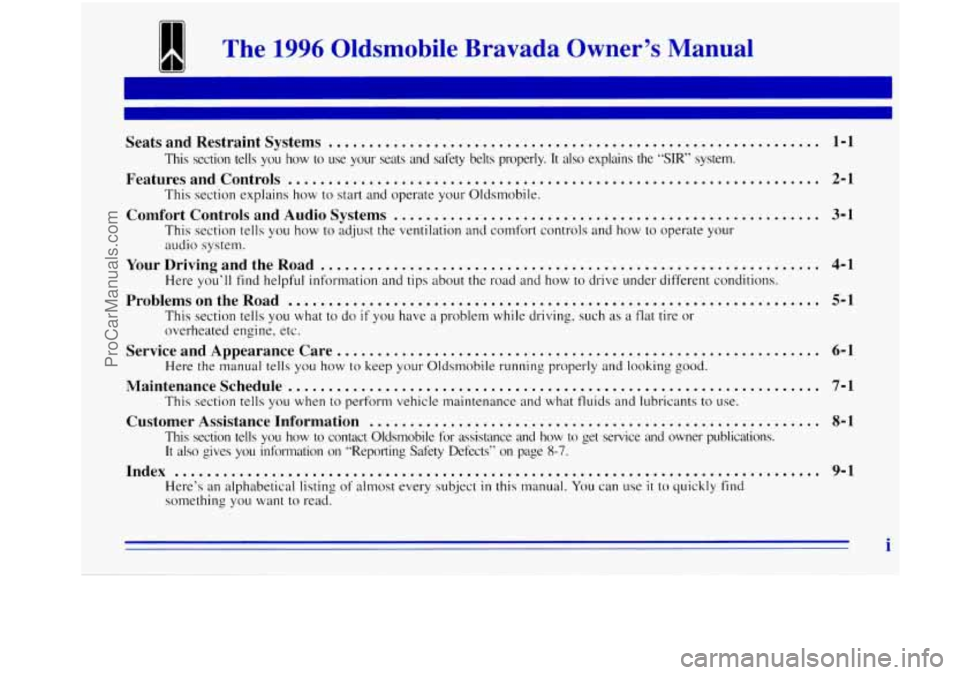
The 1996 Oldsrnobile Bravada Owner’s Manual
Seats and Restraint Systems ............................................................. 1-1
Features and Controls .................................................................. 2-1
Comfort Controls and Audio Systems ..................................................... 3-1
This section tells you how to use your seats and safety belts\
properly. It also explains the “SIR” system.
This section explains how to start and operate your Oldsmobile.
This section tells you how to adjust the ventilation and comfort controls and how to operate your
audio system.
Here you’ll find helpful information and tips about
the road and how to drive under different conditions.
This section tells you what
to do if you have a problem while driving, such as a flat tire or
overheated engine, etc.
Here the manual
tells you how to keep your Oldsmobile running properly and looking good.
This section tells
you when to perform vehicle maintenance and what fluids and lubricants to use.
This section tells you how
to contact Oldsmobile for assistance and how to get service and owner publications.
It
also gives you information on “Reporting Safety Defects” on pag\
e 8-7.
YourDrivingandtheRoad .............................................................. 4-1
ProblemsontheRoad .................................................................. 5-1
ServiceandAppearanceCare ............................................................ 6-1
Maintenanceschedule .................................................................. 7-1
Customer Assistance Information ........................................................ 8-1
Index ........................................................................\
........ 9-1
Here’s an alphabetical listing of almost every subject in this manual. You can use it to quickly find
something you want to read.
i
ProCarManuals.com
Page 7 of 340
L
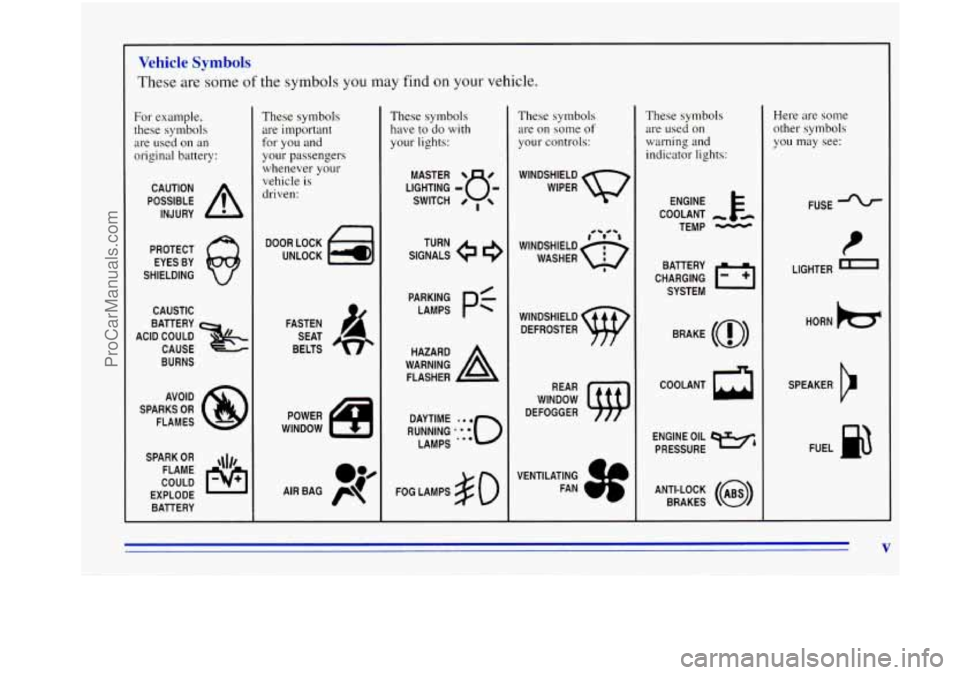
Vehicle Symbols
These are some of the symbols you may find on your vehicle.
For example,
these symbols are used on an
original battery:
POSSIBLE A
CAUTION
INJURY
PROTECT EYES BY
SHIELDING
CAUSTIC
ACID COULD BATTERY
CAUSE
BURNS
AVOID
SPARKS
OR
FLAMES
SPARK
OR ,\I/,
COULD FLAME
EXPLODE BATTERY
These symbols are important
for you and
your passengers whenever your
vehicle is
driven:
DOOR LOCK
UNLOCK
FASTEN SEAT
BELTS
These symbols have
to do with
your lights:
SIGNALS e
TURN
RUNNING
.'*'**o
DAYTIME LAMPS
'**
FOG LAMPS $0
These symbols
are on some of
your controls:
WINDSHIELD
WIPER
WINDSHIELD DEFROSTER
VENTILATING FAN
These symbols are used on
warning and
indicator lights:
ENGINE c
COOLANT - r-
TEMP -
CHARGING I-1
BATTERY
SYSTEM
BRAKE
(@)
COOLANT a
ENGINE OIL e,
PRESSURE
ANTI-LOCK
(@)
BRAKES
Here are some other symbols
you may see:
FUSE
LIGHTER
n
HORN b
SPEAKER
b
FUEL e3
V
ProCarManuals.com
Page 59 of 340

Endgate
A CAUTION:
It can be dangerous to drive with the rear
window or endgate open because carbon
monoxide (CO) gas can come into your vehicle.
You can’t see
or smell CO. It can cause
unconsciousness and even death.
If you must drive with the rear window or
endgate open or if electrical wiring or other cable
connections must pass through the seal between
the body and the rear window or endgate:
0 Make sure all windows are shut.
Turn the fan on your heating or cooling
system to its highest speed with the setting
on VENT. That will force outside air into
your vehicle. See “Comfort Controls’’ in
the Index.
instrument panel, open them all the
way.
If you have air outlets on or under the
See “Engine Exhaust” in the Index.
Endgate Release
There are several ways to release the endgate. However,
the endgate glass will not release if the vehicle
is in gear.
You can use
you key to unlock the endgate from the
outside. Insert
the key in the endgate lock button and
turn it counterclockwise. All doors will unlock.
You may also use the Keyless Entry system
described earlier.
The endgate can be opened without a key if the driver’s
door is unlocked.
ProCarManuals.com
Page 62 of 340
New Vehicle LLBreak-In”
NOTICE:
Your modern Oldsmobile doesn’t need an
elaborate “break-in.” But it will perform better
in the long run if you follow these guidelines:
a
0
0
0
Keep your speed at 55 mph (88 kmh) or
less for the first
500 miles (804 km).
Don’t drive at any one speed
-- fast or
slow
-- for the first 500 miles (804 km).
Don’t make full-throttle starts.
Avoid making hard stops for the first
200 miles (322 km) or so. During this time
your new brake linings aren’t yet broken
in. Hard stops with new linings can mean
premature wear and earlier replacement.
Follow this breaking-in guideline every
time you get new brake linings.
Don’t tow
a trailer during break-in. See
“Towing
a Trailer” in the Index for
more information.
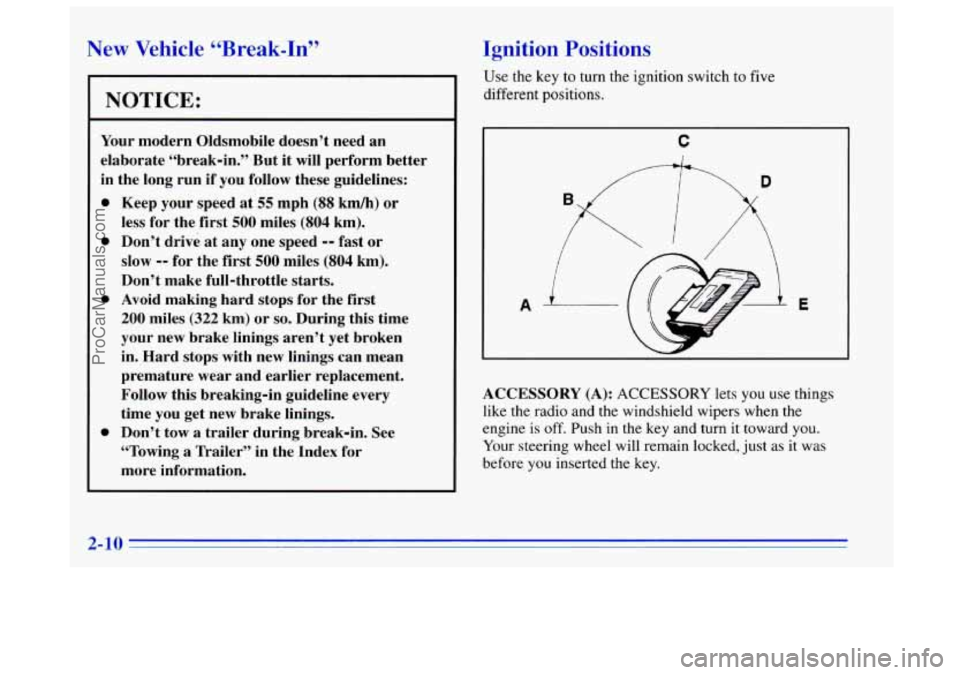
Ignition Positions
Use the key to turn the ignition switch to five
different positions.
C
D
A E
ACCESSORY (A): ACCESSORY lets you use things
like the radio and the windshield wipers when the
engine
is off. Push in the key and turn it toward you.
Your steering wheel will remain locked, just as it was
before you inserted the
key.
ProCarManuals.com
Page 63 of 340
NOTICE:
Don’t operate accessories in the ACCESSORY
position for long periods of time. Prolonged
operation of accessories in the ACCESSORY
position could drain your battery and prevent
you from starting your vehicle.
LOCK
(B): This position locks your ignition, steering
wheel and transmission. It’s a theft-deterrent feature.
You will only be able to remove your key when the
ignition is turned to
LOCK.
RUN (D): This is the position for driving.
START (E): This starts your engine.
I NOTICE:
If your key seems stuck in LOCK and you can’t
turn it, be sure it is all the way in.
If it is, then
turn the steering wheel left and right while you
turn the key hard. But turn the key only with
your hand. Using a tool to force it could break
the key or the ignition switch.
If none of this
1 works, then your vehicle needs service.
I
OFF (C): This position lets you turn off the engine but
still turn the steering wheel. Use
OFF if you must have
your vehicle in motion while the engine is
off (for
example, if your vehicle is being towed).
2-11
ProCarManuals.com
Page 64 of 340
Starting Your Engine
Move your shift lever to PARK (P) or NEUTRAL (N).
Your engine won’t start in any other position -- that’s a
safety feature. To restart when you’re already moving,
use NEUTRAL
(N) only.
I NOTICE:
Don’t try to shift to PARK (P) if your Oldsmobile
is moving. If you do, you could damage the
transmission. Shift to PARK (P) only when your
vehicle is stopped.
1. Without pushing the accelerator pedal, turn your
ignition key
to START. When the engine starts, let
go
of the key. The idle speed will go down as your
engine gets warm.
I NOTICE:
Holding your key in START for longer than
15 seconds at a time will cause your battery to be
drained much sooner. And the excessive heat can
damage your starter motor.
2-:
2.
3.
If it doesn’t start right away, hold your key in
START. If it doesn’t start in 10 seconds, push the
accelerator pedal all the way down for five more
seconds, or until it starts.
If your engine still won’t start (or starts but then
stops), wait
15 seconds and start over.
When the engine starts, let go
of the key and the
accelerator pedal.
I NOTICE:
Your engine is designed to work with the
electronics in your vehicle.
If you add electrical
parts
or accessories, you could change the way
the engine operates. Before adding electrical
equipment, check with your retailer.
If you don’t,
your engine might not perform properly.
If you ever have to have your vehicle towed, see
the part
of this manual that tells how to do it
without damaging your vehicle. See “Towing
Your Vehicle”
in the Index.
ProCarManuals.com
Page 65 of 340

Engine Coolant Heater (Option)
The engine coolant heater
cord is secured on the
driver’s side of the vehicle,
by the brake controller.
In very cold weather,
0°F (- 18OC) or colder, the engine
coolant heater can help. You’ll get easier starting and
better fuel economy during engine warm-up. Usually,
the coolant heater should be plugged in
a minimum of
four hours prior to starting your vehicle.
To use the coolant heater:
1. Turn off the engine.
2. Open the hood and unwrap the electrical cord.
3. Plug it into a normal, grounded 110-volt AC outlet.
~ Plugging the cord into an ungrounded outlet
~ could cause an electrical shock. Also, the wrong
1 kind of extension cord could overheat and cause
~ a fire. You could be seriously injured. Plug the
~ cord into a properly grounded three-prong
110-volt AC outlet.
If the cord won’t reach, use a
heavy-duty three-prong extension cord rated for
at least 15 amps.
4. After you’ve used the coolant heater, be sure to store
the cord as it was before
to keep it away from moving
engine parts.
If you don’t, it could be damaged.
How long should you keep the coolant heater plugged
in? The answer depends on the outside temperature, the
kind
of oil you have, and some other things. Instead of
trying to list everything here, we ask that you contact
your Oldsmobile retailer in the area where you’ll be
parking your vehicle. The retailer can give you the best
advice for that particular area.
ProCarManuals.com
Page 66 of 340
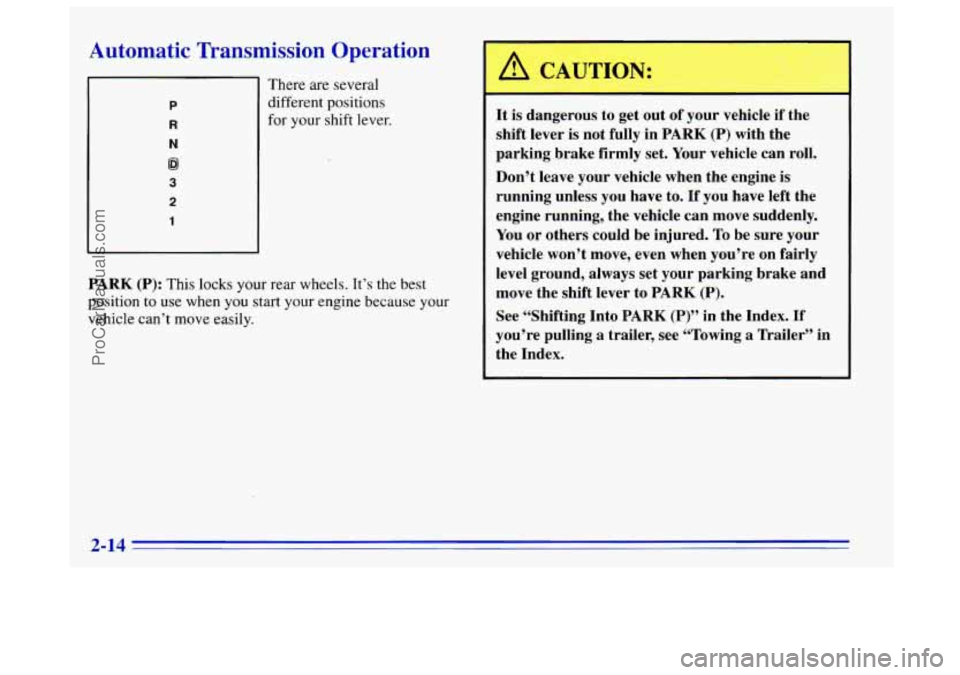
Automatic Transmission Operation
P
R
N
@I
3
2
1
There are several
different positions
for your shift lever.
PARK (P): This locks your rear wheels. It’s the best
position
to use when you start your engine because your
vehicle can’t move easily.
In CAUTION:
It is dangerous to get out of your vehicle if the
shift lever is not fully in
PARK (P) with the
parking brake firmly set. Your vehicle can roll.
Don’t leave your vehicle when the engine is
running unless you have to.
If you have left the
engine running, the vehicle can move suddenly.
You or others could be injured. To be sure your
vehicle won’t move, even when you’re on fairly
level ground, always set your parking brake and
move the shift lever to
PARK (P).
See “Shifting Into PARK (P)” in the Index. If
you’re pulling a trailer, see “Towing a Trailer” in
the Index.
2-14
ProCarManuals.com
Page 67 of 340
Ensure the shift lever is fully in PARK (P) range
before starting
the engine. Your vehicle has a
brake-transmission shift interlock. You have to fully
apply your regular brakes before you can shift from
PARK (P) when
the ignition key is in the RUN position.
If you cannot shift
out of PARK (P), ease pressure on
the shift lever -- press the button on the shift lever and
push the shift lever all the way into PARK
(P) as you
maintain brake application. Then move the shift lever
into the gear you wish. See “Shifting Out of PARK
(P)”
in the Index.
REVERSE (R): Use this gear to back up.
I NOTICE:
Shifting to REVERSE (R) while your vehicle is
moving forward could damage your transmission.
Shift to REVERSE (R) only after your vehicle
is stopped.
To rock your vehicle back and forth to get out of snow,
ice
or sand without damaging your transmission, see
“Stuck: In Sand, Mud, Ice or Snow” in the Index.
NEUTRAL (N): In this position, your engine doesn’t
connect with the wheels. To restart when you’re already
moving, use NEUTRAL
(N) only.
I
Shifting out of PARK (P) or NEUTRAL (N) while
your engine
is “racing” (running at high speed) is
dangerous. Unless your foot is firmly on the
brake pedal,
your vehicle could move very
rapidly. You could lose control and hit people or
objects. Don’t shift out
of PARK (P) or
NEUTRAL (N) while your engine is racing.
I NOTICE:
~~~
Damage to your transmission caused by shifting
out of PARK
(P) or NEUTRAL (N) with the
engine racing isn’t covered by your warranty.
ProCarManuals.com
Page 69 of 340
Locking Rear Axle
Your rear axle can give you additional traction on snow,
mud, ice, sand or gravel. It works like
a standard axle
most
of the time, but when one of the rear wheels has no
traction and the other does, the locking feature will
allow the wheel with traction to move the vehicle.
All-Wheel Drive
Your engine’s driving power is sent to all four wheels
for extra traction. All-wheel drive
is like four-wheel
drive, but there is no lever or switch
to engage or
disengage the front axle. It is
fully automatic and adjusts
itself
as needed for road conditions.
Parking Brake
To set the parking brake, hold the regular brake pedal
down with your right foot. Push down the parking brake
pedal with your left
foot. If the ignition is on, the brake
system warning light will come on.
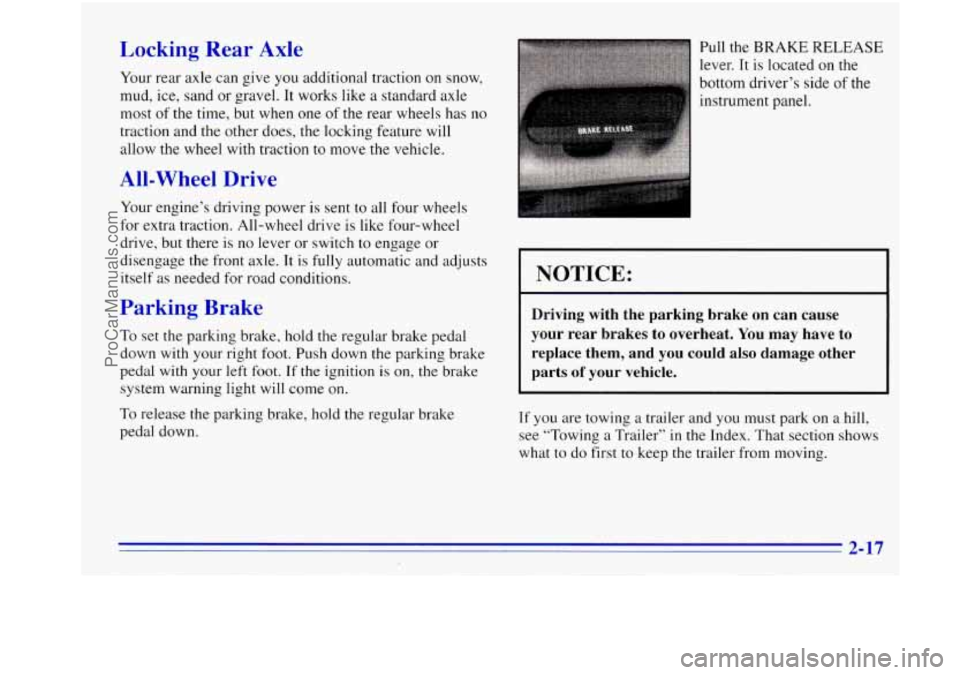
To release the parking brake, hold the regular brake
pedal down. Pull the
BRAKE RELEASE
lever.
It is located on the
bottom driver’s side of the
instrument panel.
NOTICE:
Driving with the parking brake on can cause
your rear brakes to overheat. You may have to
replace them, and you could
also damage other
parts of your vehicle.
If you are towing a trailer and you must park on a hill,
see “Towing
a Trailer” in the Index. That section shows
what to do first to keep the trailer from moving.
2-17
ProCarManuals.com