tow OLDSMOBILE BRAVADA 1996 Owners Manual
[x] Cancel search | Manufacturer: OLDSMOBILE, Model Year: 1996, Model line: BRAVADA, Model: OLDSMOBILE BRAVADA 1996Pages: 340, PDF Size: 17.49 MB
Page 9 of 340
Section 1 Seats and Restraint Systems
Here you’ll find information about the seats in your
Oldsmobile and how to use your safety belts properly.
You can also learn about some things you should not do
with air bags and safety belts.
Seats and Seat Controls
This section tells you about the seats -- how to adjust
them, and fold them up and down.
Manual Passenger’s Seat
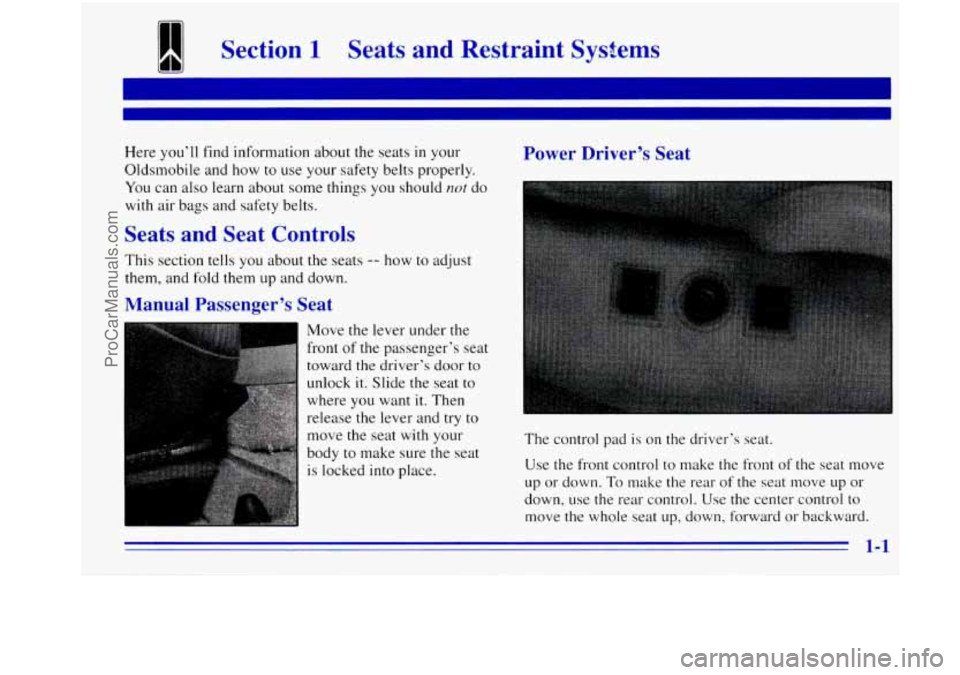
Move the lever under the
front
of the passenger’s seat
toward the driver’s door to unlock it. Slide the seat
to
where you want it. Then
release the lever and try
to
move the seat with your
body to make sure the seat
is locked
into place.
Power Driver’s Seat
The control pad is on the driver’s seat.
Use the front control to make the front of the seat move
up or down. To make the rear of the seat move up or
down, use the rear control. Use the center control to
move the whole seat
up, down, forward or backward.
1-1
ProCarManuals.com
Page 27 of 340

When should an air bag inflate?
The air bag is designed to inflate in moderate to severe
frontal or near-frontal crashes. The air bag will inflate
only if the impact speed is above the system’s designed
“threshold level.”
If your vehicle goes straight into a
wall that doesn’t move or deform, the threshold level is
about
14 to 18 mph (23 to 29 km/h). The threshold level
can vary, however, with specific vehicle design,
so that
it can be somewhat above or below this range. If your
vehicle strikes something that will move or deform, such
as a parked car, the threshold level will be higher. The
air bag is
not designed to inflate in rollovers, side
impacts or rear impacts, because inflation would not
help the occupant.
In any particular crash, no one can say whether an air
bag should have inflated simply because of the damage
to
a vehicle or because of what the repair costs were.
Inflation is determined by the angle of
the impact and
the vehicle’s deceleration. Vehicle damage is only one
indication of
this.
The air bag system is designed to work properly under a
wide range of conditions, including off-road usage.
Observe safe driving speeds, especially
on rough terrain.
As always, wear your safety belt. See “Off-Road
Driving”
in the Index for more tips on off-road driving.
What makes an air bag inflate?
In a frontal or near-frontal impact of sufficient severity,
the air bag sensing system detects that the vehicle is
suddenly stopping as
a result of a crash. The sensing
system triggers
a chemical reaction of the sodium azide
sealed
in the inflator. The reaction produces nitrogen
gas, which inflates the air bag. The inflator, air bag and
related hardware are all part
of the air bag module
packed inside the steering wheel.
How does an air bag restrain?
In moderate to severe frontal or near-frontal collisions,
even belted occupants can contact the steering wheel.
The air bag supplements the protection provided by
safety belts.
Air bags distribute the force of the impact
more evenly over the occupant’s upper body, stopping
the occupant more gradually. But air bags would not
help you
in many types of collisions, including
rollovers, rear impacts and side impacts, primarily
because an occupant’s motion
is not toward the air bag.
Air bags should never be regarded as anything more
than
a supplement to safety belts, and then only in
moderate to severe frontal or near-frontal collisions.
ProCarManuals.com
Page 48 of 340
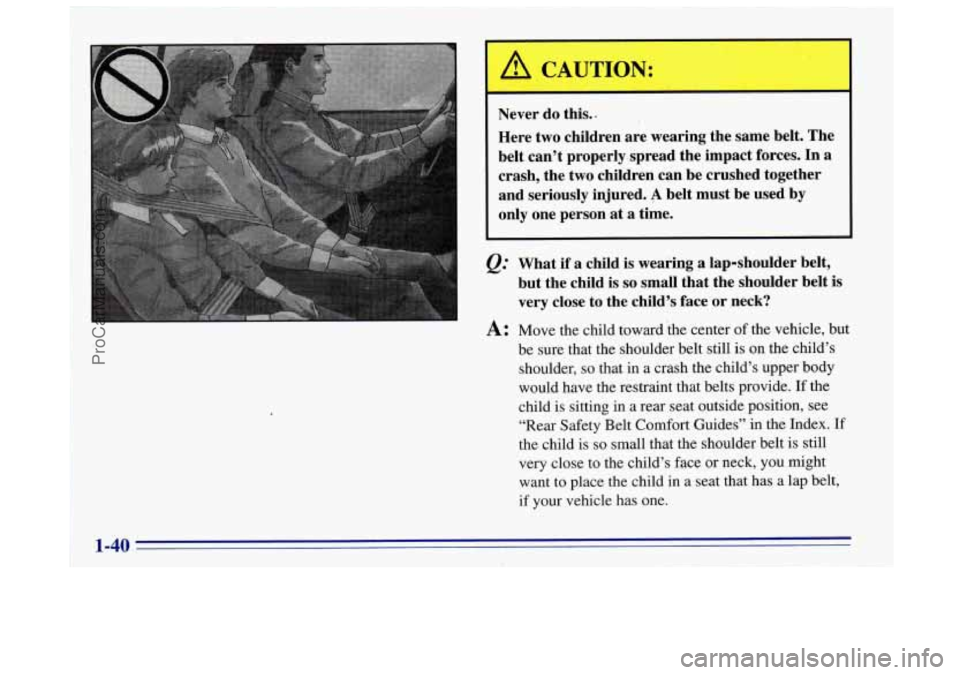
I Never do this..
Here two children are wearing the same belt. The
belt can’t properly.spread the impact forces.
In a
crash, the two children can be crushed together
and seriously injured.
4 belt must be used by
only one person at a time.
What if a child is weai-ing
a lap-shoulder belt,
but the child is
so small that the shoulder belt is
very close to the child’s face or neck?
A: Move the child toward ‘the center of the vehicle, but
be sure that the shoulder belt still is on the child’s
shoulder,
so that in a crash the child’s upper body
would have the restraint that belts provide. If the
child is sitting in a rear seat outside position, see
“Rear Safety Belt Comfort Guides” in the Index. If
the child is
so small that the shoulder belt is still
very close to’the child’s face or neck, you might
want to place the child in a seat that has a lap belt,
if your vehicle has one.
1-40
ProCarManuals.com
Page 61 of 340
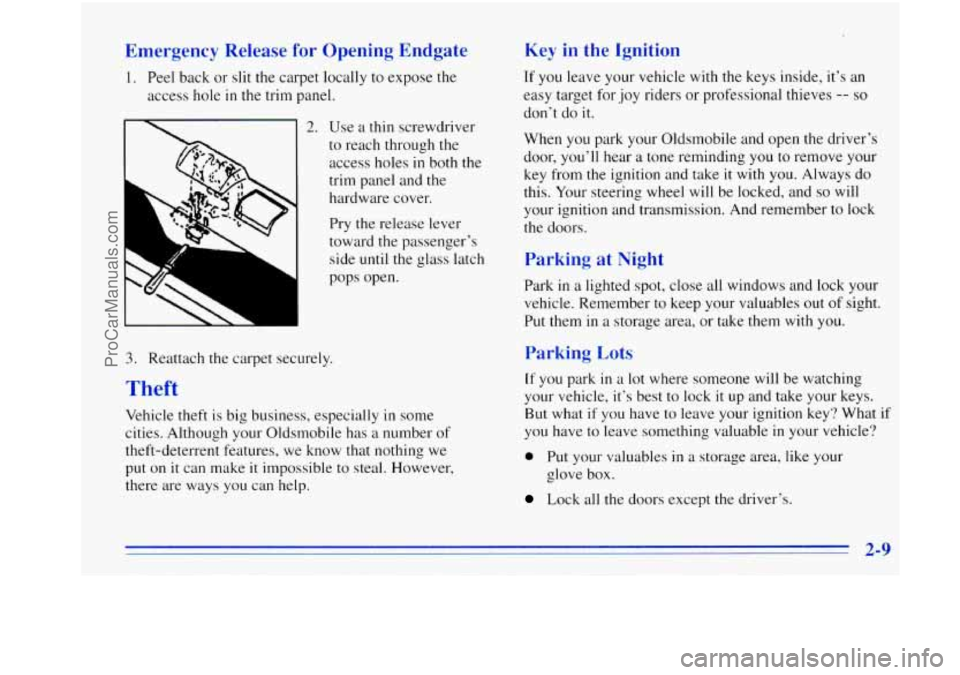
Emergency Release for Opening Endgate
1. Peel back or slit the carpet locally to expose the
access hole in the trim panel.
2. Use a thin screwdriver
L‘
to reach through the
access holes in both the
trim
ane el and the 1
hardware cover.
3. Reattach the carpet securely. Pry the release
lever
toward the passenger’s
side
until the glass latch
pops open.
Theft
Vehicle theft is big business, especially in some
cities. Although your Oldsmobile has
a number of
theft-deterrent features, we know that nothing we
put
on it can make it impossible to steal. However,
there are ways you can help.
Key in the Ignition
If you leave your vehicle with the keys inside, it’s an
easy target for joy riders or professional thieves
-- so
don’t do it.
When
you park your Oldsmobile and open the driver’s
door, you’ll hear a tone reminding
you to remove your
key from the ignition and take
it with you. Always do
this. Your steering wheel will be locked, and
so will
your ignition and transmission. And remember to lock
the doors.
Parking at Night
Park in a lighted spot, close all windows and lock your
vehicle. Remember to keep your valuables out
of sight.
Put them in a storage area, or take them with you.
Parking Lots
If you park in a lot where someone will be watching
your vehicle, it’s best to lock it up and take your keys.
But what if
you have to leave your ignition key? What if
you have to leave something valuable
in your vehicle?
0 Put your valuables in a storage area, like your
glove box.
Lock all the doors except the driver’s.
ProCarManuals.com
Page 62 of 340
New Vehicle LLBreak-In”
NOTICE:
Your modern Oldsmobile doesn’t need an
elaborate “break-in.” But it will perform better
in the long run if you follow these guidelines:
a
0
0
0
Keep your speed at 55 mph (88 kmh) or
less for the first
500 miles (804 km).
Don’t drive at any one speed
-- fast or
slow
-- for the first 500 miles (804 km).
Don’t make full-throttle starts.
Avoid making hard stops for the first
200 miles (322 km) or so. During this time
your new brake linings aren’t yet broken
in. Hard stops with new linings can mean
premature wear and earlier replacement.
Follow this breaking-in guideline every
time you get new brake linings.
Don’t tow
a trailer during break-in. See
“Towing
a Trailer” in the Index for
more information.
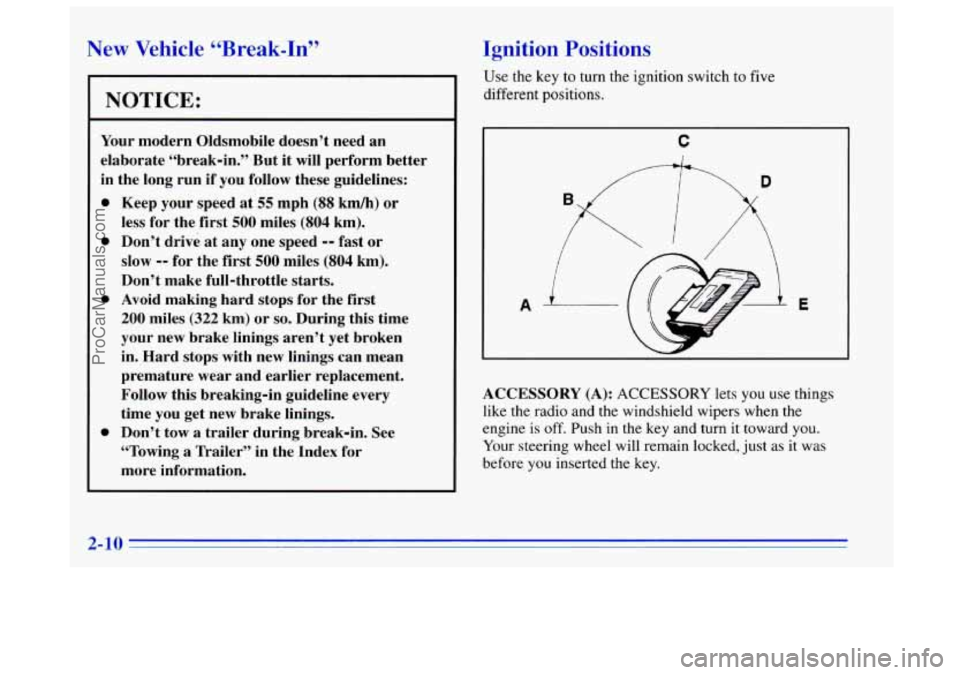
Ignition Positions
Use the key to turn the ignition switch to five
different positions.
C
D
A E
ACCESSORY (A): ACCESSORY lets you use things
like the radio and the windshield wipers when the
engine
is off. Push in the key and turn it toward you.
Your steering wheel will remain locked, just as it was
before you inserted the
key.
ProCarManuals.com
Page 63 of 340
NOTICE:
Don’t operate accessories in the ACCESSORY
position for long periods of time. Prolonged
operation of accessories in the ACCESSORY
position could drain your battery and prevent
you from starting your vehicle.
LOCK
(B): This position locks your ignition, steering
wheel and transmission. It’s a theft-deterrent feature.
You will only be able to remove your key when the
ignition is turned to
LOCK.
RUN (D): This is the position for driving.
START (E): This starts your engine.
I NOTICE:
If your key seems stuck in LOCK and you can’t
turn it, be sure it is all the way in.
If it is, then
turn the steering wheel left and right while you
turn the key hard. But turn the key only with
your hand. Using a tool to force it could break
the key or the ignition switch.
If none of this
1 works, then your vehicle needs service.
I
OFF (C): This position lets you turn off the engine but
still turn the steering wheel. Use
OFF if you must have
your vehicle in motion while the engine is
off (for
example, if your vehicle is being towed).
2-11
ProCarManuals.com
Page 64 of 340
Starting Your Engine
Move your shift lever to PARK (P) or NEUTRAL (N).
Your engine won’t start in any other position -- that’s a
safety feature. To restart when you’re already moving,
use NEUTRAL
(N) only.
I NOTICE:
Don’t try to shift to PARK (P) if your Oldsmobile
is moving. If you do, you could damage the
transmission. Shift to PARK (P) only when your
vehicle is stopped.
1. Without pushing the accelerator pedal, turn your
ignition key
to START. When the engine starts, let
go
of the key. The idle speed will go down as your
engine gets warm.
I NOTICE:
Holding your key in START for longer than
15 seconds at a time will cause your battery to be
drained much sooner. And the excessive heat can
damage your starter motor.
2-:
2.
3.
If it doesn’t start right away, hold your key in
START. If it doesn’t start in 10 seconds, push the
accelerator pedal all the way down for five more
seconds, or until it starts.
If your engine still won’t start (or starts but then
stops), wait
15 seconds and start over.
When the engine starts, let go
of the key and the
accelerator pedal.
I NOTICE:
Your engine is designed to work with the
electronics in your vehicle.
If you add electrical
parts
or accessories, you could change the way
the engine operates. Before adding electrical
equipment, check with your retailer.
If you don’t,
your engine might not perform properly.
If you ever have to have your vehicle towed, see
the part
of this manual that tells how to do it
without damaging your vehicle. See “Towing
Your Vehicle”
in the Index.
ProCarManuals.com
Page 66 of 340
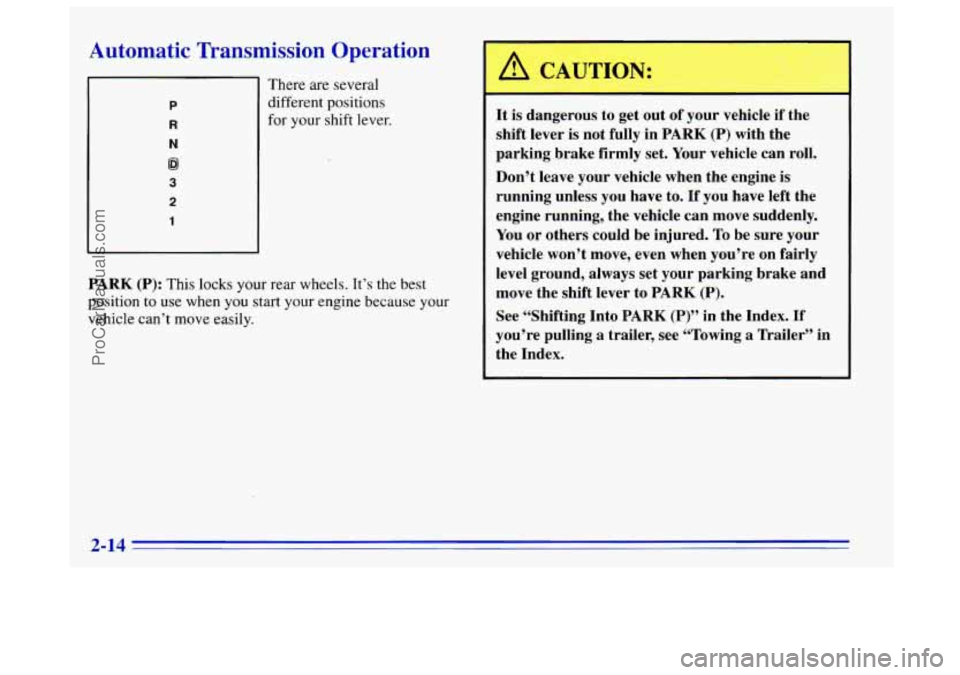
Automatic Transmission Operation
P
R
N
@I
3
2
1
There are several
different positions
for your shift lever.
PARK (P): This locks your rear wheels. It’s the best
position
to use when you start your engine because your
vehicle can’t move easily.
In CAUTION:
It is dangerous to get out of your vehicle if the
shift lever is not fully in
PARK (P) with the
parking brake firmly set. Your vehicle can roll.
Don’t leave your vehicle when the engine is
running unless you have to.
If you have left the
engine running, the vehicle can move suddenly.
You or others could be injured. To be sure your
vehicle won’t move, even when you’re on fairly
level ground, always set your parking brake and
move the shift lever to
PARK (P).
See “Shifting Into PARK (P)” in the Index. If
you’re pulling a trailer, see “Towing a Trailer” in
the Index.
2-14
ProCarManuals.com
Page 68 of 340

AUTOMATIC OVERDRIVE (@): This position is for
normal driving. If
you need more power for passing,
and you’re:
Going less than about 35 mph (56 km/h), push your
accelerator pedal about halfway down.
Going about 35 mph (56 km/h) or more, push the
accelerator all the way down.
You’ll shift down to the next gear and have more power.
AUTOMATIC OVERDRIVE
(@) should not be used
when towing a trailer, carrying a heavy load, driving
on
steep hills or for off-road driving. Select THIRD (3) when
operating the vehicle under any
of these conditions.
THIRD (3): This position is also used for normal
driving, however it offers more power but lower fuel
economy than AUTOMATIC OVERDRIVE
((LO). You
should use THIRD
(3) when towing a trailer, carrying a
heavy load, driving on steep hills or winding roads or
for off-road driving.
SECOND (2): This position gives you more power but
lower
fuel economy. You can use SECOND (2) on hills.
It can help control your speed as you
go down steep
mountain roads, but
then you would also want to use
your brakes off and
on.
You can also use SECOND (2) for starting your vehicle
from a stop on slippery road surfaces.
FIRST (1): This position gives you even more power
(but lower
fuel economy) than SECOND (2). You can
use it on very steep hills,
or in deep snow or mud. If the
selector lever is put
in FIRST (1) while the vehicle is
moving forward, the transmission won’t shift into
FIRST (1) until the vehicle is going slowly enough.
I NOTICE:
If your rear wheels can’t rotate, don’t try to
drive. This might happen if you were stuck in
very deep sand or mud or were up against
a solid
object. You could damage your transmission.
Also, if you stop when going uphill, don’t hold your
vehicle there with only the accelerator pedal. This
could overheat and damage the transmission. Use
your brakes or shift into PARK
(P) to hold your
vehicle in position on
a hill.
ProCarManuals.com
Page 69 of 340
Locking Rear Axle
Your rear axle can give you additional traction on snow,
mud, ice, sand or gravel. It works like
a standard axle
most
of the time, but when one of the rear wheels has no
traction and the other does, the locking feature will
allow the wheel with traction to move the vehicle.
All-Wheel Drive
Your engine’s driving power is sent to all four wheels
for extra traction. All-wheel drive
is like four-wheel
drive, but there is no lever or switch
to engage or
disengage the front axle. It is
fully automatic and adjusts
itself
as needed for road conditions.
Parking Brake
To set the parking brake, hold the regular brake pedal
down with your right foot. Push down the parking brake
pedal with your left
foot. If the ignition is on, the brake
system warning light will come on.
To release the parking brake, hold the regular brake
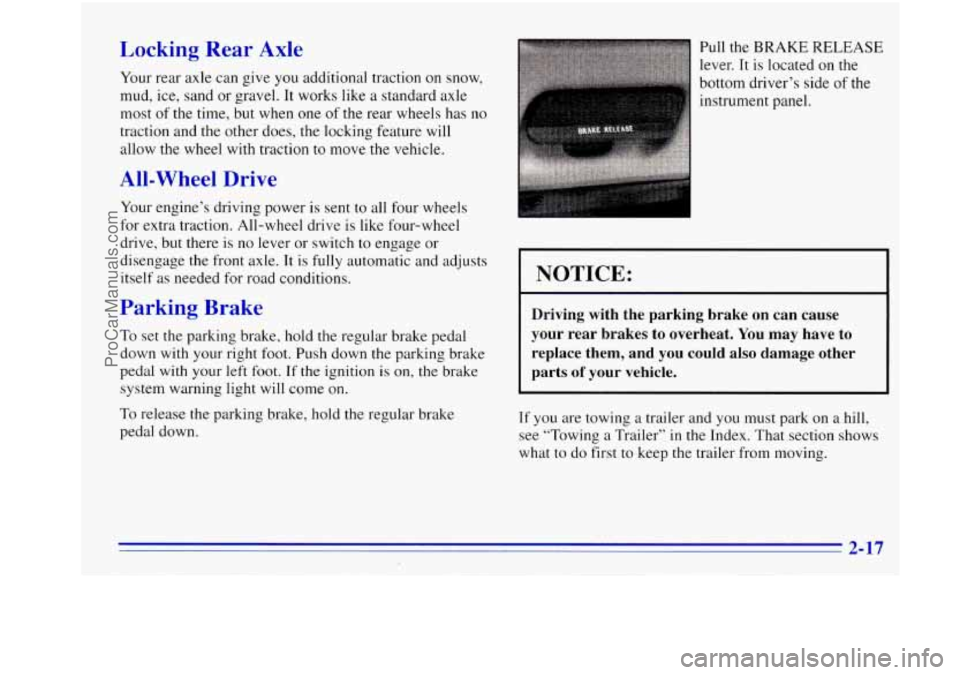
pedal down. Pull the
BRAKE RELEASE
lever.
It is located on the
bottom driver’s side of the
instrument panel.
NOTICE:
Driving with the parking brake on can cause
your rear brakes to overheat. You may have to
replace them, and you could
also damage other
parts of your vehicle.
If you are towing a trailer and you must park on a hill,
see “Towing
a Trailer” in the Index. That section shows
what to do first to keep the trailer from moving.
2-17
ProCarManuals.com