headlamp Oldsmobile Bravada 2003 s User Guide
[x] Cancel search | Manufacturer: OLDSMOBILE, Model Year: 2003, Model line: Bravada, Model: Oldsmobile Bravada 2003Pages: 410, PDF Size: 20.1 MB
Page 159 of 410
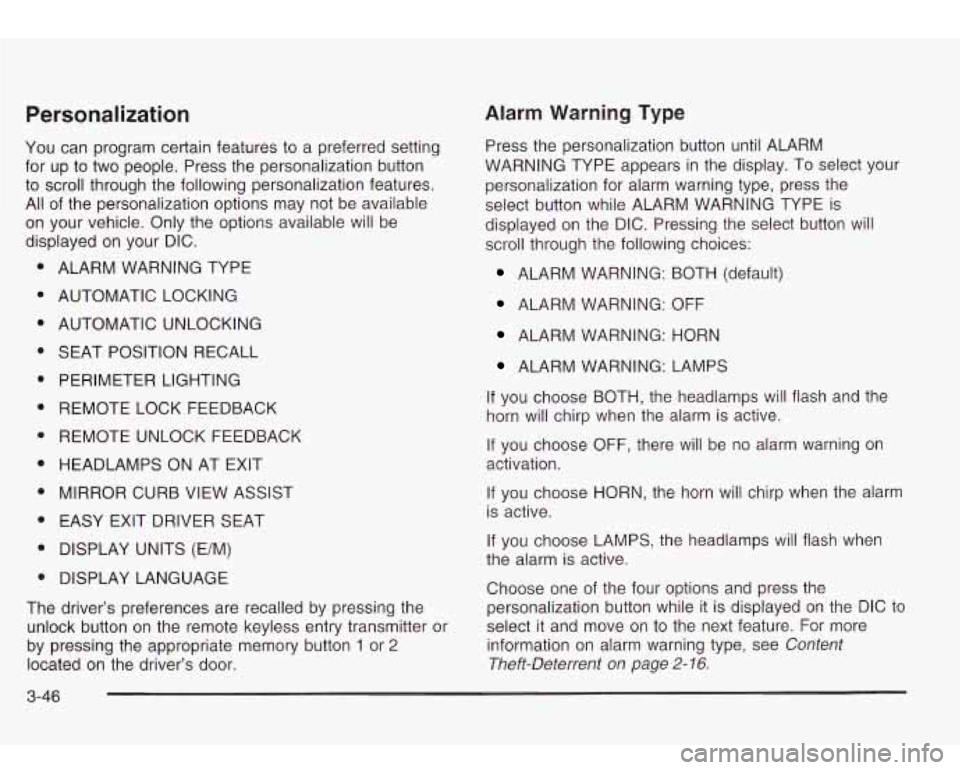
Personalization
You can program certain features to a preferred setting
for up to two people. Press the personalization button
to scroll through the following personalization features.
All of the personalization options may not be available
on your vehicle. Only the options available will be
displayed on your DIC.
ALARM WARNING TYPE
AUTOMATIC LOCKING
AUTOMATIC UNLOCKING
SEAT POSITION RECALL
PERIMETER LIGHTING
REMOTE LOCK FEEDBACK
REMOTE UNLOCK FEEDBACK
HEADLAMPS ON AT EXIT
MIRROR CURB VIEW ASSIST
EASY EXIT DRIVER SEAT
DISPLAY UNITS (E/M)
DISPLAY LANGUAGE
The driver’s preferences are recalled by pressing the
unlock button on the remote keyless entry transmitter or
by pressing the appropriate memory button
1 or 2
located on the driver’s door.
Alarm Warning Type
Press the personalization button until ALARM
WARNING TYPE appears in the display. To select your
personalization for alarm warning type, press the
select button while ALARM WARNING TYPE is
displayed on the DIC. Pressing the select button will
scroll through the following choices:
ALARM WARNING: BOTH (default)
ALARM WARNING: OFF
ALARM WARNING: HORN
ALARM WARNING: LAMPS
If you choose BOTH, the headlamps will flash and the
horn will chirp when the alarm is active.
If you choose OFF, there will be no alarm warning on
activation.
If you choose HORN, the horn will chirp when the alarm
is active.
If you choose LAMPS, the headlamps will flash when
the alarm is active.
Choose one of the four options and press the
personalization button while it is displayed
on the DIC to
select it and move on to the next feature. For more
information on alarm warning type, see
Content
Theft-Deterrent on page
2- 16.
3-46
Page 161 of 410
Seat Position Recall Perimeter Lighting
Press
the personalization button until PERIMETER
LIGHTING appears in the display. To select your
personalization for perimeter lighting, press the select
button while PERIMETER LIGHTING is displayed on the
DIC. Pressing the select button will scroll through the
following choices:
PERIMETER LIGHTING ON (default)
PERIMETER LIGHTING OFF
Press the personalization button until SEAT POSITION
RECALL appears in the display. To select your
personalization for seat position recall, press the select
button while SEAT POSITION RECALL is displayed
on the DIC. Pressing the select button will scroll through
the following choices:
SEAT POSITION RECALL OFF (default)
SEAT POSITION RECALL AT KEY IN
SEAT POSITION RECALL ON REMOTE
If you choose seat recall
off, the memory seat position
you saved will only be recalled when the memory
button lor
2 is pressed.
If you choose seat recall at key in, the memory seat
position you saved will be recalled when you put the key
in the ignition.
If you choose seat recall on remote, the memory seat
position you saved will be recalled when you unlock the
vehicle with the remote keyless entry transmitter.
Choose one of the three options and press the
personalization button while it is displayed on the DIC
to
select it and move on to the next feature.
If you choose for perimeter lighting to be on, the
headlamps and back-up lamps will come on for
40 seconds, if it is dark enough outside, when you
unlock the vehicle with the remote keyless entry
transmitter.
Choose one of the
two options and press the
personalization button while it is displayed on the DIC to
select it and move on to the next feature.
3-48
Page 163 of 410
If you choose horn, the horn will chirp the second time
you press the button with the unlock symbol on the
remote keyless entry transmitter.
Choose one of the four options and press the
personalization button while it is displayed on the DIC
to
select it and move on to the next feature.
Headlamps on at Exit
Press the personalization button until HEADLAMPS ON
AT EXIT appears in the display. To select your
personalization for how long the headlamps will stay on
when you turn
off the vehicle, press the select button
while HEADLAMPS
ON AT EXIT is displayed on
the DIC. Pressing the select button will scroll through
the following choices:
HEADLAMP DELAY: 10 SEC (default)
HEADLAMP DELAY: 20 SEC
HEADLAMP DELAY: 40 SEC
HEADLAMP DELAY: 60 SEC
HEADLAMP DELAY: 120 SEC
0 HEADLAMP DELAY: 180 SEC
HEADLAMP DELAY OFF
The amount of time you choose will be the amount of
time that the headlamps stay on after you turn
off
the vehicle. If you choose off, the headlamps will turn
off as soon as you turn off the vehicle.
Choose one of the seven options and press the
personalization button while
it is displayed on the DIC to
select it and move on to the next feature.
Mirror Curbview Assist
Press the personalization button until MIRROR
CURBVIEW ASSIST appears in the display.
To select
your personalization for tilt mirror in reverse, press
the select button while MIRROR CURBVIEW ASSIST is
displayed on the DIC. Pressing the select button will
scroll through the following choices:
CURB VIEW: OFF (default)
CURB VIEW: PASSENGER
CURB VIEW: DRIVER
CURB VIEW: BOTH
If you choose off, neither outside mirror will be tilted
down when the vehicle is shifted into REVERSE (R).
If you choose passenger, the passenger’s outside mirror
will be tilted down when the vehicle is shifted into
REVERSE (R).
3-50
Page 225 of 410

Here are some other things to consider as you
approach a hill.
Is there a constant incline, or does the hill get
sharply steeper in places?
Is there good traction on the hillside, or will the
surface cause tire slipping?
Is there a straight path up or down the hill so you
won’t have to make turning maneuvers?
Are there obstructions on the hill that can block
your path (boulders, trees, logs or ruts)?
What’s beyond the hill? Is there a cliff, an
embankment, a drop-off, a fence? Get out and walk
the
hill if you don’t know. It’s the smart way to
find out.
Is the hill simply too rough? Steep hills often have
ruts, gullies, troughs and exposed rocks because
they are more susceptible to the effects
of erosion.
Driving Uphill
Once you decide you can safely drive up the hill, you
need
to take some special steps.
Use a low gear and get a firm grip on the steering
wheel.
Get a smooth start up the hill and try to maintain
your speed, Don’t use more power than you
need, because you don’t want your wheels
to start
spinning or sliding.
4-20
Try to drive straight up the hill if at all possible. If
the path twists and turns, you might want to find
another route.
Turning or driving across steep hills can be
dangerous. You could
lose traction, slide
sideways, and possibly roll over. You could be
seriously injured or killed. When driving up
hills, always try to go straight up.
Ease up on your speed as you approach the top of
the hill.
Attach a flag to the vehicle to make you more
visible
to approaching traffic on trails or hills.
Sound the horn as you approach the top of the hill
to let opposing traffic know you’re there.
Use your headlamps even during the day. They
make you more visible to oncoming traffic.
Page 232 of 410

Driving at Night
Night driving is more dangerous than day driving. One
reason is that some drivers are likely to be impaired
- by
alcohol or drugs, with night vision problems, or by fatigue. Here are
some tips on night driving.
Drive defensively.
Don’t drink and drive.
Since you can’t see as well, you may need to slow
down and keep more space between you and
other vehicles.
Slow down, especially on higher speed roads. Your
headlamps can light up only
so much road ahead.
In remote areas, watch for animals.
If you’re tired, pull off the road in a safe place
and rest.
No one can see as well at night as in the daytime. But
as we get older these differences increase.
A
50-year-old driver may require at least twice as much
light to see the same thing at night as a 20-year-old.
What you do in the daytime can also affect your
night vision. For example,
if you spend the day in bright
sunshine you are wise to wear sunglasses. Your
eyes will have less trouble adjusting to night. But
if
you’re driving, don’t wear sunglasses at night. They may
cut down on glare from headlamps, but they also make a lot of things invisible.
4-27
Page 244 of 410
Put on extra clothing or wrap a blanket around you.
If you have no blankets or extra clothing, make
body insulators from newspapers, burlap bags, rags,
floor mats
- anything you can wrap around
yourself or tuck under your clothing to keep warm.
-.-
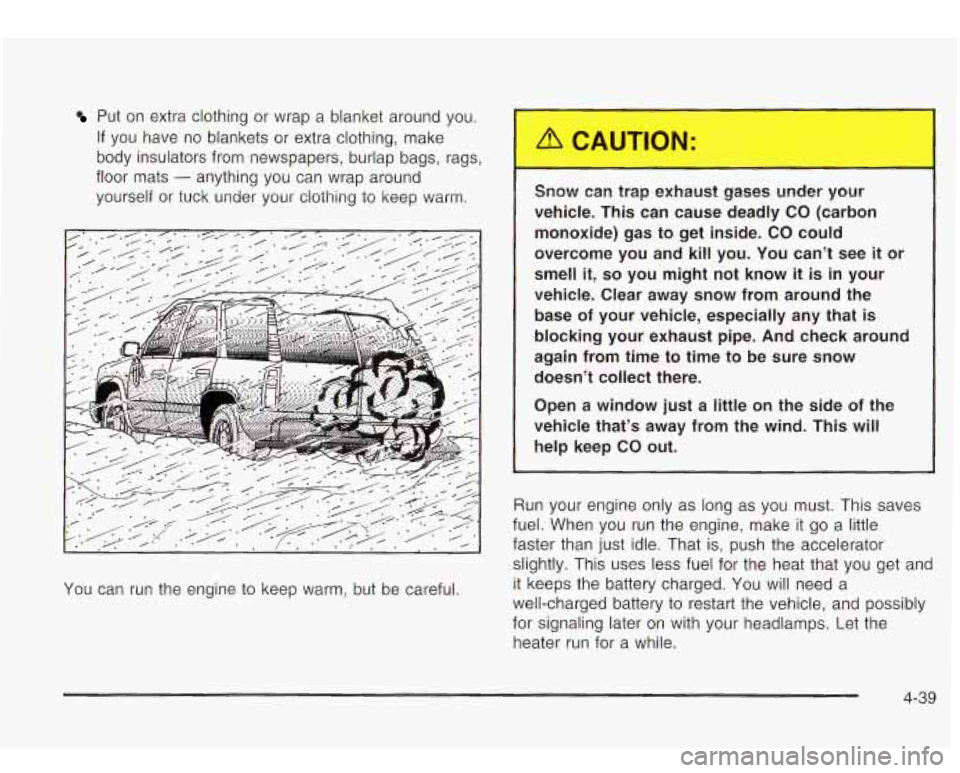
You can run the engine to keep warm, but be careful. Snow can trap ~,,raust
,,ses u..,er your
vehicle. This can cause deadly
CO (carbon
monoxide) gas to get inside.
CO could
overcome you and
kill you. You can’t see it or
smell
it, so you might not know it is in your
vehicle. Clear away snow from around the
base of your vehicle, especially any that is
blocking your exhaust pipe. And check around
again from time to time to be sure snow
doesn’t collect there.
Open a window
just a little on the side of the
vehicle that’s away from the wind. This will
help keep
CO out.
Run your engine only as long as you must. This saves
fuel. When you run the engine, make it go a little
faster than just idle. That is, push the accelerator
slightly. This uses less fuel for the heat that you get and
it keeps the battery charged. You will need a
well-charged battery to restart the vehicle, and possibly
for signaling later on with your headlamps. Let the
heater run for a while.
4-39
Page 261 of 410
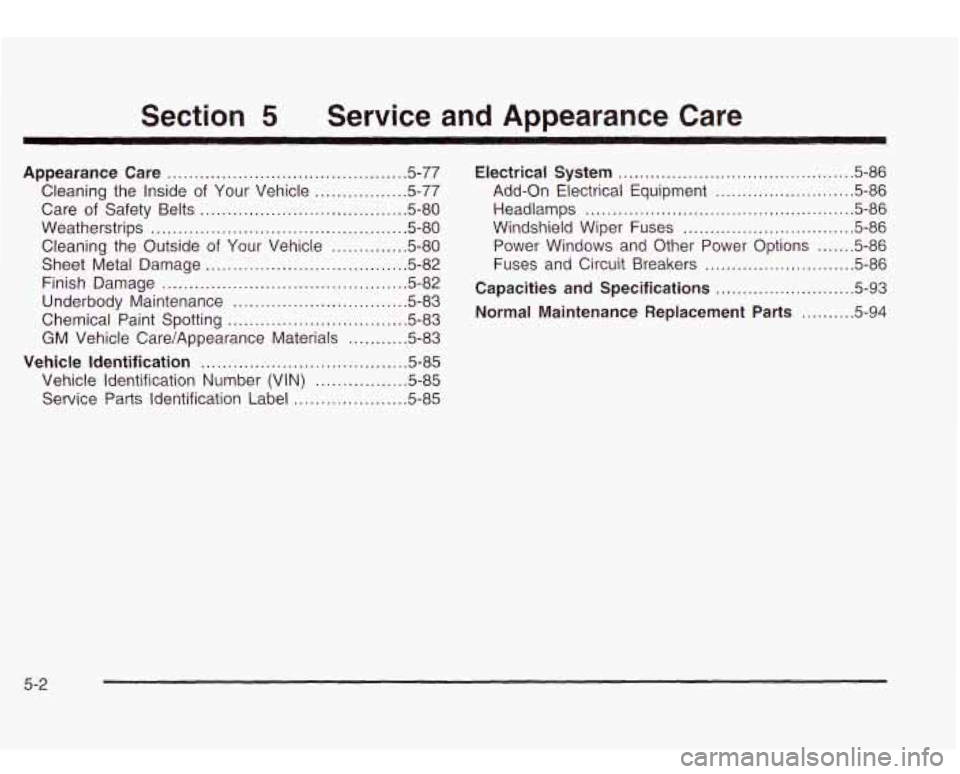
Section 5 Service and Appearance Care
Appearance Care ............................... ..... 5.77
Cleaning the Inside of Your Vehicle .... .... 5-77
Care of Safety Belts ...................................... 5-80
Weatherstrips
............................................... 5-80
Sheet Metal Damage
..................................... 5-82
Finish Damage ............................................. 5-82
Underbody Maintenance
................................ 5-83
Chemical Paint Spotting
................................. 5-83
GM Vehicle CarelAppearance Materials
........... 5-83
Vehicle Identification ...................................... 5-85
Vehicle Identification Number (VIN)
................. 5-85
Service Parts Identification Label
..................... 5-85
Cleaning
the Outside of Your Vehicle
.............. 5-80
Electrical System ......................................... 5-86
Headlamps
.................................................. 5.86
Windshield Wiper Fuses
................................ 5.86
Power Windows and Other Power Options
....... 5-86
Fuses and Circuit Breakers
............................ 5.86
Capacities and Specifications ......................... 5-93
Add-on
Electrical Equipment
........ ........... 5-86
Normal Maintenance Replacement Parts ~ ... 5-94
5-2
Page 318 of 410

If you need to replace any of your wheels, wheel bolts
or wheel nuts, replace them only with new
GM
original equipment parts. This way, you will be sure to
have the right wheel, wheel bolts and wheel nuts
for your vehicle.
Lb CAUTION:
Using the wrong replacement wheels, wheel
bolts or wheel nuts on your vehicle can be
dangerous.
It could affect the braking and
handling
of your vehicle, make your tires lose
air and make you lose control. You could have
a collision in which you or others could be injured. Always use the correct wheel, wheel
bolts and wheel nuts for replacement.
Notice: The wrong wheel can also cause problems
with bearing life, brake cooling, speedometer or odometer calibration, headlamp aim, bumper height,
vehicle ground clearance and tire clearance to the body and chassis.
See
Changing a Flat Tire on page 5-62 for more
information.
Used Replacement Wheels
Putting a used wheel on 1 lr vehicle is
dangerous. You can’t know how it’s been used
or how far
it’s been driven. It could fail
suddenly and cause a crash. If you have to replace a wheel, use a new
GM original
equipment wheel.
5-59
Page 345 of 410
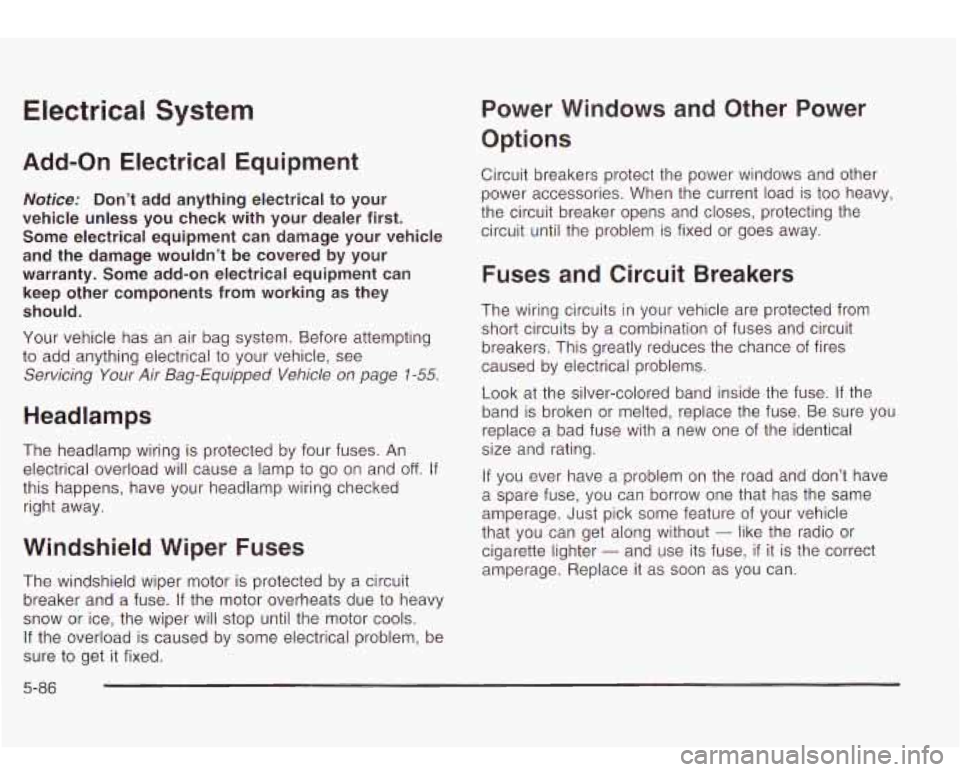
Electrical System
Add-on Electrical Equipment
Notice: Don’t add anything electrical to your
vehicle unless you check with your dealer first.
Some electrical equipment can damage your vehicle
and the damage wouldn’t be covered by your
warranty. Some add-on electrical equipment can
keep other components from working as they
should.
Your vehicle has an air bag system. Before attempting
to add anything electrical to your vehicle, see
Servicing Your Air Bag-Equipped Vehicle on page 1-55.
Headlamps
The headlamp wiring is protected by four fuses. An
electrical overload will cause a lamp
to go on and off. If
this happens, have your headlamp wiring checked
right away.
Windshield Wiper Fuses
The windshield wiper motor is protected by a circuit
breaker and a fuse.
If the motor overheats due to heavy
snow or ice, the wiper will stop until the motor cools.
If the overload is caused by some electrical problem, be
sure
to get it fixed.
Power Windows and Other Power
Options
Circuit breakers protect the power windows and other
power accessories. When the current load is
too heavy,
the circuit breaker opens and closes, protecting the
circuit until the problem is fixed or goes away.
Fuses and Circuit Breakers
The wiring circuits in your vehicle are protected from
short circuits by a combination of fuses and circuit
breakers. This greatly reduces the chance of fires
caused by electrical problems.
Look at the silver-colored band inside the fuse.
If the
band is broken or melted, replace the fuse. Be sure you
replace a bad fuse with a new one of the identical
size and rating.
If you ever have a problem on the road and don’t have
a spare fuse, you can borrow one that has the same
amperage.
Just pick some feature of your vehicle
that you can get along without
- like the radio or
cigarette lighter
- and use its fuse, if it is the correct
amperage. Replace it
as soon as you can.
5-86
Page 348 of 410
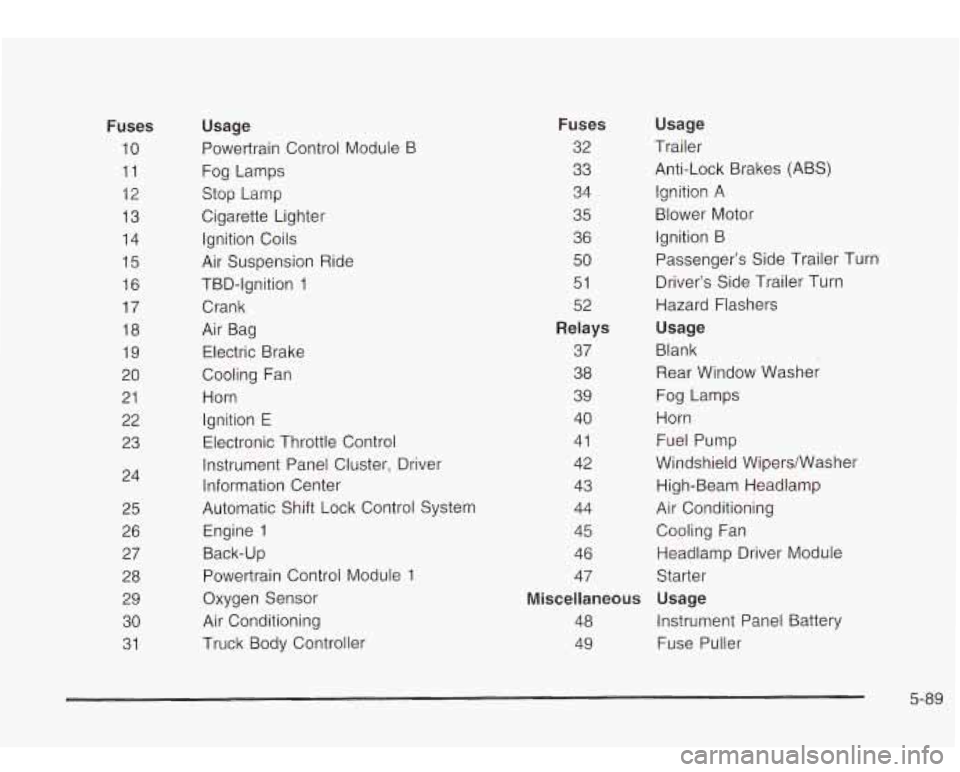
Fuses
10
11 12
13 14
15 16
17
18
19
20
21 22
23
24
25
26
27
28
29
30
31
Usage
Powertrain Control Module B
Fog Lamps
Stop Lamp
Cigarette Lighter
Ignition Coils
Air Suspension Ride
TBD-Ignition
1
Crank
Air Bag
Electric Brake
Cooling Fan
Horn Ignition
E
Electronic Throttle Control
Instrument Panel Cluster, Driver
Information Center
Automatic Shift Lock Control System
Engine 1
Back-up Powertrain Control Module 1
Oxygen Sensor
Air Conditioning
Truck Body Controller
Fuses
32
33
34
35
36
50
51
52
Relays
37
38
39
40
41
42
43
44
45
46 47
Usage
Trailer
Anti-Lock Brakes (ABS) Ignition A
Blower Motor Ignition B Passenger’s Side Trailer Turn
Driver’s Side Trailer Turn
Hazard Flashers
Usage
Blank Rear Window Washer
Fog Lamps
Horn Fuel Pump
Windshield WipersNasher
High-Beam Headlamp
Air Conditioning
Cooling Fan
Headlamp Driver Module
Starter
Miscellaneous Usage
48 Instrument Panel Battery
49 Fuse Puller
5-89