check engine Oldsmobile Bravada 2003 s Service Manual
[x] Cancel search | Manufacturer: OLDSMOBILE, Model Year: 2003, Model line: Bravada, Model: Oldsmobile Bravada 2003Pages: 410, PDF Size: 20.1 MB
Page 354 of 410

6 Maintenance Schedule
Maintenance Schedule ...................................... 6-2
Introduction
................................................... 6-2
Maintenance Requirements
.............................. 6-2
How This Section is Organized ......................... 6-3
Part A: Scheduled Maintenance Services
........... 6-4
Using Your Maintenance Schedule
.................... 6-4
Scheduled Maintenance
................................... 6-5
Part
B: Owner Checks and Services ................ 6-10
At Each Fuel Fill
.......................................... 6-10
At Least Once a Month
................................. 6-10
At Least Twice a Year
................................... 6-11
Your
Vehicle and the Environment
.................... 6-2 At
Least Once a Year
................................... 6-12
Part
C: Periodic Maintenance Inspections ......... 6.15
Boot and Seal Inspection
............................ 6.15
Exhaust System Inspection
............................ 6.15
Fuel System Inspection
.................................. 6.15
Engine Cooling System Inspection
................... 6.15
Brake System Inspection
................................ 6-16
Part E: Maintenance Record
........................... 6.19
Steering, Suspension and Front Drive
Axle
Transfer Case and Front Axle
(All-Wheel Drive) Inspection
........................ 6.16
Part D: Recommended Fluids and Lubricants
.... 6-17
6- 1
Page 357 of 410
Part A: Scheduled Maintenance
Services
This part contains engine oil scheduled maintenance
which explains the engine oil life system and how
it indicates when to change the engine oil and filter.
Also, listed are scheduled maintenance services which
are
to be performed at the mileage intervals specified.
Using Your Maintenance Schedule
We at General Motors want to help you keep your
vehicle in good condition. But we don’t know exactly how
you’ll drive it. You may drive very short distances only
a few times a week. Or you may drive long distances in
very hot, dusty weather. You may use your vehicle in
making deliveries. Or you may drive it to work,
to
do errands or in many other ways.
Because
of all the different ways people use their
vehicles, maintenance needs vary. You may need more
frequent checks and replacements.
So please read
the following and note how you drive.
If you have any
questions on how
to keep your vehicle in good condition,
see your dealer. This part tells you the
maintenance services you should
have done and when you should schedule them.
When you
go to your dealer for your service needs,
you’ll know that GM-trained and supported service
people will perform the work using genuine GM parts.
The proper fluids and lubricants
to use are listed in
Part
D. Make sure whoever services your vehicle uses
these.
All parts should be replaced and all necessary
repairs done before you or anyone else drives the
vehicle.
This schedule is for vehicles that:
carry passengers and cargo within recommended
limits. You will find these limits on your vehicle’s
Certificationflire label. See
Loading Your Vehicle on
page
4-4 1.
are driven on reasonable road surfaces within legal
driving limits.
are driven off-road in the recommended manner.
See
Operating Your All- Wheel-Drive Vehicle Off
Paved Roads on page 4- 15.
use the recommended fuel. See Gasoline Octane
on page 5-5.
6-4
Page 358 of 410
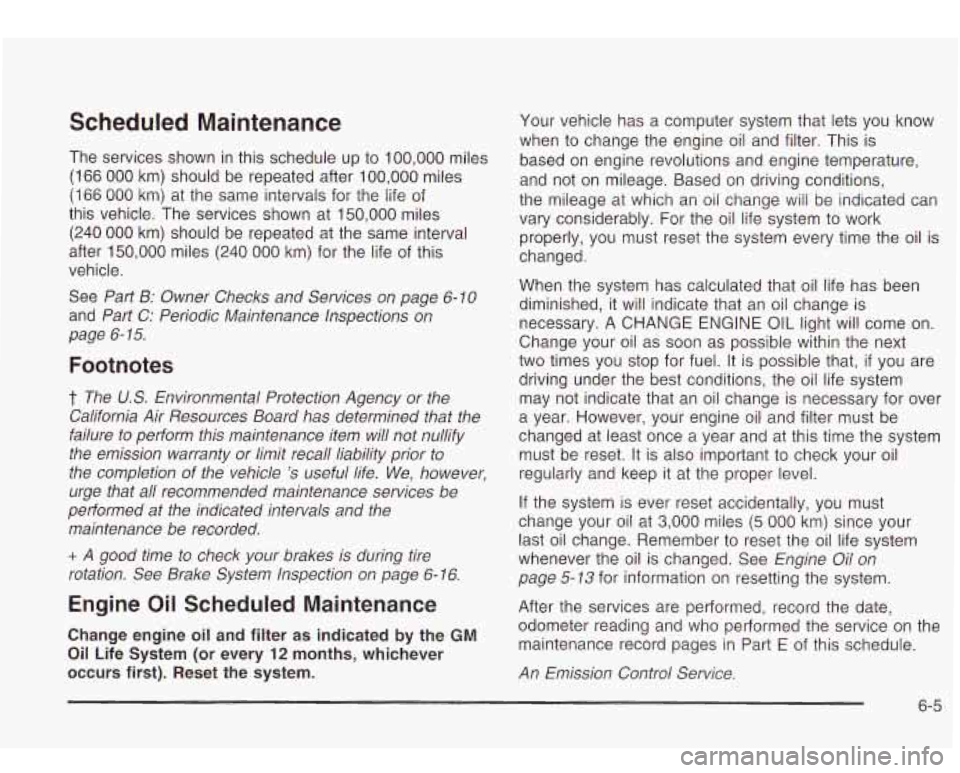
Scheduled Maintenance
The services shown in this schedule up to 100,000 miles
(166 000 km) should be repeated after 100,000 miles
(166 000 km) at the same intervals for the life of
this vehicle. The services shown at
150,000 miles
(240 000 km) should be repeated at the same interval
after
150,000 miles (240 000 km) for the life of this
vehicle.
See
Part B: Owner Checks and Services on page 6- 10
and Part C: Periodic Maintenance Inspections on
page 6- 15.
Footnotes
t The US. Environmental Protection Agency or the
California Air Resources Board has determined that the
failure to perform this maintenance item will not nullify
the emission warranty or limit recall liability prior
to
the completion of the vehicle 's useful life. We, however,
urge that all recommended maintenance services be
performed at the indicated intervals and the
maintenance be recorded.
+ A good time to check your brakes is during tire
rotation. See Brake System Inspection
on page 6- 16.
Engine Oil Scheduled Maintenance
Change engine oil and filter as indicated by the GM
Oil Life System (or every 12 months, whichever
occurs first). Reset the system.
Your vehicle has a computer system that lets you know
when
to change the engine oil and filter. This is
based on engine revolutions and engine temperature,
and not on mileage. Based on driving conditions,
the mileage
at which an oil change will be indicated can
vary considerably. For the
oil life system to work
properly, you must reset the system every time the oil is
changed.
When the system has calculated that oil life has been
diminished, it will indicate that an oil change is
necessary. A CHANGE ENGINE
OIL light will come on.
Change your oil as soon as possible within the next
two times you stop for fuel. It is possible that,
if you are
driving under the best conditions, the oil life system
may not indicate that an oil change is necessary for over
a year. However, your engine oil and filter must be
changed at least once a year and at this time the system
must be reset.
It is also important to check your oil
regularly and keep
it at the proper level.
If the system is ever reset accidentally, you must
change your oil at
3,000 miles (5 000 km) since your
last oil change. Remember
to reset the oil life system
whenever the oil is changed. See
Engine Oil on
page 5-13 for information on resetting the system.
After the services are performed, record the date, odometer reading and who performed the service on the
maintenance record pages in Part
E of this schedule.
An Emission Control Service.
6-5
Page 359 of 410

7,500 Miles (12 500 km)
0 Check readfront axle fluid level and add fluid as needed. Check constant velocity joints and axle seals
for leaking.
page 5-53 for proper rotation pattern and additional
information.
(See footnote +.)
U Rotate tires. See Tire Inspection and Rotation on
15,000 Miles (25 000 km)
0 Inspect engid'e air cleaner filter if you are driving in
dusty conditions. Replace filter
if necessary. An
Emission Control Service. (See footnote
f.)
0 Check readfront axle fluid level and add fluid as
needed. Check constant velocity joints and axle seals
for leaking.
page 5-53 for proper rotation pattern and additional
information.
(See footnote +.)
Ll Rotate tires. See Tire Inspection and Rotation on
22,500 Miles (37 500 km)
0 Check readfront axle fluid level and add fluid as
needed. Check constant velocity joints and axle seals
for leaking.
0 Rotate tires. See Tire Inspection and Rotation on
page
5-53 for proper rotation pattern and additional
information.
(See footnote +.)
30,000 Miles (50 000 km)
0 Check rear/front axle fluid level and add fluid as
needed. Check constant velocity joints and axle seals
for leaking.
page 5-53 for proper rotation pattern and additional
information.
(See footnote +.)
0 Replace fuel filter. An Emission Control Service. (See
footnote
t.)
0 Replace engine air cleaner filter. An Emission
Control Service.
Q Rotate tires. See Tire Inspection and Rotation on
37,500 Miles (62 500 km)
0 Check readfront axle fluid level and add fluid as
needed. Check constant velocity joints and axle seals
for leaking.
0 Rotate tires. See Tire Inspection and Rotation on
page
5-53 for proper rotation pattern and additional
information.
(See footnote +.)
6-6
Page 360 of 410
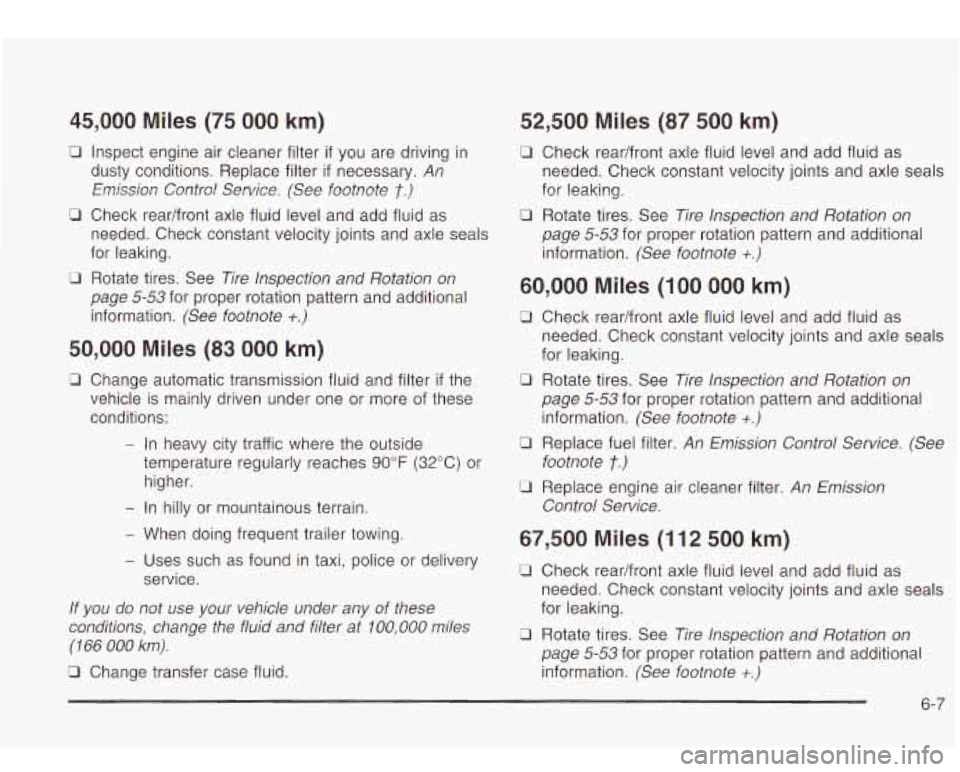
45,000 Miles (75 000 km)
0 Inspect engine air cleaner filter if you are driving in
dusty conditions. Replace filter
if necessary. An
Emission Control Service. (See footnote t.)
0 Check readfront axle fluid level and add fluid as
needed. Check constant velocity joints and axle seals
for leaking.
page 5-53 for proper rotation pattern and additional
information.
(See footnote +.)
0 Rotate tires. See Tire Inspection and Rotation on
50,000 Miles (83 000 km)
0 Change automatic transmission fluid and filter if the
vehicle is mainly driven under one or more of these
conditions:
- In heavy city traffic where the outside
temperature regularly reaches
90°F (32°C) or
higher.
- In hilly or mountainous terrain.
- When doing frequent trailer towing.
- Uses such as found in taxi, police or delivery
service.
If you do not use your vehicle under any of these
conditions, change the fluid and filter at
100,000 miles
(1 66 000 km).
0 Change transfer case fluid.
52,500 Miles (87 500 km)
0 Check readfront axle fluid level and add fluid as
needed. Check constant velocity joints and axle seals
for leaking.
page 5-53 for proper rotation pattern and additional
information.
(See footnote +.)
0 Rotate tires. See Tire lnspection and Rotation on
60,000 Miles (100 000 km)
Ll Check readfront axle fluid level and add fluid as
needed. Check constant velocity joints and axle seals
for leaking.
page 5-53 for proper rotation pattern and additional
information.
(See footnote +.)
0 Rotate tires. See Tire Inspection and Rotation on
0 Replace fuel filter. An Emission Control Service. (See
U Replace engine air cleaner filter. An Emission
footnote
t.)
Control Service.
67,500 Miles
(1 12 500 km)
0 Check readfront axle fluid level and add fluid as
needed. Check constant velocity joints and axle seals
for leaking.
0 Rotate tires. See Tire Inspection and Rotation on
page 5-53 for proper rotation pattern and additional
information.
(See footnote +.)
6-7
Page 361 of 410

75,000 Miles (125 000 km)
0 Inspect engine air cleaner filter if you are driving in
dusty conditions. Replace filter
if necessary. An
Emission Control Service. (See footnote
f.)
U Check rear/front axle fluid level and add fluid as
needed. Check constant velocity joints and axle seals
for leaking.
page 5-53 for proper rotation pattern and additional
information.
(See footnote +.)
0 Rotate tires. See Tire Inspection and Rotation on
82,500 Miles (137 500 km)
0 Check readfront axle fluid level and add fluid as
needed. Check constant velocity joints and axle seals
for leaking.
page 5-53 for proper rotation pattern and additional
information.
(See footnote +,)
0 Rotate tires. See Tire Inspection and Rotation on
90,000 Miles (150 000 km)
c1 Replace fuel filter. An Emission Control Service. (See
Footnote
t.)
0 Replace engine air cleaner filter. An Emission
Control Service.
cI1 Rotate tires. See Tire Inspection and Rotation on
page 5-53
for proper rotation pattern and additional
information.
(See footnote +.)
97,500 Miles (162 500 km)
U Check readfront axle fluid level and add fluid as
needed. Check constant velocity joints and axle seals
for leaking.
page 5-53 for proper rotation pattern and additional
information.
(See footnote +,)
0 Rotate tires. See Tire Inspection and Rotation on
0 Check readfront axle fluid level and add fluid as
needed. Check constant velocity joints and axle seals
for leaking.
6-8
Page 363 of 410
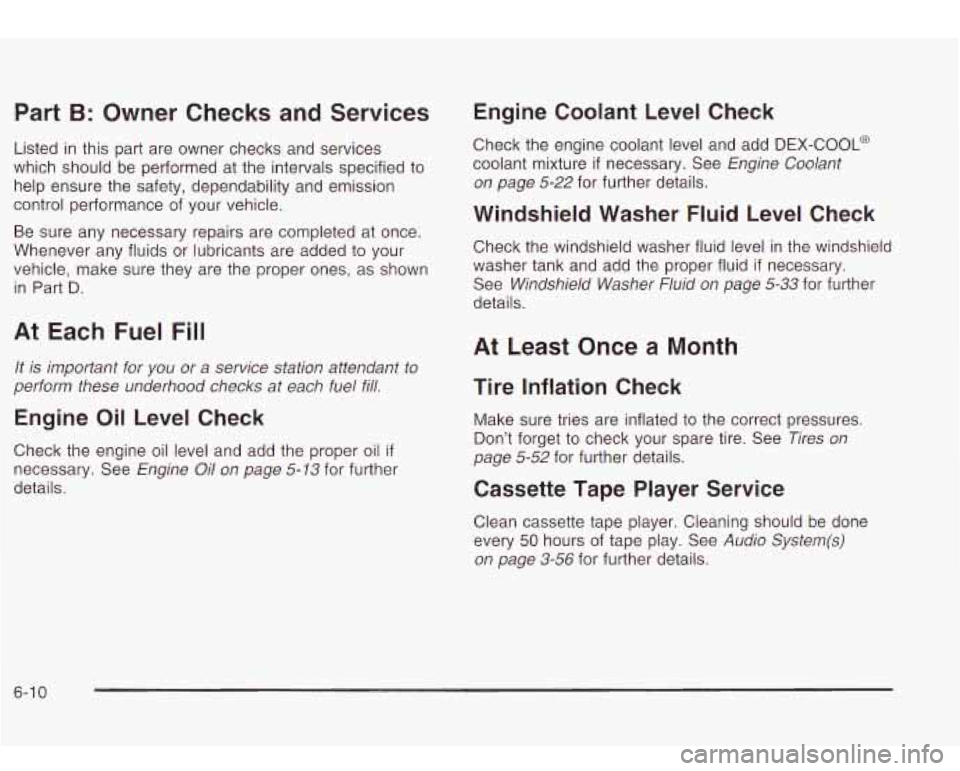
Part B: Owner Checks and Services
Listed in this part are owner checks and services
which should be performed at the intervals specified to
help ensure the safety, dependability and emission
control performance of your vehicle.
Be sure any necessary repairs are completed at once.
Whenever any fluids or lubricants are added to your
vehicle, make sure they are the proper ones, as shown
in Part
D.
At Each Fuel Fill
It is important for you or a service station attendant to
perform these underhood checks at each fuel fill.
Engine Oil Level Check
Check the engine oil level and add the proper oil if
necessary. See Engine Oil on page 5-13 for further
details.
Engine Coolant Level Check
Check the engine coolant level and add DEX-COOL@
coolant mixture
if necessary. See Engine Coolant
on page 5-22
for further details.
Windshield Washer Fluid Level Check
Check the windshield washer fluid level in the windshield
washer tank and add the proper fluid
if necessary.
See
Windshield Washer Fluid on page 5-33 for further
details.
At Least Once a Month
Tire Inflation Check
Make sure tries are inflated to the correct pressures.
Don’t forget to check your spare tire. See
Tires on
page 5-52
for further details.
Cassette Tape Player Service
Clean cassette tape player. Cleaning should be done
every
50 hours of tape play. See Audio Systern(s)
on page 3-56 for further details.
6-1 0
Page 364 of 410
At Least Twice a Year
Restraint System Check
Make sure the safety belt reminder light and all your
belts, buckles, latch plates, retractors and anchorages
are working properly. Look for any other loose or
damaged safety belt system parts. If you see anything
that might keep a safety belt system from doing its
job, have it repaired. Have any torn or frayed safety belts
replaced.
Also look for any opened or broken air bag coverings,
and have them repaired or replaced. (The air bag
system does not need regular maintenance.)
Wiper Blade Check
Inspect wiper blades for wear or cracking. Replace
blade inserts that appear worn or damaged or that
streak or miss areas of the windshield.
Also see
Cleaning the Outside of Your Vehicle on page 5-80.
Spare Tire Check
At least twice a year, after the monthly inflation check of
the spare tire determines that the spare is inflated
to
the correct tire inflation pressure, make sure that
the spare tire is stored securely. Push, pull, and then try
to rotate or turn the tire. If it moves, use the wheel
wrenchhatchet
to tighten the cable. See Changing a Flat
Tire on page
5-62.
Engine Air Cleaner Filter Restriction
Indicator Check
Your vehicle may be equipped with an engine air
cleaner filter restriction indicator located on the air
cleaner in the engine compartment. The indicator lets
you know when the air cleaner filter is dirty and needs
to
be changed. Check the indicator at least twice a year
or when your engine oil is changed, whichever
occurs first. See
Engine Air Cleaner/Fi/fer on page 5-18
for more information. Inspect your air cleaner filter
restriction indicator more often
if the vehicle is used in
dusty areas or under
off road conditions.
Weatherstrip Lubrication
Silicone grease on weatherstrips will make them last
longer, seal better, and not stick or squeak. Apply
silicone grease with a clean cloth. During very cold,
damp weather more frequent application may be required. See
Part D: Recommended Fluids and
Lubricants on page
6-17.
Automatic Transmission Check
Check the transmission fluid level; add if needed. See
Automatic Transmission Fluid on page 5-20. A fluid loss
may indicate a problem. Check the system and repair
if needed.
6-1 1
Page 365 of 410

At Least Once a Year
Key Lock Cylinders Service
Lubricate the key lock cylinders with the lubricant
specified in Part
D.
Body Lubrication Service
Lubricate all hood latch assembly, secondary latch,
pivots, spring anchor, release pawl, rear compartment
hinges, outer liftgate handle pivot points, rear door
detent link, roller mechanism, liftgate handle pivot points,
latch bolt, fuel door hinge, cargo door hinge, locks
and folding seat hardware. Part
D tells you what to use.
More frequent lubrication may be required when
exposed to a corrosive environment.
When you are doing this check, the vehicle
could move suddenly.
If it does, you or others
could be injured. Follow the steps below.
1. Before you start, be sure you have enough room
2. Firmly apply both the parking brake and the regular
around
the vehicle.
brake. See
Parking Brake on page 2-25 if
necessary.
Do not use the accelerator pedal, and be ready to
turn
off the engine immediately if it starts.
3. Try to start the engine in each gear. The starter
should work only in PARK
(P) or NEUTRAL (N).
If the starter works in any other position, your
vehicle needs service.
6-1 2
Page 366 of 410

Automatic Transmission Shift Lock
Cmtrol Sy-tem Check
When you are doing this check, the vehicle
could move suddenly.
If it does, you or others
could be injured. Follow the steps below.
1. Before you start, be sure you have enough room
around the vehicle. It should be parked on a level
surface.
2. Firmly apply the parking brake. See Parking Brake
on page
2-25 if necessary.
3. With the engine off, turn the key to the RUN
position, but don’t start the engine. Without applying
the regular brake, try to move the shift lever out
of PARK
(P) with normal effort. If the shift lever
moves out
of PARK (P), your vehicle needs service.
Ignition Transmission Lock Check
While parked, and with the parking brake set, try to turn
the ignition key to LOCK in each shift lever position.
The key should turn to LOCK only when the
shift lever is in PARK (P).
The key should come out only
in LOCK.
Be ready to apply the regular brake immediately
if
the vehicle begins to move.
6-1 3