battery replacement Oldsmobile Bravada 2003 Owner's Manuals
[x] Cancel search | Manufacturer: OLDSMOBILE, Model Year: 2003, Model line: Bravada, Model: Oldsmobile Bravada 2003Pages: 410, PDF Size: 20.1 MB
Page 70 of 410
This device complies with RSS-210 of Industry Canada.
Operation is subject to the following two conditions:
1. This device may not cause interference, and
2. This device must accept any interference received,
including interference that may cause undesired
operation of the device.
Changes or modifications to this system by other than
an authorized service facility could void authorization to
use this equipment.
At times you may notice a decrease in range. This is
normal for any remote keyless entry system. If the
transmitter does not work or
if you have to stand closer
to your vehicle for the transmitter to work, try this:
Check the distance. You may be too far from your
vehicle. You may need to stand closer during
rainy or snowy weather.
Check the location. Other vehicles or objects may
be blocking the signal. Take a few steps to the
left or right, hold the transmitter higher, and
try again.
Check to determine
if battery replacement is
necessary. See "Battery Replacement" under
Remote Keyless Entry System Operation on
page
2-5.
If you are still having trouble, see your dealer or a
qualified technician for service.
Remote Keyless Entry System
Operation
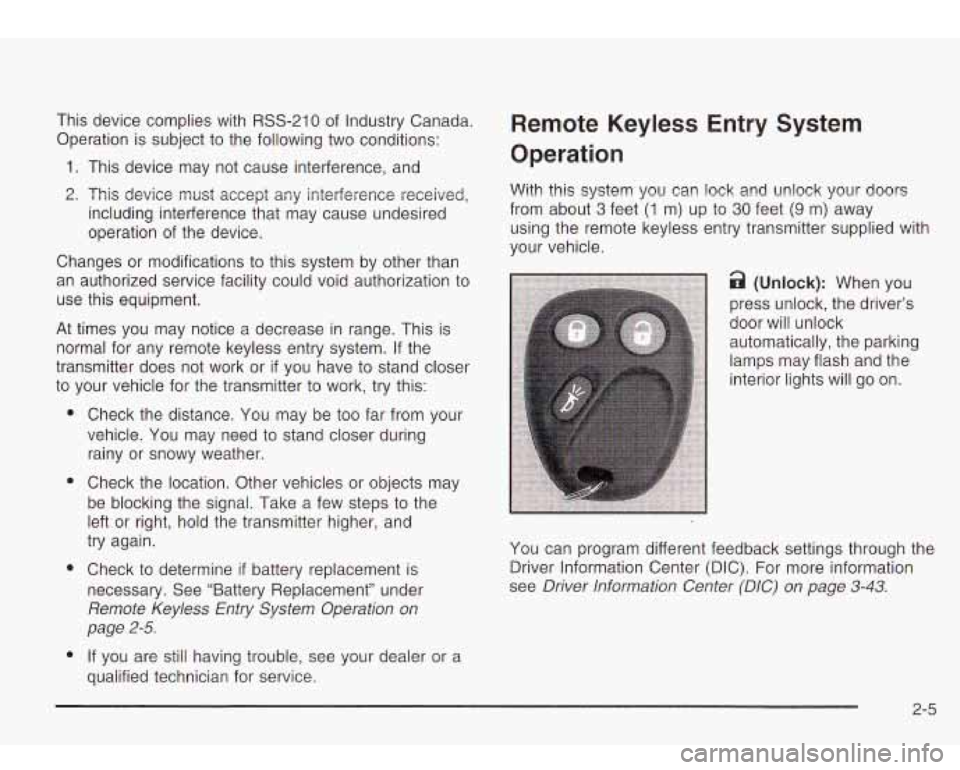
With this system you can lock and unlock your doors
from about
3 feet (1 m) up to 30 feet (9 m) away
using the remote keyless entry transmitter supplied with
your vehicle.
door will unlock
automatically, the parking lamps may flash and the
interior lights will go on.
You can program different feedback settings through the
Driver Information Center (DIC). For more information
see
Driver Information Center (DIC) on page 3-43.
2-5
Page 71 of 410
8 (Lock): Press lock to lock all the doors. Press lock
again within three seconds and the horn may chirp.
2 (Panic): When the button with the horn symbol on
the key transmitter is pressed, the horn will sound
and the headlamps and taillamps will flash for up
to
30 seconds. This can be turned off by pressing the horn
button again, or by waiting for
30 seconds, or by
starting the vehicle.
Matching Transmitter(s) to Your
Vehicle
Each remote keyless entry transmitter is coded to
prevent another transmitter from unlocking your vehicle.
If a transmitter is
lost or stolen, a replacement can
be purchased through your dealer. Remember to bring
any remaining transmitters with you when you go
to
your dealer. When the dealer matches the replacement
transmitter
to your vehicle, any remaining transmitters
must also be matched. Once your dealer has coded the
new transmitter, the
lost transmitter will not unlock
your vehicle. Each vehicle can have a maximum of four
transmitters matched to it.
Battery Replacement
Under normal use, the battery in your remote keyless
entry transmitter should last about two years.
You can tell the battery is weak if the transmitter won’t
work at the normal range in any location.
If you have
to get close to your vehicle before the transmitter works,
it’s probably time
to change the battery.
The Driver Information Center (DIC) will display a RFA
## BATTERY LOW message when the transmitter
battery is
low.
Nofice: When replacing the battery, use care not to
touch any of the circuitry. Static from your body
transferred to these surfaces may damage the
transmitter.
2-6
Page 190 of 410
Headphones Battery Replacement
The entertainment system includes two IR wireless
headphones.
Mini-headphone jacks are also provided for use with
customer provided headphones.
The wireless headphones have an ON/OFF switch and
a volume control. To use the headphones turn the
switch to ON. An indicator light will illuminate.
If the light
does not illuminate, the batteries may need
to be
replaced. See
Battery Replacement later in this section
for more information. Switch the headphones
to OFF
when not in use.
If the system is shut
off, or if the headphones are out of
range of the IR transmitters below the overhead RSE
control panel for more than three minutes, the
headphones will shut
off automatically to save the
batteries.
If you move too far forward or step out of the
vehicle, the headphones will cut
out.
To adjust the volume on the headphones, use the
volume control.
Notice: Do not store the headphones in heat or
direct sunlight. This could damage the headphones
and would not be covered by your warranty.
Keep the headphones stored in a cool place.
To change the batteries, do the following:
1. Loosen the screw on the battery compartment door
located on the left side of the headphones.
2. Replace the two AAA batteries in the compartment.
3. Tighten the screws to close the compartment door
If the headphones are to be stored for a long period
of time, remove the batteries and keep them in a cool,
dry place. Make sure that they are installed correctly.
Stereo RCA Jacks
The
RCA jacks and the mini-headphone jacks are
located behind the video screen on the overhead
console. The RCA jacks allow you to hook up an
auxiliary device such as a camcorder or a video game
unit. The yellow RCA jack is used for video and the
red and white RCA jacks are used for audio.
You may
require adapter connectors or cables
to connect
your auxiliary device
to the RCA jacks. Refer to the
manufacturer’s instructions for proper usage. The
mini-headphone jacks allow you to hook up two
customer provided wired headphones.
3-77
Page 196 of 410
CQMP/AUDIO (Compression) CQMP: Press and
release this button
to display the current compression
displayed on the screen. Press this button again
to
select the next compression state. Three compression
states are available inciuding minimum, standard
and
off. The compression feature only functions on AC3
(Dolby@ Digital Surround) encoded DVD video discs.
Press and hold this button
to see if the DVD playing has
optional audio tracks, such as different languages or
commentaries. Press and release to change selections.
INPUT/TITLE DVD AUX (Auxiliary): Press and
release this button to switch between the auxiliary input
device and the DVD player.
Press and hold this button to see a display of the DVD’s
titles. Press and release
to change the titles available.
6-h RTN (Return): When a DVD menu is active
and this button is pressed, the selected option will be
disabled. This button could have different functions with
different discs.
SCREEN BRIGHTNESS: Press the plus or the
minus symbol
to increase or to decrease the brightness
of the screen. This button can also be found on the
video screen.
-:q- LIGHT: Press this button to illuminate the keypad
for about eight seconds.
Setup Menu
To access the setup menu, ensure a DVD is in the
player and the video is in stop mode. Press the menu
key. Once the menu is activated, use the UP, DOWN, RIGHT,
LEFT, and Enter buttons to navigate the screen.
The setup menu allows the use
to select default
preferences for Menu Language, Subtitle Language,
Audio Language, TV Aspect, TV Mode, and Dynamic
Range Compression.
Not all DVDs support all the feature defaults in the
setup menus. In the event a particular feature is
not supported, defaults will be provided by the DVD
media.
Exit the setup menu by pressing the RETURN button on
the remote control. If you make changes
to the system
setup defaults, the disc will resume play from the
beginning and not where it previously left off.
Battery Replacement
To change the batteries, do the following:
1. Unclip the battery door located on the back of the
2. Replace the two AAA batteries in the compartment.
3. Close the battery door securely.
remote control.
Make sure that they are installed correctly.
If the remote control is to be stored for a long period of
time, remove the batteries and keep them in a cool,
dry place.
3-83
Page 260 of 410
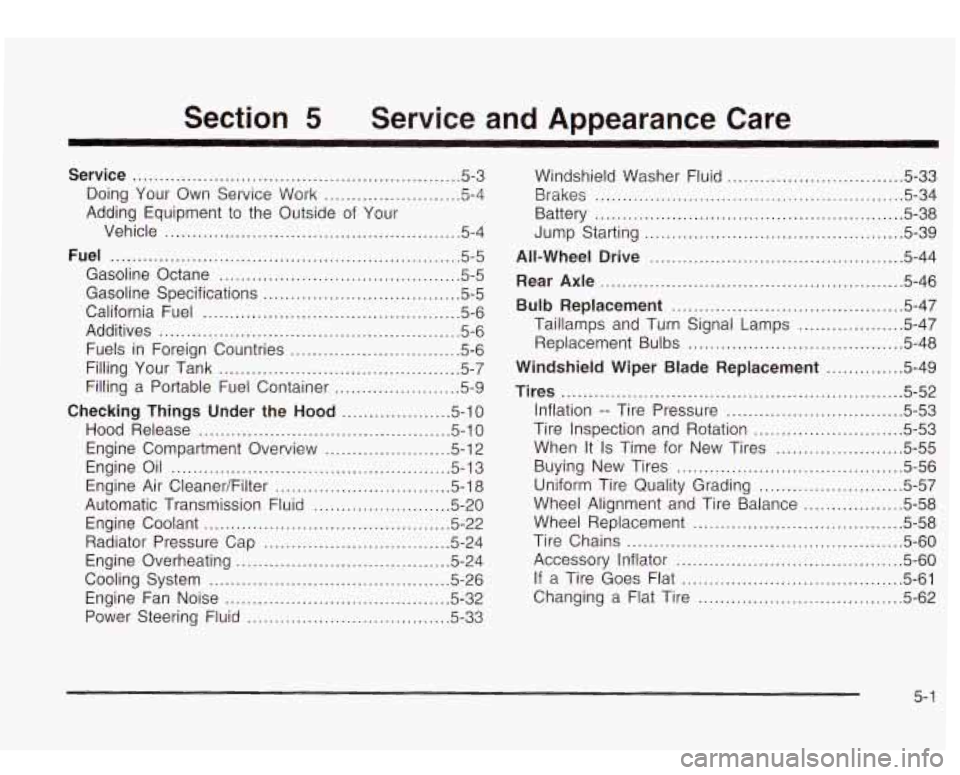
Section 5 Service and Appearance Care
............................................................ Service 5.3
Doing Your Own Service Work
......................... 5-4
Adding Equipment to the Outside of Your
Vehicle 5.4
Fuel 5.5
......................................................
................................................................
Gasoline Octane ............................................ 5.5
Gasoline Specifications
.................................... 5.5
California Fuel
............................................... 5.6
Filling Your lank
............................................ 5-7
Filling a Portable Fuel Container
....................... 5-9
Checking Things Under the Hood .................... 5-10
Hood Release
.............................................. 5-10
Engine Compartment Overview
....................... 5-12
Engine
Oil ................................................... 5-13
Engine Air Cleaner/Filter
............................... 5-18
Automatic Transmission Fluid
......................... 5-20
Engine Coolant
............................................. 5-22
Radiator Pressure Cap
.................................. 5-24
Engine Overheating
....................................... 5-24
Cooling System
............................................ 5-26
Engine Fan Noise
.................................. 5-32
Power Steering Fluid
.................... ..... 5-33
....................................................... Additives 5.6
Fuels in Foreign Countries
............................... 5-6 Windshield
Washer Fluid
................................ 5-33
Brakes
........................................................ 5-34
Battery
........................................................ 5-38
Jump Starting
.......... ............................. 5-39
All-Wheel Drive ............. ......................... 5-44
Rear Axle ....................................................... 5-46
Bulb Replacement .......................................... 5.47
Taillamps and Turn Signal Lamps
................... 5.47
Replacement Bulbs
....................................... 5.48
Windshield Wiper Blade Replacement .............. 5.49
.............................................................. Tires 5.52
Inflation
.. lire Pressure ................................ 5.53
lire Inspection and Rotation
........................... 5.53
Buying New Tires
......................................... 5.56
Uniform Tire Quality Grading
.......................... 5.57
Wheel Replacement
...................................... 5.58
lire Chains
.................................................. 5.60
Accessory Inflator
......................................... 5.60
If a lire Goes Flat ........................................ 5.61
When It
Is Time
for New Tires ....................... 5-55
Wheel Alignment and lire Balance
.................. 5-58
Changing a Flat lire
..................................... 5-62
5-
1
Page 297 of 410
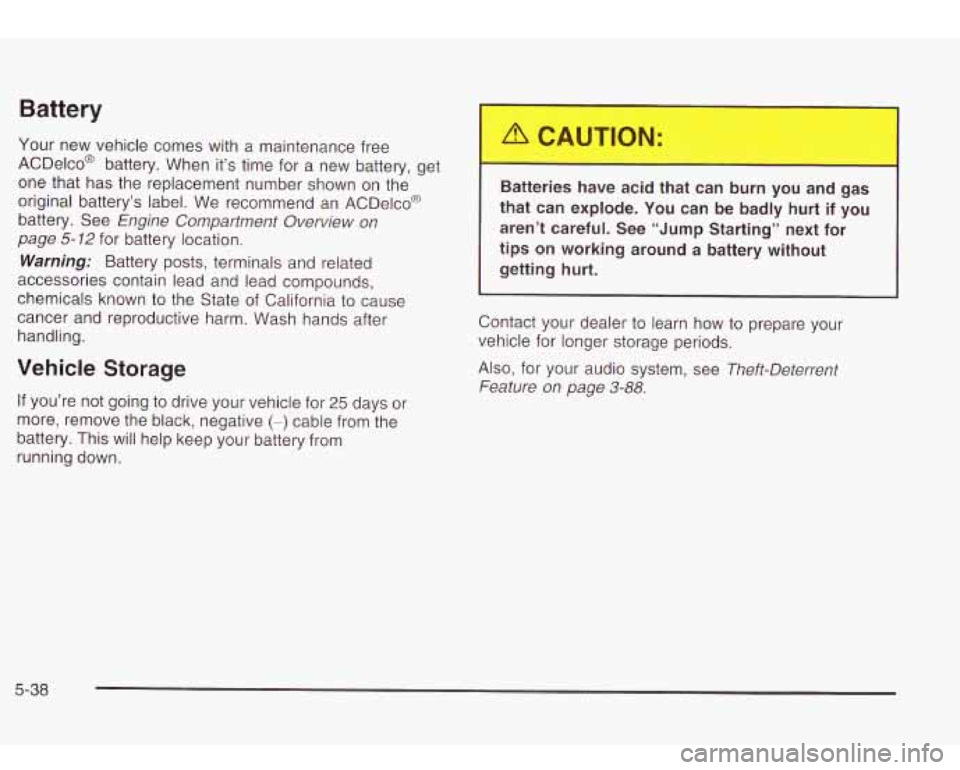
Battery
Your new vehicle comes with a maintenance free
ACDelco@ battery. When it’s time for a new battery, get
one that has the replacement number shown on the
original battery’s label. We recommend an ACDelco@
battery. See
Engine Compartment Overview on
page
5-72 for battery location.
Warning: Battery posts, terminals and related
accessories contain lead and lead compounds,
chemicals known to the State of California to cause
cancer and reproductive harm. Wash hands after handling.
Vehicle Storage
If you’re not going to drive your vehicle for 25 days or
more, remove the black, negative
(-) cable from the
battery. This will help keep your battery from
running down.
Batteries ~ -.-ve acid tha- -an burn , -u and gas
that can explode. You can be badly hurt if you
aren’t careful. See “Jump Starting” next for
tips on working around a battery without
getting hurt.
Contact your dealer to learn how to prepare your
vehicle for longer storage periods.
Also, for your audio system, see
Theft-Deterrent
Feature on page
3-88.
5-38
Page 389 of 410
Automatic Headlamp System ............................ 3-1 5
Automatic Transmission
Fluid
.......................................................... 5-20
Operation
................................................... 2-22
Automatic Transmission Check
.......................... 6-1 1
Automatic Transmission Shift Lock Control
System Check
....................................... ... 6-13
Backglass Wiper Blade Replacement
................. 5-51
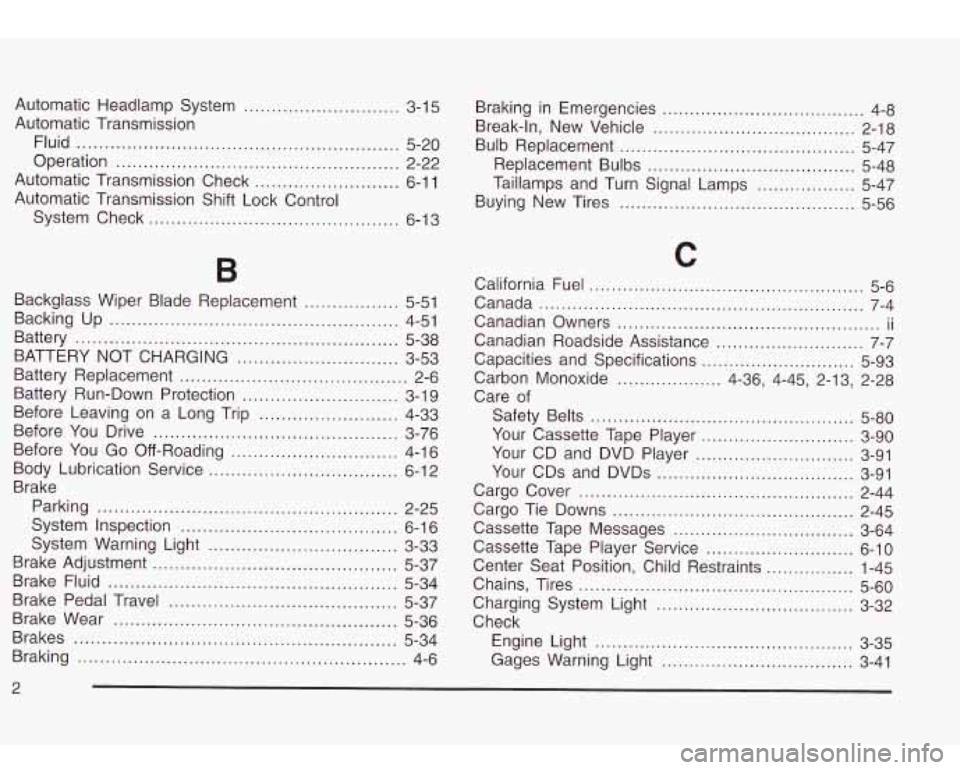
Battery
.......................................................... 5-38
Battery Replacement
......................................... 2-6
Battery Run-Down Protection
............................ 3-1 9
Before Leaving on a Long Trip
......................... 4-33
Before You Drive
............................................ 3-76
Before You Go Off-Roading
.............................. 4-16
Body Lubrication Service
.................................. 6-12
Brake
Parking
...................................................... 2-25
System Inspection
....................................... 6-1 6
System Warning Light
.................................. 3-33
Brake Adjustment
............................................ 5-37
Brake Fluid
.................................................... 5-34
Brake Pedal Travel
..................................... 5-37
Brake Wear
............................................... 5-36
Brakes
.......................................................... 5-34
Braking
........................................................... 4-6
Backing
Up
.................................................... 4-51
BATTERY NOT CHARGING
............................. 3-53 Braking
in Emergencies
..................................... 4-8
Break.ln. New Vehicle
..................................... 2-18
Bulb Replacement
........................................... 5-47
Replacement Bulbs
...................................... 5-48
Buying New Tires
........................................... 5-56
Taillamps
and Turn Signal Lamps
.................. 5-47
C
California Fuel .................................................. 5-6
Canada
........................................................... 7-4
Canadian Owners
................................................ ii
Canadian Roadside Assistance ........................... 7-7
Capacities and Specifications
............................ 5-93
Care of
Carbon Monoxide
................... 4-36,
4-45, 2-13, 2-28
Safety Belts
................................................ 5-80
Your Cassette Tape Player
............................ 3-90
Your CD and DVD Player
............................. 3-91
Your CDs and DVDs
.................................... 3-91
Cargo Cover
.................................................. 2-44
Cargo Tie Downs
............................................ 2-45
Cassette Tape Messages
................................. 3-64
Cassette Tape Player Service
........................... 6-10
Center Seat Position, Child Restraints
................ 1-45
Chains, Tires
.............................................. 5-60
Charging System Light
................................ 3-32
Check
Engine Light
........................................... 3-35
Gages Warning Light
................................... 3-41
2
Page 399 of 410
Removing the Flat Tire and Installing the
Spare Tire
.................................................. 5-69
Replacement Bulbs
......................................... 5-48
Replacing Restraint System Parts
Reporting Safety Defects
Removing
the Spare Tire and
Tools ................... 5-63
Replacing Brake System Parts
.......................... 5-37
After a Crash
.............................................. 1-56
Canadian Government
................................... 7-9
General Motors
............................................. 7-9
United States Government
.............................. 7-9
Reprogramming a Single HomeLink@ Button
...... 2-40
Resetting Defaults
........................................... 2-40
Restraint System Check
................................... 6-1 1
Checking Your Restraint Systems ................... 1-56
Replacing Restraint System Parts
After a Crash
.................................... , .. 1-56
Checking
.................................................... 1-56
Replacing Parts
........................................... 1-56
Restraints, Head
............................................... 1-5
Retained Accessory Power (RAP)
...................... 2-19
Restraint Systems
RFA
## BATTERY LOW .................................... 3-55
Right Front Passenger Position, Safety Belts
...... 1-21
RIGHT REAR DOOR AJAR
.............................. 3-55
Roadside
Assistance Program
....................................... 7-5
Rocking Your Vehicle To Get It Out
................... 4-40
Running Your Engine While You Are Parked
....... 2-29
S
................... 3-30 ............
Safety Belt
Safety Belts Reminder Light
.....
Care
of ...................................................... 5-80
Driver Position
............................................ 1-13
How to Wear Safety Belts Properly ................ 1-13
Questions and Answers About Safety Belts
..... 1-12
Rear Safety Belt Comfort Guides for Children
and Small Adults
...................................... 1-24
Rear Seat Passengers
................................. 1-21
Right Front Passenger Position
...................... 1-21
Safety Belt Extender
.................................... 1-26
Safety Belt Use During Pregnancy
................. 1-20
Safety Belts Are for Everyone
......................... 1-8
Safety Chains
................................................. 4-49
Safety Warnings and Symbols III ...
Scanning the Terrain ....................................... 4-18
..............................
Scheduled Maintenance ..................................... 6-5
Seats
Head Restraints
............................................ 1-5
Heated Seats
............................................... 1-3
Memory
..................................................... 2-47
Power Lumbar
.............................................. 1-2
Power Reclining Seatbacks
............................. 1-4
Power Seats
................................................. 1-2
Rear Seat Operation
...................................... 1-6
Designed for the LATCH System
................... 1-40
Securing a Child
Restraint
12