ignition Oldsmobile Bravada 2004 s Workshop Manual
[x] Cancel search | Manufacturer: OLDSMOBILE, Model Year: 2004, Model line: Bravada, Model: Oldsmobile Bravada 2004Pages: 420, PDF Size: 4.37 MB
Page 176 of 420

AUTO VOL (Automatic Volume):With automatic
volume, your audio system will adjust automatically to
make up for road and wind noise as you drive by
increasing the volume as vehicle speed increases.
Set the volume at the desired level. Press this button to
select LOW, MEDIUM or HIGH. AVOL will appear on
the display. Each higher setting will provide more
volume compensation as vehicle speed increases. The
volume level should always sound the same to you
as you drive. To turn automatic volume off, press this
button until AVOL OFF appears on the display.
If your vehicle has the Bose
®audio system your vehicle
has a feature called Bose AudioPilot®noise
compensation technology. AudioPilot®monitors the
level of noise in the vehicle and automatically increases
or decreases the level of the audio to keep it audible
above the noise.Press the AUTO VOL button until AVOL ON appears on
the display. This feature works best at lower volume
settings where background noise may be louder than the
audio. At high volume settings, where the audio is
much louder than the noise, there will be no change in
audio level. To turn this feature off, press the AUTO
VOL button until AVOL OFF appears in the display.
RCL (Recall):Push this knob to switch the display
between the time and the radio station frequency. Push
this knob with the ignition off to display the time.
To change the default on the display, push the knob
until you see the display you want, then hold the knob
for two seconds. The radio will produce one beep
and selected display will now be the default.
3-70
Page 180 of 420
SCAN:You can also scan through the channels within
a category by performing the following:
1. Press the P-TYPE button. P-TYPE and the last
selected PTY will be displayed on the screen.
2. Select a category by turning the P-TYPE knob.
3. Once the desired category is displayed, press and
hold either SCAN arrow, and the radio will begin
scanning within your chosen category.
4. Press either SCAN arrow again to stop at a
particular station.
AM FM (Alternate Frequency):Alternate frequency
allows the radio to switch to a stronger station with the
same program type. Press and hold AM FM for two
seconds to turn alternate frequency on. AF ON
will appear on the display. The radio may switch to
stronger stations. Press and hold AM FM again for two
seconds to turn alternate frequency off. AF OFF will
appear on the display. The radio will not switch to other
stations. When you turn the ignition off and then on
again, the alternate frequency feature will automatically
be turned on.Setting Preset PTYs
The six numbered pushbuttons let you return to your
favorite PTYs. These buttons have factory PTY presets.
You can set up to 12 PTYs (six FM1 and six FM2) by
performing the following steps:
1. Press BAND to select FM1 or FM2.
2. Press the P-TYPE button to activate program type
select mode.
3. Turn the P-TYPE knob to select a PTY.
4. Press and hold one of the six numbered
pushbuttons until you hear a beep. Whenever you
press that numbered pushbutton, the PTY you
set will return.
5. Repeat the steps for each pushbutton.
3-74
Page 182 of 420
Playing a Compact Disc
The integral CD player can play the smaller 8 cm single
discs with an adapter ring. Full-size compact discs
and the smaller discs are loaded in the same manner.
If playing a CD-R the sound quality may be reduced due
to CD-R quality, the method of recording, the quality
of the music that has been recorded and the way
the CD-R has been handled. You may experience an
increase in skipping, difficulty in �nding tracks and/or
difficulty in loading and ejecting. If these problems occur
try a known good CD.
Do not add paper labels to discs, they could get caught
in the CD player.
Do not play 3 inch discs without a standard adapter
disc.
If an error appears on the display, see “Compact Disc
Messages” later in this section.
LOAD CD
Z:Press the LOAD side of this button to
load CDs into the compact disc player. This compact
disc player will hold up to six discs.To insert one disc, do the following:
1. Turn the ignition on.
2. Press and release the LOAD side of the LOAD CD
button.
3. Wait for the light, located to the right of the slot, to
turn green.
4. Load a disc. Insert the disc partway into the slot,
label side up. The player will pull the disc in.
When a disc is inserted, the CD symbol will be
displayed. If you select an equalization setting for your
disc, it will be activated each time you play a disc.
If the radio is on or off, the disc will begin to play
automatically.
To insert multiple discs, do the following:
1. Turn the ignition on.
2. Press and hold the LOAD side of the LOAD CD
button for two seconds.
You will hear a beep and the light, located to the
right of the slot, will begin to �ash.
3-76
Page 188 of 420

Rear Seat Entertainment System
Your vehicle may have the optional Digital Versatile Disc
(DVD) Rear Seat Entertainment (RSE) system. The
RSE system includes a DVD player, a video display
screen, two sets of wireless headphones, and a remote
control.
Before You Drive
The RSE system is for rear seat passengers. The driver
cannot safely view the video screen while driving and
should not try to do so.
DVD Player
The DVD player is located in the overhead console. The
DVD player can be controlled by the buttons on the
DVD player or by the buttons on the remote control. See
“Remote Control” later in this section for more
information.
The DVD player power may be turned on when the
ignition is in RUN, ACCESSORY, or when Retained
Accessory Power (RAP) is active.
The RSE system DVD player is only compatible with
DVDs of the appropriate DVD region code for the
country that the vehicle was sold in. The DVD region
code is printed on the jacket of most DVDs.Standard audio CDs (CD-R and CD-RW discs) can also
be played in this DVD player.
When using the wired headphones, if the front seat
passengers play a CD in the Radio with Six-Disc CD
(if equipped) or use XM™ Satellite Radio Service
(48 contiguous US states, if equipped), you will hear the
audio for these sources, instead of the DVD or CD that is
currently playing through the RSE.
If an error message appears on the video screen, see
“DVD Messages” later in this section.
3-82
Page 189 of 420
DVD Player Buttons
O(Power):Press this button to turn the RSE system
on or off. The power indicator light will illuminate
when the power is on.
X(Eject):Press this button to eject a DVD or a CD.
SRCE (Source):Press this button to toggle between
the DVD player and an auxiliary source.
c(Stop):Press this button to stop playing, rewinding,
or fast forwarding a DVD or CD. Press this button
twice to return to the beginning of the DVD.
k(Play/Pause):Press this button to start play of a
DVD or CD. Press this button while a DVD or CD
is playing to pause it. Press this button again to continue
the play of the DVD or CD.
y(Main DVD Menu):Press this button to access the
DVD menu. The DVD menu is different on every
DVD. Use the up, down, left, and right arrow buttons to
move the cursor around the DVD menu. After making
a selection press the enter button. This button only
operates when using a DVD.
z(Set-up Menu):Press this button to adjust the
color, tint, brightness, contrast, and display mode
(normal, full, or zoom). The dynamic range compression
feature can be used to reduce loud audio and increase
low audio produced by some DVDs.
n,q,p,o(Menu Navigation Arrows):Use the
arrow buttons to navigate through a menu.
r(Enter):Press this button to select the choices
that are highlighted in any menu.
Playing a Disc
To play a disc, gently insert the disc with the label side
up into the loading slot. The DVD player will continue
loading the disc and the player will automatically start,
if the vehicle ignition is in RUN, ACCESSORY, or
when RAP is active.
If a disc is already in the player, press the play/pause
button on the face of the DVD player or on the
remote control.
Some DVDs will not allow you to fast forward or skip
the copyright information or previews. Some DVDs will
begin playing after the previews have �nished. If the
DVD does not begin to play the main title, refer to the
on-screen instructions, as the DVD may be displaying
its main title menu.
3-83
Page 190 of 420

Stopping and Resuming Playback
To stop a disc, press and release the stop button on the
DVD player or the remote control. To resume playback,
press the play/pause button on the DVD player or
the remote control. As long as the disc has not been
ejected and the stop button has not been pressed twice,
the movie should resume play from where it was last
stopped. If the disc has been ejected, or if the stop
button has been pressed twice, the disc will resume play
at the beginning of the DVD or CD.
Ejecting a Disc
Press the eject button on the DVD player to eject the
disc.
If a disc is ejected from the player, but is not removed,
the DVD player will reload the disc after a short
period of time. The disc will then be stored in the DVD
player. The DVD player will not resume play of this
disc automatically.
There is not an eject button on the remote control.
DVD Messages
The following errors may be displayed on the video
screen:
Disc Format Error:This message will be displayed if a
disc is inserted upside down, not readable, or the
format is not compatible with the DVD player.Load/Eject Error:This message will be displayed if the
disc is not properly loaded or ejected.
Disc Play Error:This message will be displayed if the
DVD player cannot play the disc. Scratched or
damaged discs will cause this error.
Region Code Error:This message will be displayed if
the region code of the DVD is not compatible with
the region code of the DVD player.
No Disc:This message will be displayed if any of the
buttons on the DVD faceplate or remote control are
pressed and no disc is present in the DVD player.
Parental Control Button:This button is located behind
the video screen. Press this button while a DVD or
CD is playing to freeze the video and mute the audio.
The video screen will display Parental Control ON
and the power indicator light on the DVD player will
�ash. It will also disable all other button operations from
the remote control and the DVD player, with the
exception of the eject button. Press this button again to
restore operation of the DVD player.
This button may also be used to turn the DVD player
power on and automatically resume play if the ignition is
in RUN, ACCESSORY, or if RAP is active.
3-84
Page 196 of 420
Audio Output
Audio from the DVD player or auxiliary inputs may be
heard through the following possible sources:
Wireless Headphones
Vehicle Speakers
Vehicle wired headphone jacks on the Rear Seat
Audio system (if equipped)
The RSE system will always transmit the audio signal
by infrared to the wireless headphones, if there is audio
available. See “Headphones” previously for more
information.
The RSE system is capable of outputting audio to the
vehicle speakers by using the radio. The RSE
system may be selected as an audio source on the
radio if the RSE system power is on. Once the
RSE system is selected as an audio source on the radio
you may adjust the speaker volume on the radio. If
the RSE system power is not on, the RSE system will
not be an available source on the radio. Refer to
the radio information for the radio that your vehicle has
for more information.The RSE system is capable of outputting audio to the
wired headphone jacks on the rear seat audio system
(if equipped). The RSE system may be selected as
an audio source on the rear seat audio system if
the RSE system power is on. Refer toRear Seat Audio
(RSA) on page 3-93for more information.Problem Recommended Action
No power. The ignition might not be
in on or accessory.
Check to make sure the
parental control button
has not been activated.
(The power indicator light
will �ash if parental
control is active.)
Disc will not play. The system might be off.
Check to make sure the
parental control button
has not been activated.
(The power indicator light
will �ash if parental
control is active.)
The system might be in
auxiliary mode.
The disc is upside down
or is not compatible.
3-90
Page 203 of 420
The cut tape detection feature of your cassette tape
player may identify the cleaning cassette as a damaged
tape, in error. To prevent the cleaning cassette from
being ejected, use the following steps.
1. Turn the ignition on.
2. Turn the radio off.
3. Press and hold the TP CD button for �ve seconds.
4. Insert the scrubbing action cleaning cassette.
5. Eject the cleaning cassette after the manufacturer’s
recommended cleaning time.
You may also choose a non-scrubbing action, wet-type
cleaner which uses a cassette with a fabric belt to
clean the tape head. This type of cleaning cassette will
not eject on its own. A non-scrubbing action cleaner
may not clean as thoroughly as the scrubbing type
cleaner. The use of a non-scrubbing action, dry-type
cleaning cassette is not recommended.
After you clean the player, press and hold the eject
button for �ve seconds to reset the CLEAN PLAYR
indicator. The radio will display CLEANED to show the
indicator was reset.Cassettes are subject to wear and the sound quality
may degrade over time. Always make sure the cassette
tape is in good condition before you have your tape
player serviced.
Care of Your CDs and DVDs
Handle discs carefully. Store them in their original cases
or other protective cases and away from direct sunlight
and dust. If the surface of a disc is soiled, dampen
a clean, soft cloth in a mild, neutral detergent solution
and clean it, wiping from the center to the edge.
Be sure never to touch the side without writing when
handling discs. Pick up discs by grasping the outer
edges or the edge of the hole and the outer edge.
Care of Your CD and DVD Player
The use of CD lens cleaner discs is not advised, due to
the risk of contaminating the lens of the CD optics
with lubricants internal to the CD mechanism.
3-97
Page 204 of 420
Cleaning the Video Screen
Pour some isopropyl or rubbing alcohol on a clean cloth
and gently wipe the video screen. Do not spray
directly onto the screen and do not press too hard or
too long on the video screen.
Fixed Mast Antenna
The �xed mast antenna can withstand most car washes
without being damaged. If the mast should ever
become slightly bent, you can straighten it out by hand.
If the mast is badly bent, you should replace it.
Check occasionally to be sure the mast is still tightened
to the fender. If tightening is required, tighten by
hand, then with a wrench one quarter turn.
Chime Level Adjustment
The volume level of the vehicle’s chimes can be
controlled by the radio. To change the volume level,
press and hold pushbutton 6 with the ignition on and the
radio power off. The chime volume level will change
from the normal level to loud, and LOUD will appear on
the display. To change back to the default or normal
setting, press and hold pushbutton 6 again. The chime
level will change from the loud level to normal, and
NORMAL will appear on the display.
3-98
Page 211 of 420
Avoid needless heavy braking. Some people drive in
spurts — heavy acceleration followed by heavy
braking — rather than keeping pace with traffic. This is
a mistake. Your brakes may not have time to cool
between hard stops. Your brakes will wear out much
faster if you do a lot of heavy braking. If you keep pace
with the traffic and allow realistic following distances,
you will eliminate a lot of unnecessary braking.
That means better braking and longer brake life.
If your engine ever stops while you are driving, brake
normally but do not pump your brakes. If you do,
the pedal may get harder to push down. If your engine
stops, you will still have some power brake assist.
But you will use it when you brake. Once the power
assist is used up, it may take longer to stop and
the brake pedal will be harder to push.Anti-lock Brake System
Your vehicle has anti-lock brakes. ABS is an advanced
electronic braking system that will help prevent a
braking skid.
When you start your engine and begin to drive away,
your anti-lock brake system will check itself. You
may hear a momentary motor or clicking noise while
this test is going on. This is normal.
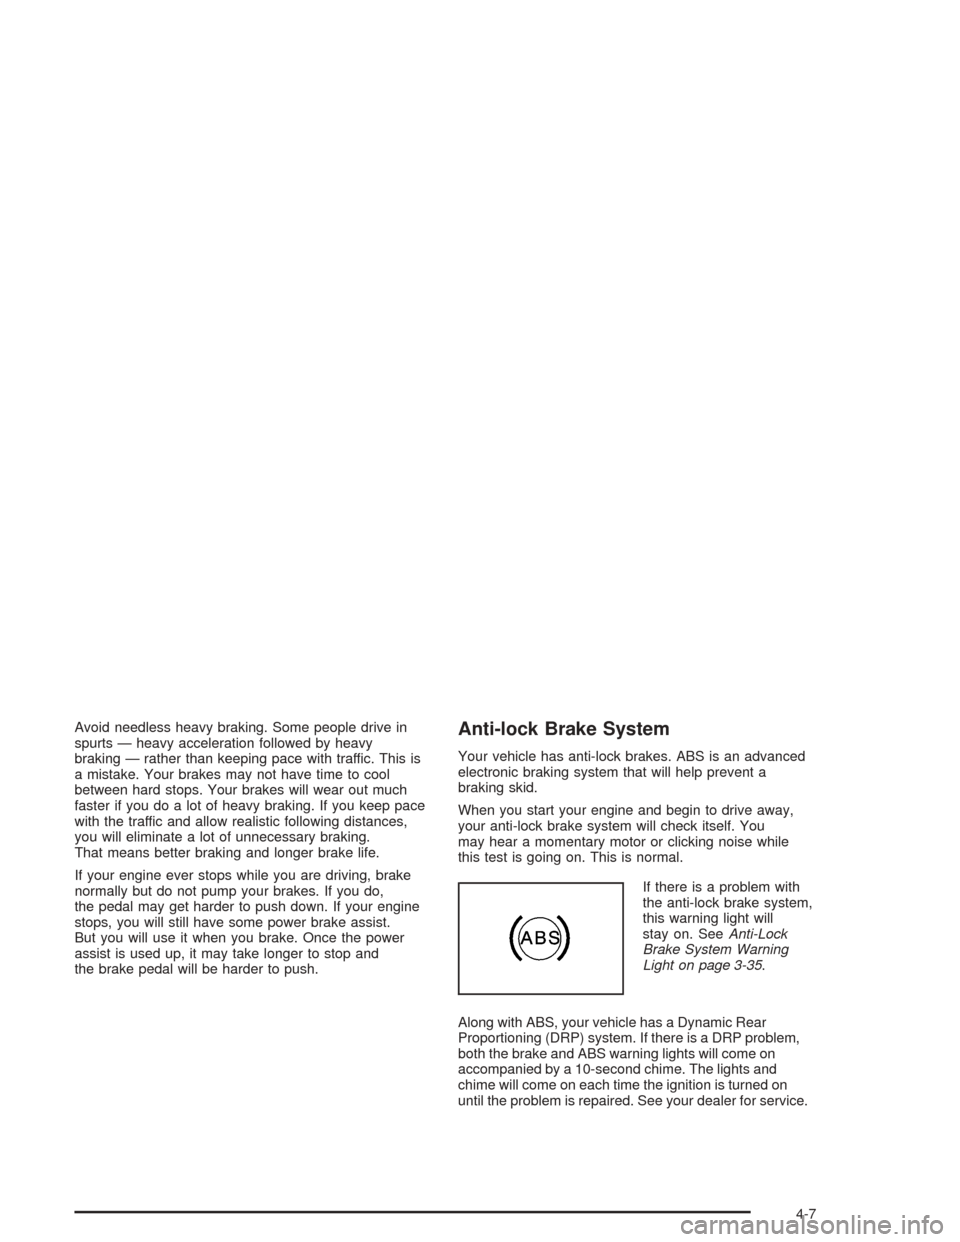
If there is a problem with
the anti-lock brake system,
this warning light will
stay on. SeeAnti-Lock
Brake System Warning
Light on page 3-35.
Along with ABS, your vehicle has a Dynamic Rear
Proportioning (DRP) system. If there is a DRP problem,
both the brake and ABS warning lights will come on
accompanied by a 10-second chime. The lights and
chime will come on each time the ignition is turned on
until the problem is repaired. See your dealer for service.
4-7