reset Oldsmobile Bravada 2004 Owner's Manuals
[x] Cancel search | Manufacturer: OLDSMOBILE, Model Year: 2004, Model line: Bravada, Model: Oldsmobile Bravada 2004Pages: 420, PDF Size: 4.37 MB
Page 94 of 420
Outside Heated Mirrors
Your vehicle may have this feature.
When you operate the rear window defogger, a defogger
also warms the heated driver’s and passenger’s
outside rearview mirrors to help clear them of ice, snow
and condensation.
Outside Automatic Dimming Mirror
with Curb View Assist
If your vehicle has this feature, the driver’s and/or
passenger’s outside mirror will adjust to a preset tilt
position while the vehicle is in REVERSE (R) gear. Curb
view assist may be useful when you are parallel
parking. The mirror(s) will return to normal position
when the vehicle is shifted out of REVERSE (R) gear.
Automatic mirror movement in either direction will follow
a short delay.
To change the tilt position, adjust the mirror while the
vehicle is in REVERSE (R) gear with the engine running,
the parking brake engaged and the brake pedal
pressed. The new position will be saved into memory
once the vehicle is shifted out of REVERSE (R).You may be able to enable/disable this feature through
the Driver Information Center (DIC). See “Mirror
Curb View Assist” underDIC Operation and Displays
on page 3-45.
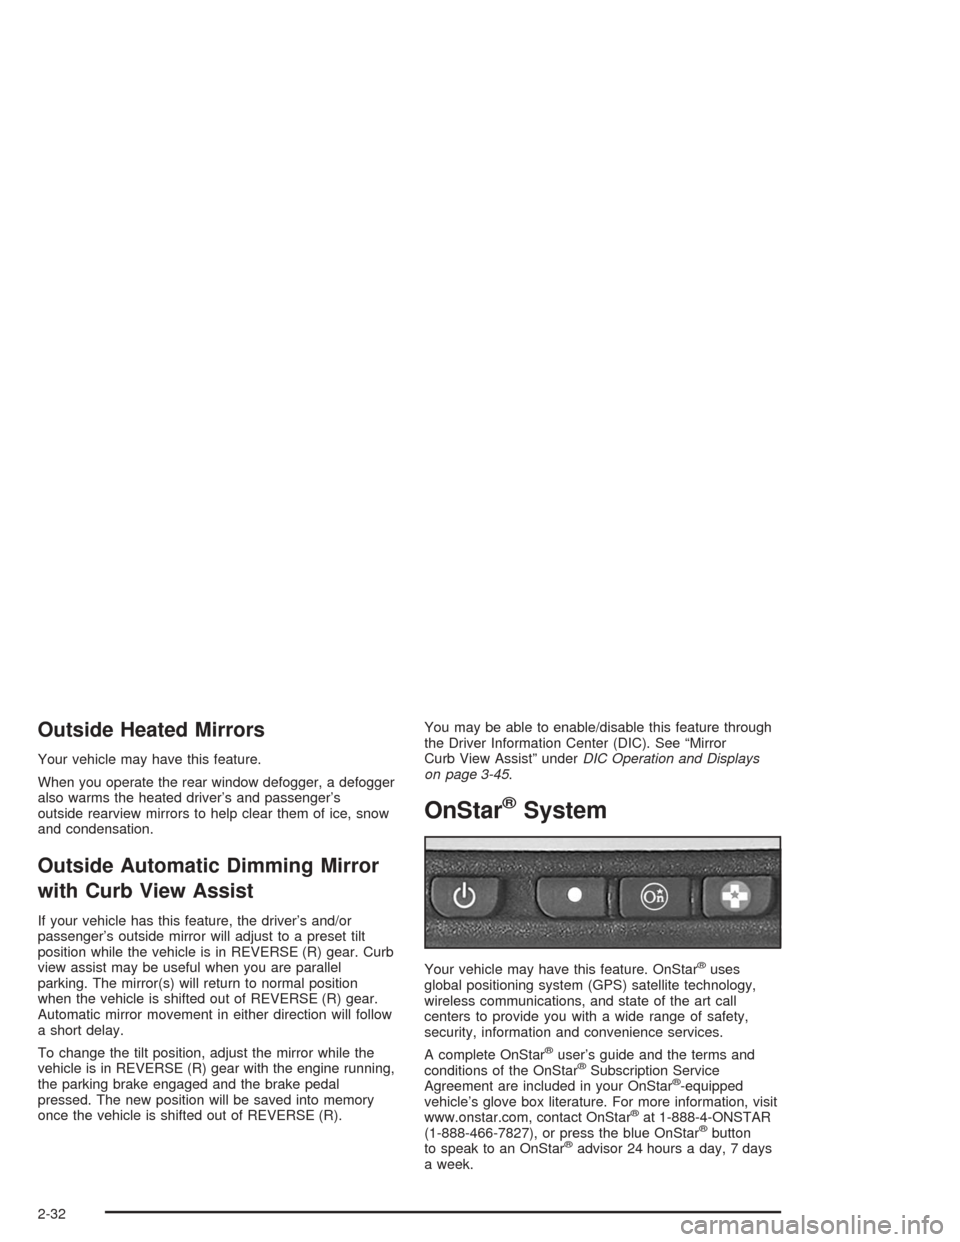
OnStar®System
Your vehicle may have this feature. OnStar®uses
global positioning system (GPS) satellite technology,
wireless communications, and state of the art call
centers to provide you with a wide range of safety,
security, information and convenience services.
A complete OnStar
®user’s guide and the terms and
conditions of the OnStar®Subscription Service
Agreement are included in your OnStar®-equipped
vehicle’s glove box literature. For more information, visit
www.onstar.com, contact OnStar
®at 1-888-4-ONSTAR
(1-888-466-7827), or press the blue OnStar®button
to speak to an OnStar®advisor 24 hours a day, 7 days
a week.
2-32
Page 99 of 420
If you live in Canada, or you are having difficulty
programming a gate operator by using the
“Programming HomeLink
®” procedures (regardless of
where you live), replace Step 3 under “Programming
HomeLink
®” with the following:
Continue to press and hold the HomeLink
®button while
you press and release every two seconds (cycle)
your hand-held transmitter until the frequency signal has
been successfully accepted by HomeLink
®. The
indicator light will �ash slowly at �rst and then rapidly.
Proceed with Step 4 under “Programming HomeLink
®”
to complete.
Using HomeLink®
Press and hold the appropriate HomeLink®button for at
least half of a second. The indicator light will come
on while the signal is being transmitted.
Erasing HomeLink®Buttons
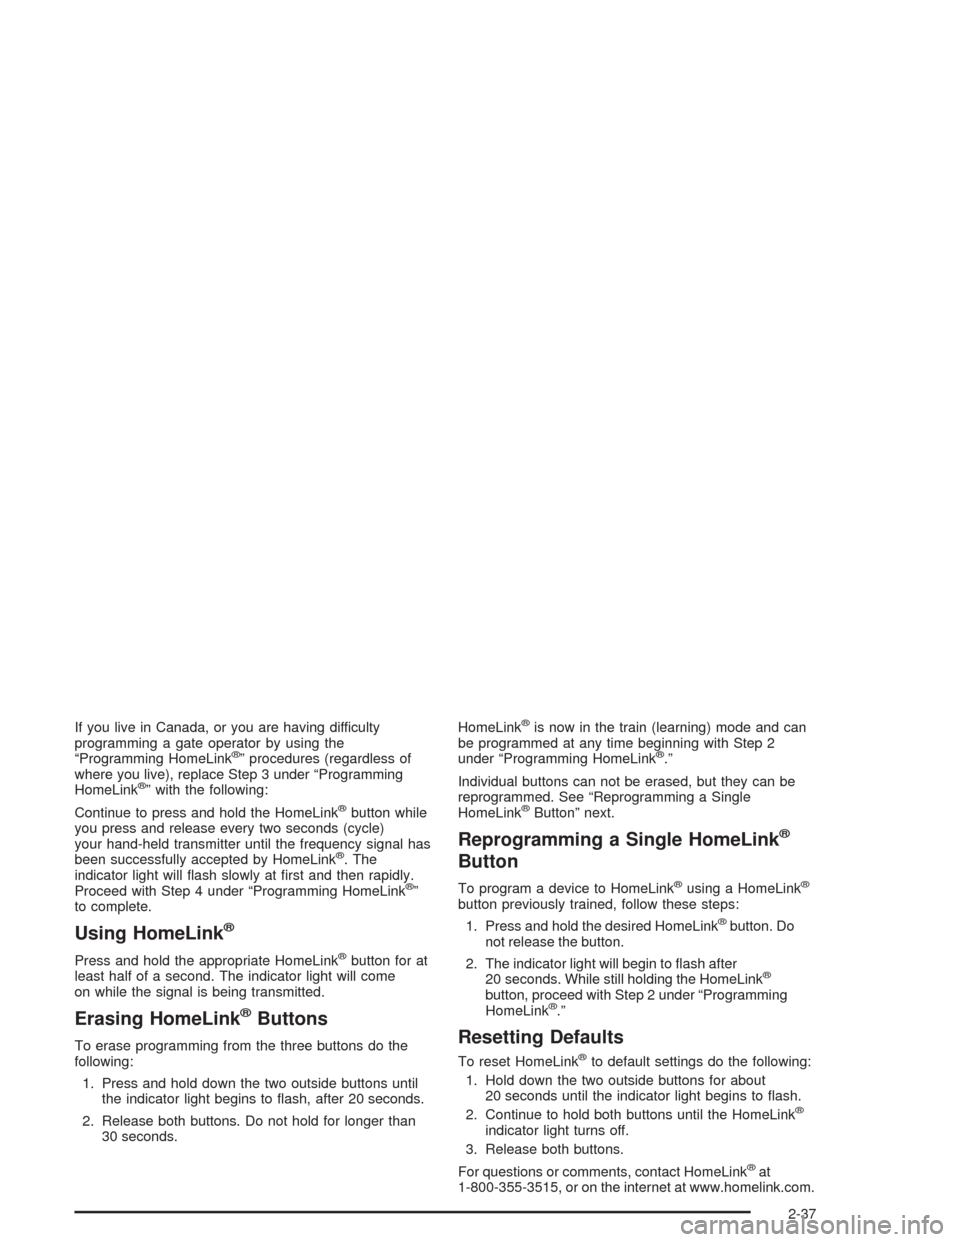
To erase programming from the three buttons do the
following:
1. Press and hold down the two outside buttons until
the indicator light begins to �ash, after 20 seconds.
2. Release both buttons. Do not hold for longer than
30 seconds.HomeLink
®is now in the train (learning) mode and can
be programmed at any time beginning with Step 2
under “Programming HomeLink
®.”
Individual buttons can not be erased, but they can be
reprogrammed. See “Reprogramming a Single
HomeLink
®Button” next.
Reprogramming a Single HomeLink®
Button
To program a device to HomeLink®using a HomeLink®
button previously trained, follow these steps:
1. Press and hold the desired HomeLink
®button. Do
not release the button.
2. The indicator light will begin to �ash after
20 seconds. While still holding the HomeLink
®
button, proceed with Step 2 under “Programming
HomeLink®.”
Resetting Defaults
To reset HomeLink®to default settings do the following:
1. Hold down the two outside buttons for about
20 seconds until the indicator light begins to �ash.
2. Continue to hold both buttons until the HomeLink
®
indicator light turns off.
3. Release both buttons.
For questions or comments, contact HomeLink
®at
1-800-355-3515, or on the internet at www.homelink.com.
2-37
Page 105 of 420

A second mirror position, seating position and adjustable
pedal position can be programmed by repeating the
procedure with a second driver and pressing button 2 for
three seconds. Each time button 1 or 2 is pressed
and released while the vehicle is in PARK (P), a single
chime will sound, and the memory position will be
recalled.
If you use the unlock button on the remote keyless entry
transmitter to enter your vehicle, the preset driver’s
seat, mirror positions and adjustable pedal position will
be recalled if programmed to do so through the
Driver Information Center (DIC). The numbers on the
back of the transmitters, 1 or 2, correspond to the
numbers on the memory controls.
The seat positions, mirror positions and adjustable
pedal positions can also be recalled by placing the key
in the ignition if programmed to do so through the
Driver Information Center (DIC). SeeDIC Operation and
Displays on page 3-45.
To stop recall movement of the memory feature at any
time, press one of the power seat controls or memory
buttons.Two personalized exit positions can be set by �rst
recalling the driver’s position by pressing 1 or 2, then
positioning the seat in the desired exit position for
that driver. Press and hold the button with the exit
symbol for three seconds. A double chime will sound to
let you know that the position has been stored. With
the vehicle in PARK (P), the exit position for that driver
can be recalled by pressing the exit button. The
mirrors, power lumbar, recline and adjustable pedal
positions will not be stored or recalled for the exit
positions. If no exit position is stored, the default is all
the way rearward.
Further programming for automatic seat and mirror
movement can be done through the Driver Information
Center (DIC). You may choose to either select or
not select the following:
Automatic seat, mirror movement and pedal
position when the vehicle is unlocked with the
remote keyless entry
automatic seat, mirror movement and pedal position
when a key is placed in the ignition
automatic seat movement to the exit position when
the vehicle is in PARK (P)
2-43
Page 117 of 420
Windshield Washer
L
(Windshield Washer):To spray washer �uid on the
windshield, press the windshield washer paddle. The
wipers will clear the window and then either stop
or return to your preset speed.
{CAUTION:
In freezing weather, do not use your washer
until the windshield is warmed. Otherwise the
washer �uid can form ice on the windshield,
blocking your vision.
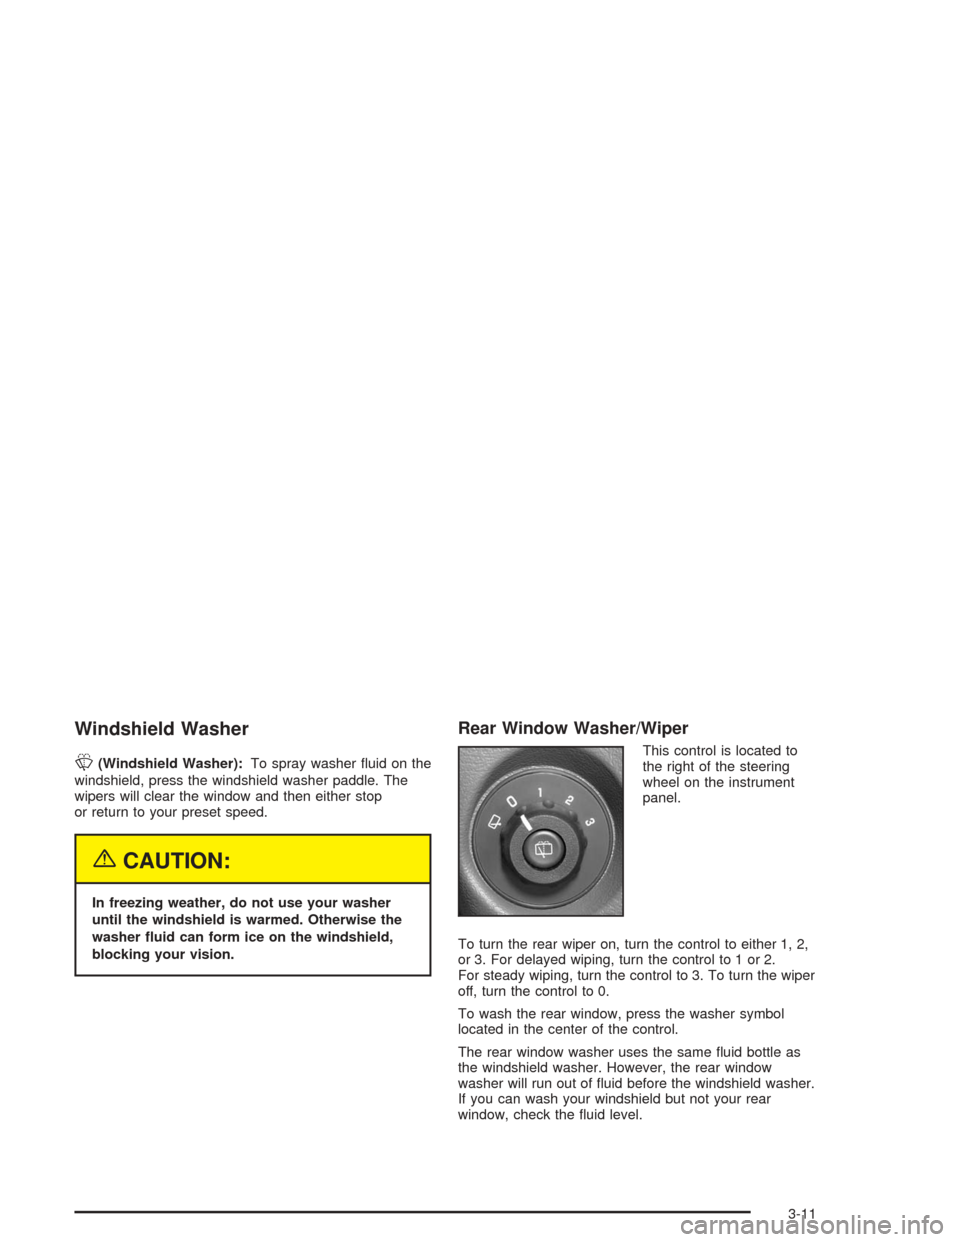
Rear Window Washer/Wiper
This control is located to
the right of the steering
wheel on the instrument
panel.
To turn the rear wiper on, turn the control to either 1, 2,
or 3. For delayed wiping, turn the control to 1 or 2.
For steady wiping, turn the control to 3. To turn the wiper
off, turn the control to 0.
To wash the rear window, press the washer symbol
located in the center of the control.
The rear window washer uses the same �uid bottle as
the windshield washer. However, the rear window
washer will run out of �uid before the windshield washer.
If you can wash your windshield but not your rear
window, check the �uid level.
3-11
Page 119 of 420
{CAUTION:
If you leave your cruise control on when you
are not using cruise, you might hit a button
and go into cruise when you do not want to.
You could be startled and even lose control.
Keep the cruise control switch off until you
want to use cruise control.
Setting Cruise Control
1. Move the cruise control switch to on.
2. Get up to the speed you want.
3. Press in the set button at the end of the lever and
release it.
4. Take your foot off the accelerator pedal. The
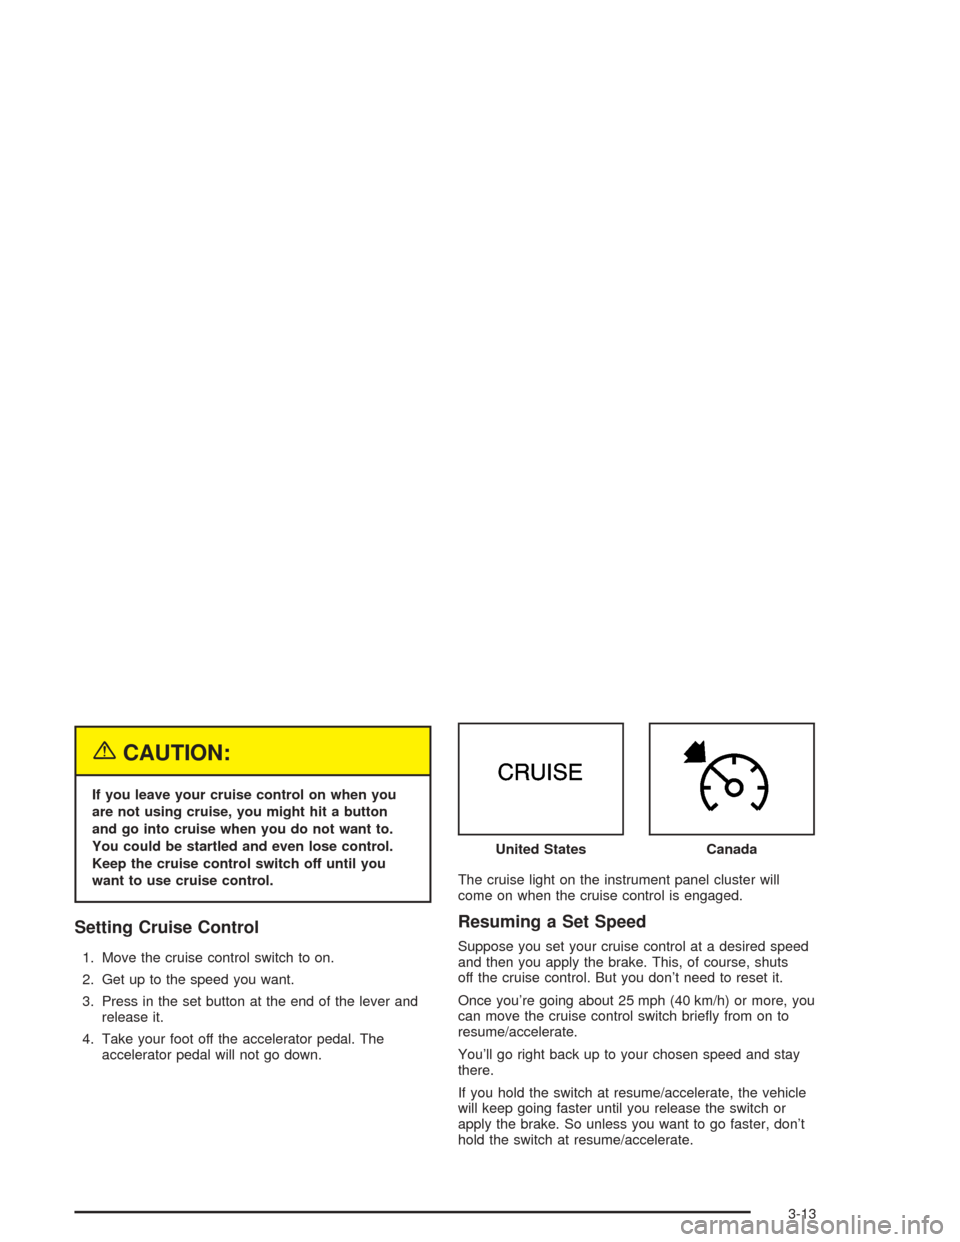
accelerator pedal will not go down.The cruise light on the instrument panel cluster will
come on when the cruise control is engaged.
Resuming a Set Speed
Suppose you set your cruise control at a desired speed
and then you apply the brake. This, of course, shuts
off the cruise control. But you don’t need to reset it.
Once you’re going about 25 mph (40 km/h) or more, you
can move the cruise control switch brie�y from on to
resume/accelerate.
You’ll go right back up to your chosen speed and stay
there.
If you hold the switch at resume/accelerate, the vehicle
will keep going faster until you release the switch or
apply the brake. So unless you want to go faster, don’t
hold the switch at resume/accelerate.United States
Canada
3-13
Page 128 of 420

Passenger’s Side Temperature Knob:Turn this knob
clockwise or counterclockwise to manually raise or
lower the temperature on the passenger’s side of the
vehicle. The display will show the temperature
setting decreasing or increasing and the word PASS will
appear on the display. The passenger’s temperature
setting can be set to match and link to the driver’s
temperature setting by pressing and holding the AUTO
button for three seconds. Now, by adjusting the
driver’s side temperature setting, the passenger’s side
temperature setting will follow and both DRIVER
and PASS will appear on the display. The passenger’s
side temperature setting also resets and relinks to
the driver’s side temperature setting if the vehicle has
been off for more than two hours.
Automatic Operation
AUTO (Automatic):When automatic operation is
active, the system will control the inside temperature,
the air delivery mode, and the fan speed.Use the steps below to place the entire system in
automatic mode:
1. Press the AUTO button.
When AUTO is selected, the air conditioning
operation and air inlet mode will be automatically
controlled. The air conditioning compressor will run
when the outside temperature is over approximately
40°F (4°C). The air inlet will normally be set to
outside air. If it’s hot outside, the air inlet will
automatically switch to recirculate inside air to help
quickly cool down your vehicle.
2. Set the driver’s and passenger’s temperature.
To �nd your comfort setting, start with a 72°F (22°C)
temperature setting and allow about 20 minutes
for the system to regulate. Turn the driver’s or
passenger’s side temperature knob to adjust the
temperature setting as necessary. If you choose the
temperature setting of 60°F (15°C), the system
will remain at the maximum cooling setting. If you
choose the temperature setting of 90°F (32°C),
the system will remain at the maximum heat setting.
Choosing either maximum setting may not cause
the vehicle to heat or cool any faster.
3-22
Page 136 of 420
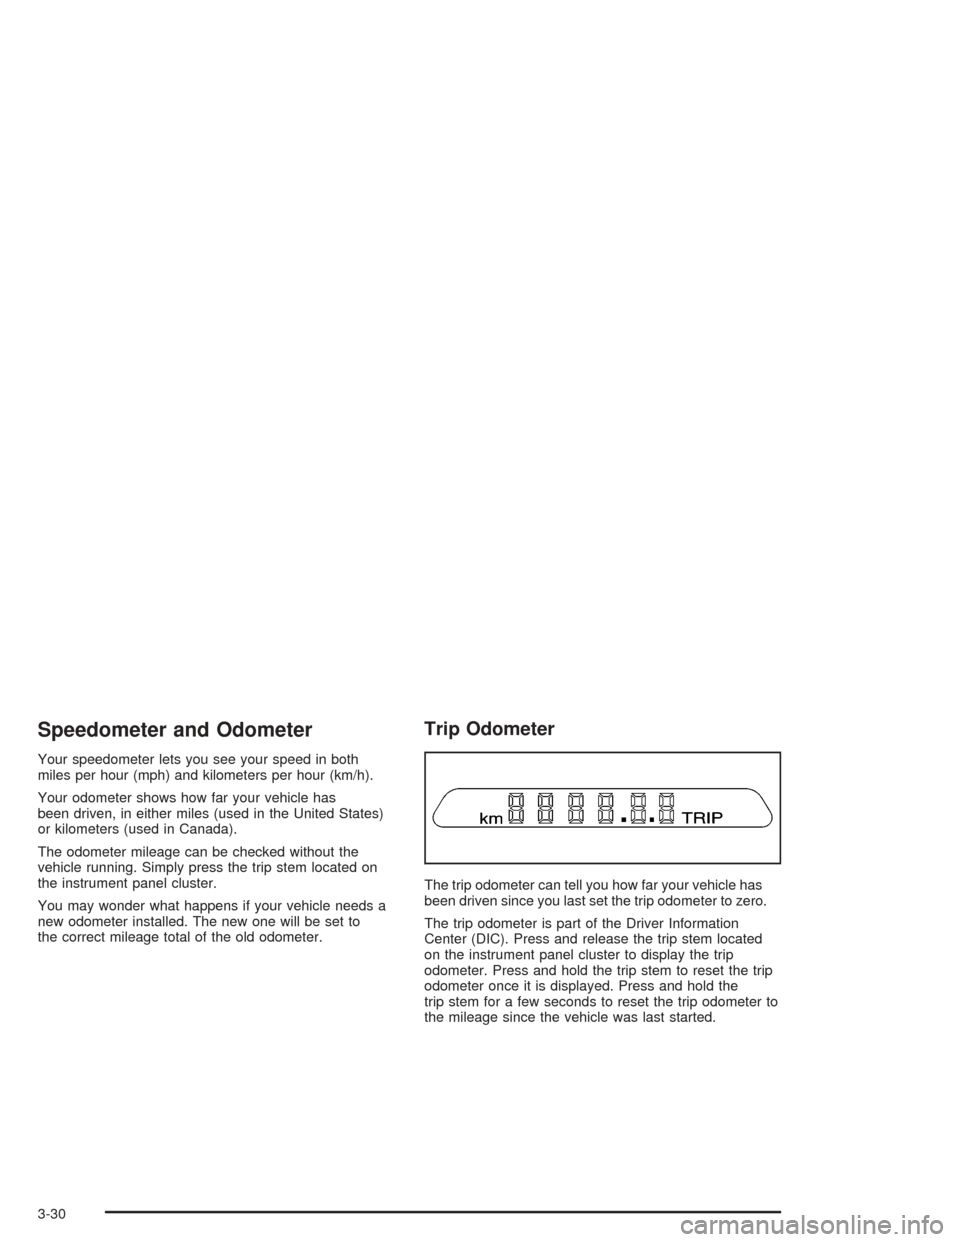
Speedometer and Odometer
Your speedometer lets you see your speed in both
miles per hour (mph) and kilometers per hour (km/h).
Your odometer shows how far your vehicle has
been driven, in either miles (used in the United States)
or kilometers (used in Canada).
The odometer mileage can be checked without the
vehicle running. Simply press the trip stem located on
the instrument panel cluster.
You may wonder what happens if your vehicle needs a
new odometer installed. The new one will be set to
the correct mileage total of the old odometer.
Trip Odometer
The trip odometer can tell you how far your vehicle has
been driven since you last set the trip odometer to zero.
The trip odometer is part of the Driver Information
Center (DIC). Press and release the trip stem located
on the instrument panel cluster to display the trip
odometer. Press and hold the trip stem to reset the trip
odometer once it is displayed. Press and hold the
trip stem for a few seconds to reset the trip odometer to
the mileage since the vehicle was last started.
3-30
Page 146 of 420

{CAUTION:
Do not keep driving if the oil pressure is low. If
you do, your engine can become so hot that it
catches �re. You or others could be burned.
Check your oil as soon as possible and have
your vehicle serviced.
Notice:Lack of proper engine oil maintenance may
damage the engine. The repairs would not be
covered by your warranty. Always follow the
maintenance schedule in this manual for changing
engine oil.
Change Engine Oil Light
This light is displayed when the engine oil needs to be
changed.
Once the engine oil has been changed, the CHANGE
ENG OIL light must be reset. Until it is reset, the light will
be displayed when the engine is on.United States
Canada
3-40
Page 151 of 420
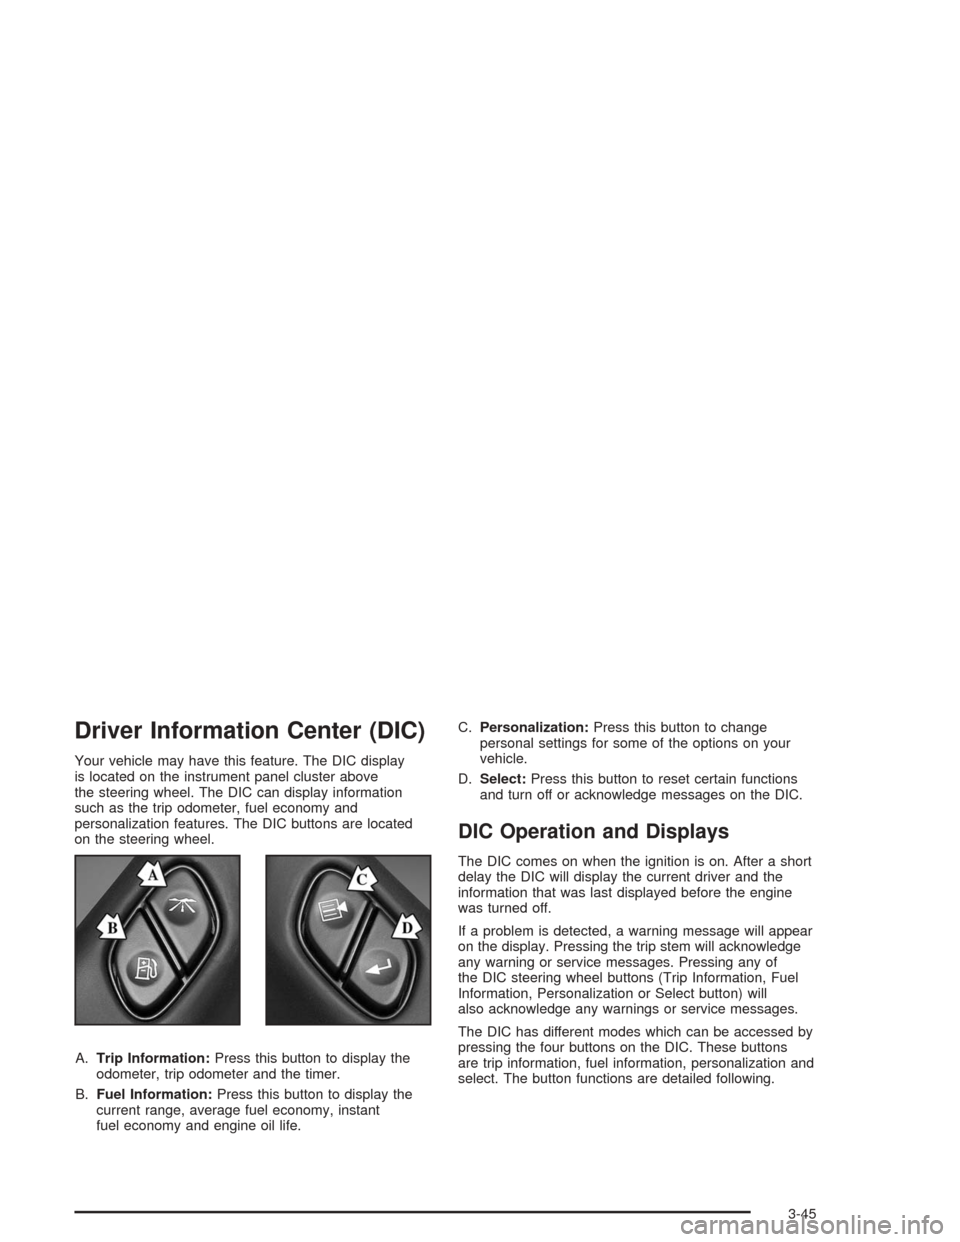
Driver Information Center (DIC)
Your vehicle may have this feature. The DIC display
is located on the instrument panel cluster above
the steering wheel. The DIC can display information
such as the trip odometer, fuel economy and
personalization features. The DIC buttons are located
on the steering wheel.
A.Trip Information:Press this button to display the
odometer, trip odometer and the timer.
B.Fuel Information:Press this button to display the
current range, average fuel economy, instant
fuel economy and engine oil life.C.Personalization:Press this button to change
personal settings for some of the options on your
vehicle.
D.Select:Press this button to reset certain functions
and turn off or acknowledge messages on the DIC.
DIC Operation and Displays
The DIC comes on when the ignition is on. After a short
delay the DIC will display the current driver and the
information that was last displayed before the engine
was turned off.
If a problem is detected, a warning message will appear
on the display. Pressing the trip stem will acknowledge
any warning or service messages. Pressing any of
the DIC steering wheel buttons (Trip Information, Fuel
Information, Personalization or Select button) will
also acknowledge any warnings or service messages.
The DIC has different modes which can be accessed by
pressing the four buttons on the DIC. These buttons
are trip information, fuel information, personalization and
select. The button functions are detailed following.
3-45
Page 152 of 420
Trip Information
Use the trip information button to scroll through the
odometer, TRIP A, TRIP B and TIMER.
Odometer
Press the trip information button until the odometer
appears on the display. This shows the total distance
the vehicle has been driven in either miles or kilometers.
Pressing the reset stem located on the instrument
cluster with the vehicle off will also display the odometer.
Trip A and Trip B
Press the trip information button until TRIP A or TRIP B
is displayed. This shows the current distance traveled
since the last reset for each trip odometer in either miles
or kilometers. Both odometers can be used at the
same time.
Each trip odometer can be reset to zero separately by
pressing select while the desired trip odometer is
displayed. You can also reset the trip odometers with
the reset stem on the cluster. If you press and hold the
reset stem for four seconds, the display will show the
distance traveled since the last ignition cycle.
Timer
The DIC can be used as a stopwatch. Press the select
button while TIMER is displayed to start the timer. The
display will show the amount of time that has passed
since the timer was last reset (not including time the
ignition is off). Time will continue to be counted as long as
the ignition is on, even if another display is being shown
on the DIC. The timer will record up to 99 hours,
59 minutes and 59 seconds (99:59:59) after which the
display will roll back to zero.
To stop the counting of time, press the select button
brie�y while TIMER is displayed.
To reset the timer to zero, press and hold the select
button while TIMER is displayed.
Fuel Information
Use the fuel information button to scroll through the
range, average fuel economy, instant fuel economy and
the GM Oil Life System.
3-46