fuse OLDSMOBILE CUTLASS 1997 Owners Manual
[x] Cancel search | Manufacturer: OLDSMOBILE, Model Year: 1997, Model line: CUTLASS, Model: OLDSMOBILE CUTLASS 1997Pages: 353, PDF Size: 16.72 MB
Page 6 of 353
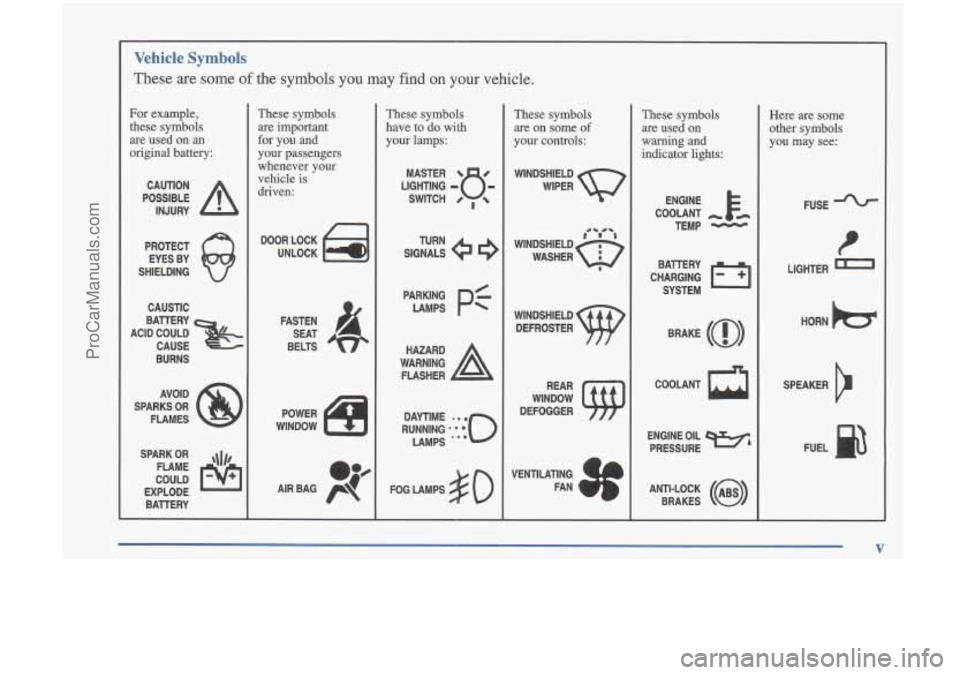
Vehicle Symbols
These are some of the symbols you may find on your vehicle.
For example,
these symbols
are used
on an
original battery:
POSSIBLE A
CAUTION
INJURY
PROTECT EYES BY
SHIELDING
CAUSTIC
ACID COULD BAllERY
CAUSE
BURNS
AVOID
SPARKS
OR
FLAMES
SPARK
OR ,\I/,
COULD FLAME
EXPLODE BATIERY
These symbols
are important
for you and
your passengers
whenever your vehicle is
driven:
DOOR LOCK
UNLOCK
FASTEN SEAT
BELTS
These symbols
have to do with
your lamps:
SIGNALS e
TURN
FOG LAMPS
# 0
These symbols
are on some
of
your controls:
WINDSHIELD
WIPER
WINDSHIELD DEFROSTER
WINDOW
DEFOGGER
VENTILATING FAN
(
These symbols
are used on
warning
and
indicator lights:
COOLANT -
TEMP -
CHARGING BAllERY
SYSTEM
BRAKE
(0)
COOLANT a
ENGINE OIL e,
PRESSURE
ANTI-LOCK
(@)
BRAKES
Here are some
other symbols
you may see:
FUSE
P
LIGHTER
HORN
)cr
SPEAKER
b
FUEL B
V
ProCarManuals.com
Page 86 of 353
To signal a lane change, just raise or lower the lever
until the arrow starts to flash. Hold it there until you
complete your lane change. The lever will return by
itself when you release it.
A warning chime signal will come on if you have left
your turn signal on for more than
3/4 mile (1 km).
As you signal a turn or a lane change, if the arrow
flashes rapidly, a signal bulb may be burned out and other drivers won’t see your turn signal.
If a bulb is burned out, replace it to help avoid an
accident. If the arrow doesn’t go on at all when you
signal a turn, check for burned-out bulbs and then check
the fuse (see “Fuses and Circuit Breakers” in the Index).
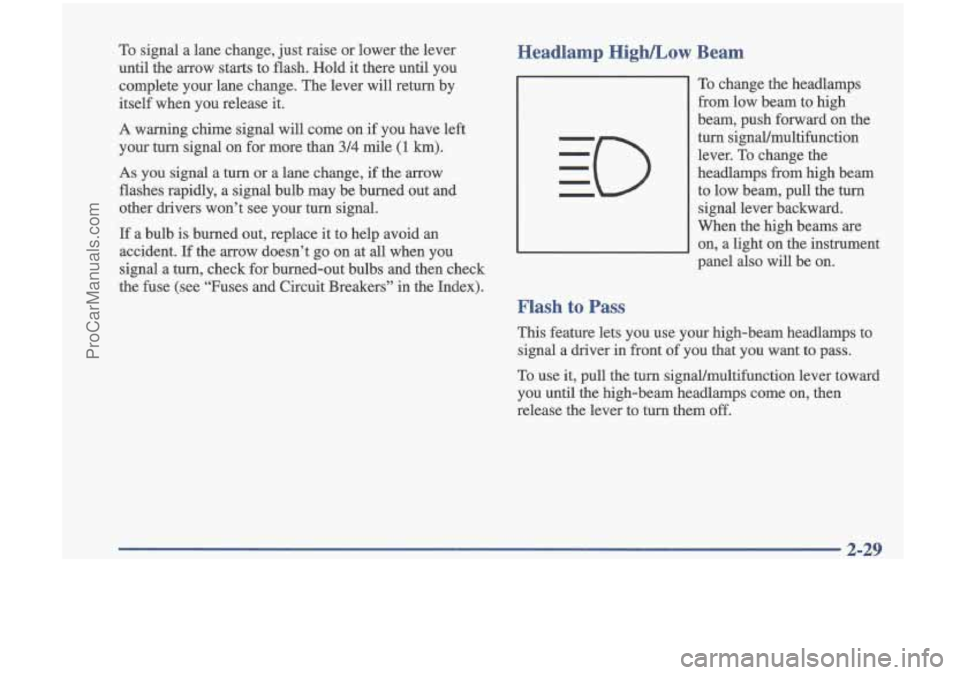
Headlamp High/Low Beam
To change the headlamps
from low beam to high
beam, push forward on the
turn signaUmultifunction
lever.
To change the
headlamps from high beam
to low beam, pull the turn
signal lever backward.
When the high bearns are
I I on, a light on the instrument
panel also will be on.
Flash to Pass
This feature lets you use your high-beam headlamps to
signal a driver
in front of you that you want to pass.
To use it, pull the turn signaYmultifunction lever toward
you until the high-beam headlamps come on, then
release the lever to turn them
off.
ProCarManuals.com
Page 101 of 353

Illuminated Visor Vanity Mirror Accessory Power Outlets
(If Equipped)
This mirror is located on the passenger’s side visor.
When you lift the cover, the light will turn
on.
Your vehicle is equipped with two accessory power
outlets. There is one located at the front of the center
console and one located on the passenger’s side of the
center console. Just lift up the door to reveal the outlet.
You can use it to plug in additional electric accessories.
Be sure to follow the proper installation instructions that
are included with any electrical accessory you install.
The accessory power outlets
are protected by a fuse and
have a maximum current level.
2-44
ProCarManuals.com
Page 104 of 353
Your instrument panel is designed to let you know at a
glance how your vehicle is running. You’ll know how
fast you’re going, how much fuel you’re using, and
many other things you’ll need to drive safely and
economically.
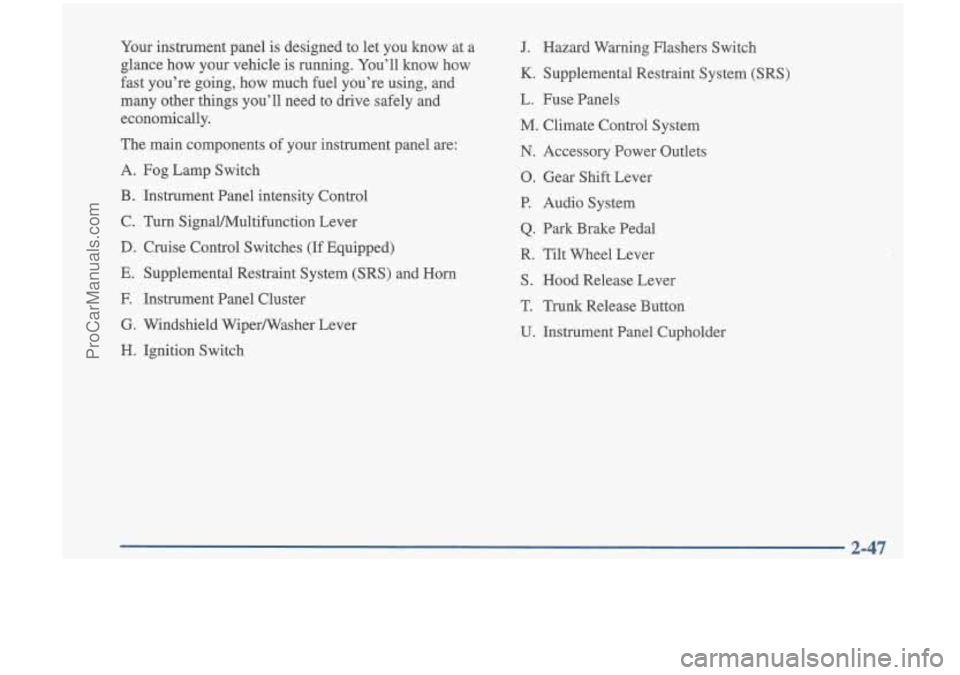
The main components of your instrument panel are:
A. Fog Lamp Switch
B. Instrument Panel intensity Control
C. Turn SignalMultifunction Lever
D. Cruise Control Switches (If Equipped)
E. Supplemental Restraint System (SRS) and Horn
F. Instrument Panel Cluster
G. Windshield Wipermasher Lever
H. Ignition Switch
J. Hazard Warning Flashers Switch
K. Supplemental Restraint System (SRS)
L. Fuse Panels
M. Climate Control System
N. Accessory Power Outlets
0. Gear Shift Lever
P. Audio System
Q. Park Brake Pedal
R. Tilt Wheel Lever
S. Hood Release Lever
T. Trunk Release Button
U. Instrument Panel Cupholder
2-47
-
ProCarManuals.com
Page 115 of 353
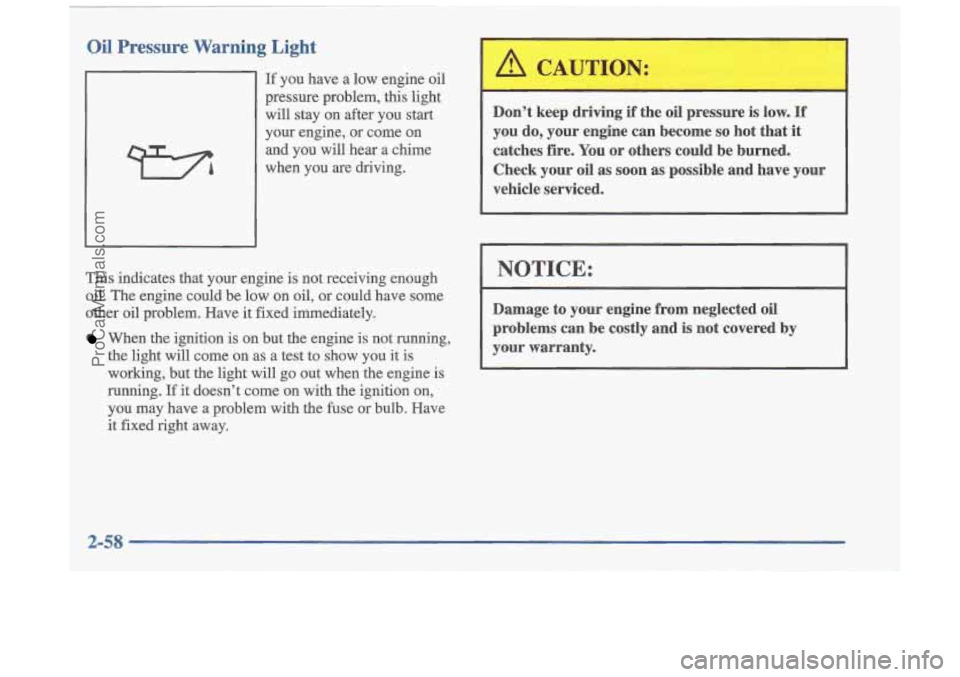
Oil Pressure Warning Light
If you have a low engine oil
pressure problem, this light will stay on after you start
your engine, or come on
and you
will hear a chime
when you
are driving.
This indicates that your engine is not receiving enough
oil. The engine could be low on oil, or could have some
other oil problem. Have
it fixed immediately.
When the ignition is on but the engine is not running,
the light will come on as
a test to show you it is
working, but the light will go out when the engine is
running.
If it doesn't come on with the ignition on,
you may have a problem with the fuse or bulb. Have
it fixed right away. Don't keep driving
if the oil pressure is low.
If
you do, your engine can become so hot that it
catches fire. You
or others could be burned.
Check your oil as soon
as possible and have vow
vehicle serviced.
I
I NOTICE:
Damage to your engine from neglected oil
problems can be costly and is not covered by
your warranty.
2-58
ProCarManuals.com
Page 174 of 353
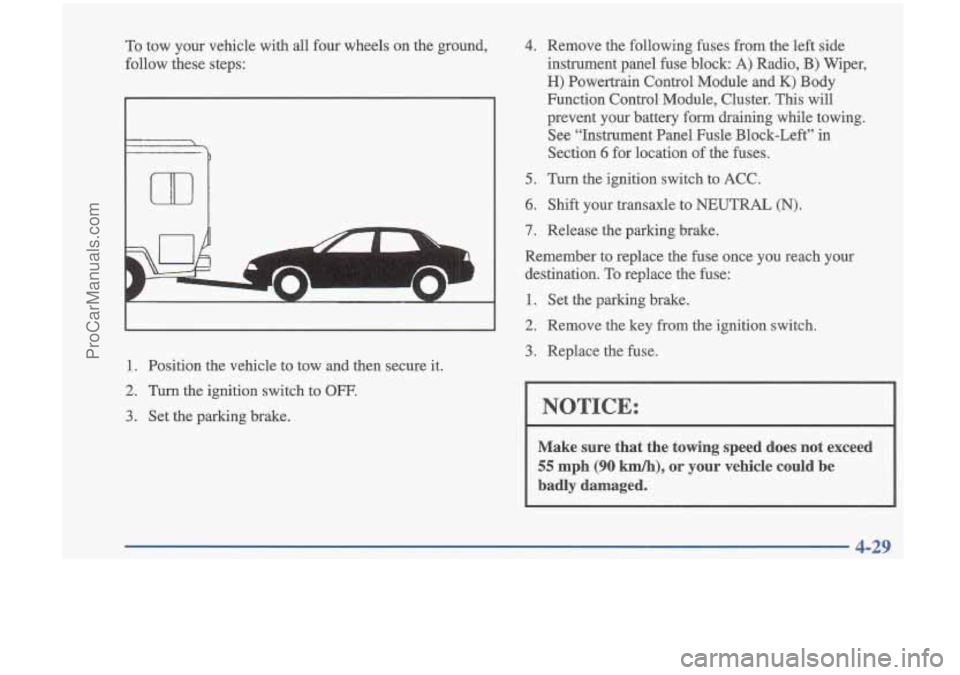
To tow your vehicle with all four wheels on the ground,
follow these steps:
7 ---
1. Position the vehicle to tow and then secure it.
2. Turn the ignition switch to OFF.
3. Set the parking brake.
4. Remove the following fuses from the left side
instrument panel fuse block:
A) Radio, B) Wiper,
H) Powertrain Control Module and K) Body
Function Control Module, Cluster. This will
prevent your battery
form draining while towing.
See “Instrument Panel Fusle Block-Left” in
Section
6 for location of the fuses.
5. Turn the ignition switch to ACC.
6. Shift your transaxle to NEUTRAL (N).
7. Release the parking brake.
Remember
to replace the fuse once you reach your
destination. To replace the fuse:
1. Set the parking brake.
2. Remove the key from the ignition switch.
3. Replace the fuse.
I NOTICE:
Make sure that the towing speed does not exceed
55 mph (90 km/h), or your vehicle could be
badly damaged.
4-29
ProCarManuals.com
Page 224 of 353
Section 6 Service and Appearance Care
Here you will find information about the care of your Oldsmobile. This section begins with service and fuel
information, and then it shows how to check important fluid an\
d lubricant levels. There is also technical information
about your vehicle, and a part devoted to its appearance care.\
6-2 6-3
6-5
6-5 6-7
6-11 6- 16
6-16
6-21
6-22
6-25
6-26
6-26
6-32
6-33 Doing
Your Own Service Work
What Kind of Fuel to Use
Using Fuel in Foreign Countries Where to Put the Fuel and Filling the Tank
Checking Things Under the Hood
Checking Your Engine Oil
Automatic Transaxle Fluid
Engine Coolant
Where to Fill the Windshield Washer Fluid
Important Brake Information
Infomation on Your Vehicle’s Battery
Tips on Vehicle Storage
Bulb Replacement Procedures
Windshield Wiper Blade Replacement How and When to Check Tire Inflation When
it is
Time to Buy New Tires
Wheel Alignment Cleaning the Inside of Your Vehicle
Care of the Safety Belts
Cleaning the Outside of Your Vehicle
How to Clean Aluminum Wheels
Underbody Maintenance
Recornended Appearance Care Materials
Your Vehicle Identification Number (VIN)
The Electrical System
Fuses and Circuit Breakers
Replacement Bulb Types for Your Vehicle
Capacities and Specifications
Air Conditioning Specifications
Normal Replacement Parts
6-35
6-38
6-4
1
6-43
6-45 6-46
6-47
6-48
6-49
6-50
6-5 1
6-57
6-57
6-58
6-58
6-1
ProCarManuals.com
Page 273 of 353

Electrical System
Add-on Electrical Equipment
I NOTICE:
Don’t add anything electrical to your Oldsmobile
unless you check with your retailer first. Some
electrical equipment can damage your vehicle
and the damage wouldn’t be covered by your
warranty. Some add-on electrical equipment can
keep other components from working as
they should.
Your vehicle has an air bag system. Before attempting to add anything electrical to your Oldsmobile, see
“Servicing Your Air Bag-Equipped Oldsmobile”
in the Index.
Headlamp Wiring
The headlamp wiring is protected by fuses, one for each
headlamp, in the fuse block. An electrical overload will
cause the lamps to
turn off. If this happens. have your
headlamp wiring checked right away.
Windshield Wipers
The windshield wiper motor is protected by an internal
circuit breaker and a fuse.
If the motor overheats due to
heavy snow, etc., the wiper
will stop until the motor
cools.
If the overload is caused by some electrical
problem and not snow, etc., be sure to get it .fixed.
Power Windows and Other Power Options
Circuit breakers in the fuse block protect the power
windows and other power accessories. When the current
load is too
heavy, the circuit breaker opens and closes,
protecting the circuit until the problem is fixed or
goes away.
6-50
..
ProCarManuals.com
Page 274 of 353
Fuses and Circuit Breakers
The wiring circuits in your vehicle are protected from
short circuits by a combination of fuses, circuit breakers
and fusible thermal links in the wiring itself.
This
greatly reduces the chance of fires caused by
electrical problems.
Look at the silver-colored band inside the fuse.
If the
band is broken or melted, replace the fuse. Be sure you
replace a bad fuse with a new one of the identical size
and rating.
If you ever have a problem on the road and don’t have a
spare fuse, you can borrow one that has the same
amperage. Just pick a feature of your vehicle that you
can get along without
-- like the radio or cigarette
lighter
-- and use its fuse, if it is the correct amperage.
Replace it as soon as you can. Also, there are spare fuses
in the left side instrument panel fuse block door.
There are three fuse blocks in your vehicle: two
instrument panel fuse blocks and the engine
compartment fuse block.
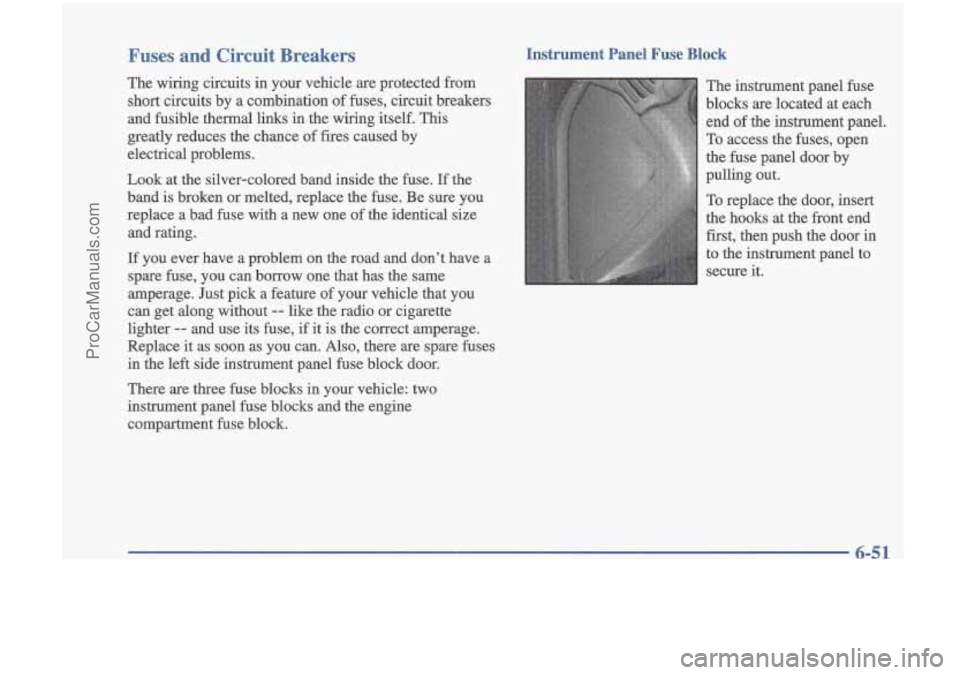
Instrument Panel Fuse Block
The instrument panel fuse
blocks are located at each end
of the instrument panel.
To access the fuses, open
the fuse panel door by
pulling out.
To replace the door, insert
the hooks at the front end
first, then push the door in
to the instrument panel to secure it.
ProCarManuals.com
Page 275 of 353
Instrument Panel Fuse Block - Left
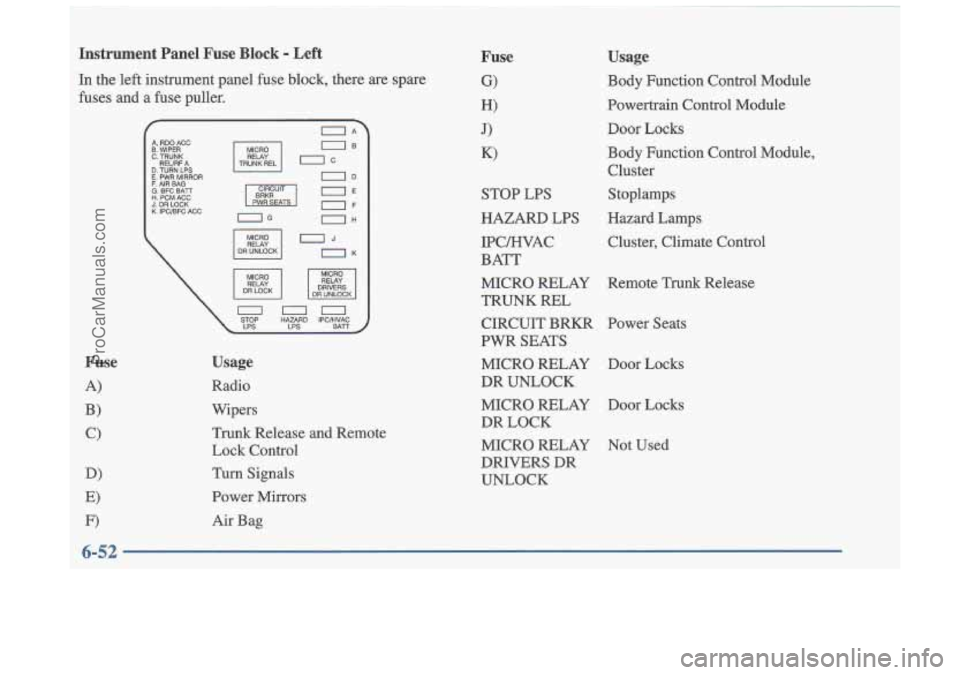
In the left instrument panel fuse block, there are spare
fuses and a fuse puller.
P-
I RELAY I MICRO
DR UNLOCK OK
DR LOCK DR UNLOCK DRIVERS
Usage
Radio
Wipers
Trunk Release and Remote
Lock Control
Turn Signals
Power Mirrors
Air Bag
Fuse
G)
H)
J)
K)
STOP LPS
HAZARD LPS
IPCENAC
BATT
MICRO RELAY
TRUNK REL CIRCUIT BRKR
PWR SEATS
MICRO RELAY
DR UNLOCK
MICRO RELAY
DR LOCK
MICRO RELAY
DRIVERS DR
UNLOCK
Usage
Body Function Control Module
Powertrain Control Module
Door Locks
Body Function Control Module,
Cluster
Stoplamps
Hazard Lamps Cluster, Climate Control
Remote Trunk Release
Power Seats
Door Locks
Door Locks
Not Used
6-52
ProCarManuals.com