tow Oldsmobile Cutlass 1998 s User Guide
[x] Cancel search | Manufacturer: OLDSMOBILE, Model Year: 1998, Model line: Cutlass, Model: Oldsmobile Cutlass 1998Pages: 348, PDF Size: 17.46 MB
Page 91 of 348
Running Your Engine While
You’re Parked
It’s better not to park with the engine running. But if you
ever have to, here are
some things to know.
Idling the engine with the climate control
system off could allow dangerous exhaust into
your vehicle (see the earlier Caution under
“Engine Exhaust”).
Also, idling in a closed-in place can let deadly
carbon monoxide (CO) into your vehicle even
if
the fan switch is at the highest setting. One place
this can happen is
a garage. Exhaust -- with
CO
-- can come in easily. NEVER park in a
garage with the engine running.
Another closed-in place can be a blizzard.
(See “Blizzard”
in the Index.)
Follow the proper steps to be sure your vehicle won’t
ove. See “Shifting Into
PARK (P)” in the Index.
JI you are parking on a hill and if you’re pulling a
trailer, also see “Towing a Trailer’’ in the Index.
2-27 ,
Page 94 of 348
Turn and Lane Change Signals
The turn signal has two upward (for right) and two
downward (for left) positions. These positions allow you
to signal a turn or a lane change.
To signal a
turn, move the lever all the way up or down.
When the
turn is finished, the lever will return automatically.
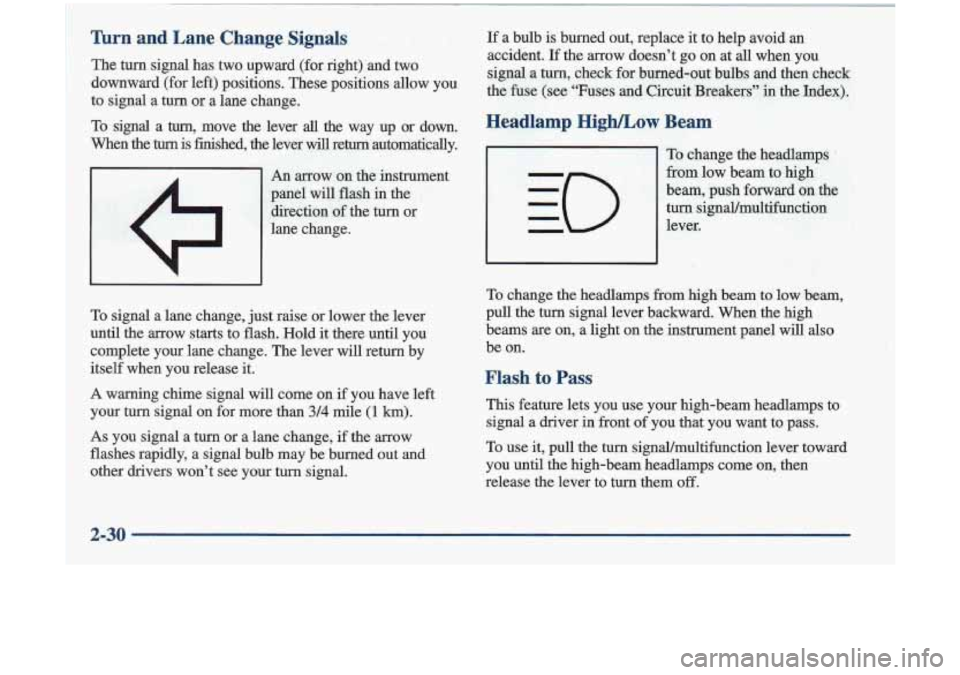
An arrow on the instrument
panel will flash in the
direction of the turn or
lane change.
To signal a lane change, just raise or lower the lever
until the arrow starts to flash. Hold it there until you
complete your lane change. The lever will return by
itself when you release it.
A warning chime signal will come on if you have left
your turn signal on for more than
3/4 mile (1 km).
As you signal a turn or a lane change, if the arrow
flashes rapidly, a signal bulb may be burned out and
other drivers won’t see your turn signal. If
a bulb is burned out, replace it to help avoid an
accident.
If the arrow doesn’t go on at all when you
signal a
turn, check for burned-out bulbs and then check
the fuse (see “Fuses and Circuit Breakers” in the Index).
Headlamp HighLow Beam
To change the headlamps .
from low beam to high
beam, push forward on the
turn signal/multifunction
lever.
I I
To change the headlamps fkom high beam to low beam,
pull the
turn signal lever backward. When the high
beams
are on, a light on the instrument panel will also
be on.
Flash to Pass
This feature lets you use your high-beam headlamps to
signal a driver in front of
you that you want to pass.
To use it, pull the turn signal/multifunction lever toward
you until the high-beam headlamps come on, then
release the lever to turn them
off.
Page 105 of 348
Power Remote Control Mirror
(If Equipped) Convex Outside Mirror Your
passenger’s side rnirror is convex. A convex
mirror’s surface
is curved so you can see more from the
diver’s seat.
A canvex mimor can make things (like other
vehicles)
look farther away thaa they really are.
If you cut too sharply into the right lane, you
could hit
a vehicle on your right. Check your
inside mirror or gl’ance over your shoulder before changing lanes.
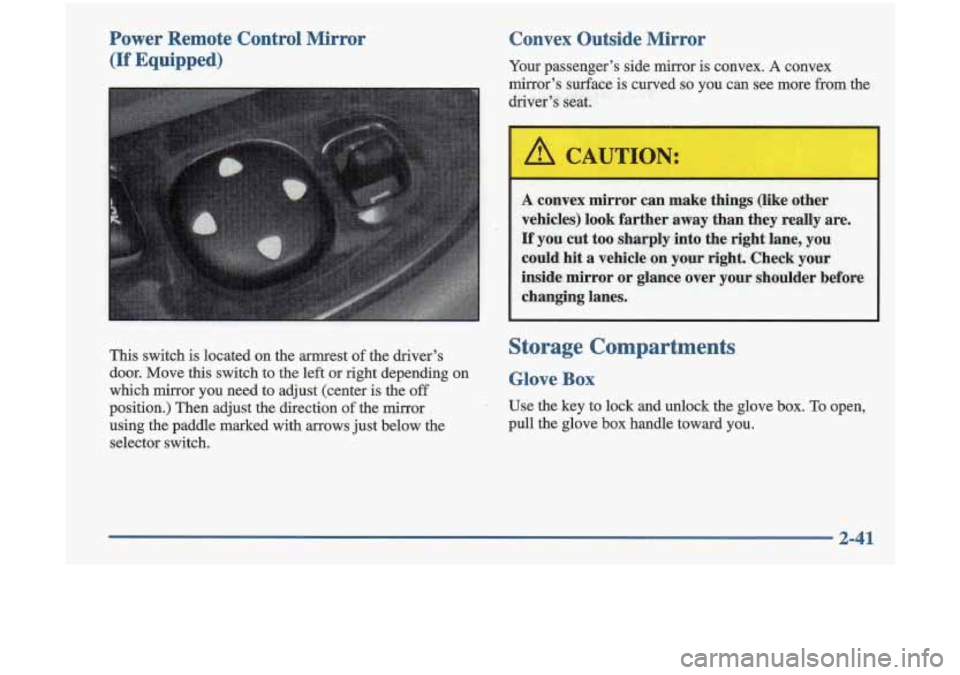
This switch is located on the armrest of the driver’s
door. Move
this switch to the left or right depending on
which mirror you need to adjust (center
is the off
position.) Then adjust the direction of the mirror
using the paddle marked with
arrows just below the
selector switch.
Storage ComDartments
Glove Box
Use the key to lock and unlock the glove box. To open,
pull the glove box handle toward you.
2-41
Page 117 of 348
Anti-Lock Brake System Warning Light
Your brake system may not be working properly
if the brake system warning light is on. Driving
with the brake system warning light on can lead
to an accident. If the light is still on after you’ve pulled off the road and stopped carefully, have
the vehicle towed for service.
When the ignition is on, the brake system warning light
will also come on when you set your parking brake. The
light will stay on if your parking brake doesn’t release
fully.
If it stays on after your parking brake is fully
released, it means you have a brake problem. With the anti-lock brake
system, this light will come
on when you
turn your
ignition on or start your engine and it
will stay
on for three seconds.
That’s normal.
If the light stays on, turn the ignition to OFF. Or, if the
light comes on and the chime sounds when you’re
driving, stop as
soon as possible and turn the ignition
off. Then start the engine again to reset the system.
If
the light still stays on, or comes on again while you’re
driving, your vehicle needs service.
If the regular brake
system warning light isn’t on, you still have brakes,
but you don’t have anti-lock brakes.
If the regular
brake system warning light
is also on, you don’t have
anti-lock brakes and there’s a problem with your regular
brakes. See “Brake System Warning Light” earlier
in
this section.
The anti-lock brake system warning light should come
on briefly when you turn the ignition key to
ON. If the
light doesn’t come on then, have
it fixed so it will be
ready to warn you
if there is a problem.
2-53
Page 120 of 348
This light should come on, as a check to show you it is
working, when the ignition
is on and the engine is not
running. If the light doesn’t come on, have it repaired.
This light will also come on during a malfunction in one
of two ways:
Light Flashing -- A misfire condition has been
detected.
A misfire increases vehicle emissions and
may damage the emission control system on your vehicle. Retailer or qualified service center diagnosis
and service may be required.
0 Light On Steady -- An emission control system
malfunction has been detected on your vehicle.
Retailer or qualified service center diagnosis and service may be required.
If the Light Is Flashing
The following may prevent more serious damage to
your vehicle:
Reducing vehicle speed.
Avoiding hard accelerations.
Avoiding steep uphill grades.
If you are towing a trailer, reduce the amount of
cargo being hauled as soon as it is possible.
2-56
Page 128 of 348
’ . For quick cool-down on very hot days, use VENT with
’ . the temperature knob all the way in the blue area and the
; A/C and RECIRCULATION buttons pressed. If this
; setting is used for long periods of time, the air in your
vehicle may become too dry.
-1 For normal cooling on hot days, use VENT with the
’: temperature knob in the blue area and the A/C button
f pushed in. The system will bring in outside air and cool it.
Heating
On cold days, use FLOOR and the outside air button
I with the temperature knob all the way in the red area.
The system will bring in outside air, heat it and send it
to the floor outlets.
I Your vehicle has heat outlets that are directed toward
I
. : the rear seat. Keep the area under the front seats
’ I clear of obstructions so the heated air can reach the
rear seat passengers.
:If your vehicle has an engine coolant heater, you can
use it to help your system provide warm air faster
when it’s cold outside
(0 OF (- 18 O C) or lower). An
engine coolant heater warms the coolant your engine
and heating system use to provide heat. See “Engine
’ . Coolant Heater” in the Index.
-~ -. ... . ~ ~ ~ ~~ ~ ~
~ .. ~~ __ ~
Defogging and Defrosting Windows
Your system has two settings for clearing the front and
side windows.
For each setting, adjust the temperature
control as desired.
To defrost the front window quickly, rotate the
temperature control knob all the way in the red area.
Use DEFROST and adjust the fan to the highest speed.
To warrn passengers while keeping the front window
clean, use DEFOG.
Your vehicle is equipped with side window defogger
vents. The side window defogger vents are located
on the outside of the side instrument panel vents. To
defrost the side windows rotate the temperature control
knob all the way in the red area. Use
FLOOR and adjust
the fan to the highest speed. To control fogging of the
windows rotate the temperature control knob all the
way in the red area. Use DEFOG and adjust the fan
to the highest speed.
To defog the side windows while using air conditioning
use BI-LEVEL and adjust the fan to the highest speed and press the
A/C button. For added airflow to the side
windows aim the side vents toward the windows and
close the center vents.
RECIRCULATION will not work in DEFROST and
DEFOG. This is done to prevent recirculation of humid
inside air and allow the system to work properly.
Page 147 of 348
Section 4 Your Driving and the Road
Here you’ll find information about driving on different kinds of roads and in varying weather conditions. We’ve asu
included many other useful tips on driving.
4-2
4-3 4-6
4-6
4-9
4-11 4- 12
4- 13
4- 14
4-16 Defensive Driving
Drunken
Driving
Control
of a Vehicle
Braking Steering
Off-Road Recovery
Passing
Loss of Control
Driving at Night
Driving
in Rain and on Wet Roads 4-19
4-20
4-21
4-22
4-22
4-24
4-28
4-30
4-32 City Driving
Freeway Driving
Before Leaving on a Long Trip
Highway Hypnosis
Hill and Mountain Roads
Winter Driving Recreational Vehicle Towing
Loading
Your Vehicle
Towing a Trailer
4-1
Page 174 of 348
~~ ~ ~ ~~~~ ~ ~
~~~ ~ . ~~
-Run
your engine only as long as you must. This saves
fuel. When you run the engine, make it go a little faster
than just idle. That is, push the accelerator slightly. This
uses less fuel for the heat that you get and it keeps the
battery charged. You will need a well-charged battery to
restart the vehicle, and possibly for signaling later on
with your headlamps. Let the heater run for
a while.
' Then, shut the engine off and close the window almost
all the way to preserve the heat. Start the engine again and repeat this only when you feel really uncomfortable
from the cold. But do it as little as possible. Preserve the
fuel as long as you can. To help keep warm, you can get
' out of the vehicle and do some fairly vigorous exercises
.. every half hour or so until help comes.
Recreational Vehicle Towing
You can tow your vehicle behind another vehicle for use
at your'destination. Be sure to use the proper towing
equipment designed for recreational towing. Follow the
instructions for the towing equipment.
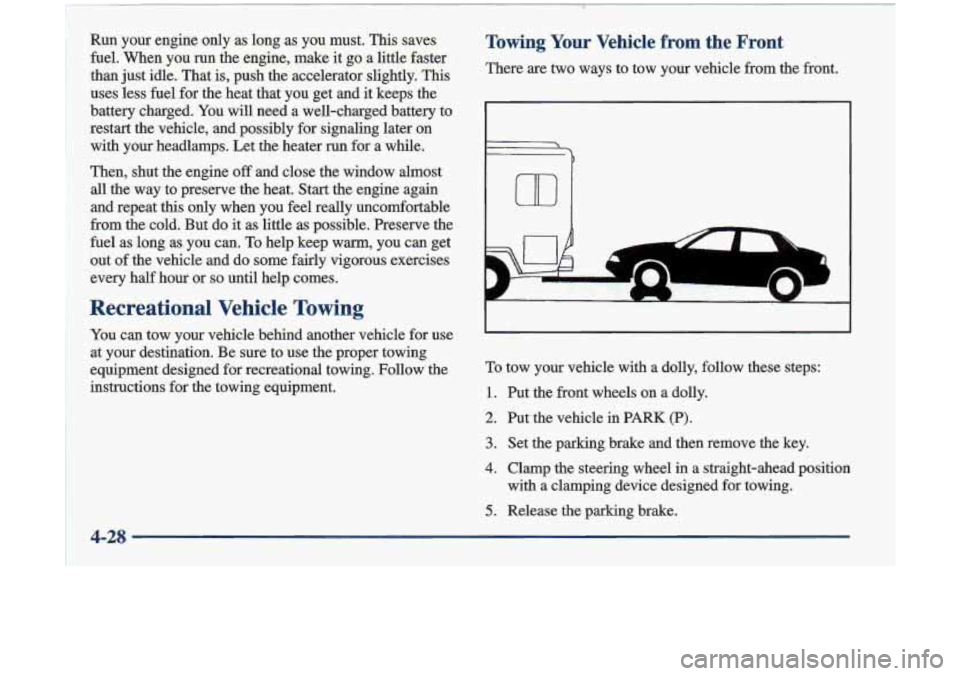
Towing Your Vehicle from the Front
There are two ways to tow your vehicle from the front.
To tow your vehicle with a dolly, follow these steps:
1. Put the front wheels on a dolly.
2. Put the vehicle in PARK (P).
3. Set the parking brake and then remove the key.
4. Clamp the steering wheel in a straight-ahead position
with a clamping device designed for towing.
5. Release the parking brake.
Page 175 of 348
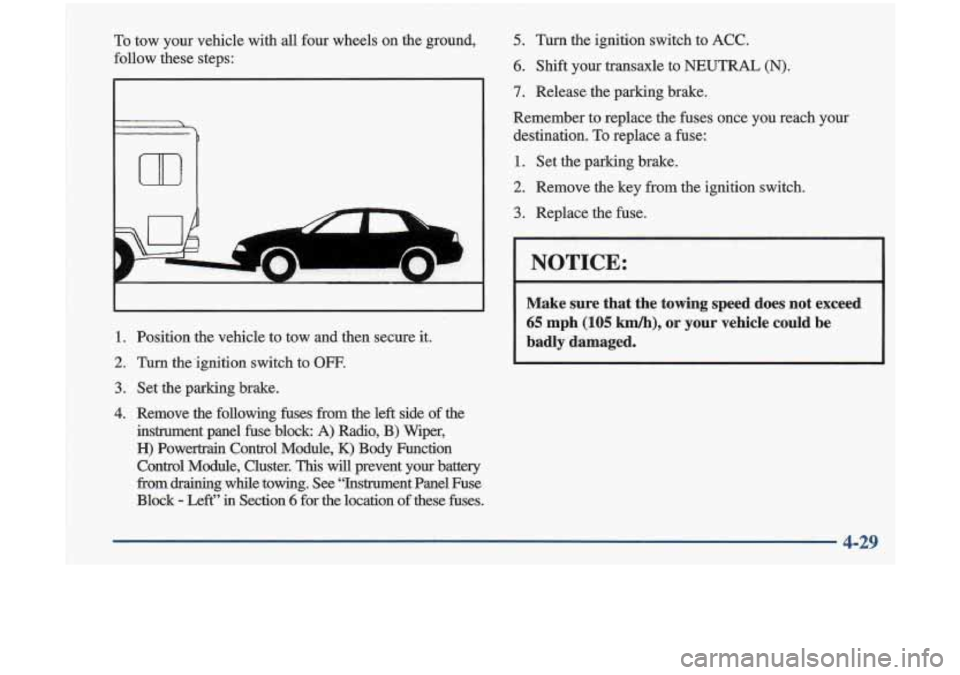
To tow your vehicle with all four wheels on the ground,
follow these steps:
m
A
1. Position the vehicle to tow and then secure it.
2. Turn &.ignition switch to OFF.
3. Set the parking brake.
4. Remove the following fuses from the left side of the
instrument panel fuse block A) Radio, B)
Wiper,
H) Powertrain Control Module, K) Body Function
Control Module, Cluster.
This will prevent your battery
from
draining while towing. See “Instrument Panel Fuse
Block
- Left” in Section 6 for the location of these fuses.
5. Turn the ignition switch to ACC.
6. Shift your transaxle to NEUTRAL (N).
7. Release the parking brake.
Remember to replace the fuses once you reach your
destination.
To replace a fuse:
1. Set the parhg brake.
2. Remove the key from the
3. Replace the fuse. ignition switch.
I NOTICE:
Make sure that the towing speed does not exceed
65 mph (105 km/h), or your vehicle could be
badly damaged.
4-29
Page 176 of 348

8
I NOTICE:
Do not tow your vehicle from the rear. Your
vehicle could be badly damaged and the repairs:
would not be covered by your warranty.
. 5" :I .;: "
IF TIRES ARE 'HOT, ADD 4PS1128KPa
SEE OWNER'S MANUAL FOR ADDITIONAL
INFORMATION !
-, 1 ,
.- Loading Your Vehicle
m. CTR. RR. TOTAL LBS. KG
I
MAX. LOADING & GVWR SA'ME AS VEHICLE
CAPACITY WEIGHT XXX CO'LD~TIRE
TIRE'SIZE SPED PRESSURE
RTG PSIKPa
Two labels on your vehicle show how much weight it
total weight that you can carry. this^ weight is called the
Vehicle Capacity Weight,
and includes the weight of all
occupants, cargo and all nonfactory-installed options.