ECO mode Oldsmobile Cutlass 1998 Owner's Manuals
[x] Cancel search | Manufacturer: OLDSMOBILE, Model Year: 1998, Model line: Cutlass, Model: Oldsmobile Cutlass 1998Pages: 348, PDF Size: 17.46 MB
Page 123 of 348
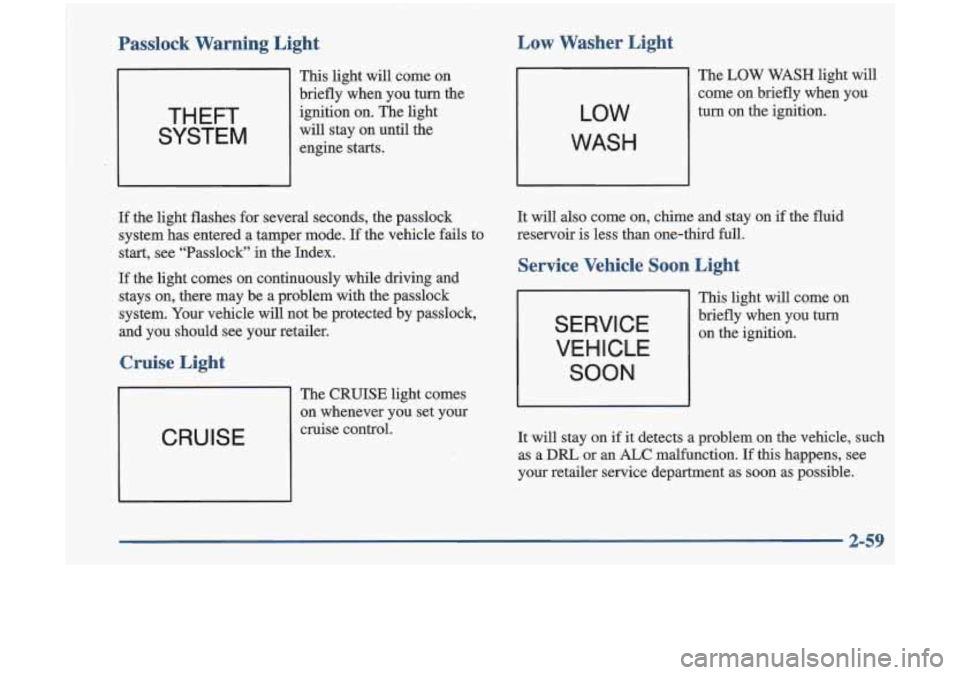
Passlock Warning Light Low Washer Light
This light
will come on
briefly when you
turn the
ignition on. The light
will stay on until the
engine starts.
If the light flashes for several seconds, the passlock
system has entered a tamper mode.
If the vehicle fails to
start, see “Passlock” in the Index.
If the light comes on continuously while driving and
stays on, there may be a problem with the passlock
system. Your vehicle will not be protected by passlock,
and you should see your retailer.
Cruise Light
CRUISE
The CRUISE light comes
on whenever you set your
cruise control.
LOW
WASH
The LOW WASH light will
come on briefly when you
turn on the ignition.
It will also come on, chime and stay on if the fluid
reservoir is less than one-third full.
Service Vehicle Soon Light
SERVICE
VEHICLE
SOON
This light will come on
briefly when you turn
on the ignition.
It will stay on
if it detects a problem on the vehicle, such
as a
DRL or an ALC malfunction. If this happens, see
your retailer service department as soon as possible.
2-59
Page 127 of 348
e
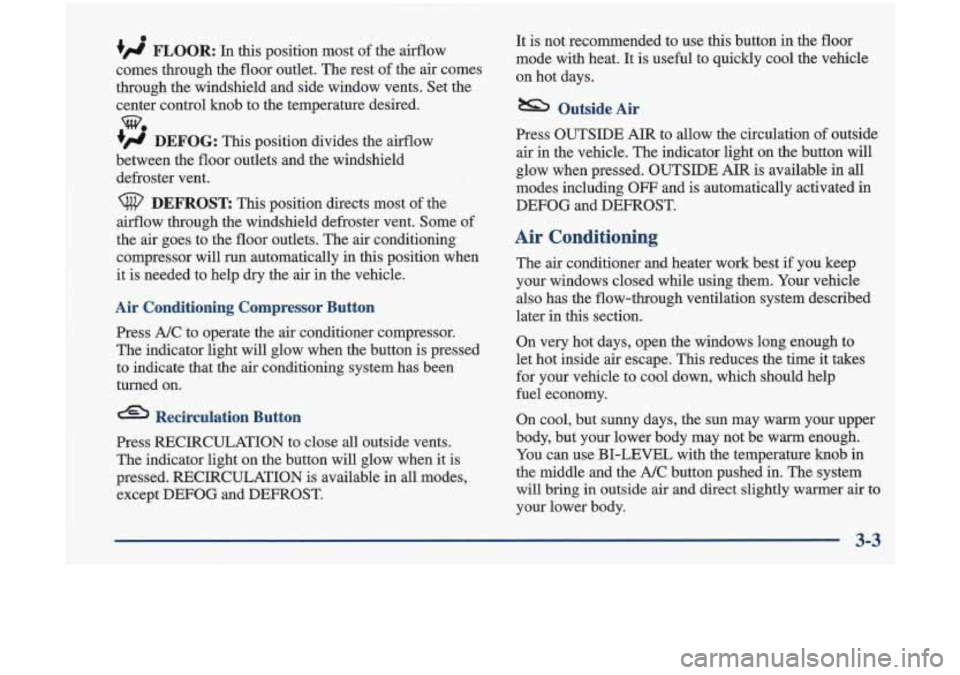
+’ FLOOR: In this position most of the airflow
comes through the floor outlet. The rest of the
air comes
through the windshield and side window vents. Set the
center control knob to the temperature desired.
+# DEFOG: This position divides the airflow
between the floor outlets and the windshield
defroster vent.
we
DEFROST This position directs most of the
airflow through the windshield defroster vent. Some of
the air goes to the floor outlets. The air conditioning
compressor will run automatically
in this position when
it is needed to help dry the air in the vehicle.
Air Conditioning Compressor Button
Press A/C to operate the air conditioner compressor.
The indicator light will glow when the button is pressed
to indicate that the
air conditioning system has been
turned on.
Recirculation Button
Press REClRCULATION to close all outside vents.
The indicator light on the button will glow when
it is
pressed. RECIRCULATION is available in
all modes,
except DEFOG and DEFROST. It
is not recommended to use
this button in the floor
mode with heat. It
is useful to quickly cool the vehicle
on hot days.
&b Outside Air
Press OUTSIDE AIR to allow the circulation of outside
air in the vehicle. The indicator light on the button
will
glow when pressed. OUTSIDE AIR is available in all
modes including
OFF and is automatically activated in
DEFOG and DEFROST.
Air Conditioning
The air conditioner and heater work best if you keep
your windows closed while using them. Your vehicle also has the flow-through ventilation system described
later in
this section.
On very hot days, open the windows
long enough to
let hot inside air escape. This reduces the time it takes
for your vehicle to cool down, which should help
fuel economy.
On cool, but sunny days, the sun may warm your upper
body, but your lower
body may not be wm enough.
You can use
BI-LEVEL with the temperature knob in
the middle and the A/C button pushed in. The system
will bring in outside
air and direct slightly warmer air to
your lower body.
I
Page 131 of 348
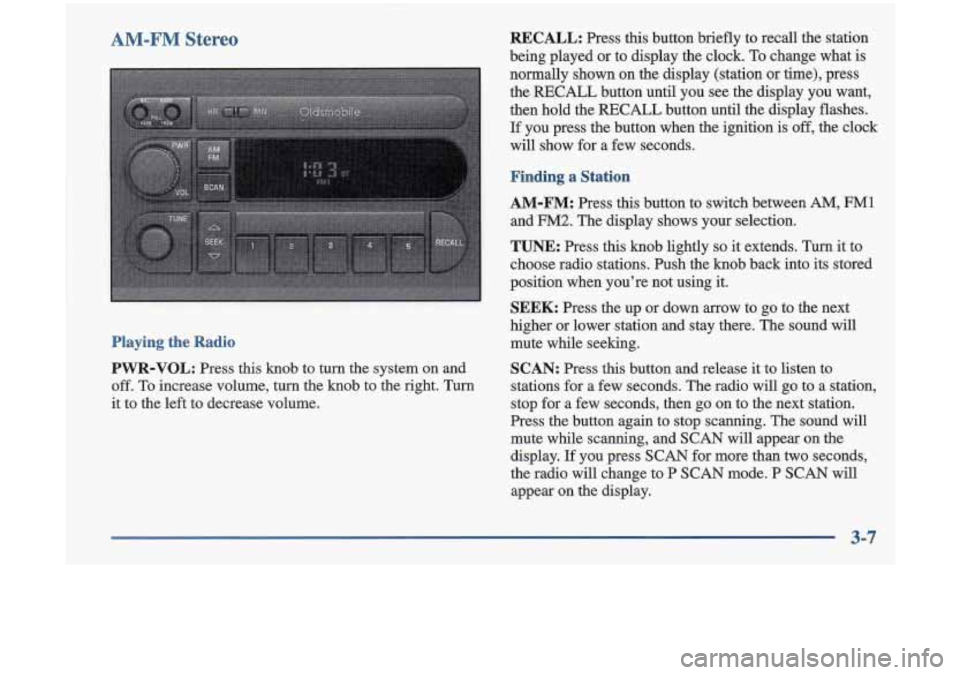
AM-FM Stereo
Playing the Radio
PWR-VOL:
Press this knob to turn the system on and
off.
To increase volume, turn the knob to the right. Turn
it to the left to decrease volume.
RECALL: Press this button briefly to recall the station
being played or to display the clock.
To change what is
normally shown on the display (station
or time), press
the
RECALL button until you see the display you want,
then hold the
RECALL button until the display flashes.
If you press the button when the ignition is off, the clock
will show for a few seconds.
Finding a Station
AM-FM: Press this button to switch between AM, FM1
and FM2. The display shows your selection.
TUNE: Press this knob lightly so it extends. Turn it to
choose radio stations. Push the knob back into its stored
position when you’re not using it.
SEEK: Press the up or down arrow to go to the next
higher or lower station and stay there. The sound will
mute while seeking.
SCAN: Press this button and release it to listen to
stations for a few seconds. The radio will go to a station,
stop for a few seconds, then go on to the next station.
Press the button again to stop scanning. The sound will
mute while scanning, and
SCAN will appear on the
display. If you press
SCAN for more than two seconds,
the radio will change to P
SCAN mode. P SCAN will
appear on the display.
3-7
Page 133 of 348
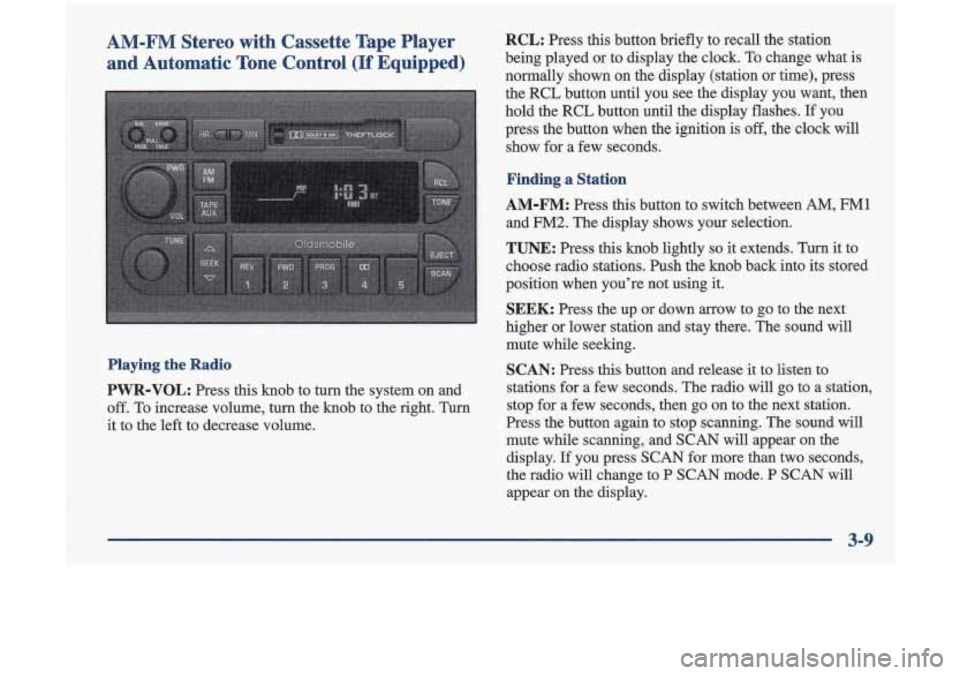
AM-FM Stereo with Cassette Tape Player and Automatic Tone Control
(If Equipped)
Playing the Radio
PWR-VOL: Press this knob to turn the system on and
off. To increase volume, turn the knob to the right. Turn
it to the left to decrease volume.
RCL: Press this button briefly to recall the station
being played or to display the clock. To change what is
normally shown on the display (station or time), press
the RCL button until you see the display you want, then
hold the RCL button until the display flashes.
If you
press the button when the ignition
is off, the clock will
show for a few seconds.
Finding a Station
AM-FM: Press this button to switch between AM, FM1
and FM2. The display shows your selection.
TUNE: Press this knob lightly so it extends. Turn it to
choose radio stations. Push the knob back into its stored
position when you’re not using
it.
SEEK: Press the up or down arrow to go to the next
higher or lower station and stay there. The sound will
mute while seeking.
SCAN: Press this button and release it to listen to
stations for a few seconds. The radio will
go to a station,
stop for a few seconds, then go on to the next station.
Press the button again to stop scanning. The sound will
mute while scanning, and SCAN will appear on the
display.
If you press SCAN for more than two seconds,
the radio will change to
P SCAN mode. P SCAN will
appear on the display.
3-9
Page 137 of 348
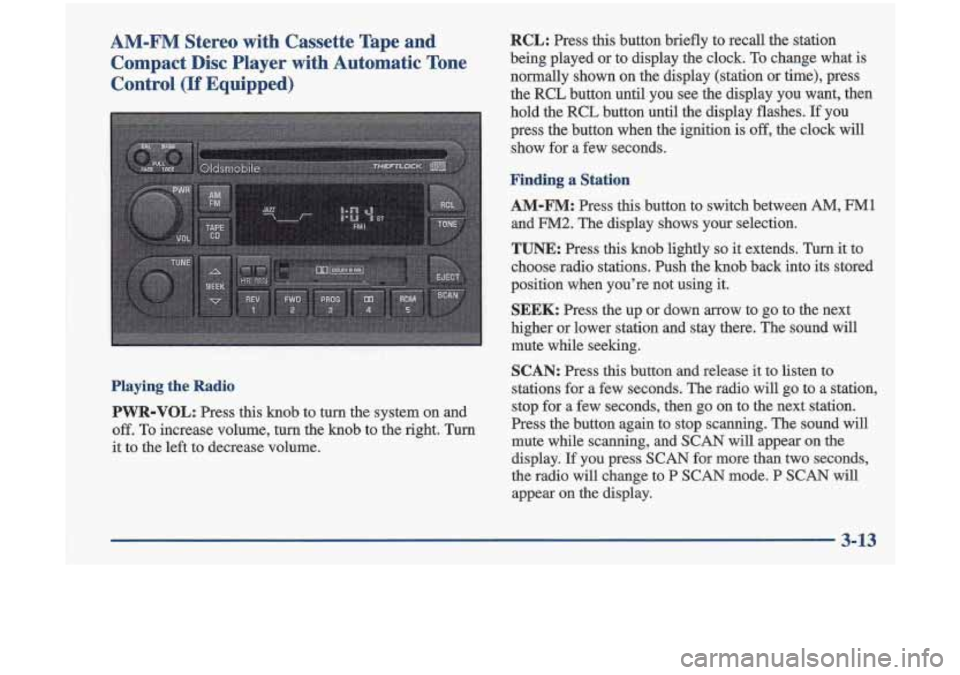
AM-FM Stereo with Cassette Tape and Compact Disc Player with Automatic Tone
Control
(If Equipped)
Playing the Radio
PVVR-VOL:
Press this knob to turn the system on and
off. To increase volume, turn the knob to the right. Turn
it to the left to decrease volume.
RCL: Press this button briefly to recall the station
being played or to display the clock. To change what is
normally shown on the display (station or time), press
the RCL button until you see the display you want, then
hold the RCL button until the display flashes.
If you
press the button when the ignition
is off, the clock will
show for a few seconds.
Finding a Station
AM-FM:
Press this button to switch between AM, FM1
and FM2. The display shows your selection.
TUNE: Press this knob lightly so it extends. Turn it to
choose radio stations. Push the knob back into its stored
position when you’re not using it.
SEEK: Press the up or down arrow to go to the next
higher or lower station and stay there. The sound will
mute while seeking.
SCAN: Press this button and release it to listen to
stations for a few seconds. The radio will go to a station,
stop for a few seconds, then go on to the next station.
Press the button again to stop scanning. The sound will
mute while scanning, and
SCAN will appear on the
display.
If you press SCAN for more than two seconds,
the radio
will change to P SCAN mode. P SCAN will
appear on the display.
3-13
Page 247 of 348
Brake Pedal navel
See your retailer if the brake pedal does not return to
normal height, or
if there is a rapid increase in pedal
travel. This could be a sign
of brake trouble.
Brake Adjustment
Every time you make a moderate brake stop, your disc
brakes adjust
for wear. If you rarely make a moderate or
heavier stop,
then your brakes might not adjust correctly.
If
you drive in thatway, then -- very carefully -- make a
few moderate brake stops about every
1,000 miles
(1 600 km), so your brakes will adjust properly.
If your brake pedal goes down farther than normal, your
rear drum brakes may need adjustment. Adjust them by
pumping the brake pedal repeatedly while the engine
is
running with the shift lever in PARK (P).
Replacing Brake System Parts
The braking system on a modern vehicle 1s complex.
Its many parts have to be of top quality and work well
together if the vehicle is to have really good braking.
Your vehicle was designed and tested with top-quality
GM brake parts. When you replace parts of your braking
system
-- for example, when your brake linings wear
down and you have to have new ones put in
-- be sure
you get new approved GM replacement parts. If you
don’t, your brakes may no longer work properly. For
example,
if someone puts in brake linings that are wrong
for your vehicle, the balance between your front and
rear brakes can change
-- for the worse. The braking
performance you’ve come to expect can change in many
other ways if someone puts in the wrong replacement
brake parts.
Battery
Every new Oldsmobile has an ACDelco Freedom@
battery.
You never have to add water to one of these.
When it’s time for a new battery, we recommend a
Delco Freedom battery. Get one that has the replacement
number shown on the original battery’s label.
6-27