instrument cluster Oldsmobile Cutlass 1998 Owner's Manuals
[x] Cancel search | Manufacturer: OLDSMOBILE, Model Year: 1998, Model line: Cutlass, Model: Oldsmobile Cutlass 1998Pages: 348, PDF Size: 17.46 MB
Page 65 of 348
Section 2 Features and Controls
Here you can learn about the many standard and optional features on your vehicle, and inform\
ation on starting,
shifting and braking. Also explained are the instrument panel and the warning systems that tell you
if evewng is
working properly
-- and what to do if you have a problem.
2-2 2-4
2-6
2- 10
2- 12
2- 13
2-13
2- 14
2- 15
2- 16
2-18
2-22
2-23 2-25
2-26
Keys
Door Locks
Remote Lock Control
(If Equipped)
TrWnk
Theft Passlock'
New Vehicle "Break-In" Ignition Positions
Starting Your Engine
Engine Coolant Heater
(If Equipped)
Automatic Transaxle Operation
Parking Brake
Shifting
Into PARK (P)
Shifting Out of PARK (P)
Parking Over Things That Bum 2-26
2-27
2-28 2-28
2-29
2-29
2-36
2-38
2-40
2-4
1
2-45
2-46
2-48
2-50 Engine Exhaust
Running
Your Engine While You're Parked
Windows
Horn
Tilt Wheel
Turn Signal/Multifimction Lever
Exterior Lamps Interior Lamps
Mirrors Storage Compartments
Sunroof (If Equipped)
Instrument Panel Instrument Panel Cluster
Warning Lights, Gages and Indicators
2-1
Page 102 of 348
Fog Lamps
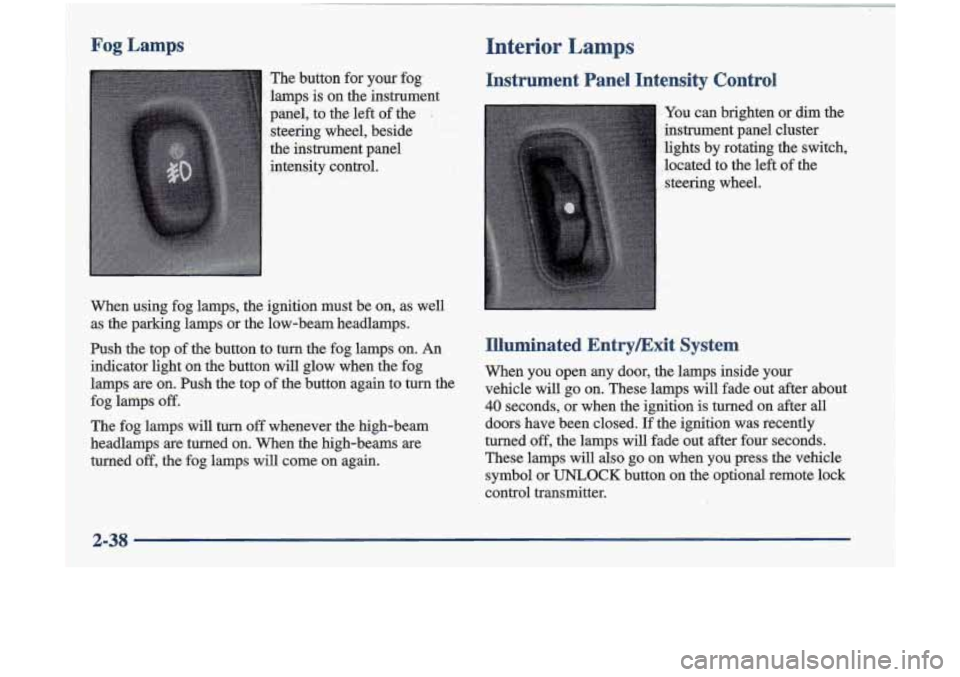
The button for your fog.
lamps is on the instrument
panel, to the left of the
I
steering wheel, beside
the instrument panel
intensity control.
When using fog lamps, the ignition must be on, as well
as the parking lamps or the low-beam headlamps.
Ish the top of the button to turn the fog lamps on. An
indicator light on the button will glow when the fog
.lamps
are on. Push the top of the button again to turn the
The fog lamps will
turn off whenever the high-beam
-headlamps
are turned on. When the high-beams are
turned
off, the fog lamps will come on again.
fog
lamps
off.
Interior Lamps . ..
Instrument Panel Intensity Control
You can brighten or dim the
instrument panel cluster
lights by rotating the switch,
located to the left
of the
steering wheel.
Illuminated EntryExit System
When you open any door, the lamps inside your
vehicle will
go on. These lamps will fade out after about
40 seconds, or when the ignition is turned on after all
doors have been closed. If the ignition was recently
turned
off, the lamps will fade out after four seconds.
These lamps will
also go on when you press the vehicle
symbol or
UNLOCK button on the optional remote lock
control transmitter.
2-38
Page 111 of 348
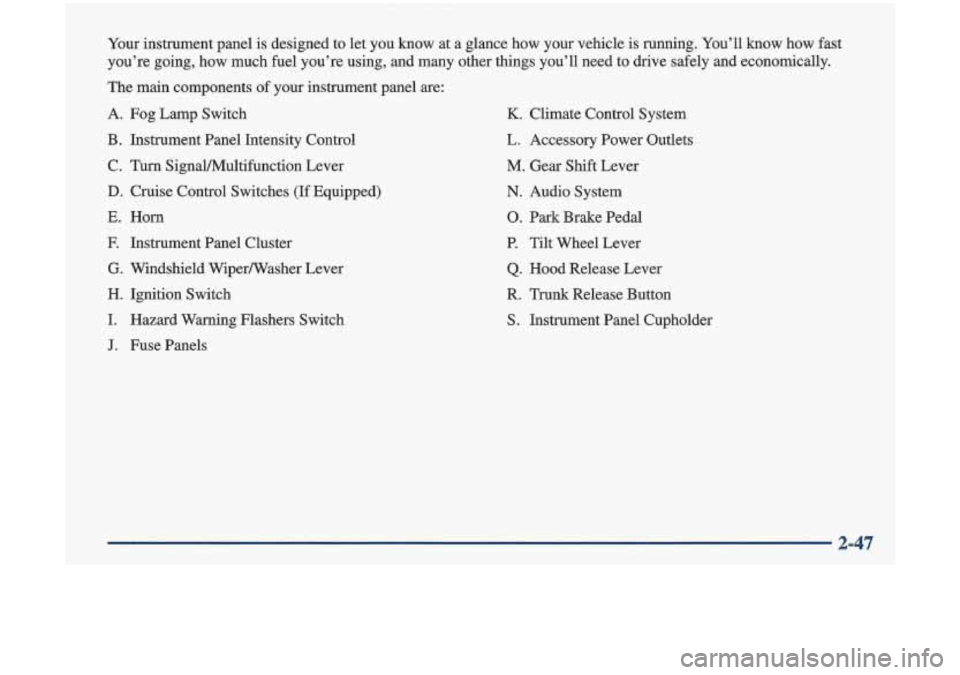
Your instrument panel is designed to let you know at a glance how your vehicle is running. You’ll k\
now how fast
you’re going, how much fuel you’re using, and many other things you’ll need to drive \
safely and economically.
The main components of your instrument panel
are:
A. Fog Lamp Switch
B. Instrument Panel Intensity Control
C. Turn SignaVMultifunction Lever
D. Cruise Control Switches (If Equipped)
E. Horn
F. Instrument Panel Cluster
G. Windshield Wiper/Washer Lever
H. Ignition Switch
I. Hazard Warning Flashers Switch
J. Fuse Panels
K. Climate Control System
L. Accessory Power Outlets
M. Gear Shift Lever
N. Audio System
0. Park Brake Pedal
P. Tilt Wheel Lever
Q. Hood Release Lever
R. Trunk Release Button
S. Instrument Panel Cupholder
2-47
Page 112 of 348
Instrument Panel Cluster
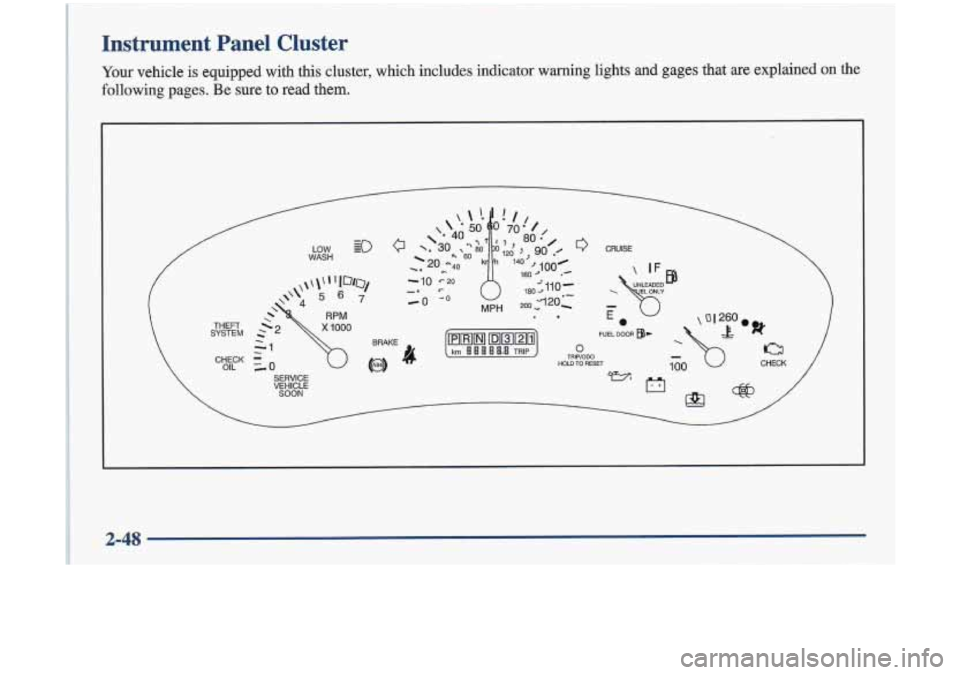
Your vehicle is equipped with this cluster, which includes indicator wdg lights and gages that me explained on the
following pages. Be sure to read them.
SYSTEM THEFT
CHECK OIL SERVICE
VEHICLE
SOON
CRUISE
2-48
Page 175 of 348
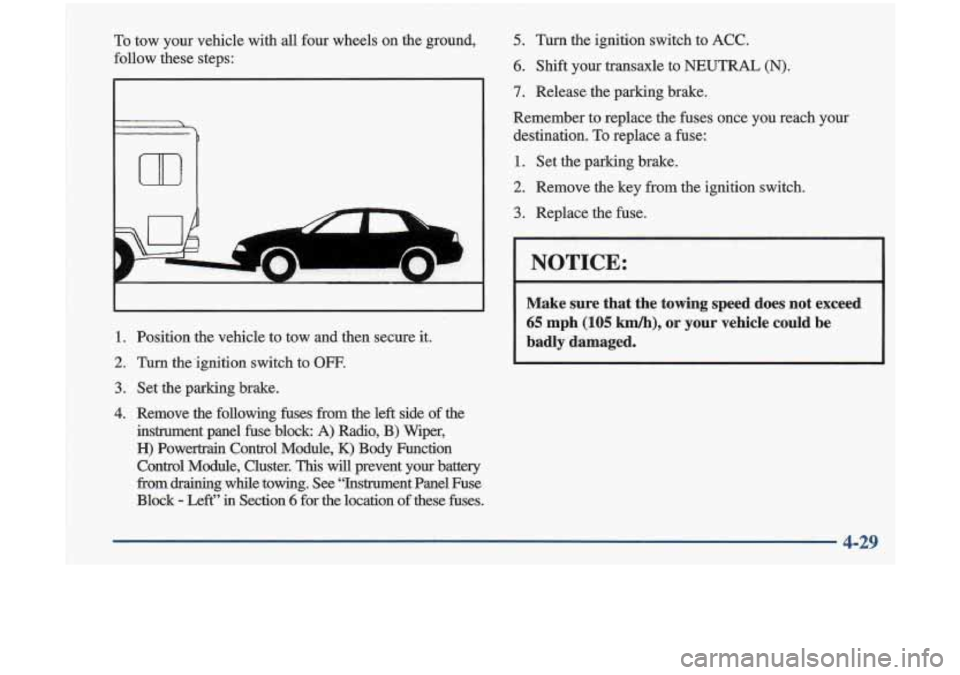
To tow your vehicle with all four wheels on the ground,
follow these steps:
m
A
1. Position the vehicle to tow and then secure it.
2. Turn &.ignition switch to OFF.
3. Set the parking brake.
4. Remove the following fuses from the left side of the
instrument panel fuse block A) Radio, B)
Wiper,
H) Powertrain Control Module, K) Body Function
Control Module, Cluster.
This will prevent your battery
from
draining while towing. See “Instrument Panel Fuse
Block
- Left” in Section 6 for the location of these fuses.
5. Turn the ignition switch to ACC.
6. Shift your transaxle to NEUTRAL (N).
7. Release the parking brake.
Remember to replace the fuses once you reach your
destination.
To replace a fuse:
1. Set the parhg brake.
2. Remove the key from the
3. Replace the fuse. ignition switch.
I NOTICE:
Make sure that the towing speed does not exceed
65 mph (105 km/h), or your vehicle could be
badly damaged.
4-29
Page 335 of 348
rrontTowing .................................. 5-10
Fuel
.......................................... 6-3
Filling
Your Tank .............................. 6-5
Gage
....................................... 2-60
In Foreign Countries
........................... 6-5
Fuses and Circuit Breakers
....................... 6-53
Gages Engine Coolant Temperature
.................... 2-54
Fuel
....................................... 2-60
GarmentHook
................................. 2-44
GAWR ....................................... 4-31
Gear Positions, Automatic Transaxle
................ 2- 18
GloveBox
.................................... 2-41
Gross Axle Weight Rating
........................ 4-31
Gross Vehicle Weight Rating ...................... 4-31
GVWR ....................................... 4-31
Halogen Bulbs
................................ 6-28
Hazard Warning Flashers
.......................... 5-2
Head Restraints
................................. 1-5
Bulb Replacement
............................ 6-28
High/Low Beamchanger ...................... 2-30
OnReminder
................................ 2-36
Wiring
..................................... 6-52
Hearing Impaired, Customer Assistance
.............. 8-4
Heating
........................................ 3- 4
Headlamps .................................... 2-36
High-BeamHeadlamps
.......................... 2-30 Highway Hypnosis
.............................. 4-22
HillandMountainRoads
......................... 4-22
Hitches. Trailer
................................. 4-35
Hood Checking Things Under
......................... 6-8
Release
...................................... 6-8
Horn ......................................... 2-28
Hydroplaning
.................................. 4-18
Ignition Positions
.............................. 2-14
Ignition Transaxle Lock Check
.................... 7-29
Illuminated EntryExit
........................... 2-38
Inflation, Tire
.................................. 6-35
Inside Daymight Rearview Mirror
................. 2-40
Inspections
.................................... 7-30
Brakesystem
................................ 7-30
Engine Cooling System
........................ 7-30
Exhaust System
.............................. 7-30
Front-Wheel-Drive Axle Boot
.................. 7-30
Front-Wheel-Drive Axle Seal
................... 7-30
Radiator and Heater Hose
...................... 7-30
Suspension
.................................. 7-30
Throttle System
.............................. 7-30
Instrumentpanel
............................... 2-46
Cleaning
.................................... 6-45
Cluster
..................................... 2-48
Fuse Block
........................ 6-53,6-54,6-5. 5
Intensity Control
............................. 2-38
Interior Lamps
................................. 2-38
Steering
.................................... 7-30
9-5