low beam Oldsmobile Cutlass 1998 Owner's Manuals
[x] Cancel search | Manufacturer: OLDSMOBILE, Model Year: 1998, Model line: Cutlass, Model: Oldsmobile Cutlass 1998Pages: 348, PDF Size: 17.46 MB
Page 94 of 348
Turn and Lane Change Signals
The turn signal has two upward (for right) and two
downward (for left) positions. These positions allow you
to signal a turn or a lane change.
To signal a
turn, move the lever all the way up or down.
When the
turn is finished, the lever will return automatically.
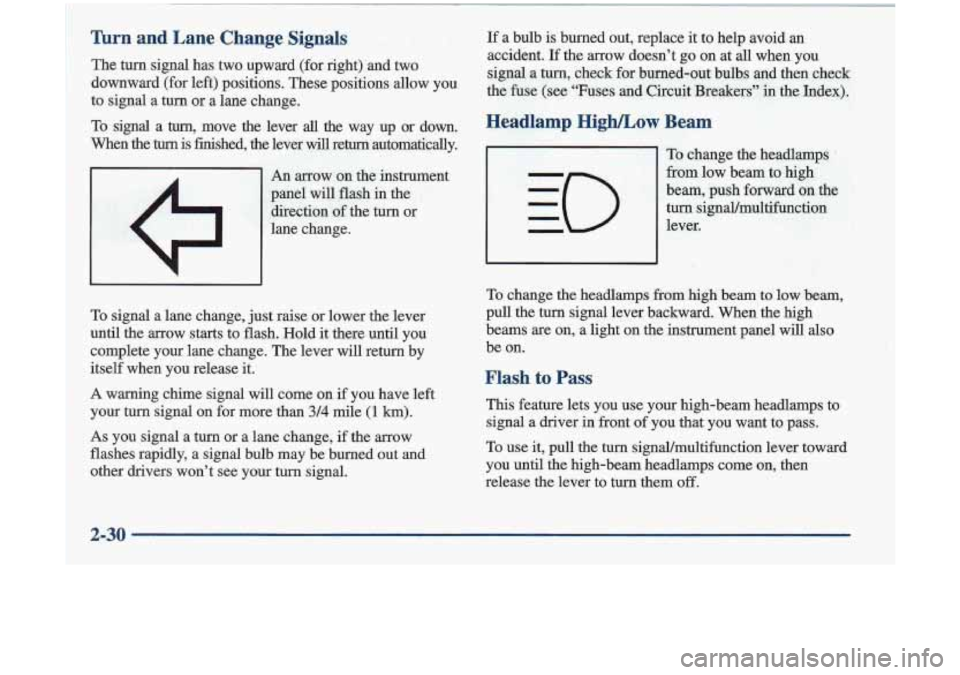
An arrow on the instrument
panel will flash in the
direction of the turn or
lane change.
To signal a lane change, just raise or lower the lever
until the arrow starts to flash. Hold it there until you
complete your lane change. The lever will return by
itself when you release it.
A warning chime signal will come on if you have left
your turn signal on for more than
3/4 mile (1 km).
As you signal a turn or a lane change, if the arrow
flashes rapidly, a signal bulb may be burned out and
other drivers won’t see your turn signal. If
a bulb is burned out, replace it to help avoid an
accident.
If the arrow doesn’t go on at all when you
signal a
turn, check for burned-out bulbs and then check
the fuse (see “Fuses and Circuit Breakers” in the Index).
Headlamp HighLow Beam
To change the headlamps .
from low beam to high
beam, push forward on the
turn signal/multifunction
lever.
I I
To change the headlamps fkom high beam to low beam,
pull the
turn signal lever backward. When the high
beams
are on, a light on the instrument panel will also
be on.
Flash to Pass
This feature lets you use your high-beam headlamps to
signal a driver in front of
you that you want to pass.
To use it, pull the turn signal/multifunction lever toward
you until the high-beam headlamps come on, then
release the lever to turn them
off.
Page 101 of 348
Daytime Running Lamps
Daytune Running Lamps (DRL) can make it easier for
others to see the front of your vehicle during the day.
DRL
can be helpful in many different driving
conditions, but they can be especially helpful in the
short periods after dawn and before sunset.
The
DRL system will make your low-beam headlamps
come on at a reduced brightness when:
The ignition is on,
The headlamp switch is in the OFF position or you
have turned
on your parking lamps
The light sensor detects daytime light,
0 The parking brake is released and
The shift lever is not in PARK (P).
When the DRL system is on, the taillamps, sidemarker,
parking lamps and instrument panel lights will not
be illuminated.
The
DRL system will remain off any time your vehicle
is in
PARK (P) or the parking brake is engaged.
As with any vehicle, you should turn on the regular
headlamp system when you need it.
Page 102 of 348
Fog Lamps
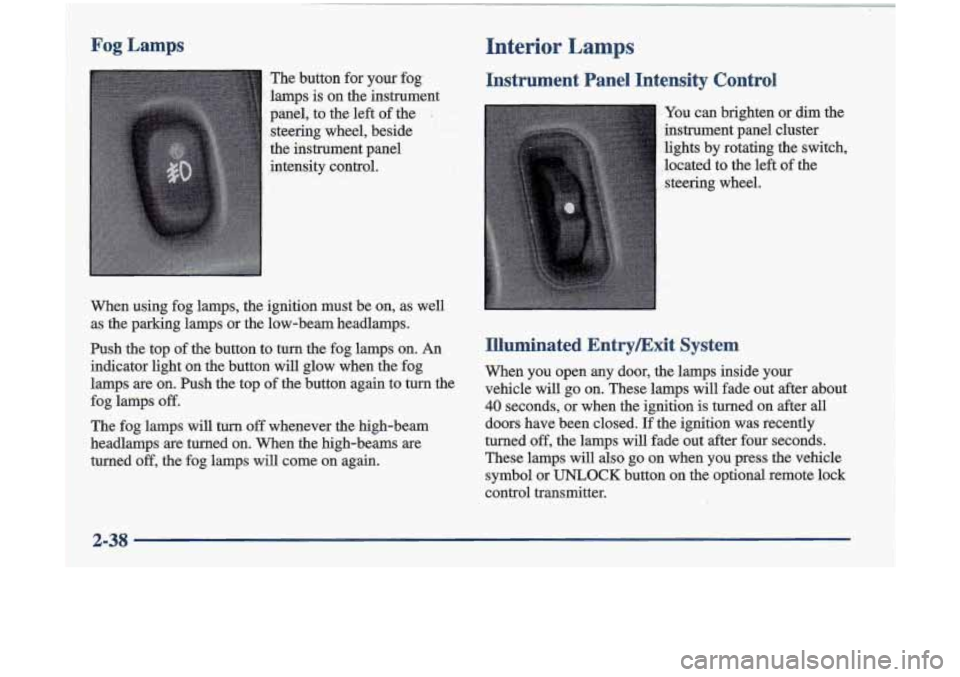
The button for your fog.
lamps is on the instrument
panel, to the left of the
I
steering wheel, beside
the instrument panel
intensity control.
When using fog lamps, the ignition must be on, as well
as the parking lamps or the low-beam headlamps.
Ish the top of the button to turn the fog lamps on. An
indicator light on the button will glow when the fog
.lamps
are on. Push the top of the button again to turn the
The fog lamps will
turn off whenever the high-beam
-headlamps
are turned on. When the high-beams are
turned
off, the fog lamps will come on again.
fog
lamps
off.
Interior Lamps . ..
Instrument Panel Intensity Control
You can brighten or dim the
instrument panel cluster
lights by rotating the switch,
located to the left
of the
steering wheel.
Illuminated EntryExit System
When you open any door, the lamps inside your
vehicle will
go on. These lamps will fade out after about
40 seconds, or when the ignition is turned on after all
doors have been closed. If the ignition was recently
turned
off, the lamps will fade out after four seconds.
These lamps will
also go on when you press the vehicle
symbol or
UNLOCK button on the optional remote lock
control transmitter.
2-38
Page 279 of 348
Replacement Bulbs
Outiide Lamps Bulb
High-Beam Headlamp .................... 9005
Low-Beam Headlamp
.................... 9006
Front Park/Turn
...................... 3 157 NA
Back-up
............................... 3057
Rear Turn Signal
........................ 3357
HighLevelStop
.......................... 912
TaiUStop Lamp
.......................... 3057
Inside Lamps Bulb
Dome .................................. 561
Capacities and Specifications
Engine Crankcase
Cooling System
Refrigerant,
3 100 Engine ................ .4.5 quarts (4.3 L)
3100 Engine
.............. 13.6 quarts (12.9 L)
Air Conditioning ........ See refrigerant charge
label under the hood.
Fuel Tank ................. 15.0 gallons (56.8 L)
Tire Pressures, Sizes . See Tire-Loading Information
label on the driver’s side rear passenger door.
Wheel Nut Torque 100 lb-ft (140 Nom)
NOTE: All capacities are approximate. When adding, be
sure to
fill to the appropriate level or as recommended in
this manual.
See “Fluids and Lubricants” in the Index.
6-59
Page 335 of 348
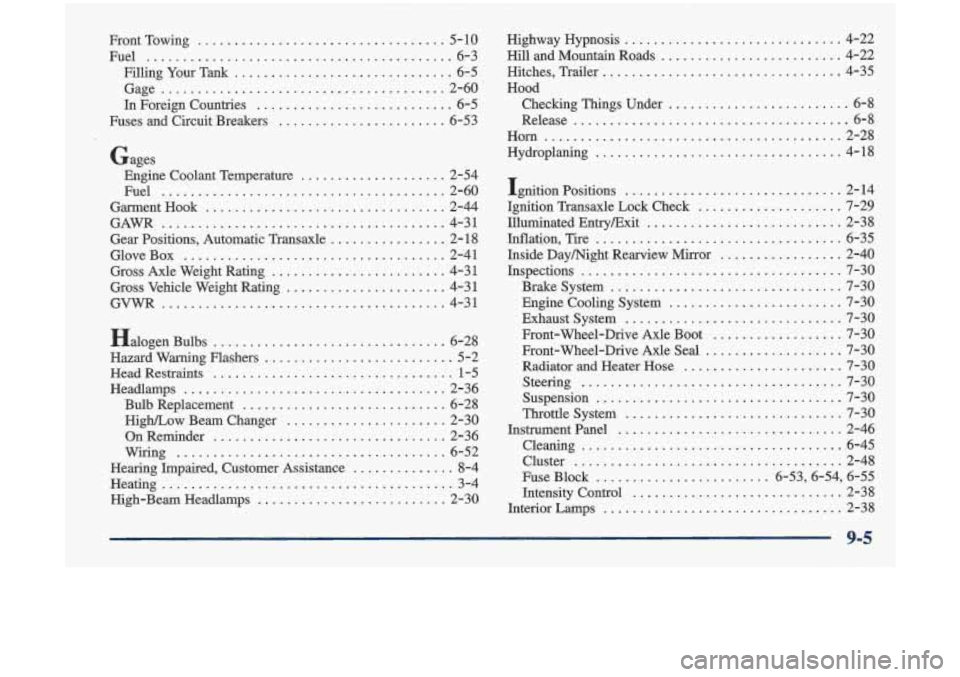
rrontTowing .................................. 5-10
Fuel
.......................................... 6-3
Filling
Your Tank .............................. 6-5
Gage
....................................... 2-60
In Foreign Countries
........................... 6-5
Fuses and Circuit Breakers
....................... 6-53
Gages Engine Coolant Temperature
.................... 2-54
Fuel
....................................... 2-60
GarmentHook
................................. 2-44
GAWR ....................................... 4-31
Gear Positions, Automatic Transaxle
................ 2- 18
GloveBox
.................................... 2-41
Gross Axle Weight Rating
........................ 4-31
Gross Vehicle Weight Rating ...................... 4-31
GVWR ....................................... 4-31
Halogen Bulbs
................................ 6-28
Hazard Warning Flashers
.......................... 5-2
Head Restraints
................................. 1-5
Bulb Replacement
............................ 6-28
High/Low Beamchanger ...................... 2-30
OnReminder
................................ 2-36
Wiring
..................................... 6-52
Hearing Impaired, Customer Assistance
.............. 8-4
Heating
........................................ 3- 4
Headlamps .................................... 2-36
High-BeamHeadlamps
.......................... 2-30 Highway Hypnosis
.............................. 4-22
HillandMountainRoads
......................... 4-22
Hitches. Trailer
................................. 4-35
Hood Checking Things Under
......................... 6-8
Release
...................................... 6-8
Horn ......................................... 2-28
Hydroplaning
.................................. 4-18
Ignition Positions
.............................. 2-14
Ignition Transaxle Lock Check
.................... 7-29
Illuminated EntryExit
........................... 2-38
Inflation, Tire
.................................. 6-35
Inside Daymight Rearview Mirror
................. 2-40
Inspections
.................................... 7-30
Brakesystem
................................ 7-30
Engine Cooling System
........................ 7-30
Exhaust System
.............................. 7-30
Front-Wheel-Drive Axle Boot
.................. 7-30
Front-Wheel-Drive Axle Seal
................... 7-30
Radiator and Heater Hose
...................... 7-30
Suspension
.................................. 7-30
Throttle System
.............................. 7-30
Instrumentpanel
............................... 2-46
Cleaning
.................................... 6-45
Cluster
..................................... 2-48
Fuse Block
........................ 6-53,6-54,6-5. 5
Intensity Control
............................. 2-38
Interior Lamps
................................. 2-38
Steering
.................................... 7-30
9-5