ABS Oldsmobile Cutlass Supreme 1995 Owner's Manuals
[x] Cancel search | Manufacturer: OLDSMOBILE, Model Year: 1995, Model line: Cutlass Supreme, Model: Oldsmobile Cutlass Supreme 1995Pages: 340, PDF Size: 16.68 MB
Page 144 of 340
I
Anti-Lock Brakes (A S)
Your Oldsmobile has an advanced electronic braking
system that
will help prevent a braking skid.
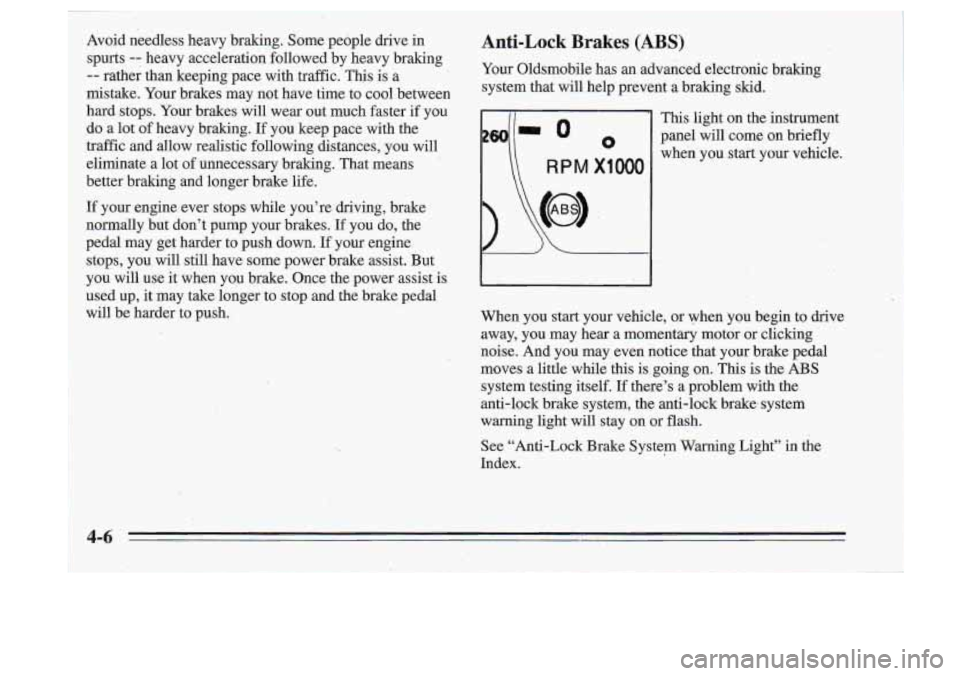
This light on the instrument
panel will come on briefly
when you start vour vehicle.
RPM X1000
When you start your vehicle, or when you begin to drive
away, you may hear a momentary motor or clicking
noise. And you may even notice that your brake pedal
moves a little while this is going on. This
is the ABS
system testing itself. If there’s a problem with the
anti-lock brake system, the anti-lock brake system
warning light will stay on or flash.
See “Anti-Lock Brake System Warning Light”
in the
Index.
..
Page 145 of 340
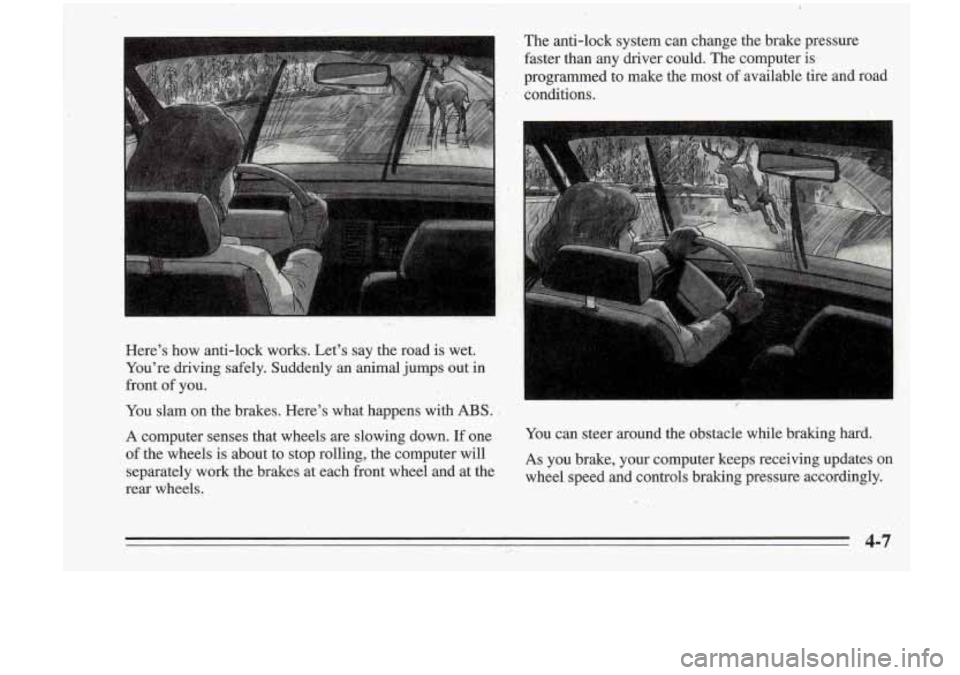
Here's how anti-lock works. Let's say the road is wet.
You're driving safely. Suddenly
an animal juqps out in
front of you. '
You slam on the brakes. Here's what happens with ABS:
A computer senses that wheels are slowing down. If one
of the wheels is about to stop rolling, the computer will
separately work the brakes at each front wheel and at the
rear wheels. The
anti-lock system can change the brake pressure
faster than any
driver could. The computer is
programmed to make the most
of available tire and.road
conditions.
You' can steer around the obstacle while braking hard.
As you brake, your computer keeps receiving updates on
wheel speed and controls braking pressure accordingly.
Page 151 of 340
A cornering skid and an acceleration skid are best
handled by easing your foot
off the acce1,erator pedal.
If your. vehicle starts to slide, ease your foot off the ’’
accelerator pedal and’ quickly steer the way you want the
vehicle to go. If you start steering quickly enough,.your
vehicle may straighten out. Always be ready for a
second skid if
it occurs.
Of course, traction is reduced vvhen water, snow, ice,
gravel,
or other material is on the road. For safety, you’ll
want to slow down and adjust your driving to these
conditions. It is important to slow down on slippery
surfaces because stopping distance will ,be longer and
vehicle‘ control more limited.
While driving-on
a surface with reduced traction, try .
your best to avoid sudden steering, acceleration, or
braking (including engine braking by shifting to a lower
gear). Any sudden changes could cause the tires to slide.
You may
pot realize the surface is slippery until your
vehicle is skidding. Learn to recognize warning clues
--
such as enough water, ice or packed snow on the road to
make a “mirrored surface” -- and slow down when you
have any doubt.
Remember: Any anti-lock brake system
(ABS) helps
avoid,only the braking skid.
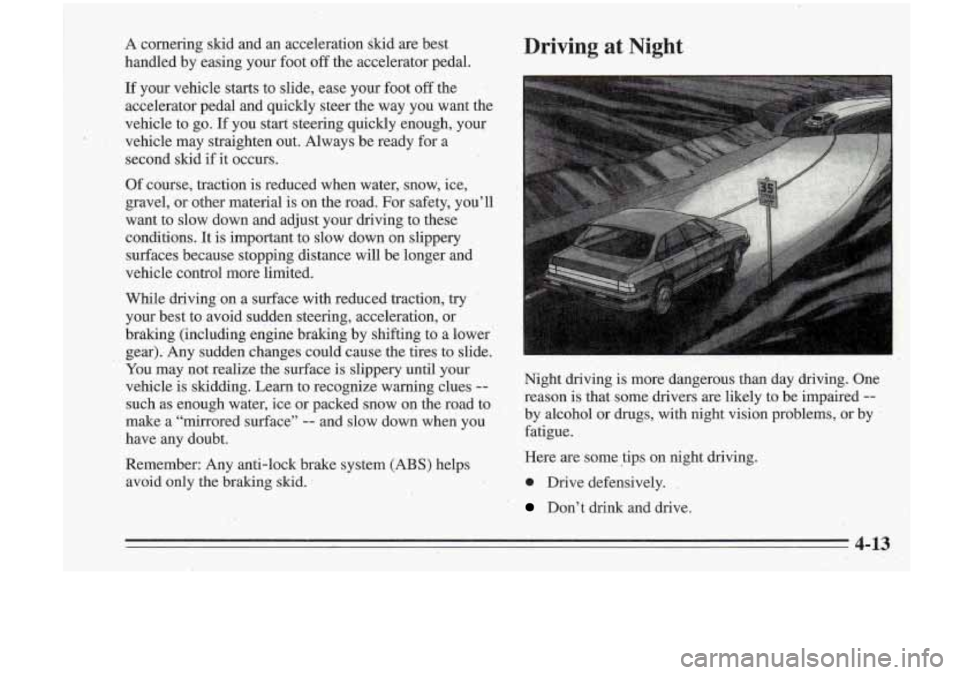
Driving at Night
I ~
Night driving is rnore’dangerous than day driying. One
reason is that some drivers are likely to be impaired-
--
by alcohol or drugs, with night vision problems, or by .
fatigue.
Here are some tips on night driving.
0 Drive defensively. -
’ Don’t drink and drive.
4-13 ,.
Page 172 of 340
Parking on Hills
You really should not park your vehicle, with a trailer
attached,
on a hill. If something goes wrong, your rig
could start to move. People can be injured, and
both^
your vehicle and the trailer can be darnaged.
But if you ever have to park your rig on a hill, here’s
how to do it:
.I. Apply your regular brakes, but don’t shift into
.. !PARK (P) yet.
2. ‘Have someone place chocks under the trailer wheels.
3. When the wheel chocks are in place, release the
regular brakes until the chocks absorb the load.
4. Reapply the regular brakes. Then apply your parking
brake, and then shift to PARK
(P).
When You Are Ready to Leave After
Parking o,n a
Hill
1. Apply your regular brakes and hold the pedal down
8’. .
while you:
Start your engine;
Shift into a gear; and
Release the parking brake.
2. Let up on the brake pedal.
3. Drive slowly until the trailer is dear of the chocks.
4. Stop and have someone pick up and store the chocks.
Maintenance When Trailer Towing
Your vehicle will need service more often when you’re
pulling a trailer. See the Maintenance Schedule for,more
.on this. Things that are especially important in trailer
operation are automatic transaxle fluid (don’t oyerfill),
engine oil, belt, cooling system, .and brake adjustment.
Each of these
is covered in this manual, and the Index
will help you find them quickly. If you’re trailering, it’s
a good idea
to review these sections before you start
your trip.
Check periodically to see that all hitch nuts and bolts are
tight.
4-34,
Page 236 of 340
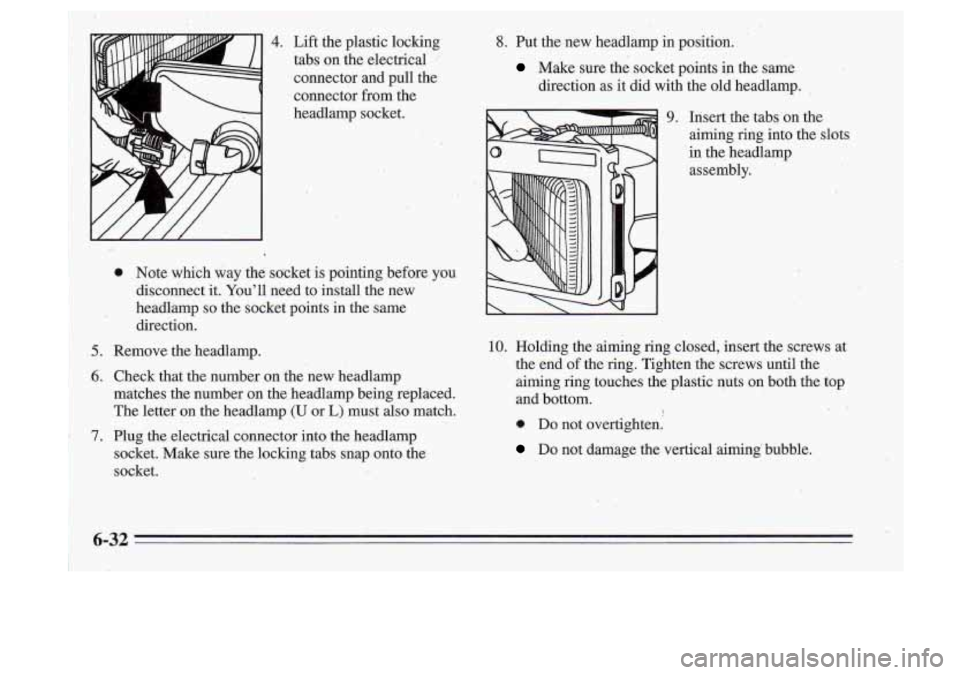
*.
4. 8. Put the new headlamp in position.
Make sure the socket points in the same
direction
as it did with the old headlamp.
9. Insert the tabs on the
aiming
ring into the slots
in the headlamp
assembly.
10. Holding the aiming ring closed, insert the screws at
the end
of the ring. Tighten the screws until the
aiming ring touches the plastic nuts on both the
top
and bottom.
0. Do not overtighten.
Do not damage the vertical aiming bubble.
1
1 6-32
Page 237 of 340
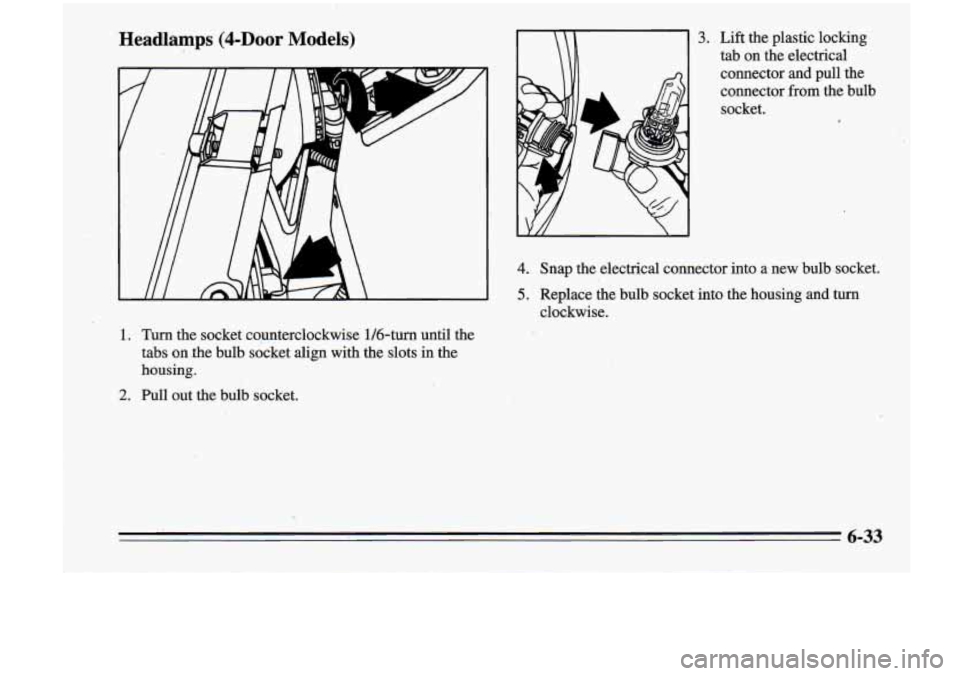
'Headlamps (4-DOOr Models)
1. Turn the socket c0,unterclockwise 1/6-turn until the tabs
on jhe bulb socket align with the slots in the
housing.
2. Pull out the bulb socket.
3. Lift the plastic locking
tab on the electrical
connector and pull the
connector from the bulb
socket.
1
4. Snap the electrical connector into a new bulb socket.
5. Replace the bulb socket into the housine and turn
clockwise.
6-33
Page 263 of 340
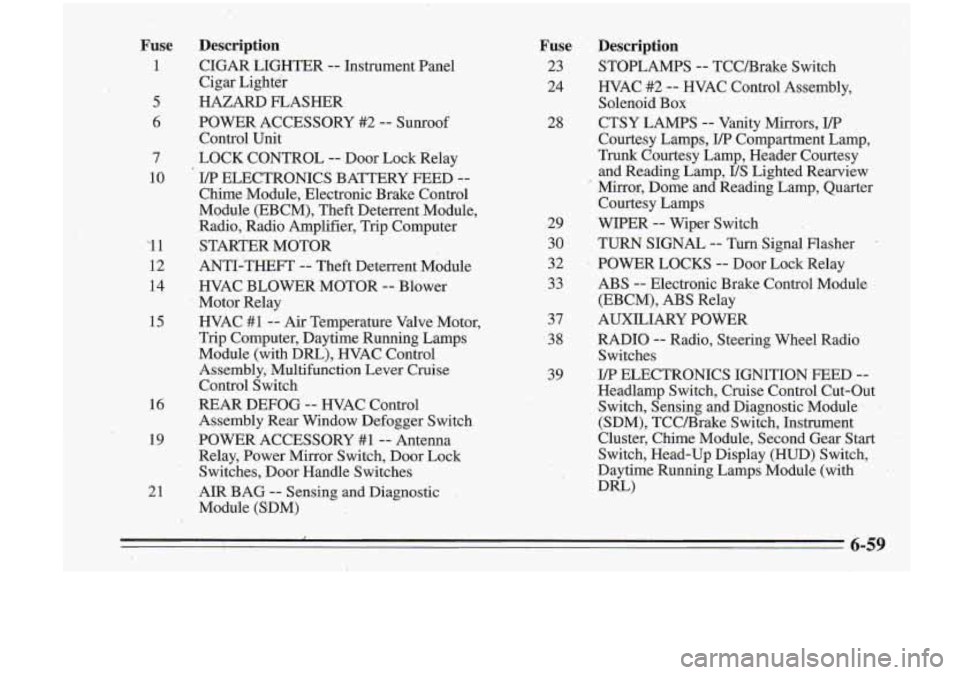
Fuse Description
1 CIGAR LIGHTER -- Instrument Panel
Cigar Lighter
5 HAZARD FLASHER
6 POWER ACCESSORY #2 -- Sunroof
Control Unit
7 LOCK CONTROL
-- Door Lock Relay
10
I/P ELECTRONICS BATTERY FEED --
Chime Module, Electronic Brake Control
Module (EBCM), Theft Deterrent Module,
Radio, Radio Amplifier, Trip Computer
'1 1 STARTER MOTOR
12 ANTI-THEFT -- Theft Deterrent Module
14 HVAC BLOWER-MOTOR -- Blower
Motor Relay
15 HVAC #1 -- Ai-r Temperature Valve Motor,
Trip Computer, Daytime Running Lamps
Module (with Dm), WAC Control
Assembly, Multifunction Lever Cruise
Control Switch
16 REAR DEFOG -- HVAC Control
Assembly Rear Window Defogger Switch
19 POWER ACCESSORY #1-- Antenna
Relay, Power Mirror Switch, Door Lock
Switches, Door Handle Switches
Fuse Description
23 STOPLAMPS -- TCCBrake Switch
24 HVAC #2
.-- HVAC Control Assembly,
28 CTSY LAMPS
-- Vanity Mirrors, I/P
Solenoid Box
Courtesy Lamps,
I/P Compartment Lamp,
Trunk Courtesy Lamp, Header Courtesy
and Reading Lamp,
US Lighted Rearview
' Mirror, Dome and Reading Lamp, Quarter
Courtesy Lamps
29 WIPER -- Wiper Switch
30 TURN SIGNAL
-- Turn, Signal Flasher -
32 POWER LOCKS -- Door Lock-Relay
33 ABS
-- Electropic Brake Control Module
37 AUXILIARY POWER
38 RADIO
-- Radio, Steering Wheel Radio
39 ELECTRONICS IGNITION FEED
-- '
(EBCM), ABS Relay
Switches
Headlamp Switch, Cruise Control Cut-Out
Switch, Sensing and Diagnostic Module
-'
(SDM), TCCBrake Switch, Instrument
Cluster, Chime Module, Second 'Gear Start
Switch, Head-Up Display (HUD) Switch,
Daytime Running Lamps Module (with
Dm)
21 AIR BAG -- Sensing and Diagnostic
Module (SDM)
6-59
Page 266 of 340
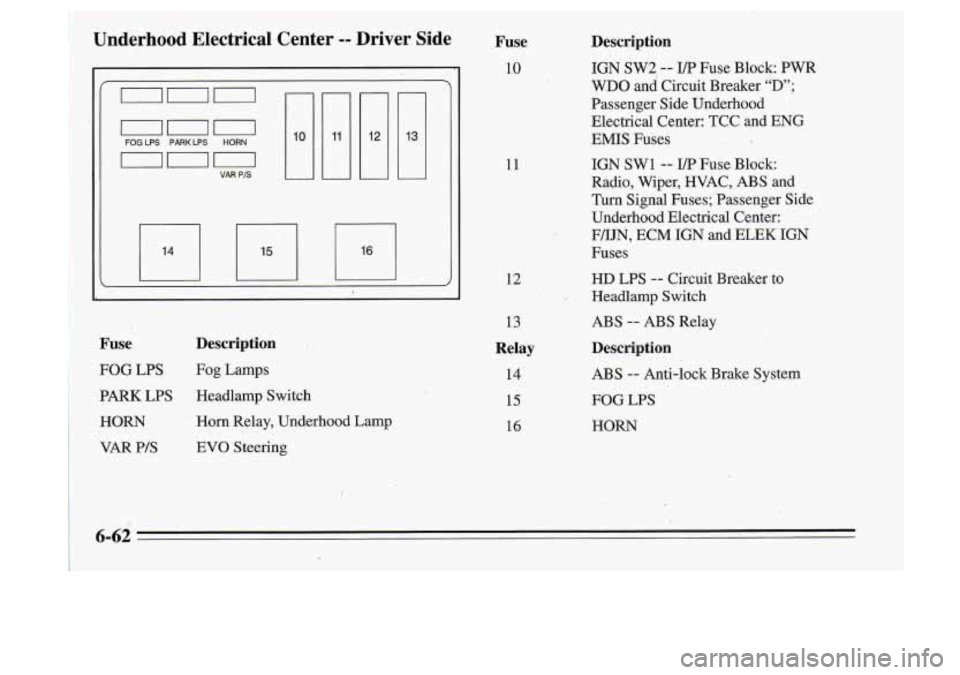
L
Fuse Description
FOG LPS Fog Lamps
PARK LPS Headlamp Switch
HORN Horn Relay, Underhood Lamp
VAR PIS EVO Steering
11
,.n
13
Relay
14
15
16
me ' Description
10 IGN SW2 -- I/P Fuse Block: PWR
WDO and Circuit Breaker "D";
Passenger Side Underhood
Electrical Center: TCC and ENG
EMIS Fuses
IGN
SW1 -- I/P Fuse Block:
Radio, Wiper, WAC, ABS and
Turn Signal Fuses; Passenger Side
Underhood Electrical Center:
- FPIJN, ECM IGN and ELEK IGN
Fuses
HD LPS -- Circuit Breaker to
Headlamp Switch-
ABS
-- ABS Relay
Description
ABS -- Anti-lock Brake System
FOG LPS
HORN
6-62