turn signal OLDSMOBILE INTRIGUE 1998 User Guide
[x] Cancel search | Manufacturer: OLDSMOBILE, Model Year: 1998, Model line: INTRIGUE, Model: OLDSMOBILE INTRIGUE 1998Pages: 340, PDF Size: 17.93 MB
Page 189 of 340

Following Distance
Stay at least twice as far behind the vehicle ahead as you
would when driving your vehicle without a trailer. This
can help
you avoid situations that require heavy braking
and sudden turns.
Passing
You’ll need more passing distance up ahead when
you’re towing a trailer. And, because you’re a good
deal longer, you’ll need to go much farther beyond the
passed vehicle before you can return
to your lane.
Backing Up
Hold the bottom or me steering wheel with one hand.
Then, to move the trailer
to the left, just move that hand
to the left. To move the trailer
to the right, move your
hand to the right. Always back up slowly and, if
possible, have someone guide
you.
Making Turns
I NOTICE:
Making very sharp turns while trailering could
cause the trailer to come in contact with the
vehicle. Your vehicle could be damaged. Avoid
making very sharp turns while trailering.
When you’re turning with a trailer, make wider turns than
normal.
Do this so your trailer won’t strike soft shoulders,
curbs, road signs, trees or other objects. Avoid jerky or
sudden maneuvers. Signal well in advance.
4-35
ProCarManuals.com
Page 190 of 340

Turn Signals When Towing a Trailer
When you tow a trailer, your vehicle may need a
different turn signal flasher and/or extra wiring. Check
with your Oldsmobile retailer. The green arrows
on your
instrument panel will flash whenever you signal a turn
or lane change. Properly hooked up, the trailer lamps
will also flash, telling other drivers you’re about to turn,
change lanes or stop.
When towing a trailer, the green arrows on your
instrument panel will flash for turns even if the bulbs on
the trailer are burned out. Thus, you may think drivers
behind you are seeing your signal when they are not. It’s
important to check occasionally to be sure
the trailer
bulbs are still working.
Driving On Grades
Reduce speed and shift to a lower gear before you
start down a long or steep downgrade. If you don’t
shift down, you might have to use your brakes
so much
that they would get hot and no longer work well.
On a long uphill grade, shift down and reduce your
speed to around
45 mph (70 Mh) to reduce the
possibility of engine and transaxle overheating. If
you have overdrive, you may have to drive in
THIRD
(3) instead of DRIVE (D) (or , as you need
to a lower gear).
Parking on Hills
You really should not park your vehicle, with a trailer
attached, on a hill. If something goes wrong, your rig
could start to move. People can be injured, and both
your vehicle and the trailer can be damaged.
But if you ever have to park your rig on a hill, here’s
how to do it:
1.
2.
3.
4.
5.
Apply your regular brakes, but don’t shift into
PARK
(P) yet.
Have someone place chocks under the trailer wheels.
When the wheel chocks are in place, release the
regular brakes until the chocks absorb the load.
Reapply the regular brakes. Then apply your parking
brake, and then shift
to PARK (P).
Release the regular brakes.
4-36
ProCarManuals.com
Page 194 of 340

Hazard Warning Flashers
Your hazard warning flashers let you warn others. They
also let police know you have a problem. Your front and
rear
turn signal lamps will flash on and off.
Press the switch located on
your instrument panel to
make your front and
rear
turn signal lamps flash on
and
off. Your hazard
warning flashers work no
matter what position your
key is in, and even if the
key isn’t in.
To turn off the flashers, press the switch again. When
the hazard warning flashers
are on, your turn signals
won’t work.
Other Warning Devices
If you carry reflective triangles, you can set one up
at the side of the road about
300 feet (100 m) behind
your vehicle.
5-2
ProCarManuals.com
Page 264 of 340

2. Using an E8 torx socket, turn the horizontal aiming
adjustment screw
(A) until the “0” (zero) on the
pointer
is lined up with the center marking on the
3.
1.
-
horizontal block index plate (C).
To adjust the vertical aim, use an E8 torx socket
and turn the vertical aiming adjustment screw
(B)
until the bubble inside the level (D) is centered at
“0” (zero).
Front Parking, Sidemarker and Turn Signal
Cornering Lamp
Remove the headlamp assembly. Refer to the
removal procedure earlier in this section.
2.
3.
4.
5.
6.
Remove the rubber bulb access cover.
Twist and pull each bulb socket from the
headlamp assembly.
Holding the base
of the bulb, pull the bulb from
the socket.
Push the new bulb into the socket.
Put the bulb socket back into the headlamp assembly
and
turn it to the right until it is secure.
Redace the rubber bulb access cover.
I
Center High-Mounted Stoplamp
1. Open the trunk.
Lr
2. Reach through the access opening in the trunk.
3. Remove the bulb by turning it one-quarter of a turn
to the left.
6-36
ProCarManuals.com
Page 265 of 340

4. Place the new bulb into the socket.
5. Turn the bulb one-quarter of a turn to the right
to replace.
6. Close the trunk.
TaiVStopDbrn Signal lamp
A A
B
1. Remove the plastic wing nuts (A). (Pliers may be
required to remove the wing nuts.)
6-37
ProCarManuals.com
Page 286 of 340

I Fuse Description
Fuse
IGN 0: I/P Cluster, Powertrain Control
1 CLUSTER PCM, Module, Body Control
I &BCM I
1 LOW BLOWER HVAC
Control Assembly,
Blower Motor
~ HVAC
CRUISE
ABS
BTSI Air Temperature
Valve Motor,
HVAC Control Assembly,
Solenoid Box
Cruise Control Module
Electronic Brake Control Module (EBCM) ABS Relay, TCS
Disable Switch
Brake-Transaxle Shift Interlock
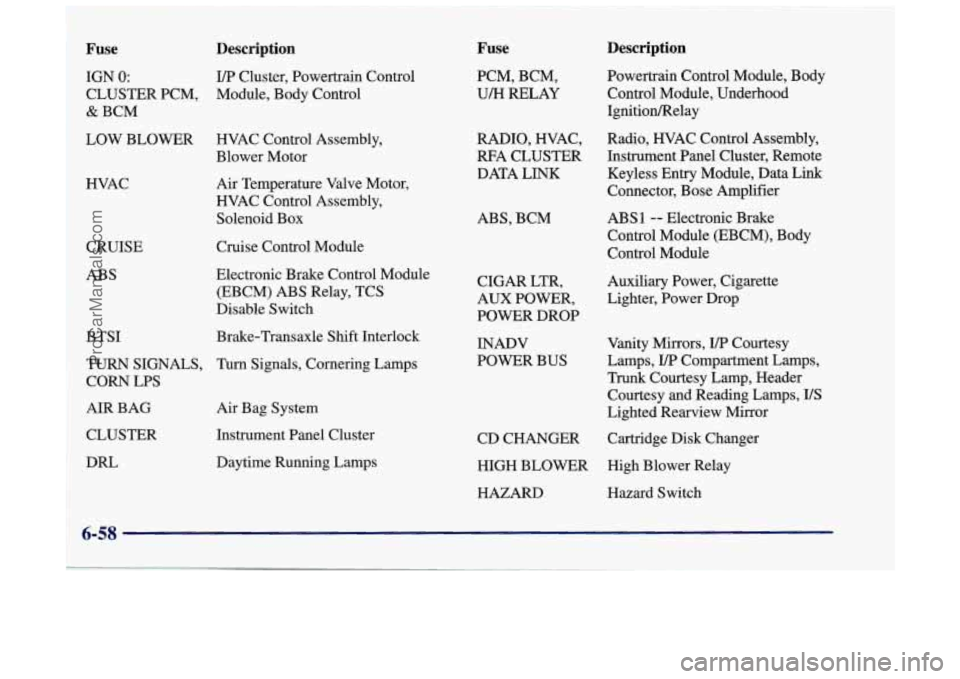
TURN SIGNALS, Turn Signals, Cornering Lamps CORN LPS
AIR BAG
CLUSTER
DRL Air
Bag System
Instrument Panel Cluster
Daytime Running Lamps PCM, BCM,
U/H RELAY
RADIO, WAC,
RFA CLUSTER
DATA LINK
ABS, BCM
CIGAR LTR,
AUX POWER,
POWER DROP INADV
POWER BUS
Description
Powertrain Control Module, Body
Control Module, Underhood
IgnitiodRelay
Radio, HVAC Control Assembly,
Instrument Panel Cluster, Remote
Keyless Entry Module, Data
Link
Connector, Bose Amplifier
ABS1 -- Electronic Brake
Control Module (EBCM), Body
Control Module
Auxiliary Power, Cigarette
Lighter, Power Drop
Vanity Mirrors,
I/P Courtesy
Lamps,
I/P Compartment Lamps,
Trunk Courtesy Lamp, Header Courtesy and Reading Lamps,
US
Lighted Rearview Mirror
CD CHANGER Cartridge Disk Changer
HIGH BLOWER High Blower Relay
HAZARD Hazard Switch
i 6-58
ProCarManuals.com
Page 288 of 340

Underhood Electrical Center -- Passenger’s Side
Some fuses are in the underhood electrical centers on
the passenger’s side of the engine compartment.
12)
13)
14)
I5 1
(71
Fuse
1
2
3
4
5
6
U
Description
Cooling Fan
Starter Solenoid
Power Seats, Rear Defog, Heated Seats
High Blower, Hazard Flasher, Stoplamps,
Power Mirror, Door Locks
Ignition Switch, BTSI, Stoplamps,
ABS,
Turn Signals, Cluster, Air Bag, DRL Module
Cooling Fan
6-60
ProCarManuals.com
Page 290 of 340

Fuse
30 31
32
33
34
35
36
37
38 39
40
41
42
43
Description
Engine Emissions
Not Used
Headlamp (Right)
Rear Compartment Release
Parking Lamp
Fuel Pump
Headlamp (Left) Spare
Spare
Spare
Spare
Spare Spare
Fuse Puller
Replacement Bulb Numbers
Exterior Lamps Number
Back-up ............................... 3057
Center High-Mounted Stop
In Spoiler ............................. 891
OnShelf
............................. 1141
Fog
.................................... 893
Front Parking/Turn Signal
............. 4 157NAK
Headlamp. High Beam
.................... 9005
Headlamp.
Low Beam .................... 9006
License Plate
............................ 194
Sidemarker. Front
......................... 194
Sidemarker. Rear
......................... 194
Stopmail
............................... 3057
Turn Signal (Rear)
....................... 3057
Cornering
.............................. 3156
6-62
ProCarManuals.com
Page 328 of 340

Brake (Continued) Replacing System Parts
........................ 6-30
System Warning Light
......................... 2-56
Trailer
...................................... 4-34
Transaxle Shift Interlock
.................. 2-27, 7-15
Transaxle Shift Interlock Check
.................. 7-15
Brakes, Anti-Lock
............................... 4-7
Braking in Emergencies
.......................... 4- 10
Break-In, New Vehicle
.......................... 2-15
BTSI
.................................... 2-27, 7-15
Bulb Replacement
.............................. 6-3 1
Center High-Mounted ......................... 6-36
Front Parking and Turn Signal Lamp
.............. 6-36
Tail/Stop/Turn Signal Lamp
..................... 6-37
Bulbs, Replacement Numbers
..................... 6-62
Wear
....................................... 6-29
WhattoAdd
................................. 6-28
Braking
........................................ 4-6
BTSICheck
................................... 7-15
Headlamps
.................................. 6-31
Capacities and Specifications
.................... 6-63
Carbon Monoxide
............... 2.13.2.28.4.28. 4.34
Care of Your Cassette Tape Player
.................. 3-27
Care of Your Compact Disc Player
................. 3-28
Care of Your Compact Discs
...................... 3-28
Cassette Deck Service
........................... 7-13
Cassette Tape Player
....................... 3.10. 3.14
CD Player
..................................... 3-14
CD Player Theft-Deterrent Feature
................. 3-23
Center Console
................................. 2-47
Center Passenger Position
........................ 1-32
CareofYourTapePlayer
......................... 3-27 Certification
Label
.............................. 4-30
Chains. Safety
................................. 4-34
Chains. Tire
................................... 6-46
Change Oil Light
............................... 2-64
Changing a Flat Tire
............................. 5-25
Charging System Light
.......................... 2-56
Checking Your Restraint Systems
.................. 1-51
Chemical Paint Spotting .......................... 6-53
Child Restraints
................................ 1-37
Securing in a Rear Outside Seat Position
........... 1-42
Securing
in the Center Rear Seat Position .......... 1-44
Securing in the Right Front Seat Position .......... 1-46
TopStrap
................................... 1-42
WheretoPut
..........,..................... l-41
Children ,,...........,........................ l-34
Cleaner. Air ................................... 6-16
Cleaning Circuit
Breakers and Fuses
....................... 6-56
Interior Plastic Components
..................... 6-49
Exterior Lamphnses
......................... 6-51
Glass
....................................... 6-50
Inside of
Your Vehicle ......................... 6-47
Instrument Panel
............................. 6-49
Outside
of Your Vehicle ........................ 6-50
Special Problems ............................. 6-48
Vinyl
....................................... 6-49
Windshield and Wiper Blades
................... 6-50
AluminumWheels
............................ 6-52
Fabric
...................................... 6-48
Leather
..................................... 6-49
Tires
....................................... 6-52
Wheels
..................................... 6-52
9-2
ProCarManuals.com
Page 335 of 340

SafetyChains .................................. 4-34
Safety Defects. Reporting
......................... 8-8
Safety Warnings and Symbols ....................... 111
Scheduled Maintenance Services .................... 7-4
Seatback Reclining Front
.......................... 1-3
Seats Controls
..................................... 1-2
ManualFront
................................. 1-2
Power
....................................... 1-3
Rear
........................................ 1-5
Securing
a Child Restraint ...................... 1-42
Split Folding Rear
............................. 1-5
Second Gear. Automatic Transaxle
................. 2-23
Security Light
.................................. 2-64
Service
........................................ 6-2
Bulletins. Ordering
............................ 8- 10
Manuals. Ordering ............................ 8- 10
Parts Identification Label ....................... 6-55
Publications. Ordering
..................... 8.9. 8- 10
Work. Doing Your Own ......................... 6-2
Service and Appearance Care ...................... 6- 1
Service and Owner Publications .................... 8-9
Service Engine Soon Light ....................... 2-60
Service Publications
.............................. 8-9
Servicing Your Air Bag-Equipped Vehicle ........... 1-26
Sheet Metal Damage
............................ 6-52
ShiftLever
.................................... 2-25
Shifting Automatic Transaxle Operation
.................. 2-20
Shoulder Belt Height Adjuster
..................... 1 - 13
...
Restraint Systems .............................. 1 . 1
IntoPARK(P) ............................... 2-25 SignalingTurns
................................ 2-31
Skidding
...................................... 4-15
Sound Equipment. Adding
................... 3.26. 6.56
Spare Tire. Compact
............................. 5-35
Specifications and Capacities
...................... 6-63
Specifications. Engine
........................... 6-63
Speech Impaired. Customer Assistance
............... 8-4
Speedometer
................................... 2-53
SRS ......................................... 1-19
Starter Switch Check ............................ 7-15
Starting Your Engine ............................ 2-17
Steam ........................................ 5-15
In Emergencies ............................... 4-12
Magnetic Speed Sensitive
...................... 4-11
Tips ........................................ 4-11
Wheel. Tilt
.................................. 2-30
Storage Compartments
........................... 2-46
Storage. Vehicle
................................ 6-30
Stuck:
In Sand. Mud. Ice or Snow .................. 5-36
Sunvisors
.................................... 2-48
Sunroof. Power
................................ 2-49
Supplemental Restraint System
.................... 1-19
Symbols. Vehicle .................................. v
Steering ...................................... 4-11
Power
...................................... 4-11
Tachometer
.................................. 2-54
Theft-Deterrent Feature. CD Player
................ 3-23
‘Theft
......................................... 2-14
THEFTLOCK
rM ................................ 3-23
Thermostat
.................................... 6-24
9-9
. -. .
ProCarManuals.com