turn signal bulb Oldsmobile Intrigue 2002 Owner's Manuals
[x] Cancel search | Manufacturer: OLDSMOBILE, Model Year: 2002, Model line: Intrigue, Model: Oldsmobile Intrigue 2002Pages: 363, PDF Size: 2.53 MB
Page 100 of 363

2-36 Turn and Lane-Change Signals
The turn signal lever has two upward (for right) and two
downward (for left) positions. These positions allow you
to signal a turn or lane change.
To signal a turn, move the lever all the way up or
down. When the turn is finished, the lever will
return automatically.
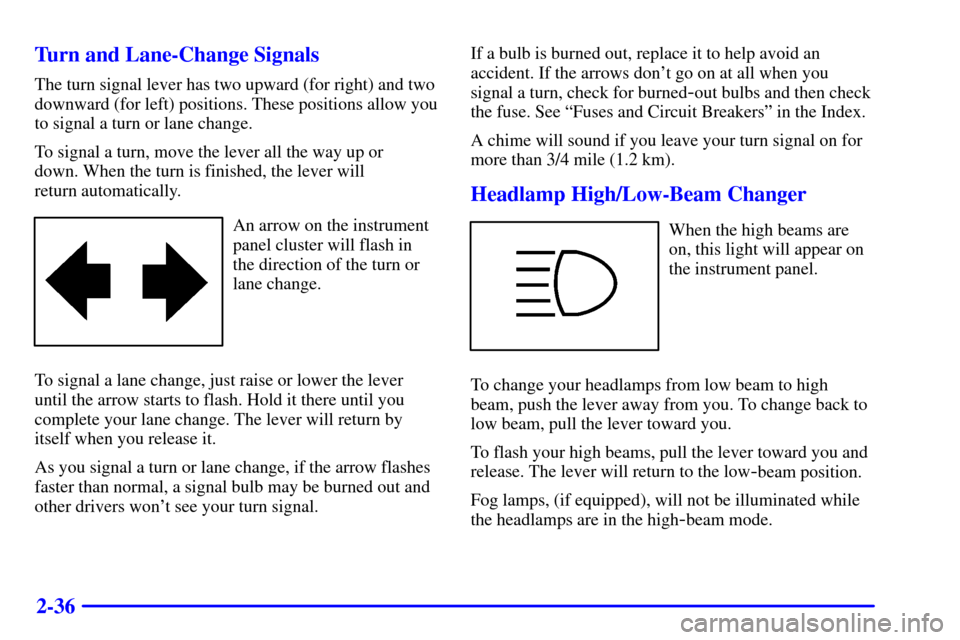
An arrow on the instrument
panel cluster will flash in
the direction of the turn or
lane change.
To signal a lane change, just raise or lower the lever
until the arrow starts to flash. Hold it there until you
complete your lane change. The lever will return by
itself when you release it.
As you signal a turn or lane change, if the arrow flashes
faster than normal, a signal bulb may be burned out and
other drivers won't see your turn signal.If a bulb is burned out, replace it to help avoid an
accident. If the arrows don't go on at all when you
signal a turn, check for burned
-out bulbs and then check
the fuse. See ªFuses and Circuit Breakersº in the Index.
A chime will sound if you leave your turn signal on for
more than 3/4 mile (1.2 km).
Headlamp High/Low-Beam Changer
When the high beams are
on, this light will appear on
the instrument panel.
To change your headlamps from low beam to high
beam, push the lever away from you. To change back to
low beam, pull the lever toward you.
To flash your high beams, pull the lever toward you and
release. The lever will return to the low
-beam position.
Fog lamps, (if equipped), will not be illuminated while
the headlamps are in the high
-beam mode.
Page 224 of 363

4-41 Making Turns
NOTICE:
Making very sharp turns while trailering could
cause the trailer to come in contact with the
vehicle. Your vehicle could be damaged. Avoid
making very sharp turns while trailering.
When you're turning with a trailer, make wider
turns than normal. Do this so your trailer won't
strike soft shoulders, curbs, road signs, trees or
other objects. Avoid jerky or sudden maneuvers.
Signal well in advance.
Turn Signals When Towing a Trailer
When you tow a trailer, your vehicle may need a
different turn signal flasher and/or extra wiring. Check
with your dealer. The arrows on your instrument panel
will flash whenever you signal a turn or lane change.
Properly hooked up, the trailer lamps will also flash,
telling other drivers you're about to turn, change lanes
or stop.
When towing a trailer, the arrows on your instrument
panel will flash for turns even if the bulbs on the trailer
are burned out. Thus, you may think drivers behind you
are seeing your signal when they are not. It's important
to check occasionally to be sure the trailer bulbs are
still working.
Page 296 of 363

6-39 Front Parking, Sidemarker and Turn Signal
Cornering Lamps
1. Remove the headlamp assembly. Refer to the
removal procedure listed under ªHeadlampsº earlier
in this section.
2. Remove the rubber access cover.
3. Twist and pull the bulb socket from the
headlamp assembly.
4. Holding the base of the bulb, pull the old bulb from
the socket.
5. Push the new bulb into the socket.
6. Put the bulb socket back into the headlamp assembly
and turn it clockwise until it is secure.
7. Reinstall the rubber access cover.
Center High-Mounted Stoplamp (CHMSL)
(Window Mounted)
1. Open the trunk.
2. Reach through the access opening in the trunk.
Page 297 of 363

6-40
3. Remove the old bulb from the socket by turning it
one quarter turn counterclockwise.
4. Place the new bulb into the socket.
5. Turn the bulb one quarter turn clockwise to install.
6. Close the trunk.
Center High-Mounted Stoplamp (CHMSL)
(Spoiler Mounted)
It is recommended that this component be replaced as a
unit. See your dealer.
Tail/Stop/Turn Signal Lamps
Page 324 of 363

6-67
Replacement Bulbs
Lamps Bulb Number
Center High
-Mounted Stop
Lamp (CHMSL) (Window Mounted) 1141. . . . . . .
Front Parking/Turn Signal 4157 NAK. . . . . . . . . . . . .
Headlamp High Beam 9005. . . . . . . . . . . . . . . . . . . .
Headlamp Low Beam 9006. . . . . . . . . . . . . . . . . . . .
Sidemarker (Front/Rear) 194. . . . . . . . . . . . . . . . . . .
Tail/Stop/Turn Signal 3057. . . . . . . . . . . . . . . . . . . . .
Cornering 3156. . . . . . . . . . . . . . . . . . . . . . . . . . . . . .
For any bulb not listed here contact your dealer.
Capacities and Specifications
Please refer to ªRecommended Fluids and Lubricantsº
in the Index for more information.
Automatic Transaxle
After Complete Overhaul 10.0 quarts (9.5 L). . . . . . .
Pan Removal and Replacement 7.4 quarts (7.0 L). . .
When draining/replacing the converter, more fluid
may be needed.
Cooling System
Including Reservoir10.0 quarts (9.5 L) . . . . . . . . .
Engine Oil with Filter6.5 quarts (6.1 L) . . . . . . . . .
Fuel Tank17.5 U.S. gallon U.S. (66.2 L) . . . . . . . . .
Wheel Nut Torque100 lb
-ft (140 N´m) . . . . . . . . . .
All capacities are approximate. When adding, be sure to
fill to the appropriate level, as recommended in this
manual. Recheck fluid level after filling.