air conditioning OLDSMOBILE SILHOUETTE 1994 Owners Manual
[x] Cancel search | Manufacturer: OLDSMOBILE, Model Year: 1994, Model line: SILHOUETTE, Model: OLDSMOBILE SILHOUETTE 1994Pages: 276, PDF Size: 15.82 MB
Page 115 of 276
h d II
II I(
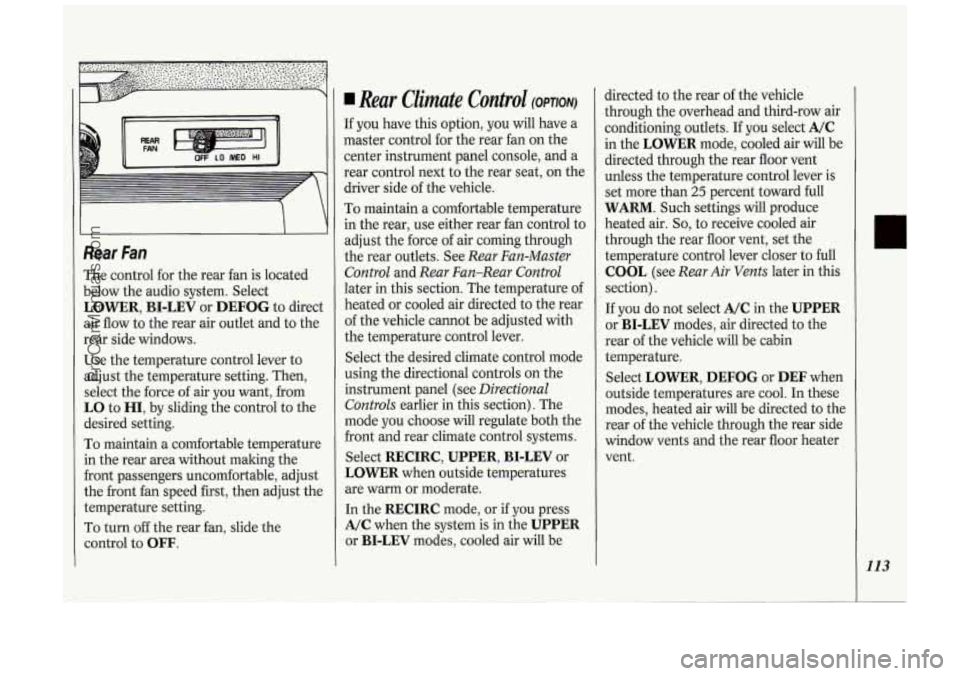
Rear Fan
The control for the rear fan is located
below the audio system. Select
LOWER, BI-LEV or DEFOG to direct
air flow to the rear air outlet and to the
rear side windows.
Use the temperature control lever to
adjust the temperature setting. Then,
select the force of air you want, from
LO to HI, by sliding the control to the
desired setting.
To maintain a comfortable temperature
in the rear area without making the
front passengers uncomfortable, adjust
the front fan speed first, then adjust the
temperature setting.
To turn off the rear fan, slide the
control to
OFF.
Rear Climate Control (OPTION)
If you have this option, you will have a
master control for the rear fan on the
center instrument panel console, and a
rear control next to the rear seat, on the
driver side of the vehicle.
To maintain a comfortable temperature
in the rear, use either rear fan control to
adjust the force
of air coming through
the rear outlets. See
Rear Fan-Master
Control
and Rear Fan-Rear Control
later in this section. The temperature of
heated or cooled air directed to the rear
of the vehicle cannot be adjusted with
the temperature control lever.
Select the desired climate control mode
using the directional controls on the
instrument panel (see
Directional
Controls
earlier in this section). The
mode you choose will regulate both the
front and rear climate control systems.
Select
RECIRC, UPPER, BI-LEV or
LOWER when outside temperatures
are warm or moderate.
In the
RECIRC mode, or if you press
A/C when the system is in the UPPER
or BI-LEV modes, cooled air will be directed
to the rear
of the vehicle
through the overhead and third-row air
conditioning outlets. If
you select A/C
in the LOWER mode, cooled air will be
directed through the rear floor vent
unless the temperature control lever is
set more than
25 percent toward full
WARM. Such settings will produce
heated air.
So, to receive cooled air
through the rear floor vent, set the
temperature control lever closer to full
COOL (see Rear Air Vents later in this
section).
If
you do not select A/C in the UPPER
or BI-LEV modes, air directed to the
rear of the vehicle will be cabin
temperature.
Select
LOWER, DEFOG or DEF when
outside temperatures are cool. In these
modes, heated air will be directed to the
rear of the vehicle through the rear side
window vents and the rear floor heater
vent.
113
ProCarManuals.com
Page 118 of 276
116
Comfort Controh di Audio Systems
NOTICE:
Don’t use a razor blade or
something else sharp on the inside
of the rear window. If you do, you
could cut or damage the warming
grid, and the repairs wouldn’t be
covered by your warranty.
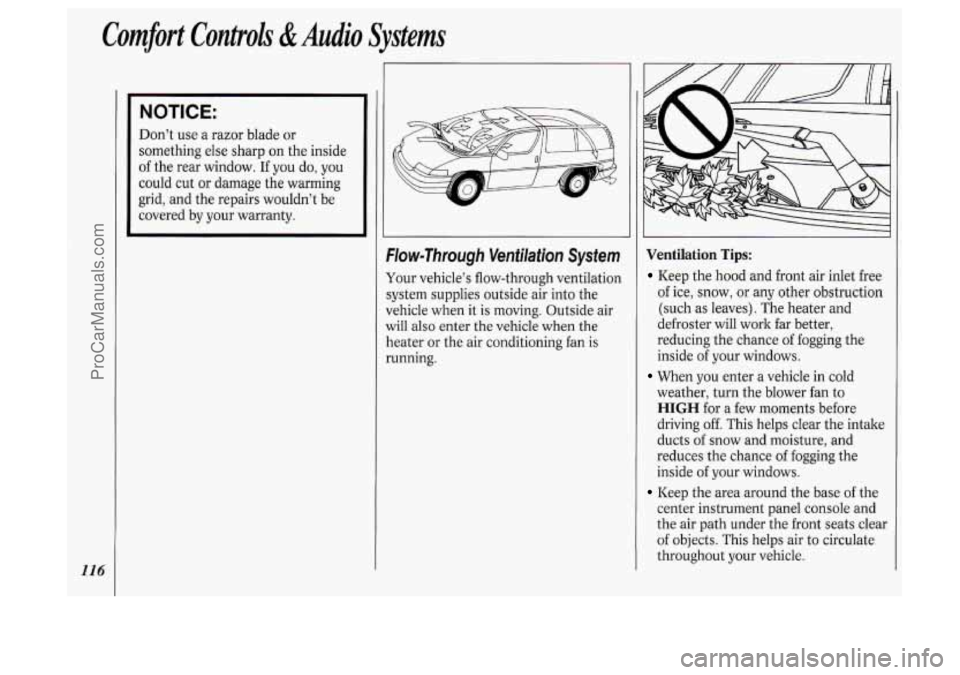
elow-Through Ventilation System
four vehicle’s flow-through ventilation
;ystem supplies outside air into the
{ehicle when
it is moving. Outside air
will also enter the vehicle when the
leater or the air conditioning fan is
sunning.
I I
Ventilation Tips:
Keep the hood and front air inlet free
of ice, snow, or any other obstruction
(such as leaves). The heater and
defroster will work far better,
reducing the chance of fogging the
inside of your windows.
When you enter a vehicle in cold
weather, turn the blower fan to
HIGH for a few moments before
driving off. This helps clear the intake
ducts of snow and moisture, and
reduces the chance of fogging the
inside of your windows.
Keep the area around the base of the
center instrument panel console and
the air path under the front seats clear
of objects. This helps air to circulate
throughout your vehicle.
ProCarManuals.com
Page 224 of 276
Service &Appearance Care
222
I
1-
9 0
U
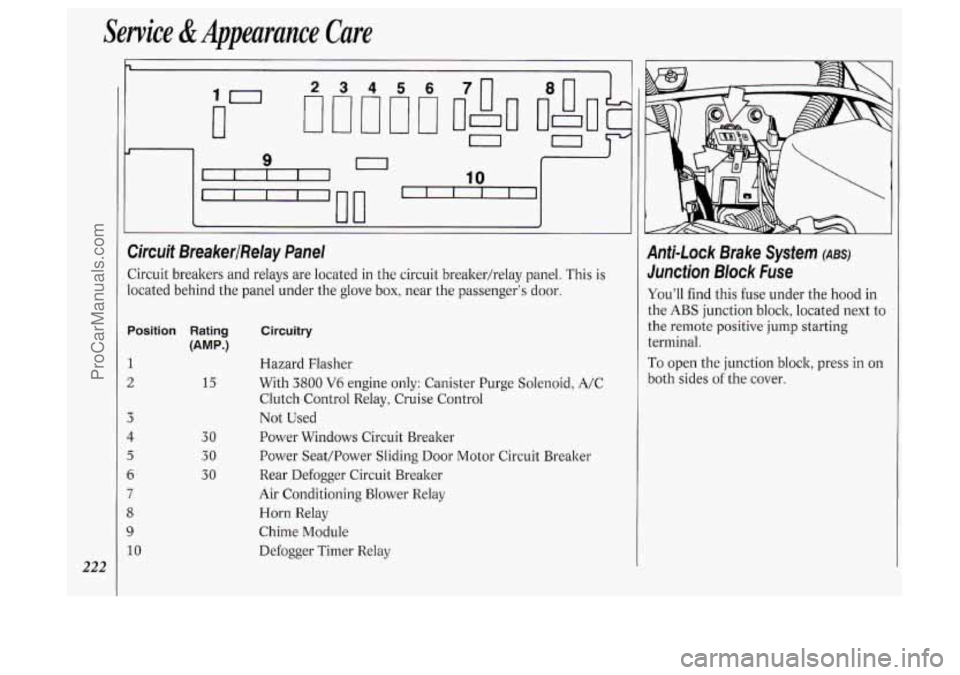
Circuit BreakerlRelay Panel
Circuit breakers and relays are located in the circuit breakerhelay panel. This is
located behind the panel under the glove box, near the passenger's door.
Position Rating
(AMP.)
1
2
3
I
5
6
7
3
3
10
15
30
30
30
Circuitry
Hazard Flasher
With
3800 V6 engine only: Canister Purge Solenoid, A/C
Clutch Control Relay, Cruise Control
Not Used
Power Windows Circuit Breaker
Power Seat/Power Sliding
Door Motor Circuit Breaker
Rear Defogger Circuit Breaker
Air Conditioning Blower Relay
Horn Relay
Chime Module
Defogger Timer Relay
Anti-Lock Brake System (ABS)
Junction Block Fuse
You'll find this fuse under the hood in
the
ABS junction block, located next to
the remote positive
jump starting
terminal.
To open the junction block, press in on
both sides of the cover.
ProCarManuals.com
Page 226 of 276
Service & Appearance Care
224
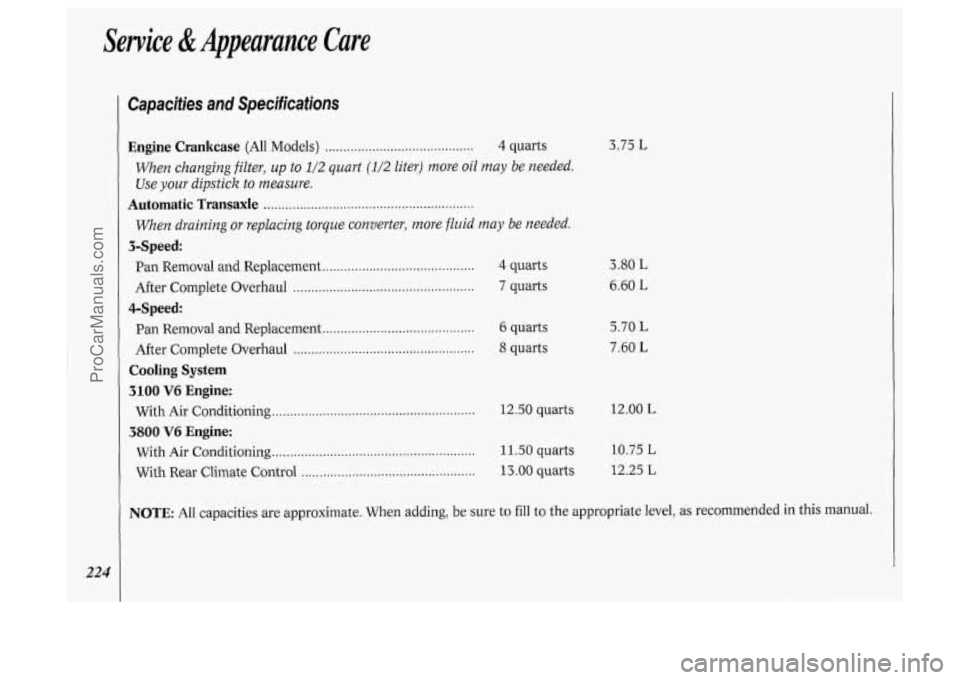
Capacities and Specifications
Engine Crankcase (All Models) ......................................... 4 quarts
When changing filter, up to 112 quart (1/2 liter) more oil may be needed.
Use
your dipstick to measure.
Automatic Transaxle ..........................................................
When draining or replacing torque converter, more fluid may be needed.
Pan Removal and Replacement .......................................... 4 quarts
After Complete Overhaul
.................................................. 7 quarts
3-Speed:
4-Speed:
Pan Removal and Replacement .......................................... 6 quarts
After Complete Overhaul
.................................................. 8 quarts
Cooling System
3100 V6 Engine:
3800 V6 Engine:
With Air Conditioning ........................................................ 12.50 quarts
With Air Conditioning ........................................................ 11.50 quarts
With Rear Climate Control
................................................ 13 .OO quarts
3.75 L
3.80 L
6.60 L
5.70 L
7.60 L
12.00 L
10.75
L
12.25 L
NOTE: All capacities are approximate. When adding, be sure to fill to the appropriate level, as recommended in this manual.
ProCarManuals.com
Page 227 of 276
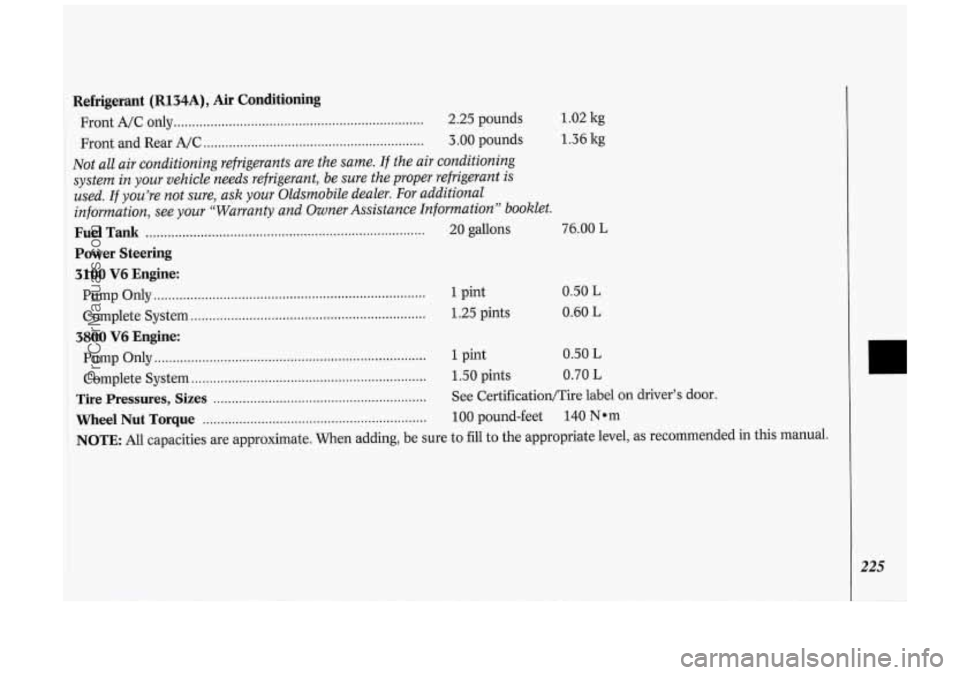
1.02 kg
1.36 kg
Refrigerant (R134A), Air Conditioning
Front A/C only .................................................................... 2.25 pounds
Front and Rear A/C
............................................................ 3.00 pounds
Not all air conditioning refrigerants are the same. If the air conditioning
system in your vehicle needs refrigerant, be sure the proper refrigerant
is
used. If you’re not sure, ask your Oldsmobile dealer. For additional
infomation, see your “Warranty and Owner Assistance Information
” booklet.
Fuel Tank ........................................................................\
..... 20 gallons 76.00 L
Power Steering
3100
V6 Engine:
Pump Only ........................................................................\
..
Complete System ................................................................
1 pint
1.25 pints 0.50 L
0.60 L
3800 V6 Engine:
Pump Only ........................................................................\
.. 1 pint 0.50 L
Complete System ................................................................ 1.50 pints 0.70 L
Tire Pressures, Sizes .......................................................... See CertificatiorVTire label on driver’s door.
Wheel Nut Torque ............................................................. 100 pound-feet 140 Nom
NOTE: All capacities are approximate. When adding, be sure to fill to the appropriate level, as recommended in this manual.
r
ProCarManuals.com
Page 240 of 276
Maintenance Schedule
238
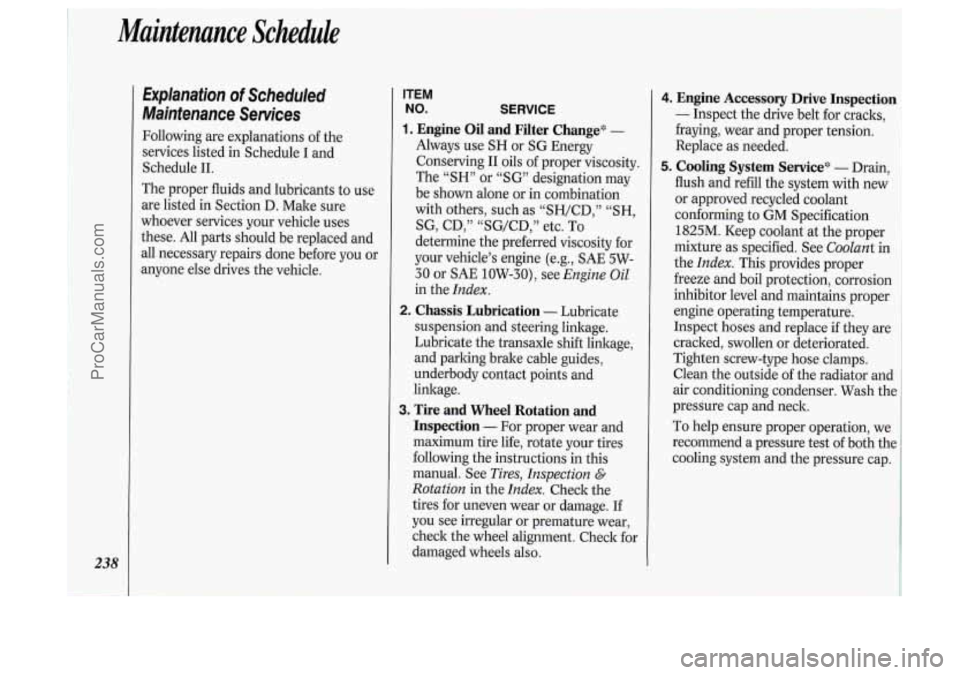
Explanation of Scheduled
Maintenance Services
Following are explanations of the
services listed in Schedule I and
Schedule 11.
The proper fluids and lubricants to use
are listed in Section D. Make sure
whoever services your vehicle uses
these. All parts should be replaced and
all necessary repairs done before you or
anyone else drives the vehicle.
ITEM
NO. SERVICE
1. Engine Oil and Filter Change* -
Always use SH or SG Energy
Conserving
I1 oils of proper viscosity.
The
“SH” or “SG” designation may
be shown alone
or in combination
with others, such as “SH/CD,”
“SH,
SG, CD,” “SG/CD,” etc. To
determine the preferred viscosity for
your vehicle’s engine (e.g.,
SAE 5W-
30 or SAE 10W-30), see
Engine Oil
in the Index.
2. Chassis Lubrication - Lubricate
suspension and steering linkage.
Lubricate the transaxle shift linkage,
and parking brake cable guides,
underbody contact points and
linkage.
3. Tire and Wheel Rotation and
Inspection
- For proper wear and
maximum tire life, rotate your tires
following the instructions in this
manual. See
Tires, Inspection E.
Rotation in the Index. Check the
tires for uneven wear
or damage. If
you see irregular or premature wear,
check the wheel alignment. Check for
damaged wheels also.
Engine Accessory Drive Inspection
- Inspect the drive belt for cracks,
fraying, wear and proper tension.
Replace as needed.
I
Cooling System Servicee - Drain,
flush and refill the system with new
or approved recycled coolant
conforming to GM Specification
I
1825M. Keep coolant at the proper 1
mixture as specified. See Coolant in
the
Index. This provides proper
freeze and boil protection, corrosion
I
inhibitor level and maintains proper ’
engine operating temperature.
Inspect hoses
and replace if they are
cracked, swollen or deteriorated.
Tighten screw-type hose clamps.
Clean the outside of the radiator and
air conditioning condenser. Wash tht
pressure cap and neck.
To help ensure proper operation, we
recommend
a pressure test of both the
cooling system and the pressure cap.
ProCarManuals.com