clock OLDSMOBILE SILHOUETTE 1995 User Guide
[x] Cancel search | Manufacturer: OLDSMOBILE, Model Year: 1995, Model line: SILHOUETTE, Model: OLDSMOBILE SILHOUETTE 1995Pages: 390, PDF Size: 20.27 MB
Page 194 of 390
Steering in Emergencies
There are times when steering can be more effective than
braking. For example, you come over
a hill and find a
truck stopped in your lane, or a car suddenly pulls out
from nowhere, or a child darts
out from between parked
cars and stops right in front of
you. You can avoid these
problems by braking
-- if you can stop in time. But
sometimes you can’t; there isn’t room. That’s the time
for evasive action
-- steering around the problem.
Your Oldsmobile can perform very well in emergencies
like these. First apply your brakes. (See “Braking in
Emergencies” earlier
in this section.) It is better to
remove as much speed as you can from a possible
collision. Then steer around the problem, to the left or
right depending on the space available.
An emergency like this requires close attention and a
quick decision. If you are holding the steering wheel at
the recommended
9 and 3 o’clock positions, you can
turn it a full
180 degrees very quickly without removing
either hand. But you have to act fast, steer quickly, and
just as quickly straighten the wheel once you have
avoided the object.
The fact that such emergency situations are always
possible is a good reason
to practice defensive driving at
all times and wear safety belts properly.
Off-Road Recovery
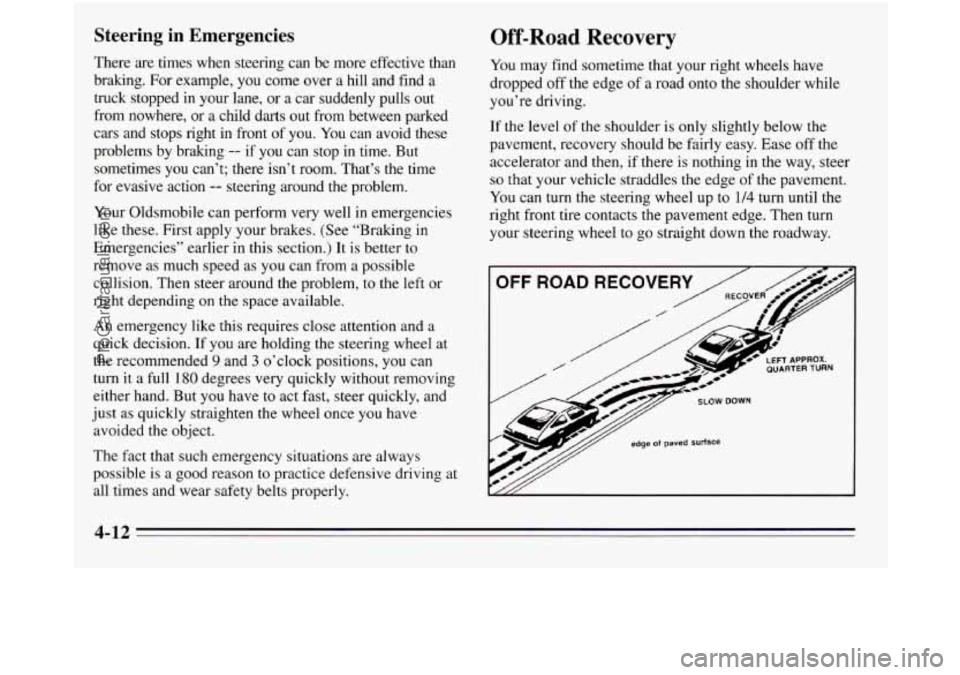
You may find sometime that your right wheels have
dropped off the edge of a road onto the shoulder while
you’re driving.
If the level of the shoulder is only slightly below the
pavement, recovery should be fairly easy. Ease off the
accelerator and then, if there is nothing in the way, steer
so that your vehicle straddles the edge of the pavement.
You can turn the steering wheel up to
1/4 turn until the
right front tire contacts the pavement edge. Then turn
your steering wheel to go straight down the roadway.
LeT/ SLOW DOWN
p,/y edge of paved surface
4-12
ProCarManuals.com
Page 249 of 390
L
4.
5.
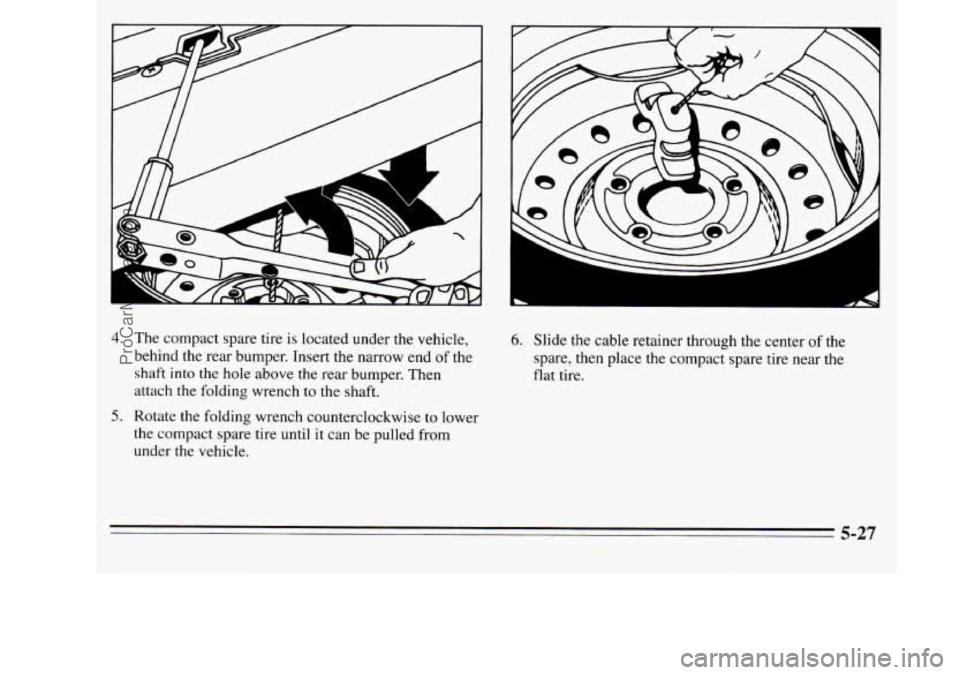
The compact spare tire is located under the vehicle,
behind the rear bumper. Insert the narrow end
of the
shaft into the hole above
the rear bumper. Then
attach the folding wrench to the shaft.
Rotate the folding wrench counterclockwise to lower
the compact spare tire until it can be pulled from
under the vehicle.
6. Slide the cable retainer through the center of the
spare, then place the compact spare tire near the
flat tire.
5-27
ProCarManuals.com
Page 251 of 390
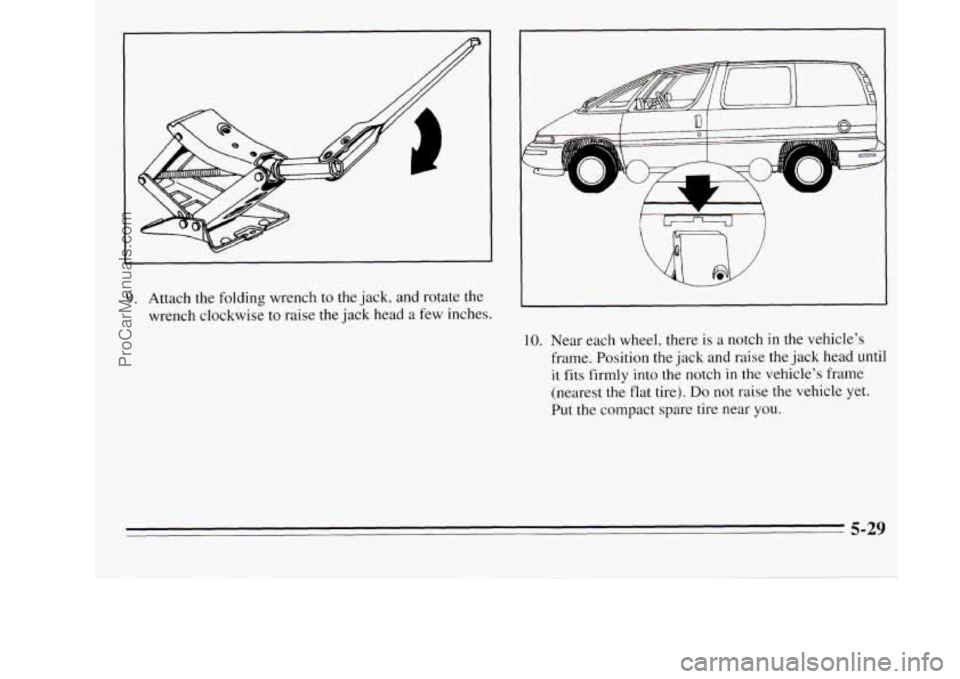
9. Attach the folding wrench to the jack, and rotate the
wrench clockwise to raise the jack head a few inches.
I L L.
Gn J
IO. Near each wheel, there is a notch in the vehicle's
frame. Position the jack and raise the jack head
until
it fits firmly into the notch in the vehicle's frame
(nearest the flat tire).
Do not raise the vehicle yet.
Put the compact spare tire near you.
5-29
ProCarManuals.com
Page 252 of 390
NOTICE:
Raising your vehicle with the jack improperly
positioned will damage the vehicle or may allow the vehicle
to fall off the jack. Be sure to fit the
jack lift head into the proper location before
raising your vehicle.
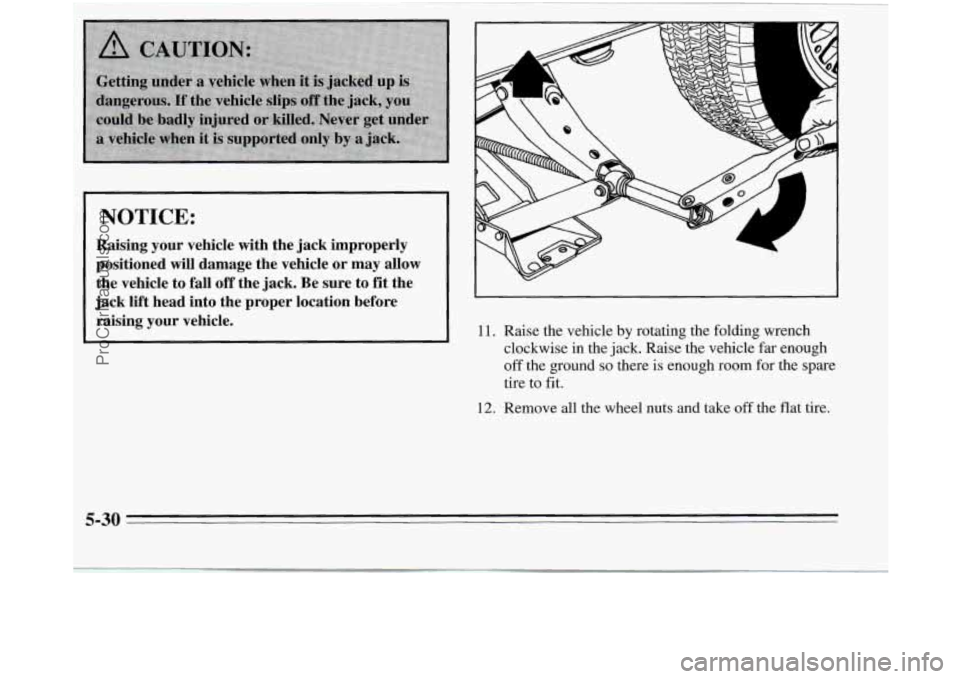
11. Raise the vehicle by rotating the folding wrench
clockwise in the jack. Raise the vehicle far enough
off the ground so there is enough room for the spare
tire to fit.
12. Remove all the wheel nuts and take off the flat tire.
I
' 5-30
ProCarManuals.com
Page 253 of 390
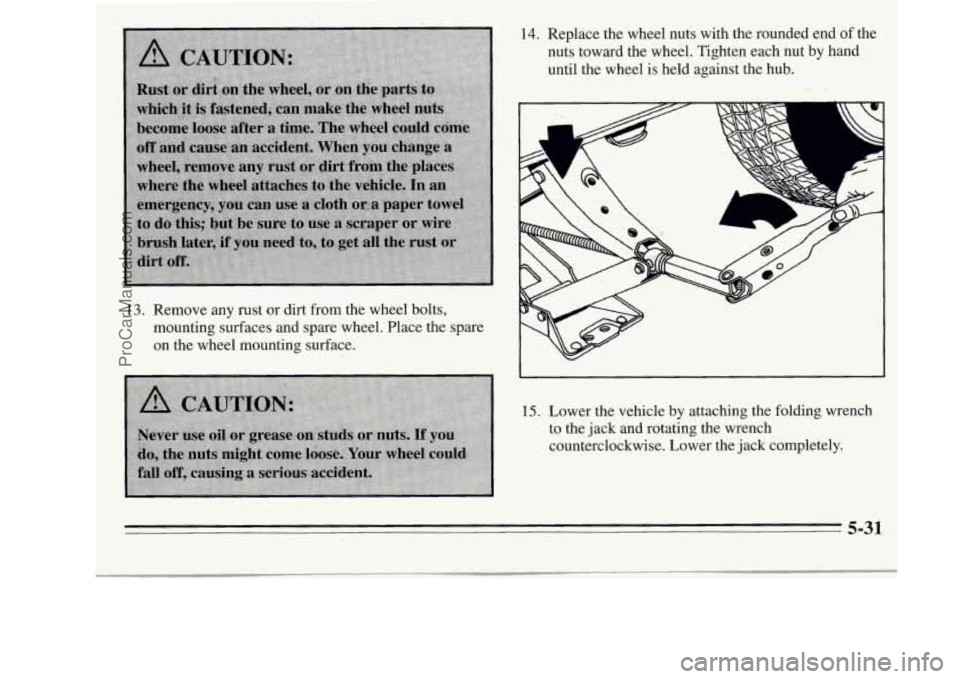
13. Remove any rust or dirt from the wheel bolts,
mounting surfaces and spare wheel. Place the spare
on the wheel mounting surface.
14. Replace the wheel nuts with the rounded end of the
nuts toward the wheel. Tighten each nut by hand
until the wheel is held against the hub.
15. Lower the vehicle by attaching the folding wrench
to the jack and rotating the wrench
counterclockwise. Lower the jack completely.
ProCarManuals.com
Page 265 of 390
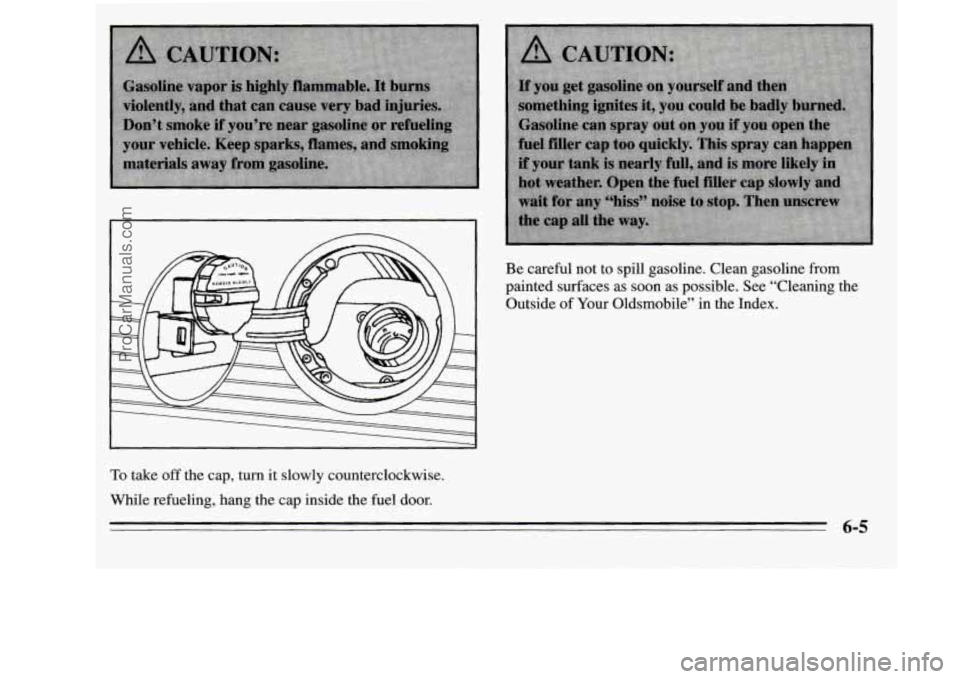
Be careful not to spill gasoline. Clean gasoline from
painted surfaces as
soon as possible. See “Cleaning the
Outside
of Your Oldsmobile” in the Index.
To take off the cap, turn it slowly counterclockwise.
While refueling, hang the cap inside the fuel door.
6-5
ProCarManuals.com
Page 292 of 390
t- 1 1
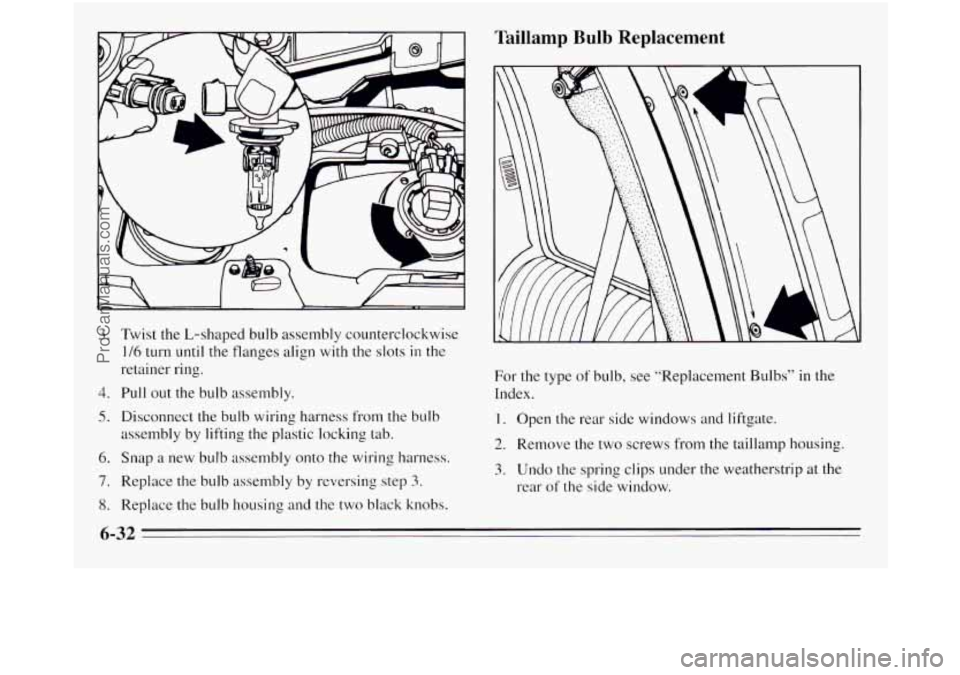
3. Twist the L-shaped bulb assembly counterclockwise
1/6 turn until the flanges align with the slots in the
retainer ring.
4. Pull out the bulb assembly.
5. Disconnect the bulb wiring harness from the bulb
assembly by lifting
the plastic locking tab.
6. Snap a new bulb assembly onto the wiring harness.
7. Replace the bulb assembly by reversing step 3.
8. Replace the bulb housing and the two black knobs.
Taillamp Bulb Replacement
For the type of bulb, see “Replacement Bulbs” in the
Index.
1. Open the rear side windows and liftgate.
2. Remove the two screws from the taillamp housing.
3. Undo the spring clips under the weatherstrip at the
rear
of the side window.
6-32
ProCarManuals.com
Page 293 of 390
4.
5.
6.
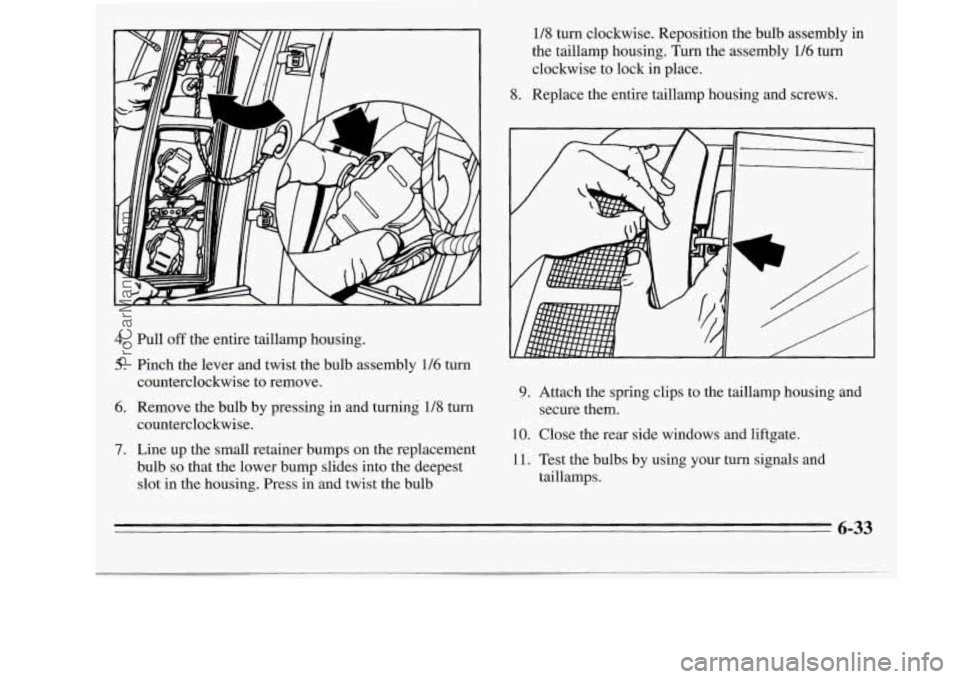
Pull off the entire taillamp housing.
Pinch the lever and twist the bulb assembly
116 turn
counterclockwise to remove.
Remove the bulb by pressing in and turning 1/8 turn
counterclockwise.
Line up the small retainer bumps on the replacement
bulb
so that the lower bump slides into the deepest
slot in the housing. Press in and twist the bulb 1/8 turn clockwise. Reposition
the bulb assembly in
the taillamp housing.
Turn the assembly 116 turn
clockwise to lock in place.
8. Replace the entire taillamp housing and screws.
9. Attach the spring clips to the taillamp housing and
secure them.
10. Close the rear side windows and liftgate.
11. Test the bulbs by using your turn signals and
taillamps.
6-33
ProCarManuals.com
Page 379 of 390
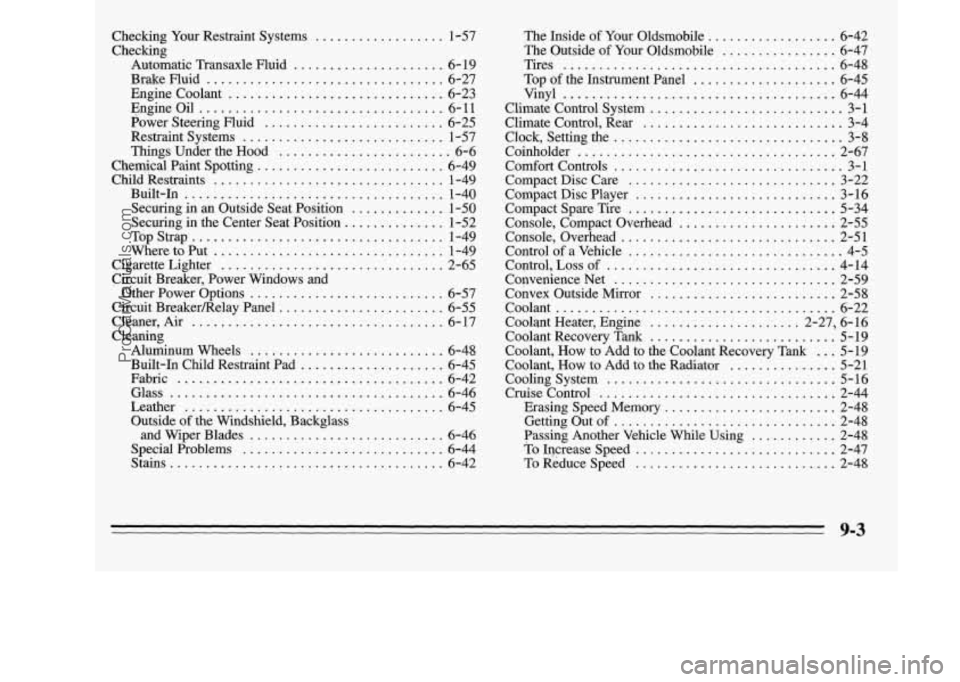
Checking Your Restraint Systems .................. 1-57
Checking Automatic Transaxle Fluid
..................... 6-19
Brakenuid
................................. 6-27
Engine Coolant
.............................. 6-23
Engineoil
.................................. 6-11
Power Steering Fluid ......................... 6-25
Restraint Systems
............................ 1-57
Things Under the Hood
........................ 6-6
Chemjcal Faint Spotting
.......................... 6-49
Child Restraints
................................ 1-49
Built-In
.................................... 1-40
Securing in
an Outside Seat Position ............. 1-50
Securing in the Center Seat Position
.............. 1-52
TopStrap
................................... 1-49
Where to Put
................................ 1-49
Cigarette Lighter
............................... 2-65
Circuit Breaker, Power Windows
and
Other Power Options ........................... 6-57
Circuit BreakerRelay Panel
....................... 6-55
Cleaner, Air
................................... 6-17
Cleaning Aluminum Wheels
........................... 6-48
Built-In Child Restraint Pad
.................... 6-45
Fabric
..................................... 6-42
Leather
.................................... 6-45
Outside
of the Windshield, Backglass
andWiperBlades
........................... 6-46
Special Problems
............................ 6-44
Glass
...................................... 6-46
Stains
...................................... 6-42 The Inside
of Your Oldsrnobile .................. 6-42
The Outside
of Your Oldsmobile ................ 6-47
Tires
...................................... 6-48
Top
of the Instrument Panel .................... 6-45
Vinyl
...................................... 6-44
Climate Control System
........................... 3-1
Climate Control. Rear
............................ 3-4
Clock. Settingthe ................................ 3-8
Coinholder
.................................... 2-67
Comfort Controls
................................ 3-1
Compact Disc Care
............................. 3-22
Compact Disc Player
............................ 3-16
Compact Spare Tire ............................. 5-34
Console. Compact Overhead
...................... 2-55
Console. Overhead
.............................. 2-51
Control
of a Vehicle .............................. 4-5
Control.
LOSS of ................................ 4-14
ConvenienceNet
............................... 2-59
Convex Outside Mirror
.......................... 2-58
Coolant
....................................... 6-22
Coolant Heater. Engine
..................... 2-27. 6-16
Coolant Recovery Tank
.......................... 5-19
Coolant. How
to Add to the Coolant Recovery Tank ... 5-19
Coolant. How to
Add to the Radiator ............... 5-21
Cooling System ................................ 5-16
Cruise Control
................................. 2-44
Erasing Speed Memory
........................ 2-48
Getting Out
of ............................... 2-48
Passing Another Vehicle While Using
............ 2-48
ToIqcreaseSpeed
............................ 2-47
To Reduce Speed
............................ 2-48
9-3
ProCarManuals.com