engine OLDSMOBILE SILHOUETTE 1995 User Guide
[x] Cancel search | Manufacturer: OLDSMOBILE, Model Year: 1995, Model line: SILHOUETTE, Model: OLDSMOBILE SILHOUETTE 1995Pages: 390, PDF Size: 20.27 MB
Page 101 of 390

If your automatic transaxle has OVERDRIVE (@),
NOTICE: THIRD (D) is like OVERDRIVE (D), but you never go
into Overdrive. Here are some times you might choose
This NOTICE applies only if you have the 3800 THIRD (D) instead of OVERDRIVE (@):
V6 engine and the automatic overdrive transaxle.
If your vehicle is so equipped, and if it seems to 0 When driving on hilly, winding roads.
start up rather slowly, or if it seems not to shift
far that way, your vehicle can be damaged. So, if
When going down a steep hill. with a transaxle system sensor. If you drive very
between gears. gears as you go faster, something may be wrong
When towing a trailer, so there is less shifting
this happens, have your vehicle serviced right SECOND GEAR (2): This position
gives you
away. Until then, you can use SECOND (2) when more power, but lower fuel economy. You can use
SECOND
(2) on hills. It can help control your speed as you are driving less than 35 mph (56 km/h) and you go down steep mountain roads, but then you would
OVERDRIVE (0) for higher speeds. also want to use your brakes off and on.
THIRD GEAR (D): If your automatic transaxle does
not have
OVERDRIVE (@), this position is for normal
driving, at all speeds, in most street and highway
situations. NOTICE:
Don’t drive in SECOND (2) for more than 5 miles
(8 km), or at speeds over 55 mph (88 km/h), or
you can damage your transaxle. Use THIRD (D)
(OVERDRIVE (a) or THIRD (D) if your vehicle
has OVERDRIVE
(a)) as much as possible.
Don’t shift into SECOND
(2) unless you are going
slower than 65 mph
(105 km/h), or you can
damage your engine.
2-31
ProCarManuals.com
Page 105 of 390

Leaving Your Vehicle With the Engine
Running
If you have to leave your vehicle with the engine
running, be sure your vehicle is in PARK (P) and your
parking brake is firmly set before you leave it. After
you’ve moved the shift lever into the PARK (P)
position, hold the regular brake pedal down. Then, see if
you can move the shift lever away from PARK (P)
without first pulling it toward you.
If you can, it means that the shift lever wasn’t fully
locked into PARK
(P).
Torque Lock
If you are parking on a hill and you don’t shift your
transaxle into PARK (P) properly, the weight
of the
vehicle may put too much force on the parking pawl in
the transaxle. You may find it difficult to pull the shift
lever out of PARK (P). This
is called “torque lock.” To
prevent torque lock, set the parking brake and then shift
into PARK (P) properly before you leave the driver’s
seat.
To find out how, see “Shifting Into PARK (P)” in
the Index.
When you are ready to drive, move the shift lever out of
PARK (P) before you release the parking brake.
If “torque
lock” does occur, you may need to have
another vehicle push yours a little uphill to take some of
the pressure from the transaxle,
so you can pull the shift
lever out of PARK (P).
2-35
ProCarManuals.com
Page 107 of 390

Engine Exhaust Running Your Engine While You’re
2-37
ProCarManuals.com
Page 117 of 390

You’ll go right back up to your chosen speed and stay
there.
If you have the 3800 V6 engine, cruise control
memory will be erased when you place
the transaxle in
PARK (P). If this is the case, you will not be able to
resume your set speed by moving the cruise control
switch to
WA.
Use the SET button to reset cruise (see “To Set Cruise
Control” earlier in this section).
If you hold the switch at
R/A longer than half a second,
the vehicle will keep going faster until you release the
switch or apply
the brake. You could be startled and
even lose control.
So unless you want to go faster, don’t
hold the switch at R/A.
To Increase Speed While Using Cruise
Control
There are two ways to go to a higher speed. Here’s the
first:
Use the accelerator pedal to get to the higher speed.
Push the button at the end of the lever, then release
the button and the accelerator pedal. You’ll now
cruise at the higher speed.
Here’s the second way to go to
a higher speed:
Move the cruise switch from ON to WA. Hold it
there until you get up to the speed you want, and
then release the switch.
To increase your speed in very small amounts, move
the switch to R/A for less than half a second and then
release
it. Each time you do this, your vehicle will go
about
1 mph (1.6 kdh) faster.
2-47
ProCarManuals.com
Page 118 of 390

If you have the 3.1L V6 engine, the accelerate feature
will work whether or not you have set an initial cruise
control speed.
If you have the
3800 V6 engine, the accelerate feature
will only work after you have set the initial cruise
control speed by pushing the
SET button.
To Reduce Speed While Using Cruise
Control
0 Push in the button at the end of the lever until you
reach the lower speed you want, then release
it.
To slow down in very small amounts, push the
button for less than half a second. Each time you do
this, you’ll
go 1 mph (1.6 km/h) slower.
Passing Another Vehicle While Using
Cruise Control
Use the accelerator pedal to increase your speed. When
you take your foot
off the pedal, your vehicle will slow
down
to the cruise control speed you set earlier.
Using Cruise Control on Hills
How well your cruise control will work on hills depends
upon your speed, load, and the steepness of the hills.
When going up steep hills, you may have to step on the
accelerator pedal to maintain your speed. When going
downhill, you may have to brake or shift to a lower gear
to keep your speed down.
Of course, applying the brake
takes you out
of cruise control. Many drivers find this to
be too much trouble and don’t use cruise control on
steep hills.
To Get Out of Cruise Control
There are two ways to turn off the cruise control:
0 Step lightly on the brake pedal; OR
0 Move the cruise switch to OFF.
To Erase Cruise Speed Memory
When you turn off the cruise control or the ignition,
your cruise control set speed memory is erased. If
you have the
3800 V6 engine, cruise control memory
will also be erased when you place the transaxle
in
PARK (P).
2-48
ProCarManuals.com
Page 141 of 390

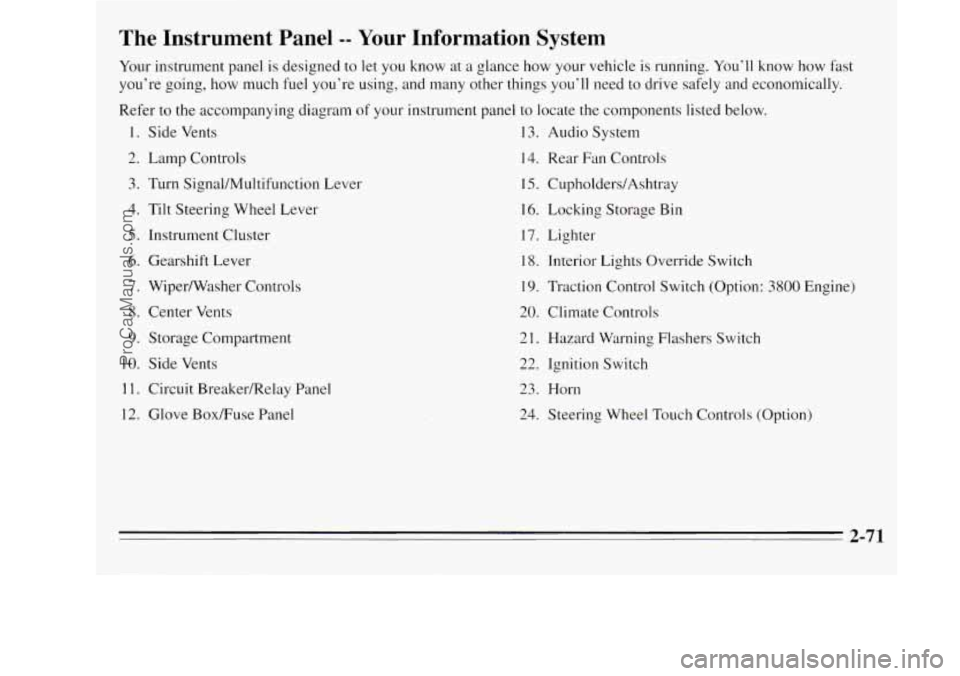
The Instrument Panel -- Your Information System
Your instrument panel is designed to let you know at a glance how your vehicle is running. You’ll know how fast
you’re going, how much fuel you’re using, and many other things you’ll need to drive safely and economically.
Refer to the accompanying diagram
of your instrument panel to locate the components listed below.
1. Side Vents 13. Audio System
2. Lamp Controls
14. Rear Fan Controls
3. Turn Signal/Multifunction Lever 15. CupholderdAshtray
4. Tilt Steering Wheel Lever 16. Locking
Storage Bin
5. Instrument Cluster 17. Lighter
6. Gearshift Lever
18. Interior Lights Override Switch
7. Wiper/Washer Controls 19. Traction Control Switch (Option: 3800 Engine)
8. Center Vents
20. Climate Controls
9. Storage Compartment 21. Hazard Warning Flashers Switch
10. Side Vents
22. Ignition Switch
1 1. Circuit BreakedRelay Panel 23. Horn
12. Glove BoxRuse Panel
24. Steering Wheel Touch Controls (Option)
-
2-71
ProCarManuals.com
Page 143 of 390

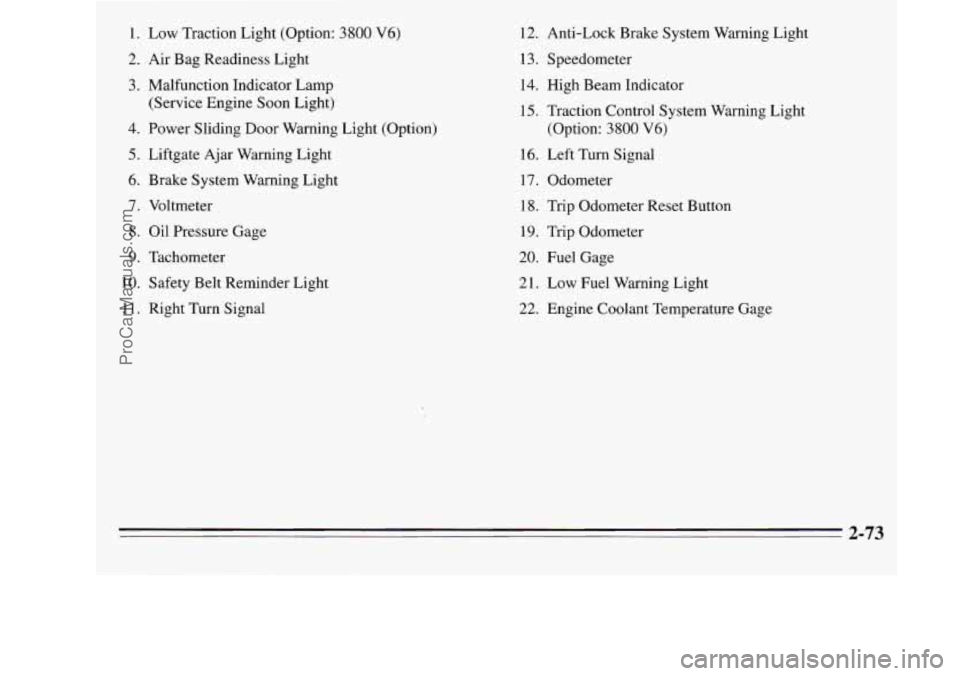
1. Low Traction Light (Option: 3800 V6)
2. Air Bag Readiness Light
3. Malfunction Indicator Lamp
(Service Engine Soon Light)
4. Power Sliding Door Warning Light (Option)
5. Liftgate Ajar Warning Light
6. Brake System Warning Light
7. Voltmeter
8. Oil Pressure Gage
9. Tachometer
10. Safety Belt Reminder Light
11. Right Turn Signal 12.
Anti-Lock Brake System Warning Light
1 3. Speedometer 14. High Beam Indicator
15. Traction Control System Warning Light
(Option: 3800
V6)
16. Left Turn Signal
17. Odometer
18. Trip Odometer Reset Button
19. Trip Odometer
20. Fuel Gage
21. Low Fuel Warning Light
22. Engine Coolant Temperature Gage
2-73
ProCarManuals.com
Page 144 of 390

Speedometer and Odometer
Your speedometer lets you see your speed in both miles
per hour (mph) and kilometers per hour (km/h). Your
odometer shows how far your vehicle has been driven,
in either miles (used in the United States) or kilometers
(used in Canada).
Tamper Resistant Odometer
Your Oldsmobile has a tamper resistant odometer. If you
see silver lines between the numbers, you’ll know that
someone has probably tried to turn it back,
so the
numbers may not be true.
You may wonder what happens if your vehicle needs a
new odometer installed. If the new one can be set to the
mileage total
of the old odometer, then that will be done.
If it can’t, then it’s set at zero and a label must be put
on
the driver’s door to show the old mileage reading when
the new odometer was installed.
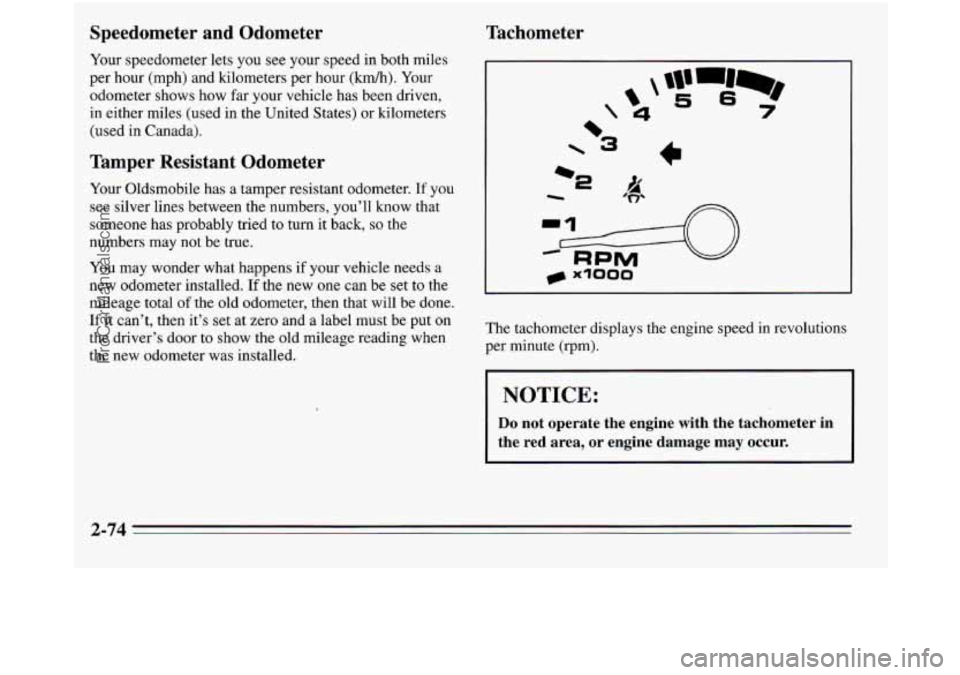
Tachometer
-2
The tachometer displays the engine speed in revolutions
per minute (rpm).
I NOTICE:
Do not operate the engine with the tachometer in
the red area,
or engine damage may occur.
2-74
ProCarManuals.com
Page 145 of 390

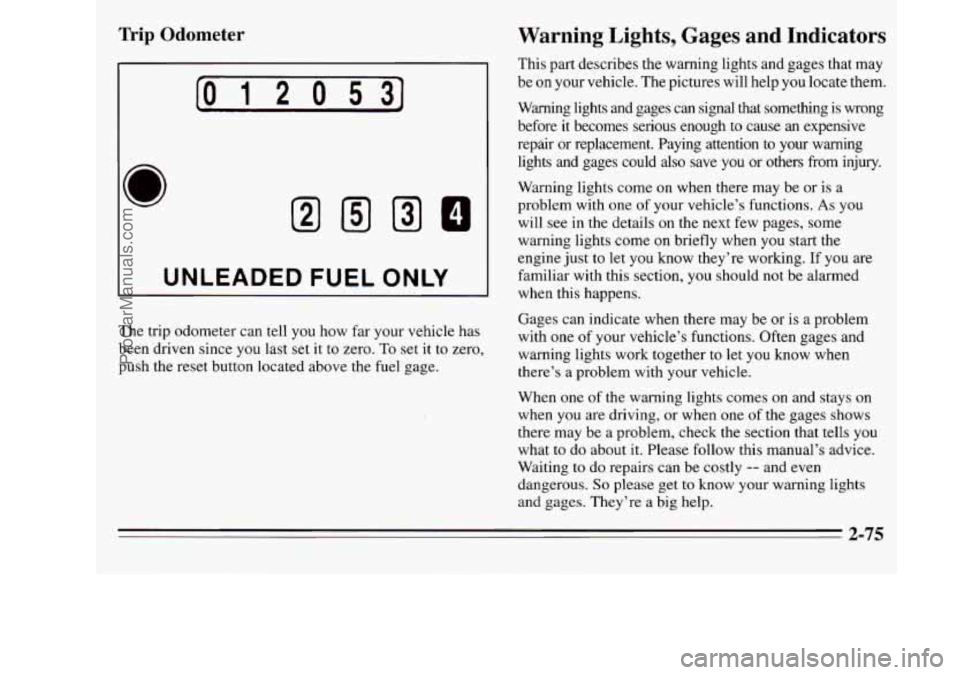
Trip Odometer
[O 12 O 531
I UNLEADED FUEL ONLY I
The trip odometer can tell you how far your vehicle has
been driven since you last set it to zero.
To set it to zero,
push the reset button located above the fuel gage.
Warning Lights, Gages and Indicators
This part describes the warning lights and gages that may
be on your vehicle. The pictures will help
you locate them.
Warning lights and gages
can signal that something is wrong
before it becomes serious enough to cause
an expensive
repair or replacement. Paying attention
to your warning
lights and gages could also save you or others
from injury.
Warning lights come on when there may be or is a
problem with one
of your vehicle’s functions. As you
will see in the details on the next few pages, some
warning lights come
on briefly when you start the
engine just to let you know they’re working.
If you are
familiar with this section,
you should not be alarmed
when this happens.
Gages can indicate when there may be or is a problem
with
one of your vehicle’s functions. Often gages and
warning lights work together to let
you know when
there’s a problem with your vehicle.
When one of the warning lights comes on and stays on
when
you are driving, or when one of the gages shows
there may be a problem, check the section that tells you
what to do about it. Please follow this manual’s advice.
Waiting
to do repairs can be costly -- and even
dangerous.
So please get to know your warning lights
and gages. They’re
a big help.
2-75
ProCarManuals.com
Page 147 of 390

Voltmeter
18
” /
When the engine is not running, but the ignition is on (in
the RUN position), the display measures the voltage
output
of your battery.
Brake System Warning Light
[BRAKE]
Your charging system gage will show the rate of charge
when the engine is running.
The reading will change as the rate
of charge changes
(with the engine speed, etc.), but readings between the
red warning zones indicate the normal operating range.
Readings in either red zone indicate
a possible problem
with your charging system. Have your Oldsmobile
serviced immediately. Your
Oldsmobile’s hydraulic brake system is divided
into two parts.
If one part isn’t working, the other part
can still work and stop
you. For good braking, though,
you need both parts working well.
If the warning light comes on, there could be a brake
problem. Have your brake system inspected right away.
This light should come on briefly as you start the
vehicle.
If it doesn’t come on then, have it fixed so it
will be ready to warn
you if there’s a problem,
2-77
ProCarManuals.com