light OLDSMOBILE SILHOUETTE 1995 Workshop Manual
[x] Cancel search | Manufacturer: OLDSMOBILE, Model Year: 1995, Model line: SILHOUETTE, Model: OLDSMOBILE SILHOUETTE 1995Pages: 390, PDF Size: 20.27 MB
Page 199 of 390

Keep your windshield and all the glass on your vehicle
clean
-- inside and out. Glare at night is made much
worse by dirt on the glass. Even the inside of the glass
can build up
a film caused by dust. Dirty glass makes
lights dazzle and flash more than clean glass would,
making the pupils of your eyes contract repeatedly.
Remember that your headlamps light up far less
of a
roadway when you are in a turn or curve. Keep your
eyes moving; that way, it’s easier to pick out dimly
lighted objects. Just as your headlamps should be
checked regularly for proper aim,
so should your eyes
be examined regularly. Some drivers suffer from night
blindness
-- the inability to see in dim light -- and
aren’t even aware of it.
Driving in the Rain
I
Rain and wet roads can mean driving trouble. On a wet
road
you can’t stop, accelerate or turn as well because
your tire-to-road traction isn’t
as good as on dry roads.
And, if your tires don’t have much tread left, you’ll get
even less traction. It’s always wise to
go slower and be
cautious if rain starts to fall while you are driving. The
surface may get wet suddenly when your reflexes are
tuned for driving on dry pavement.
4-17
ProCarManuals.com
Page 202 of 390
Here are ways to increase your safety in city driving:
Know the best way to get to where you are going.
Get
a city map and plan your trip into an unknown
part
of the city just as you would for a cross-country
trip.
Freeway Driving
Try to use the freeways that rim and crisscross most
large cities. You’ll save time and energy. (See the
next part, “Freeway Driving.”)
Treat a green light as a warning signal. A traffic light
is there because the corner is busy enough
to need it.
When a light turns green, and just before you start
to move, check both ways for vehicles that have
not cleared the intersection or may be running the
red light.
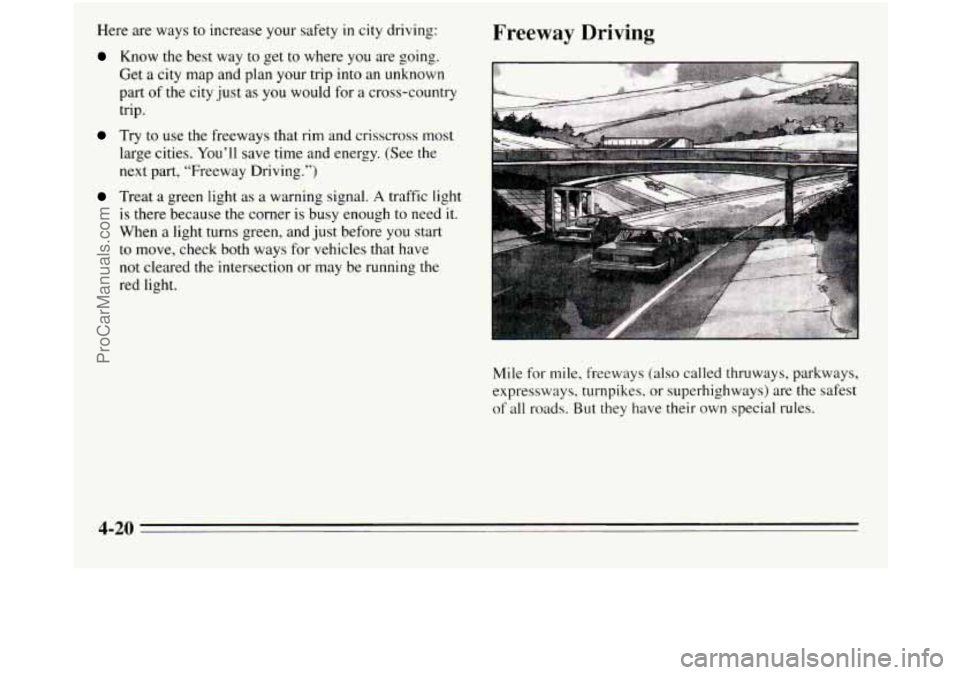
Mile for
mile, freeways (also called thruways, parkways,
expressways, turnpikes. or superhighways) are the safest
of all roads. But they have their own special rules.
4-20
ProCarManuals.com
Page 203 of 390
The most important advice on freeway driving is: Keep
up with traffic and keep to the right. Drive at the same
speed most
of the other drivers are driving. Too-fast or
too-slow driving breaks
a smooth traffic flow. Treat the
left lane on
a freeway as a passing lane.
At
the entrance there is usually a ramp that leads to the
freeway.
If you have a clear view of the freeway as you
drive along the entrance ramp, you should begin
to
check traffic. Try to determine where you expect to
blend with the flow. Try to merge into the gap at close to
the prevailing speed. Switch on your turn signal, check
your mirrors and glance over your shoulder
as often as
necessary. Try to blend smoothly with the traffic flow.
Once
you are on the freeway, adjust your speed to the
posted limit or to the prevailing rate if it’s slower. Stay
in the right lane unless you want to pass.
Before changing lanes, check your mirrors. Then use
your turn signal.
Just before you leave
the lane, glance quickly over your
shoulder to make sure there isn’t another vehicle
in your
“blind” spot. Once
you are moving on the freeway, make certain you
allow
a reasonable following distance. Expect to move
slightly slower at night.
When you want to leave the freeway, move to the proper
lane
well in advance. If you miss your exit do not, under
any circumstances, stop and back up. Drive on to the
next exit.
The
exit ramp can be curved, sometimes quite sharply.
The exit speed is usually posted.
Reduce your speed according to your speedometer, not
to your sense
of motion. After driving for any distance
at higher speeds, you may tend to think you are going
slower than you actually are.
Before Leaving on a Long Trip
Make sure you’re ready. Try to be well rested. If you
must start when you’re not fresh
-- such as after a day’s
work
-- don’t plan to make too many miles that first part
of the journey. Wear comfortable clothing and shoes you
can easily drive
in.
4-21
ProCarManuals.com
Page 207 of 390
Include an ice scraper, a small brush or broom, a supply
of windshield washer fluid, a rag, some winter outer
clothing, a small shovel,
a flashlight, a red cloth, and a
couple of reflective warning triangles. And, if you will
be driving under severe conditions, include a small bag
of sand, a piece
of old carpet or a couple of burlap bags
to help provide traction. Be sure you properly secure
these items in your vehicle.
Driving on Snow or Ice
Most of the time, those places where your tires meet the
road probably have good traction.
However,
if there is snow or ice between your tires and
the road, you can have
a very slippery situation. You’ll
have a lot less traction or “grip” and will need to be very
careful.
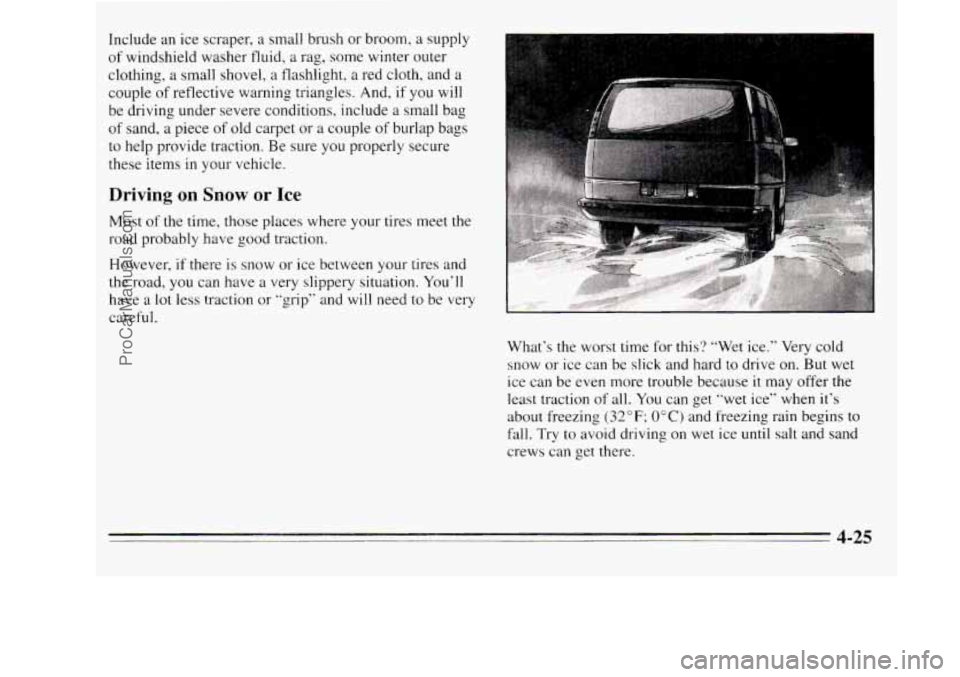
What’s the worst time for this? “Wet ice.” Very cold
snow or ice can be slick and hard to drive on. But wet
ice can be even more trouble because it may offer the
least traction of all. You can get “wet ice” when it’s
about freezing
(32 OF; 0” C) and freezing rain begins to
fall. Try
to avoid driving on wet ice until salt and sand
crews can get there.
4-25
ProCarManuals.com
Page 210 of 390
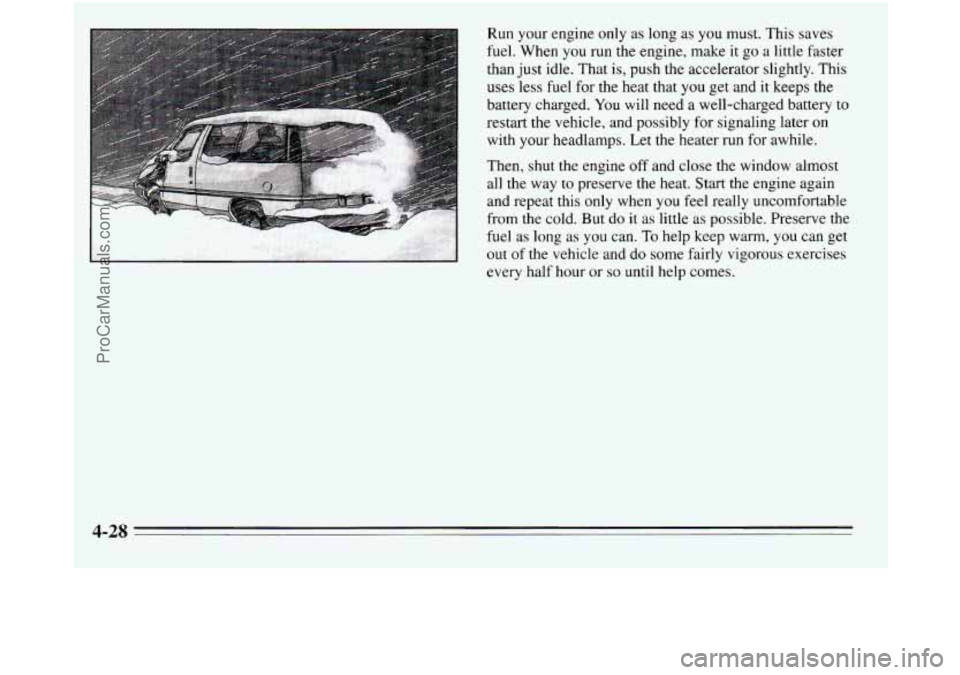
Run your engine only as long as you must. This saves
fuel. When
you run the engine, make it go a little faster
than just idle. That is, push the accelerator slightly. This
uses less fuel for the heat that you get and it keeps the
battery charged.
You will need a well-charged battery to
restart the vehicle, and possibly for signaling later
on
with your headlamps. Let the heater run for awhile.
Then, shut the engine off and close the window almost
all the way
to preserve the heat. Start the engine again
and repeat this only when you feel really uncomfortable
from the cold. But do it as little as possible. Preserve the
fuel as long as you can.
To help keep warm, you can get
out of the vehicle and
do some fairly vigorous exercises
every half hour or
so until help comes.
4-28
ProCarManuals.com
Page 257 of 390
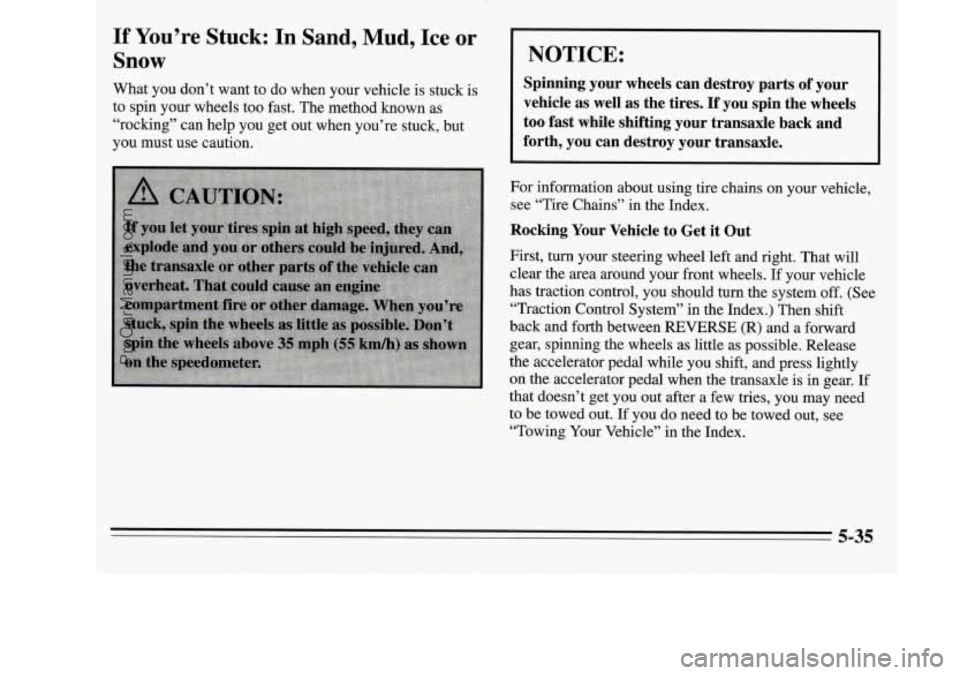
If You’re Stuck: In Sand, Mud, Ice or
Snow
What you don’t want to do when your vehicle is stuck is
to spin your wheels too fast. The method known as
“rocking” can help you get out when you’re stuck, but
you must use caution.
NOTICE:
Spinning your wheels can destroy parts of your
vehicle as well as the tires.
If you spin the wheels
too fast while shifting your transaxle back and
forth, you can destroy your transaxle.
For information about using tire chains on your vehicle,
see “Tire Chains’’ in the Index.
Rocking Your Vehicle to Get it Out
First, turn your steering wheel left and right. That will
clear the area around your front wheels.
I€ your vehicle
has traction control, you should turn the system off. (See
“Traction Control System” in the Index.) Then shift
back and forth between
REVERSE (R) and a forward
gear, spinning the wheels as little as possible. Release
the accelerator pedal while you shift, and press lightly
on the accelerator pedal when the transaxle is in gear. If
that doesn’t get you out after a few tries, you may need
to be towed out.
If you do need to be towed out, see
“Towing Your Vehicle” in the Index.
ProCarManuals.com
Page 282 of 390
Engine Coolant
The following explains your cooling system and how to
add coolant when it is low.
If you have a problem with
engine overheating, see “Engine Overheating”
in the
Index.
The proper coolant for your Oldsmobile
will:
0 Give freezing protection down to -34°F (-37°C).
0 Give boiling protection up to 262 OF ( 128 ” C).
Protect against rust and corrosion.
0 Help keep the proper engine temperature.
0 Let the warning lights work as they should.
What to Use
Use a mixture of one-half clean water (preferably
distilled)
and one-half antifreeze that meets “GM
Specification
1825M,” which won’t damage aluminum
parts. You can also use a recycled coolant conforming to
GM Specification 1825M with a complete coolant flush
and refill. Use GM Engine Coolant Supplement (sealer)
with any complete coolant flush and refill.
If you use
this mixture,
you don’t need to add anything else.
NOTICE:
If you use an improper coolant mix, your engine
could overheat and be badly damaged.
The
repair cost wouldn’t be covered by your
warranty.
Too much water in the mix can freeze
and crack the engine, radiator, heater core and
other parts.
6-22
ProCarManuals.com
Page 288 of 390
should have your brake system fixed, since a leak means
that sooner or later your brakes won’t work well, or
won’t work at all.
So, it isn’t a good idea to “top off’
your brake fluid. Adding brake fluid won’t correct a
leak. If you add fluid when your linings are worn, then
you’ll have too much fluid when you get new brake
linings. You should add (or remove) brake fluid, as
necessary, only when work is done on the brake
hydraulic system.
When your brake fluid falls to a low level, your brake
warning light will come on. See “Brake System Warning
Light” in the Index.
~~
~~~ ~~~ ~
What to Add
The brake fluid reservoir is located to the left of the
windshield washer fluid reservoir, at the back of the
engine compartment.
When you
do need brake fluid, use only DOT-3 brake
fluid
-- such as Delco Supreme 11 @ (GM Part
No. 1052535). Use new brake fluid from a sealed
container only, and always clean the brake fluid
reservoir cap before removin,g it.
-
NOTICE:
0 Don’t let someone put in the wrong kind of
fluid. For example, just a few drops of
mineral-based oil, such
as engine oil, in
your brake system can damage brake
system parts
so badly that they’ll have to be
replaced.
0 Brake fluid can damage paint, so be careful
not to spill brake fluid on your vehicle.
If
you do, wash it off immediately. See
“Appearance Care” in the Index.
6-28
ProCarManuals.com
Page 289 of 390
Brake Wear
Your Oldsmobile has front disc brakes and rear drum
brakes.
Disc brake pads have built-in wear indicators that make
a high-pitched warning sound when the brake pads are
worn and new pads are needed. The sound may come
and go or be heard
all the time your vehicle is moving
(except when you are pushing on the brake pedal
firmly).
NOTICE:
Continuing to drive with worn-out brake pads
could result in costly brake repair.
Some driving conditions or climates may cause a brake
squeal when the brakes are first applied or lightly
applied.
This does not mean something is wrong with
your brakes.
Your rear drum brakes don’t have wear indicators, but
if
you ever hear a rear brake rubbing noise, have the rear
brake linings inspected. Also, the rear brake drums
should be removed and inspected each time the tires are
removed for rotation or changing. When you have the
front brakes replaced, have the rear brakes inspected,
too.
Brake linings should always be replaced as complete
axle sets.
Brake Pedal Travel
See your retailer if the brake pedal does not return to
normal height, or if there is a rapid increase in pedal
travel.
This could be a sign of brake trouble.
Brake Adjustment
Every time you apply the brakes moderately, with or
without the vehicle moving, your brakes adjust for wear.
6-29
ProCarManuals.com
Page 303 of 390
Using Foam-Type Cleaner on Fabric
0
0
0 0
0
0
Vacuum and brush the area to remove any loose dirt.
Always clean
a whole trim panel or section. Mask
surrounding trim along stitch or welt lines.
Mix Multi-Purpose Powdered Cleaner following the
directions
on the container label.
Use suds only and apply with a clean sponge.
Don’t saturate the material.
Don’t rub it roughly.
As soon as you’ve cleaned the section, use a sponge
to remove the suds.
Rinse the section with a clean, wet sponge.
Wipe off what’s left with a slightly damp paper towel
or cloth.
Dry it immediately with a blow dryer or a heat lamp.
NOTICE:
Be careful. A blow dryer or a heat lamp may
scorch the fabric.
i
Wipe with a clean cloth.
Using Solvent-Type Cleaner on Fabric
First, see if you have to use solvent-type cleaner at all.
Some spots and stains will clean off better with just
water and mild soap.
If you need to use a solvent:
0
0
Gently scrape excess soil from the trim material with
a clean, dull knife or scraper. Use very little cleaner,
light pressure and clean cloths (preferably
cheesecloth). Cleaning should start at the outside of
the stain, “feathering” toward the center. Keep
changing
to a clean section of the cloth.
When you clean a stain from fabric, immediately dry
the area with a blow dryer to help prevent a cleaning
ring. (See the previous NOTICE.)
6-43
ProCarManuals.com