remove seats OLDSMOBILE SILHOUETTE 1997 Owners Manual
[x] Cancel search | Manufacturer: OLDSMOBILE, Model Year: 1997, Model line: SILHOUETTE, Model: OLDSMOBILE SILHOUETTE 1997Pages: 436, PDF Size: 21.87 MB
Page 14 of 436

Manual Lumbar Control
Turn the knob on the
outboard side of the
seat to adjust the lower
back support.
Head Restraints
Slide the head restraint up or down so that the top of the
restraint is closest to the top
of your ears. This position
reduces the chance
of a neck injury in a crash.
Rear Seats
Seat Controls
The rear seats in your vehicle have levers and straps
used to adjust, remove and replace the seats.
By using
the levers and straps, in
the correct order, you can easily
remove the seats from your vehicle. When
you replace the seats in the vehicle, be sure to
follow the label on the back
of the seat for proper location.
Follow
hs diagram when the text in this manual tells you
what sets of floor cups to use for each seat.
l
El
H
9
0 I
I
0
J
1-6
ProCarManuals.com
Page 16 of 436

Solid Bench Seat
If you have a solid bench seat, the seatback can be
folded down. The seat can also be folded forward or
removed to provide extra storage space.
Second Row Solid Bench Seats
Folding the Seatback
To fold down the seatback,
' pull the nylon strap on the
back of the seat.
To raise the seatback, pull the nylon strap on the back of
the seat while raising the seatback
until it locks upright.
Push and pull on the seatback to check that
it is locked.
Removing the Second Row Solid Bench Seat
With the seatback in the upright position, unhook the
side attachment for the safety belt. This mini-buckle
is
located on the right side of the seat.
Push up
the red center on
the buckle with a small
pointed object like a key
or pen.
1. Pull the nylon strap on the back of the seat to fold
the seatback forward.
1-8
ProCarManuals.com
Page 26 of 436

,A LAUTION:
c-- 1
A seat that isn’t locked into place properly can
move around in
a collision or sudden stop. People
in the vehicle could be injured. Be sure to lock
the seat into place properly when installing it.
7. Pull the nylon strap on the back of the seat and raise
the seatback
until it locks upright.
8. Push and pull on the seatback to check that it is
locked into place.
If
the seatback isn’t locked, it could move
forward in a sudden stop
or crash. That could
cause injury to the person sitting there. Always
press rearward on the seatback to be sure it
is locked.
Split Bench Seats
If you have the split bench seat (50/50 or 40/60), the
seatbacks can be folded down individually and the
sections can be removed individually. The sections can
also be adjusted forward or rearward individually.
The second row
(40/60) split bench may be equipped
with built-in child restraint(s). See “Built-In Child
Restraint”
in the Index.
Folding or Reclining the Seatbacks
To fold down the seatback on either section of the split
bench seat,
pull the nylon strap on the back of the seat or
lift up on the lever on the front of the seatback.
I Use the lever on the front
of the seatback to raise or
1 lower the seatback to the
l desired position.
1-18
ProCarManuals.com
Page 162 of 436

Cunholders Storage Bin
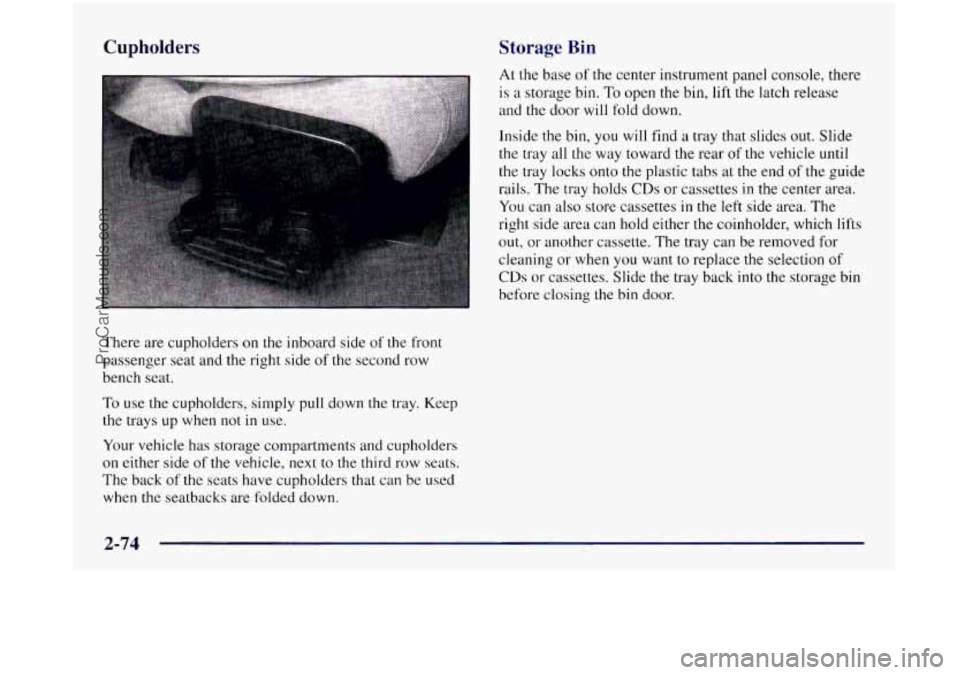
There are cupholders on the inboard side of the front
passenger seat and the right side of the second row
bench seat.
To use the cupholders, simply pull down the tray. Keep
the trays up when not
in use.
Your vehicle has storage compartments and cupholders
on either side
of the vehicle, next to the third row seats.
The back of the seats have cupholders that can be used
when the seatbacks are folded down.
At the base of the center instrument panel console, there
is a storage bin,
To open the bin, lift the latch release
and the door will fold down.
Inside the bin,
you will find a tray that slides out. Slide
the tray all the way toward the rear
of the vehicle until
the tray locks onto
the plastic tabs at the end of the guide
rails. The tray holds
CDs or cassettes in the center area.
You can also store cassettes
in the left side area. The
right side area can hold either
the coinholder, which lifts
out, or another cassette. The tray can be removed for
cleaning or when you want to replace the selection
of
CDs or cassettes. Slide the tray back into the storage bin
before closing the bin door.
2-74
ProCarManuals.com
Page 163 of 436

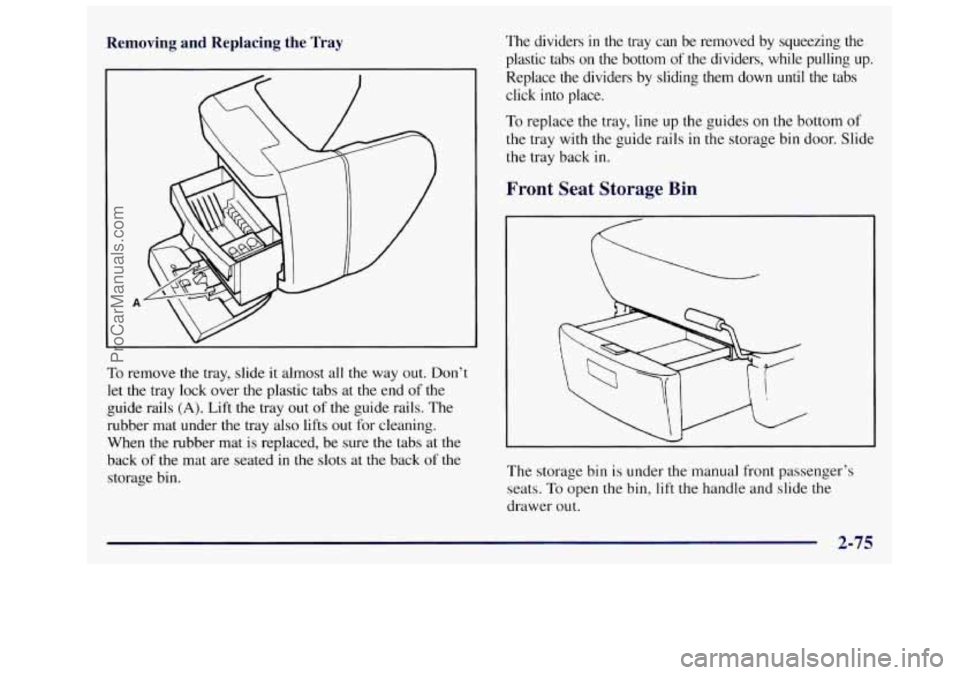
Removing and Replacing the Tray
To remove the tray, slide it almost all the way out. Don’t
let the tray lock over the plastic tabs at the end of the
guide rails
(A). Lift the tray out of the guide rails. The
rubber mat under the tray also lifts out for cleaning.
When the rubber mat is replaced, be sure the tabs at the
back
of the mat are seated in the slots at the back of the
storage bin. The
dividers
in the tray can be removed by squeezing the
plastic tabs on the bottom
of the dividers, while pulling up.
Replace the dividers by sliding them down until the tabs
click into place.
To replace the tray, line up the guides on the bottom of
the tray with the guide rails in the storage bin door. Slide
the tray back in.
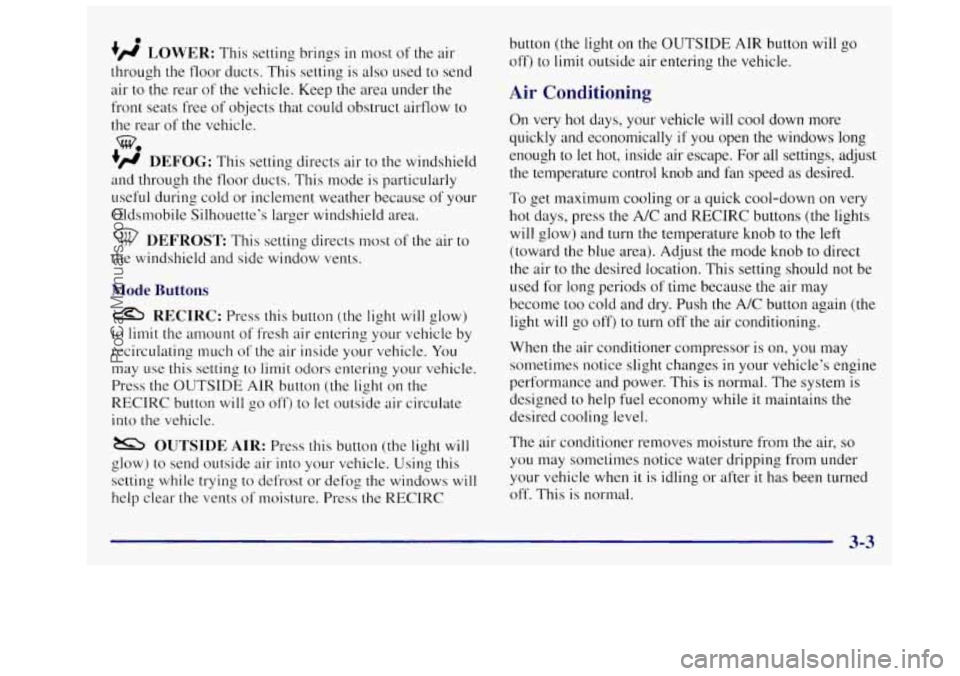
Front Seat Storage Bin
The storage bin is under the manual front passenger’s
seats. To open the bin,
lift the handle and slide the
drawer out.
ProCarManuals.com
Page 197 of 436

0
+fl LOWER: This setting brings in most of the air
through the floor ducts. This setting is also used to send
air to
the rear of the vehicle. Keep the area under the
front seats free of objects that could obstruct airflow to
the rear of the vehicle.
+’ DEFOG: This setting directs air to the windshield
and through the floor ducts. This mode is particularly
useful during cold or inclement weather because of your
Oldsmobile Silhouette’s larger windshield area.
w.
DEFROST This setting directs most of the air to
the windshield and side window vents.
Mode Buttons
RECIRC: Press this button (the light will glow)
to limit the amount of fresh air entering your vehicle by
recirculating much of the air inside your vehicle. You
may
use this setting to limit odors entering your vehicle.
Press the OUTSIDE AIR button (the light on the
RECIRC button
will go off) to let outside air circulate
into
the vehicle.
OUTSIDE AIR: Press this button (the light will
glow) to send outside air into your vehicle. Using this
setting while trying to defrost or defog the windows will
help clear the vents
of moisture. Press the RECIRC button
(the light
on the OUTSIDE AIR button
off) to limit outside air entering the vehicle.
Air Conditioning
will go
On very hot days, your vehicle will cool down more
quickly and economically
if you open the windows long
enough to let hot, inside air escape.
For all settings, adjust
the temperature control knob and fan speed
as desired.
To get maximum cooling or a quick cool-down on very
hot days, press
the A/C and RECIRC buttons (the lights
will glow) and turn the temperature knob to the left
(toward the blue area). Adjust the mode knob
to direct
the air to the desired location. This setting should not be
used for long periods
of time because the air may
become too cold and dry. Push the A/C button again (the
light will go off) to turn off the air conditioning.
When the air conditioner compressor is on, you may
sometimes notice slight changes
in your vehicle’s engine
performance and power. This is normal. The system is
designed to help fuel economy while it maintains
the
desired cooling level.
The air conditioner removes moisture from the air,
so
you may sometimes notice water dripping from under
your vehicle when
it is idling or after it has been turned
off. This is normal.
3-3
ProCarManuals.com