fuse box OLDSMOBILE SILHOUETTE 1998 Owners Manual
[x] Cancel search | Manufacturer: OLDSMOBILE, Model Year: 1998, Model line: SILHOUETTE, Model: OLDSMOBILE SILHOUETTE 1998Pages: 444, PDF Size: 23.2 MB
Page 143 of 444

Entering Programming Mode
To program features, your vehicle must be in the
programming mode. Follow these steps:
1.
2.
3.
4.
5.
The Content Theft-Deterrent system (if equipped)
must be disarmed. See “Content Theft-Deterrent
System” in this section.
Remove the BCM PRGRM fuse from the instrument
panel fuse block, located to the right
of the glove
box. (See “Fuses and Circuit Breakers” in the Index.)
Close the driver’s door.
Turn the ignition switch towards you to
ACCESSORY.
Count the number of chimes you hear.
You will hear
two
to four chimes depending on the features your
vehicle is equipped with. Refer to the chart
shown previously.
You can now program your choices.
10 exit the programming mode, follow the steps
listed under “Exiting Programming Mode” later in
this section.
Delayed Illumination and Exit Lighting
With Delayed Illumination, the interior lamps will stay
on for about
25 seconds after all the doors and the
liftgate are closed.
With Exiting Lighting, the interior lamps will come on
and stay on for about
25 seconds whenever you remove
the key from the ignition.
To customize these features to your preference, see
“Programmable Modes” following.
Programmable Modes
Your vehicle can be programmed to one of the
following modes.
Mode 1: Both Features Off (The interior lamps will turn on
or
off at the same instant that a door is opened or closed.)
Mode 2: Delayed Illumination Only (The interior lamps
will stay
on for about 25 seconds after all the doors and
liftgate are closed, or until you lock the doors.)
2-41
ProCarManuals.com
Page 182 of 444

To use your air inflator system, attach the appropriate
nozzle adapter, if required, to the end of the hose that
has the pressure gage. Then attach that end of the hose
to the object you wish to inflate. Remove the protective
cap covering the outlet. Attach the other end of the hose
to the outlet. Press the ON switch. The
ON switch will
work even with the ignition
off.
2-80
If the air inflator system does not turn on, the fuse may
be blown or installed incorrectly. See “Fuses and Circuit
Breakers” in the Index or see your retailer for service.
Your air inflator will automatically shut off after about
10 minutes. To reset, press the ON switch again.
Don’t run your air inflator for longer than
30 minutes at
one time.
If you do, you may damage the system. After
30 minutes, wait at least 10 minutes before restarting the
air inflator.
To turn off the inflator, press OFF and detach the hose,
first from the inflated object, then from the outlet.
Replace the protective cap. Place the inflator kit tools
in
the pouch, and store in the glove box.
To replace the cover, line up the tabs at the back of the
cover and put it in place. Push down the tab to secure
the cover.
ProCarManuals.com
Page 185 of 444

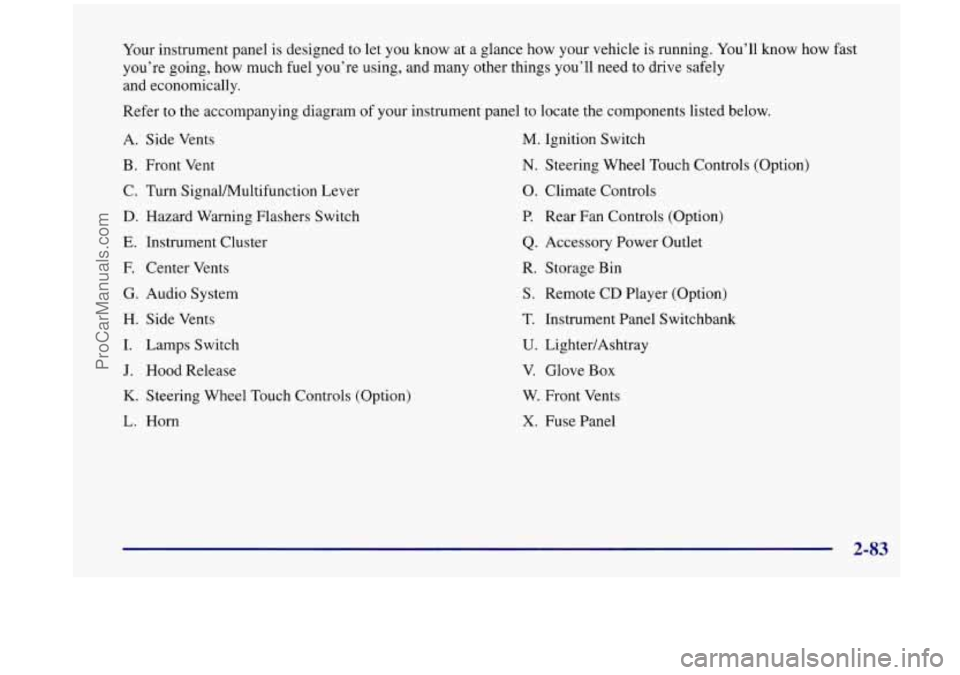
Your instrument panel is designed to let you know at a glance how your vehicle is running. You’ll know how fast
you’re going, how much fuel you’re using, and many other things you’ll need to drive safely
and economically.
Refer to the accompanying diagram of your instrument panel to locate the components listed below.
A. Side Vents
B. Front Vent
C. Turn SignalMultifunction Lever
D. Hazard Warning Flashers Switch
E. Instrument Cluster
F. Center Vents
G. Audio System
H. Side Vents
I. Lamps Switch
J. Hood Release
K. Steering Wheel Touch Controls (Option)
L. Horn
M. Ignition Switch
N. Steering Wheel Touch Controls (Option)
0. Climate Controls
P. Rear Fan Controls (Option)
Q. Accessory Power Outlet
R. Storage Bin
S. Remote CD Player (Option)
T. Instrument Panel Switchbank
U. LightedAshtray
V. Glove Box
W. Front Vents
X, Fuse Panel
2-83
ProCarManuals.com
Page 367 of 444

Fuses and Circuit Breakers
The wiring circuits in your vehicle are protected from
short circuits by a combination of fuses, circuit breakers
and fusible thermal links.
Look at the silver-colored band inside the fuse. If the
band is broken or melted, replace the fuse. Be sure you
replace a bad fuse with a new one
of the identical size
and rating.
If you ever have a problem on the road and don’t have a
spare fuse, you can borrow one that has the same
amperage
or use one of the spare fuses in the underhood
fuse and relay center. Just pick some feature of your
vehicle that
you can get along without -- like the radio
or cigarette lighter -- and use its fuse, if it is the right
amperage. Replace it as soon as you can.
There are two fuse blocks in your vehicle: the
instrument panel fuse block and
the underhood fuse and
relay center.
Instrument Panel Fuse Block
The instrument panel fuse
block is to the right of the
glove
box. Pull the door
open to access the
instrument panel fuse block.
ProCarManuals.com
Page 431 of 444

Fuel .......................................... 6-3
Filling Your Tank
.............................. 6-5
In Foreign Countries
........................... 6-5
Fuses and Circuit Breakers
....................... 6-57
Gage
....................................... 2-98
Gages Engine Coolant Temperature
.................... 2-92
Fuel
....................................... 2-98
Speedometer
................................. 2-85
Tachometer
.................................. 2-86
Garage Door Opener Compartment
................. 2-67
Gear Positions. Automatic Transaxle
................ 2-30
GloveBox
.................................... 2-65
Gross Axle Weight Rating ........................ 4-31
Gross Vehicle Weight Rating
...................... 4-30
Guide en Francais
11
GAWR ....................................... 4-31
.. .................................
GVWR ....................................... 4-30
Halogen Bulbs
................................ 6-31
Hazard Warning Flashers
.......................... 5-2
Head Restraints ................................. 1-6
Headlamps
.................................... 2-59
Bulb Replacement
............................ 6-3 1
On Reminder ................................ 2-59
Wiring
..................................... 6-56
Hearing Impaired. Customer Assistance
.............. 8-4
Heating
........................................ 3-4
High-Beam Headlamps
.......................... 2-53
Highway Hypnosis
.............................. 4-24
High/Low Beam Changer ...................... 2-53 Hill
and Mountain Roads
......................... 4-24
Hitches. Trailer
................................. 4-36
Hood Checking Things Under
......................... 6-8
Prop
........................................ 6-9
Release
...................................... 6-8
Horn
......................................... 2-51
Hydroplaning
.................................. 4-20
Ignition Positions
.............................. 2-26
Illuminated Entry
............................... 2-61
Illuminated Visor Vanity Mirrors
................... 2-78
Inflation. Tire
.................................. 6-40
Inflator. Air
................................... 2-78
Inside Daymight Rearview Mirror
................. 2-64
Inspections Brakesystem
................................ 7-33
Exhaust Systems
............................. 7-33
Front-Wheel-Drive Axle Boot
.................. 7-33
Front-Wheel-Drive Axle Seal
................... 7-33
Radiator and Heater Hose
...................... 7-33
Steering
.................................... 7-33
Suspension
.................................. 7-33
Throttle Linkage .............................. 7-33
Instrumentpanel
............................... 2-82
Cleaning
.................................... 6-49
Cluster
..................................... 2-84
FuseBlock
.................................. 6-57
Light Intensity Control
......................... 2-61
Instrument Panel
S witchbank ...................... 2-13
Interior Lamps
................................. 2-61
Control
..................................... 2-61
OverrideSwitch
.............................. 2-61
ProCarManuals.com